Birthday Cards

World Card Making Day was Saturday, Oct 4, and I actually got a couple of cards made. Well, I made one card on Saturday and the other one on Sunday, so it was a weekend endeavor.

First up is a birthday shaker card.  I love shaker cards and this one has a birthday cake on the front.  I used the Arched Top Card Base and Party Shaker Tags from svgcuttingfiles.com to make this card.  The stamps are from Jaded Blossom — Birthday Treat Tags and Birthday Candies.  I also used one of the  Mini Tag 2 dies to cut the sentiment circle.  I heat embossed the sentiments.

The pattern paper is from SEI and I used Doodlebug Design sequins inside the shaker.  I outlined the candle flames with Stickles.

1

The next card I made for our dog, Fifi, to give to Steve for his birthday in a couple of weeks.  Steve doesn’t look at our blog, so I don’t have to worry about him seeing the card.

I used the Dog Bone Shaped Card and the Pomeranian Pup files for this card.  Fifi is a mix of Pomeranian/Chihuahua, but she looks like a Pom.

I used the computer to generate the sentiment and cut it out with one of the Flag Dies from Jaded Blossom.

3


I am entering both cards in svgcuttingfiles.com’s monthly challenge, which is a Birthday Card Challenge.  I’m also posting them to the Cricut Circle Message Board, where Sara is hosting a challenge for World Card Making Day.

  •  SVG Cutting Files – Arched Top Card Base, Party Shaker Tags, Dog Bone Shaped Card, and Pomeranian Pup
  • Jaded Blossom Stamps – Birthday Treat Tags, Birthday Candies, Mini Tags 2 die and Flag dies
  • SEI paper pad
  • Embossing powder
  • Doodlebug Designs sequins
  • Stickles
  • Baker’s Twine
Altered Book Box and Stick Pin Swap

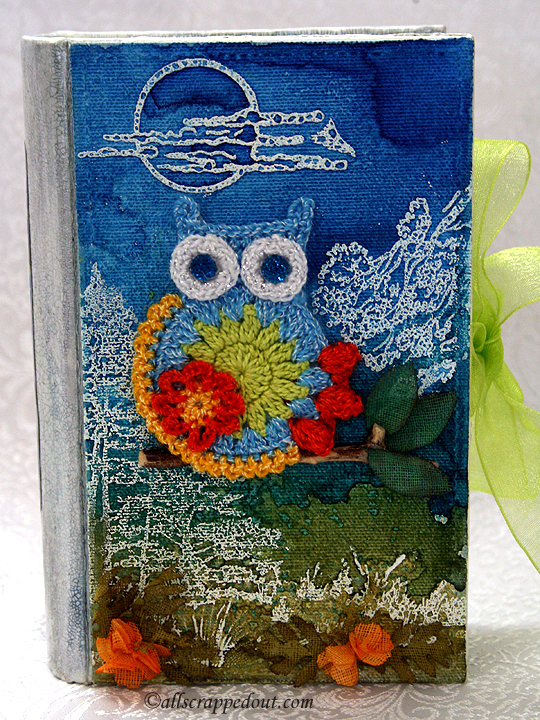
I just participated in an altered book box and stick pin swap on the Cricut Circle Message Board.  I had never altered a paper mache box before, so this was a new adventure for me.  My partner (Maria) let me know some of her likes — I knew she liked bright colors and owls.  Since I like owls too, I decided to use that for my theme.

Front9

The first thing I did was primer the book in gesso.  Then I applied two coats of Martha Stewart  Mother of Pearl paint.  I let the last coat of paint dry overnight and then I brushed on a layer of Tim Holtz Rock Candy Crackle paint on the spine and the inside edges of the book.  When that was thoroughly dry, I sponged on some blue and brown distress ink over the crackled paint.
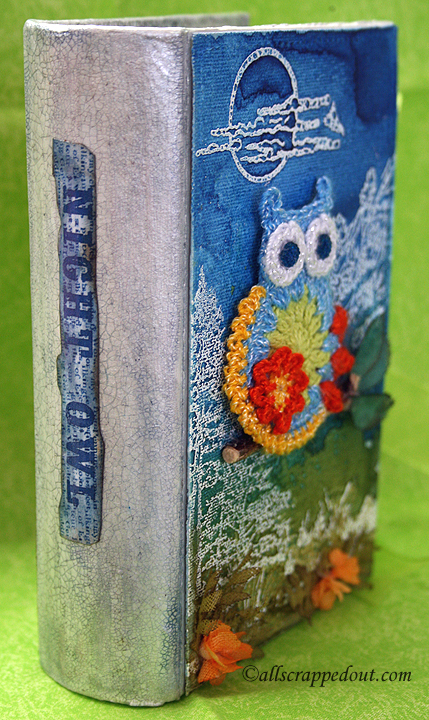
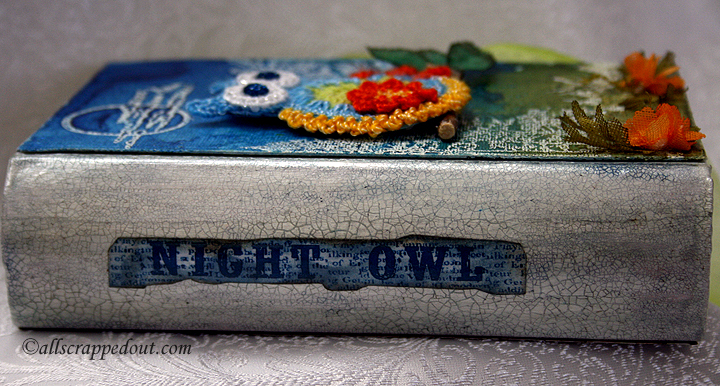
Spine
The title was printed on the computer and adhered on the spine using Liquitex Gloss Medium & Varnish.  I added a couple coats of the gloss medium over the crackle paint on the spine and on the inside.
Spine2

I used Ranger Sticky Back Canvas for the cover of the book.  Since this was my first time using it, I wasn’t sure if it need to be primed with gesso.  I decided to go ahead and gesso it, but first I stuck the canvas to a piece of cardstock and sewed around the edges. After the gesso dried, I stamped a scene of the moon and some trees using Versamark and heat embossed it using white embossing powder.  The stamp set is by Sheena Douglass and called Lakeside Shore.

Then I sprayed the canvas with several different colors of Starburst spray by Lindy’s Stamp Gang.  As you can see, the colors are nice and bright. Since I had used gesso on the canvas, it acted as a resist to the sprays and I found they would easily wipe off.  So I let them dry and then sprayed a coat of gloss varnish (Krylon) over the canvas to seal it.  I was happy to see that I didn’t lose all the pretty shimmer when I sprayed the canvas with the sealer.

10

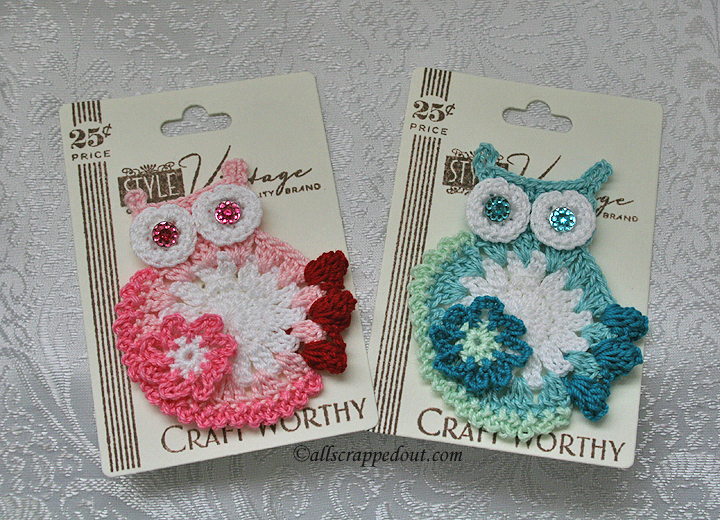
I purchased the crocheted owl from Tatiana, who I first found on the Cricut Message Board.  She now sells her beautiful crocheted pieces on her Facebook page, Created  By Tatiana.   I picked the colors for this owl to match the book and also ordered several other owls in different colors.

I added a branch and some leaves that I cut from white cotton crinoline using a Martha Stewart punch. The leaves were sprayed with Starburst spray. The flowers and foliage at the bottom were also cut from crinoline using Martha Stewart punches and colored with Starburst spray.

The book has a ribbon closure.

Front2

The back of the book is my attempt at humor, a pun on the Looney Tunes “That’s All Folks”.  The paper is from Doodlebug Designs and the owl is some clipart I got from the now defunct PC Crafter website. The image at the bottom is stamped and heat embossed using Lindy’s Stamp Gang’s embossing powder.

Back

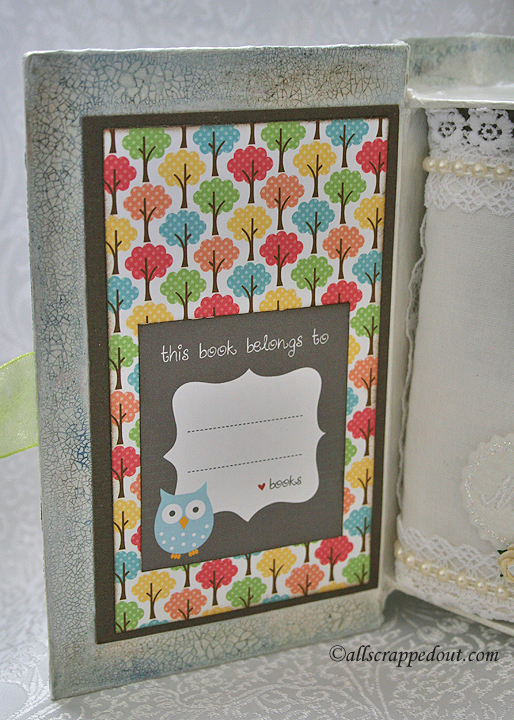
The inside of the cover is also Doodlebug Design paper and I added a clipart bookplate to it.

Bookplate

This is looking inside the book, showing the fabric book that I made to hold the stick pins.  Since this post is so long, I am going to do a separate post for the stick pin holder.

Inside

I included two extra crocheted owls for my swap partner.  The cards they are on were stamped with the Button Boutique stamp set from Papertrey Ink and cut using the coordinating die.

CrochetOwls


  • Paper mache book box from Hobby Lobby
  • Doodlebug Design paper
  • Ranger Sticky Back Canvas
  • Lindy’s Stamp Gang Starburst sprays and embossing powder
  • Tim Holtz Rock Candy Distress Crackle Paint
  • Tim Holtz Distress Ink
  • Crocheted owls from Created By Tatiana on Facebook
  • Sheena Douglass Lakeside Shore stamp set
  • Button Boutique stamp and die set from Papertrey Ink
  • Martha Stewart craft paint — Mother of Pearl
  • Martha Stewart punches
  • Liquitex Gloss Medium & Varnish
  • Cotton crinoline purchased at Joann.com

Sympathy Card

This is a sympathy card I made for a friend who lost her mother unexpectedly. I used white cardstock and colored the background pink using Lindy’s Stamp Gang’s Starburst spray. I stamped the Dandelion Frame from Hero Arts using Versamark and then embossed it using white embossing powder.

5

The flower is a stamp from Hero Arts called 3 Dotted Flowers.  I stamped it on vellum, again heat embossing it in white.  I layered the 3 flowers together and added a pearl for the center.  The butterfly is from two Memory Box dies (Pippi & Isabella), one for the filigree layer and one for the solid layer.  The sentiment is computer generated and cut with a Spellbinders tag die.

2


  • Hero Arts stamps:  Dandelion Frame, 3 Dotted Flowers
  • Lindy’s Stamp Gang Starburst spray
  • Memory Box dies:  Pippi and Isabella
  • Spellbinders tag die

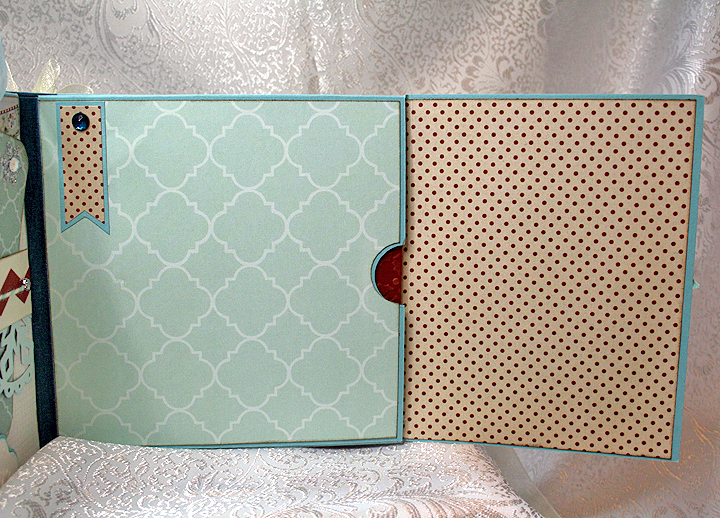
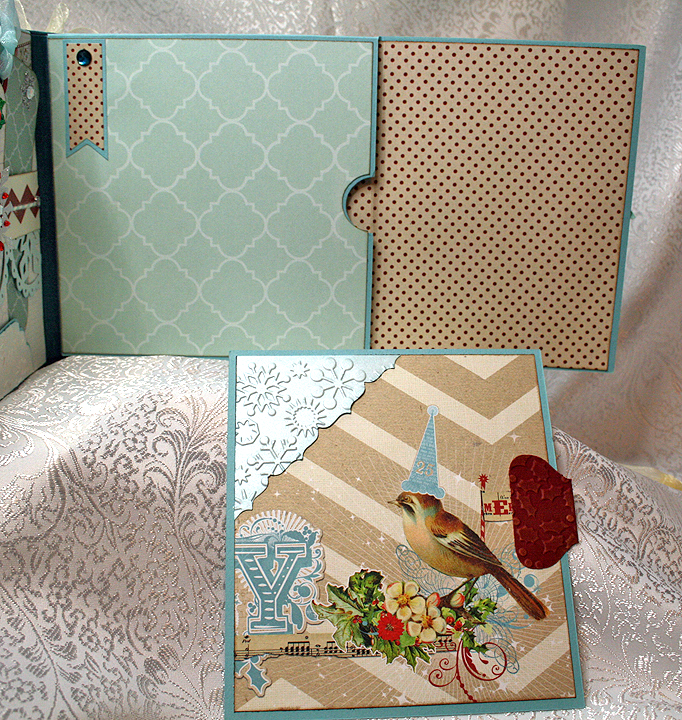
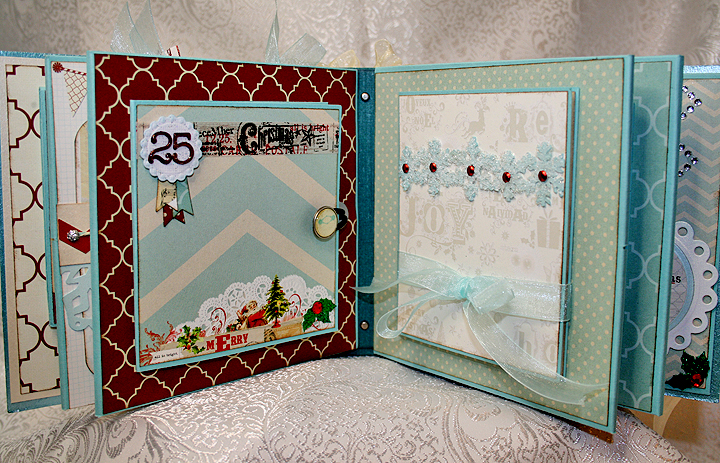
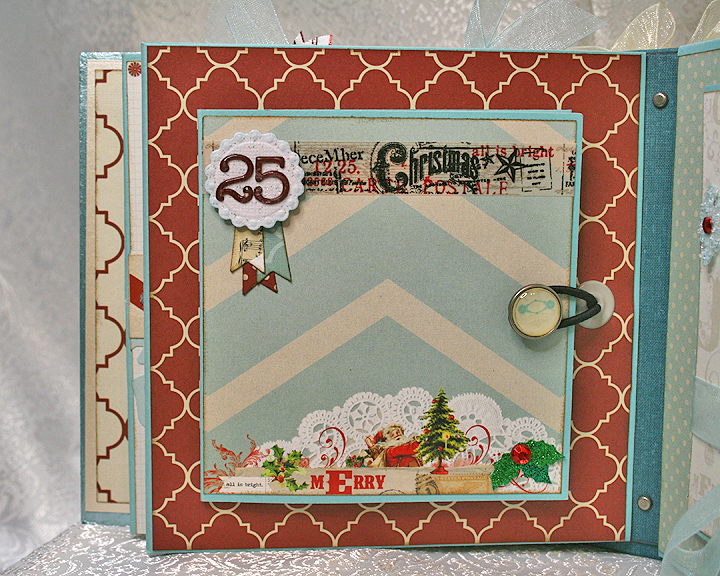
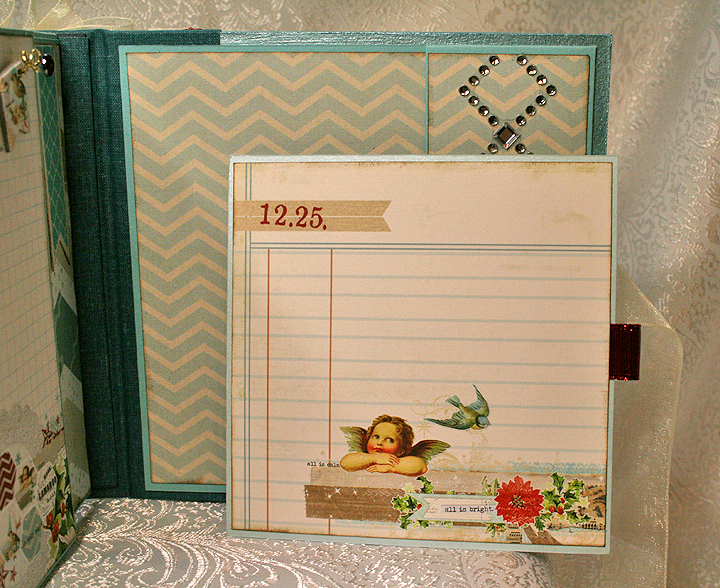
Christmas Mini Album for Cricut Circle Stocking Stuffer Swap

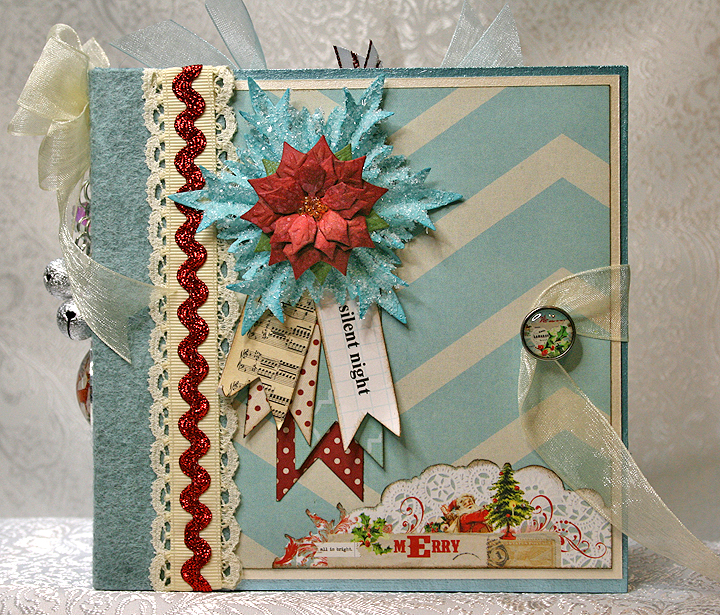
I participated in the Cricut Circle Stocking Stuffer Swap for the first time in 2013.  I figure it’s about time I posted the mini album I made to send to my partner, Sherry (Octoberbeauty).  I’ll warn you — there are lots of pictures.

This is the second mini album I’ve made and I again used a tutorial from Cathy, whose etsy shop is called So Much Scrap.   For this album I used her All Hallow’s Eve tutorial.  I really like her tutorials because they are very detailed and easy to follow.

I did something a little different on this album than what the directions call for.  I made the spine and binding system using only chipboard and book binding cloth — I didn’t use any cardstock in the construction.  I am happy with the way it turned out — the binding system is very flexible.

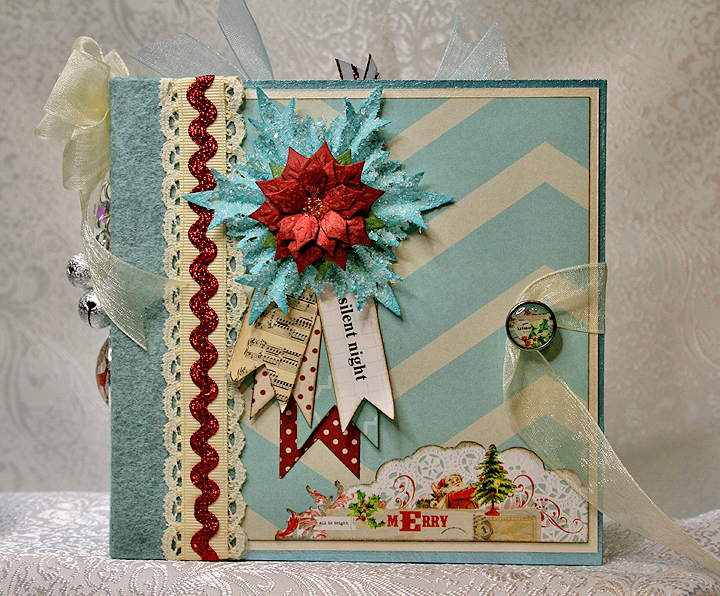
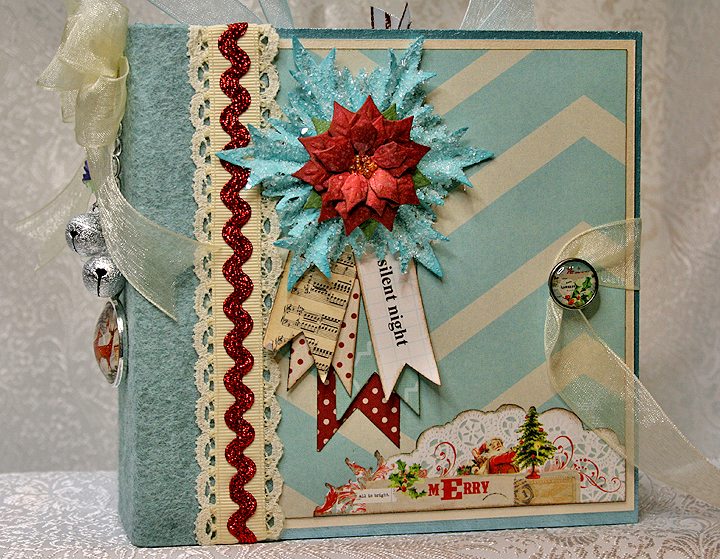
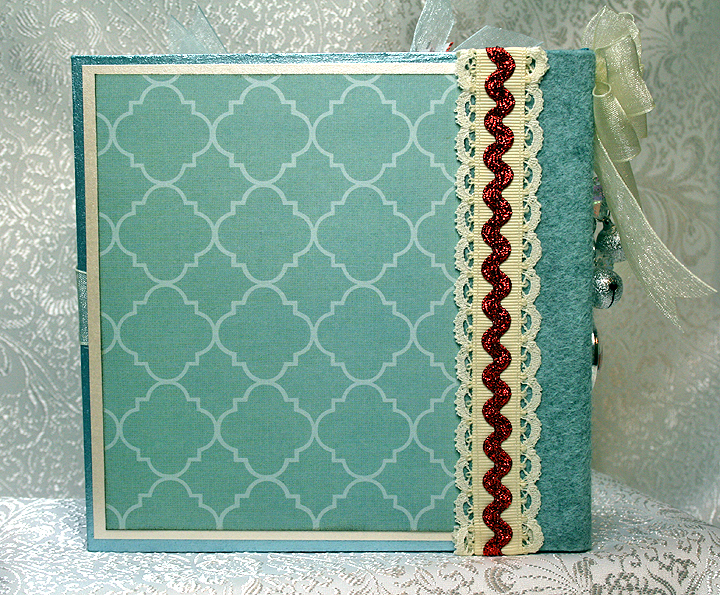
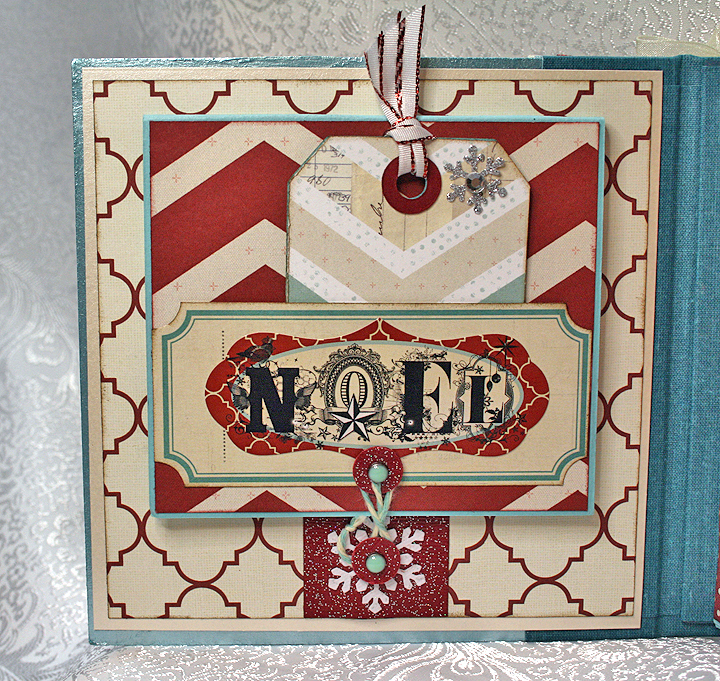
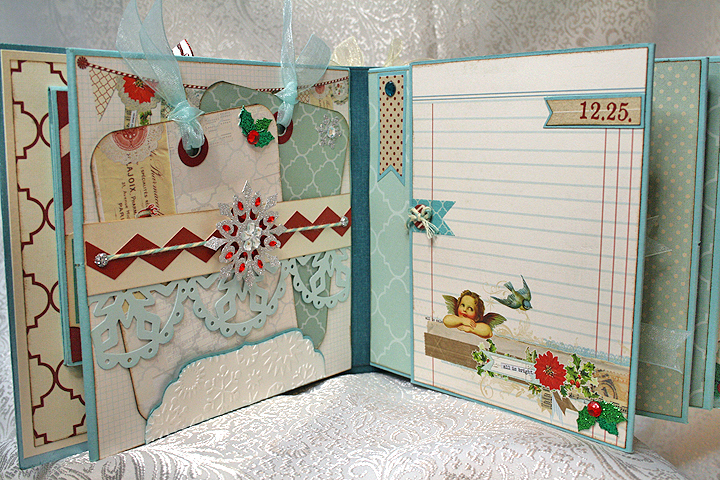
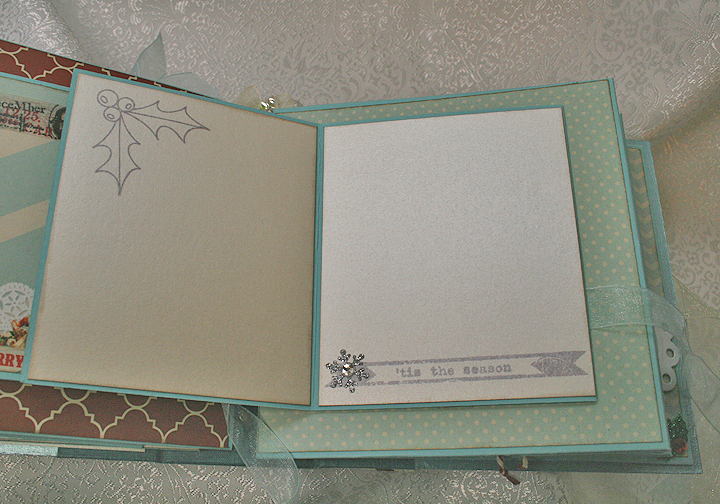
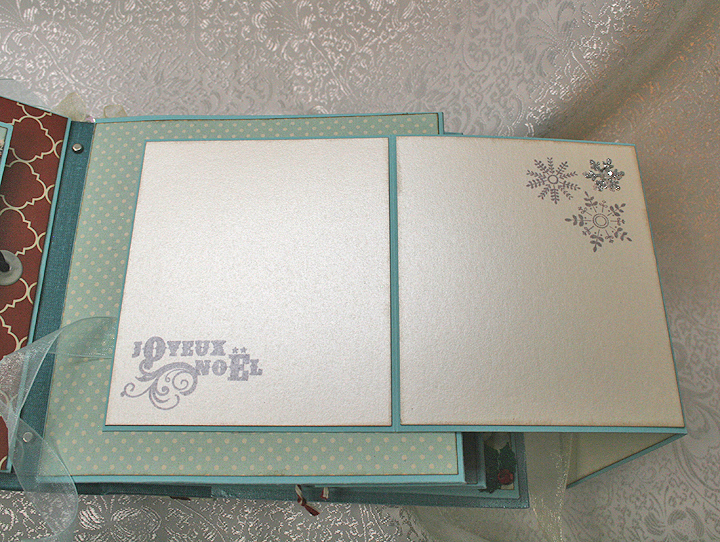
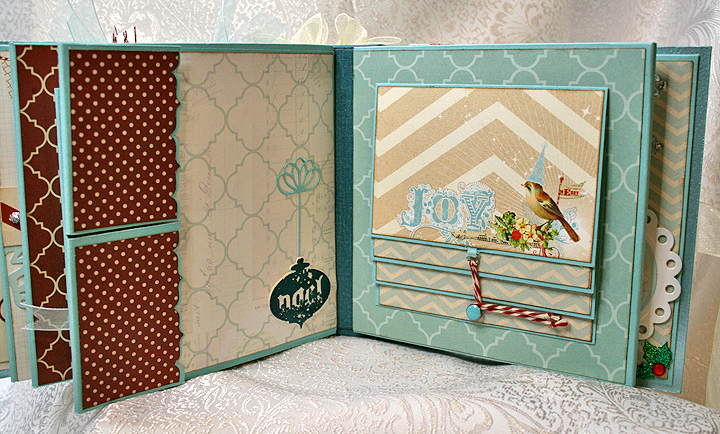
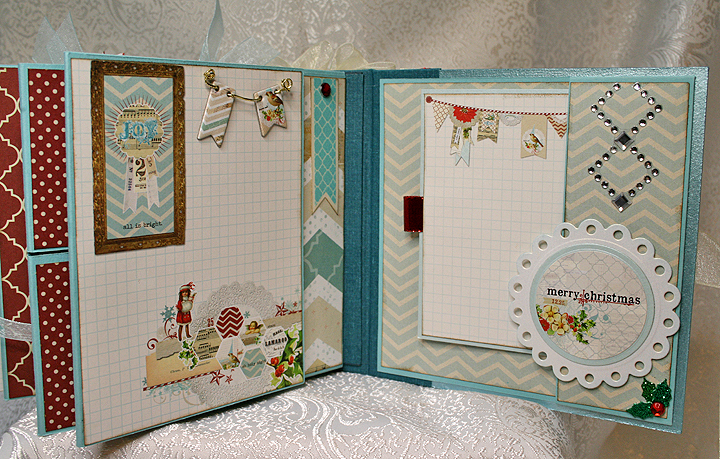
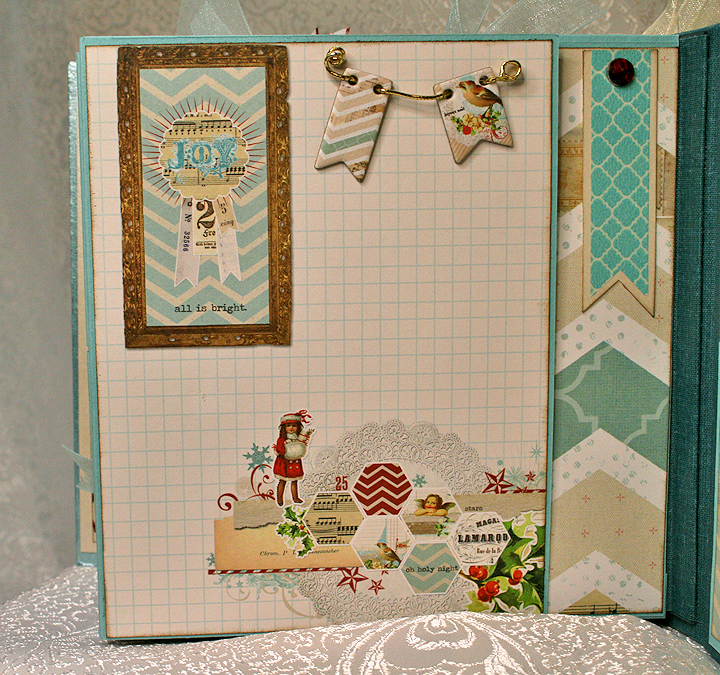
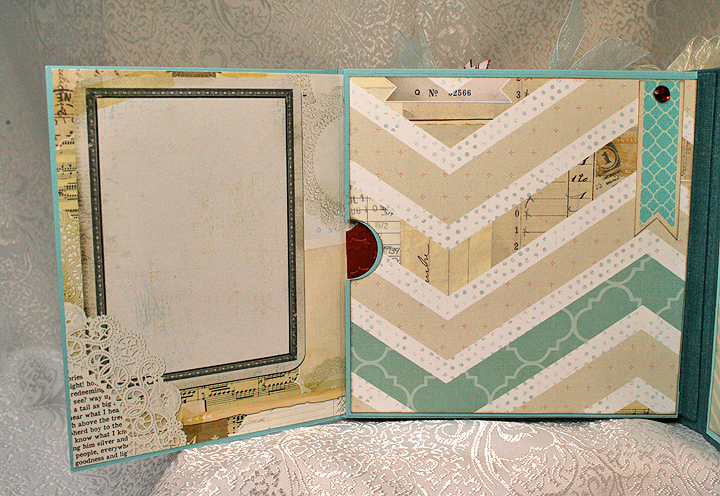
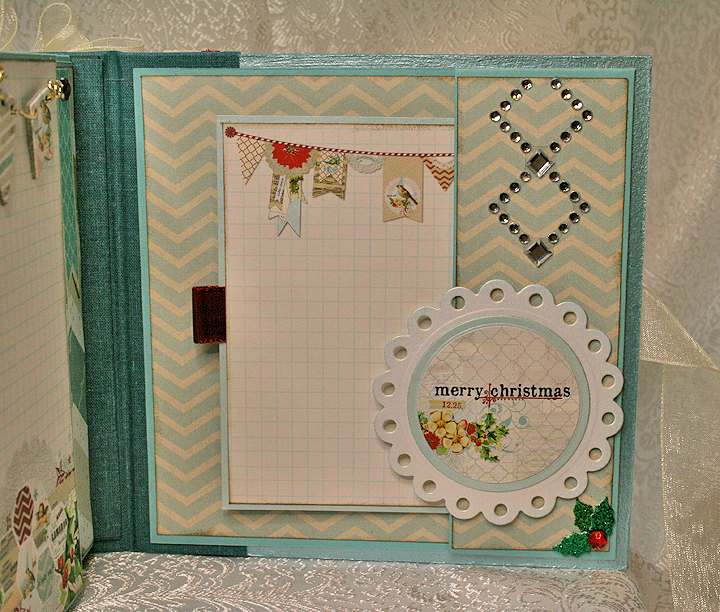
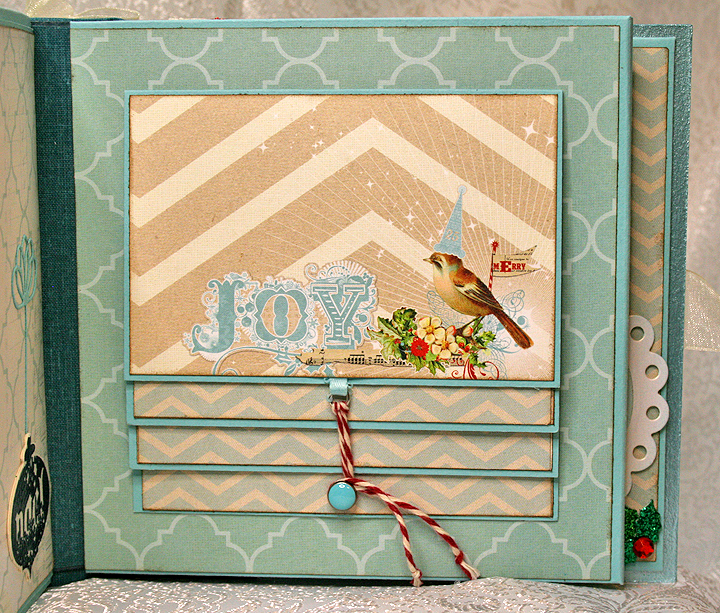
The patterned paper I used throughout the album is from My Mind’s Eye Merry & Bright collection.  The solid cardstock is all Basis 80#.  The edges of the chipboard are painted with Martha Stewart pearl paint.  I covered the outside of the spine in wool felt and added some ribbon, lace and metallic rick rack trim to the edges.

Front10B

Front12B

Back2

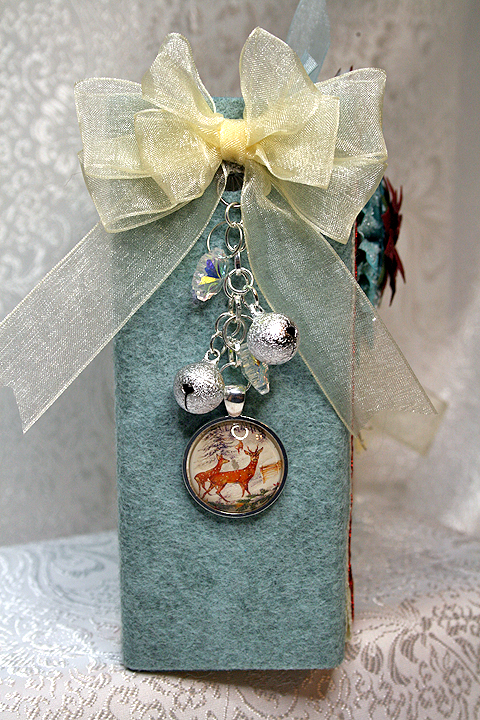
I made the charm on the spine using stardust jingle bells, crystal snowflake beads and a deer pendant I got from eBay. I made the bow using my Zutter Bow-It-All.  I’m really liking the bows I can make using this handy tool.

Charm

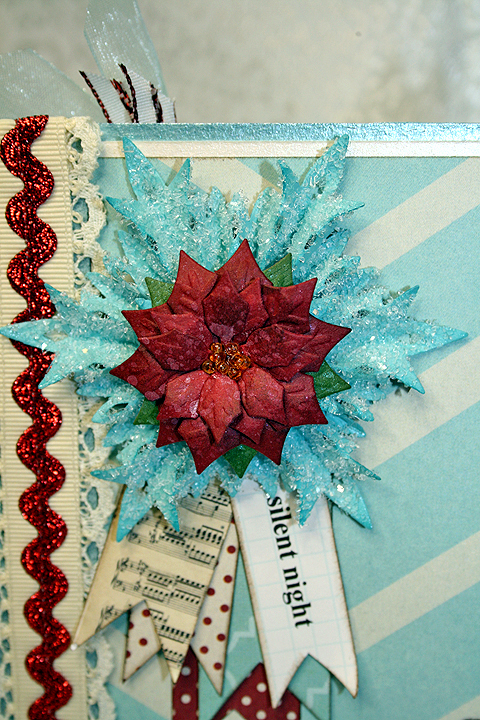
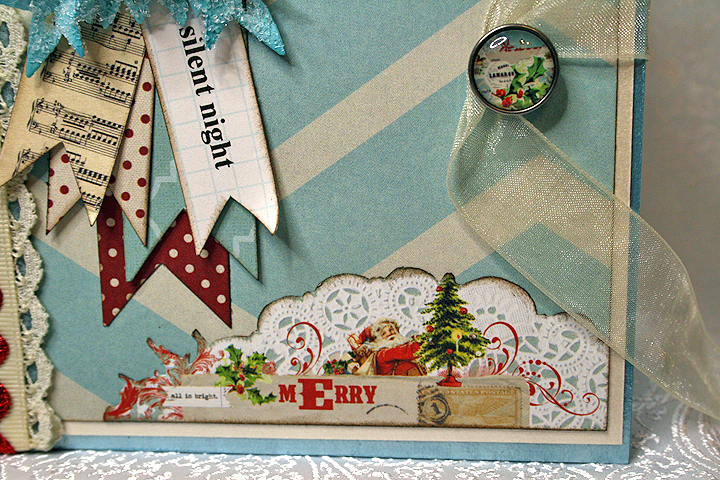
Here are some close-up details of the album front.  The poinsettia is made from the Layered Poinsettia die by Spellbinders, sprayed with Lindy’s Stamp Gang’s Starburst spray, and I added glass seed beads to the center.  The snowflake is from the Tim Holtz Snowflake Rosette die and is coated in coarse glitter.  The album closure is a ribbon that wraps around a brad on the front cover — another of Cathy’s wonderful ideas.

FrontPoinsettia

CoverDetail

Pages 1 and 2:

P1-2

P1B

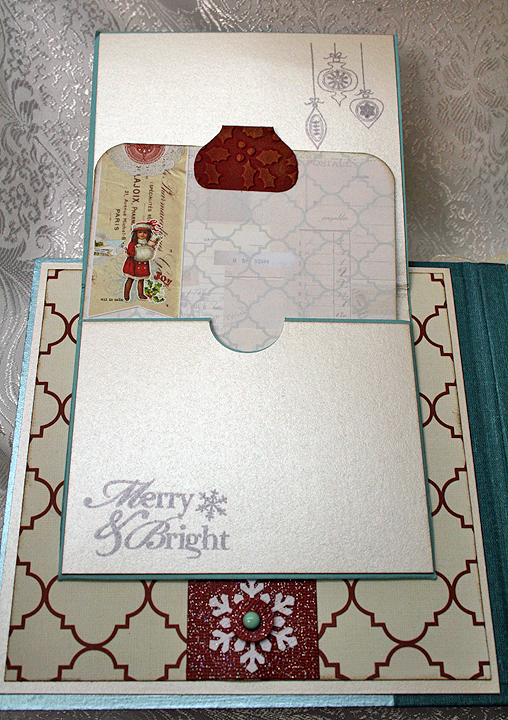
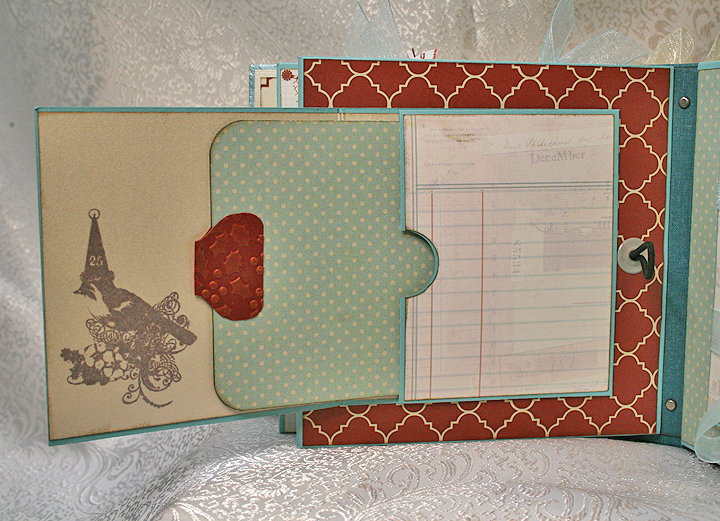
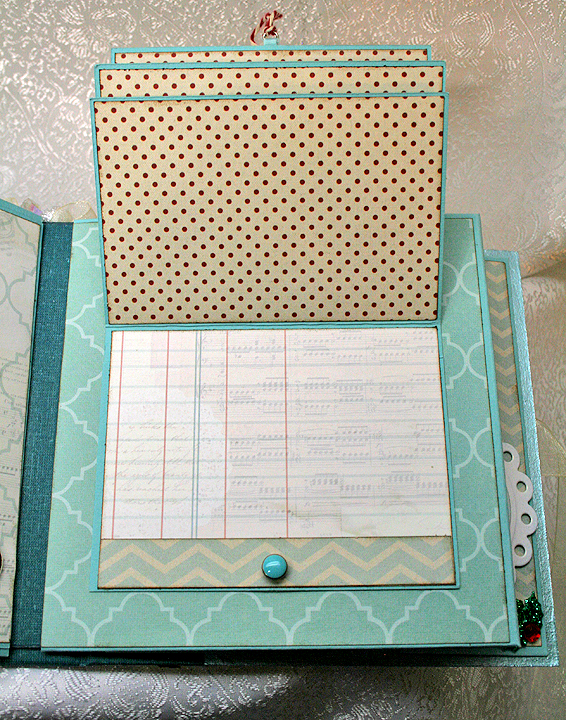
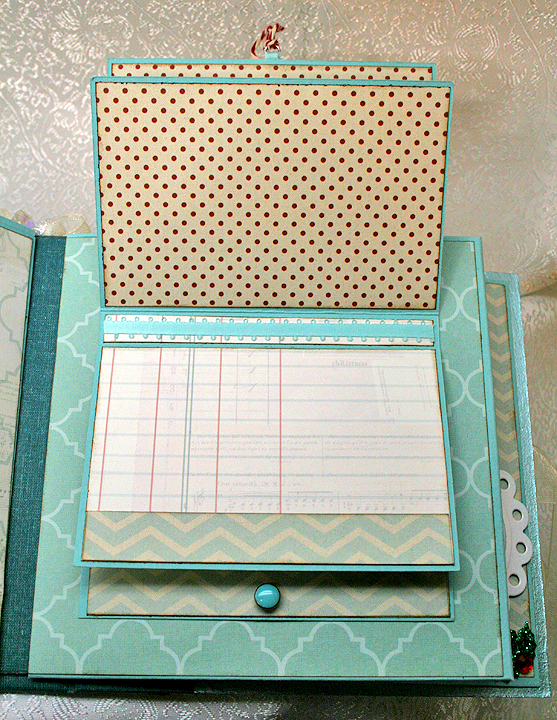
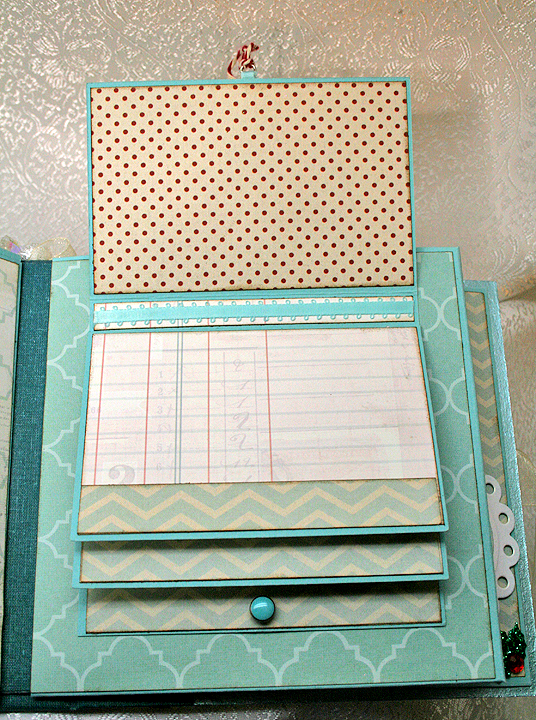
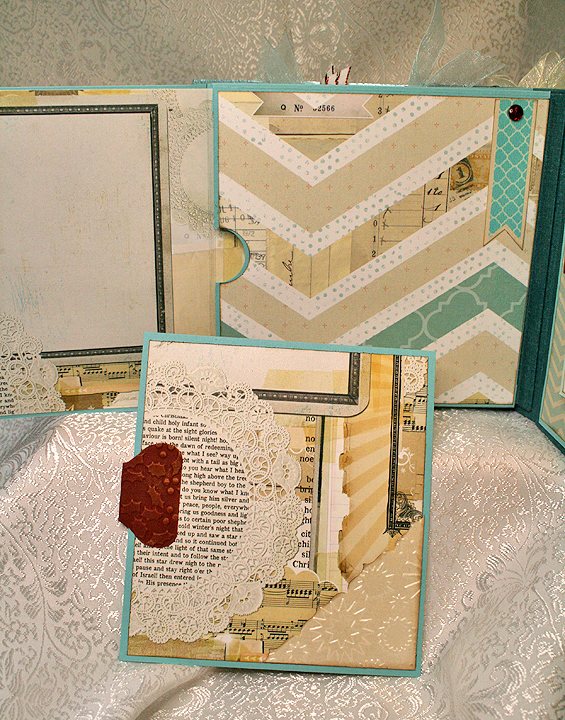
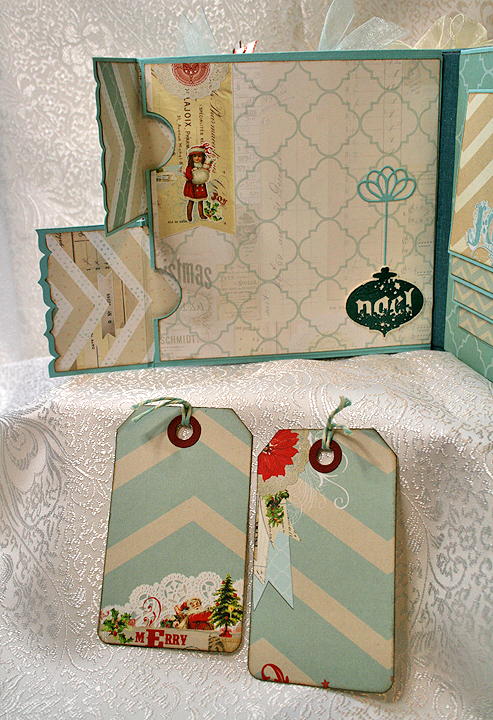
The pocket opens up to reveal a photo mat inside.  I made all the tabs for the photo mats using my We R Memory Keepers Envelope Punch Board and embossed the tabs with my Cuttlebug.

P1TagB

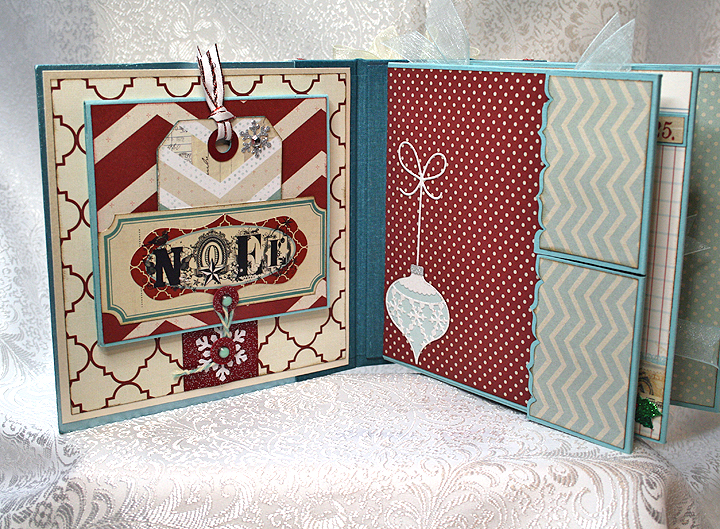
The ornament is cut from a Memory Box die.  The edges on the pocket flaps were done with a punch — I think it was an EK Success Bracket border punch.  The flaps close with a magnet — there are lots of magnetic closures used in this album.

P2

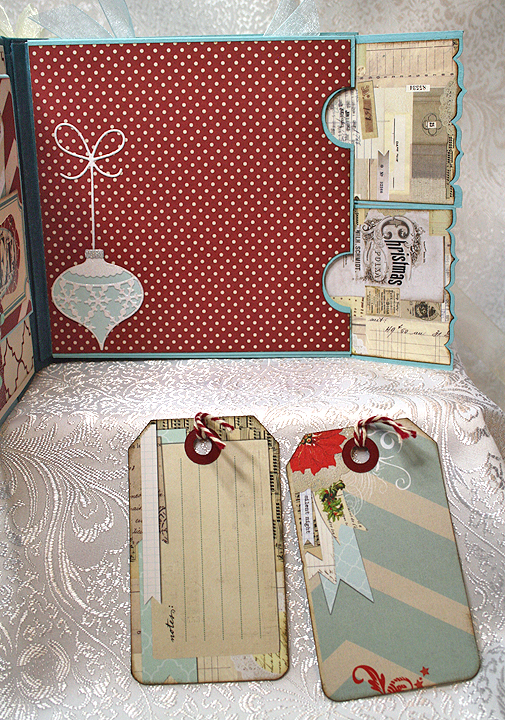
I made the small tags using Tim Holtz’s Tag & Tie die.

P2Tags

Pages 3-4:

P3-4

P3Tags

P4

Page 4 opens and has a photo mat inside the pocket.

P4Open

P4Tag

Pages 5 and 6:

P5-6B

The pocket closes using an elastic hair band and a brad.

P5B

P5Open

Page 6 has an accordion fold feature that folds up and is held closed with a ribbon.  The snowflake trim is from a Martha Stewart punch.

P6

P6Open

P6OpenB

Pages 7 and 8:

P7-8B

The ornament is embossed with Lindy’s Stamp Gang embossing powder.  I can’t remember what stamp I used for the ornament — that’s what I get for waiting so long to post this on our blog.  The ribbon hanger is a Memory Box die.

P7B

P7TagsB

Page 8 has a waterfall feature.

P8B

P8OpenC

P8OpenB

P8Open

Pages 9 and 10:

P9-10B

P9

P9OpenB

P9TagC

P10

P10WTag

Thanks for checking out my Christmas album.  I have a Valentine mini to post next — I hope it doesn’t take me two months to get it written up, like it did with this album.

Front6B

  • My Mind’s Eye Merry & Bright paper collection
  • Basis 80# cardstock
  • So Much Scrap (etsy shop), All Hallow’s Eve tutorial
  • Tim Holtz dies: Snowflake Rosette and Tag & Tie
  • Memory Box ornament and bow dies
  • Spellbinders Layered Poinsettia die
  • Lindy’s Stamp Gang embossing powder
  • EK Success Bracket edger punch
  • We R Memory Keeps Envelope Punch Board
  • Zutter Bow-It-All
  • Martha Stewart pearl paint
  • Cuttlebug

It’s A Stamped Image Tag Swap 2


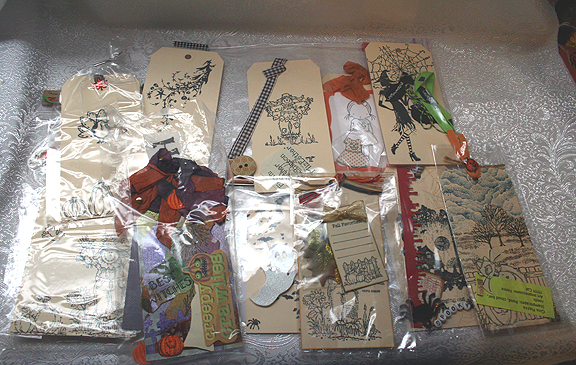
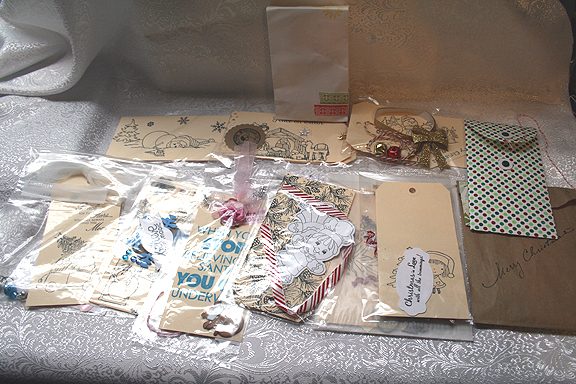
Sis on the Cricut Message Board held her second stamped tag swap and I was able to join in a swap for the first time.  I just received my package with all the tags and had to share all the goodness in that box.

Each participant made 12 Fall/Halloween tags and 12 Christmas/Winter tags, plus one tag for our secret swap partner.  The 24 tags were to have a stamped image and at least one embellishment.  For the secret tag we got to go all out and decorate it.

First I want to share pictures of all the stamped tags, each one bagged with the name of the sender and embellishments inside.

AllTags

AllTags2

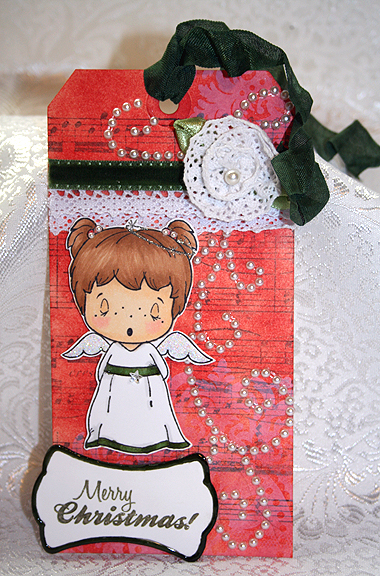
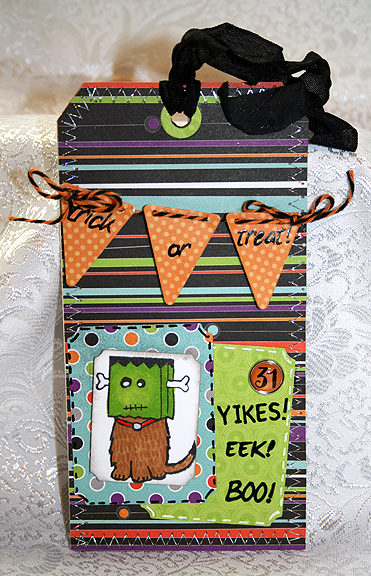
My secret swap partner was Maria and I received two beautiful tags from her.  She said she couldn’t decide between Christmas and Halloween, so she made both.  I am sure glad she couldn’t make up her mind!  She put so much detail into both tags.

ChristmasMaria

HalloweenMaria

Thank you, Maria — I love both of my tags!!

I will take pictures of all the other tags individually and post them soon.  Right now I am working on my first mini album for another swap and need to finish it so I can get it in the mail.

Thanks to Sis for a wonderful swap — I had a lot of fun!!

Window Card Using Cricut Creative Cards

There is going to be a new Cricut cartridge available on February 21, 2013 and it is called Creative Cards.   For one week only, from February 14-20, there are seven cards and envelopes from this cartridge available to use for free in Cricut Craft Room.  I was  happy I found time to try one of these cuts — I chose to make the window card.

I really like this card, so much so that I will surely purchase Creative Cards.  I think the window card is called a tri-fold card.  I like this because the inside of the card, where I will write my greeting, is not visible through the window.

A

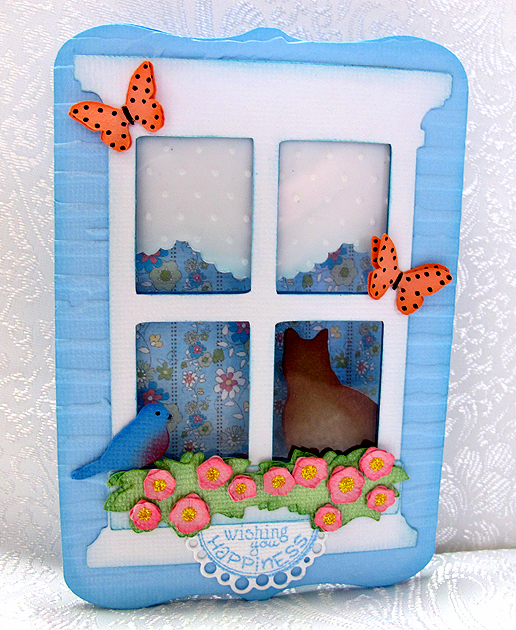
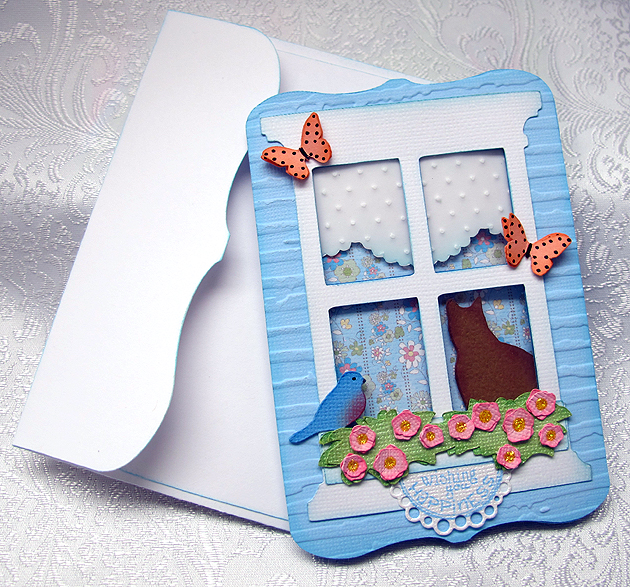
I made my card using spring colors and the first thing I did was decide what paper was going to show through the window.  I wanted something that looked like wallpaper, so it would look like the inside of a house.  I looked through my Imagine cartridges and found a striped print I liked on the Blossom cartridge.  After picking out my wallpaper, I decided my card would be blue.  All the small pieces were cut from scraps.

The card is cut at 5″ and the finished size is about 3.5″ x 5″.  I cut an extra front panel and ran it through the Cuttlebug using the Distressed Stripes embossing folder so that it would look like siding on a house.  I cut a piece of clear acetate and adhered it between the two front pieces to give the appearance of glass.

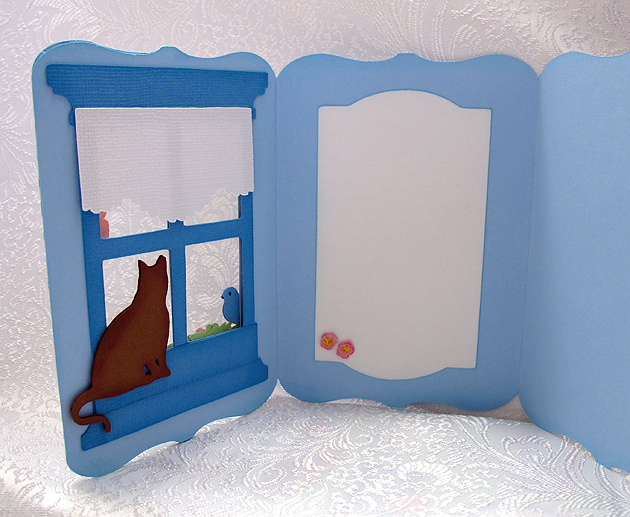
The curtain is a piece of vellum run through the Cuttlebug using the Swiss Dots folder, backed by a piece of white cardstock.  The outside window and flower box are white.  I cut an extra window in a darker blue and used it on the inside because I wanted a finished look in there too.

Inside2

The bird and butterflies are from Creative Cards and both were cut at 2.5″.  The only other cartridge I used was A Child’s Year to cut the silhouette of the cat, which was cut at 2″.  I inked and chalked all the pieces before assembling the card.  I used Stickles for the centers of the flowers.

Card6

The sentiment below the flower box is from Whimsy Stamps and it is from their Celebration Circle Pennants set.  I cut it out using the matching die.  This was my first time using both the stamps and die, and I am very happy with how it turned out.

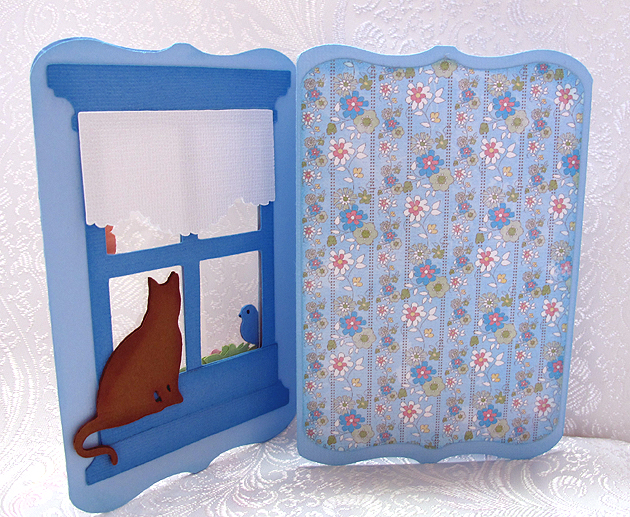
On the inside of the card, I added a white mat to write on.   It is the inside of the window from the card cut — I just hid the outline for the card and cut only the window.  I embellished it with a couple of the same flowers from the window box on the front.

Inside

The last step was making the envelope, and that turned out to be an easy task.  I simply cut the envelope at the same size I cut the card, which was 5″.  I scored along the two side flaps and then at both the top and bottom.  I folded at the score marks and then inked all the edges.  I glued the bottom to the side flaps and the envelope was done.  I’ll seal the top flap when I send the card.

Envelope


  • Cricut cartridges:  Creative Cards, Imagine Blossom, A Child’s Year
  • Ink & Chalk
  • Whimsy Stamps
  • Stickles


Pull the Udder One, You’re How Old?

What a stressful weekend — and we found out the hard way that stress can have an adverse effect on dogs too.  About two weeks ago we found an abandoned kitten in our backyard, and it had a cold.  We started feeding it and even got antibiotics from the vet to give it.  We also started contacting every cat rescue organization in our area and always got the same answer — they could not take in any more cats.

Yesterday around noon we took Fifi, our 10 year old rescue Pomeranian/Chihuahua mix, outside.  She does not like cats but we thought she had been tolerating the kitten being in the yard.  The kitten was becoming tame and yesterday it came up to Fifi and started wrapping itself around her.  I could instantly see that Fifi was stressing out.

We knew something was amiss because Fifi had been having some digestive issues.  Seeing her reaction to the cat, I was sure it was coming from stress.  After that incident, Fifi refused to go back in the backyard.  She would only go out in the front yard, which requires us taking her out on a leash.

When it came time for Fifi to eat, she did not finish her dinner.  We started keeping a close eye on her.  About an hour later she threw up.  Around 1 a.m. we knew something was seriously wrong so we took her to an emergency animal clinic.  Fifi had intestinal bleeding and a temperature of 105 (normal for dogs can be up to 102).   They started her on an IV, antibiotics and gave her some medication for her stomach.

The dr. said it is not uncommon for small dogs to get so stressed out that it causes intestinal bleeding.  We were able to talk to our regular vet today (even though it is Sunday) and she suggested we have the cat out of the yard when Fifi comes home.  We are hoping we get to bring her home around 7 p.m. tonight.

Luckily the animal shelter is open today and we planned on loading up the poor kitten and taking it in.  Steve called a rescue lady that he had talked with yesterday (before Fifi got so bad) and when she found out we were taking it to a shelter she came over and picked up the kitten.

So the kitten stressor is gone and we hope Fifi will come home and be able to recover completely.  I will be taking her to see her own vet tomorrow and hopefully gain some insight to keep this from happening again.  This has been such a huge ordeal on the whole family — we were trying so hard to find the kitten a home.  I had no idea we were harming our dog in the process.  I so wish everyone would spay and neuter their pets.

OK, now on to my card.  I was able to put this together but wasn’t sure I would get it posted in time for the challenge I am entering it in.  Luckily I made it with a few hours to spare.

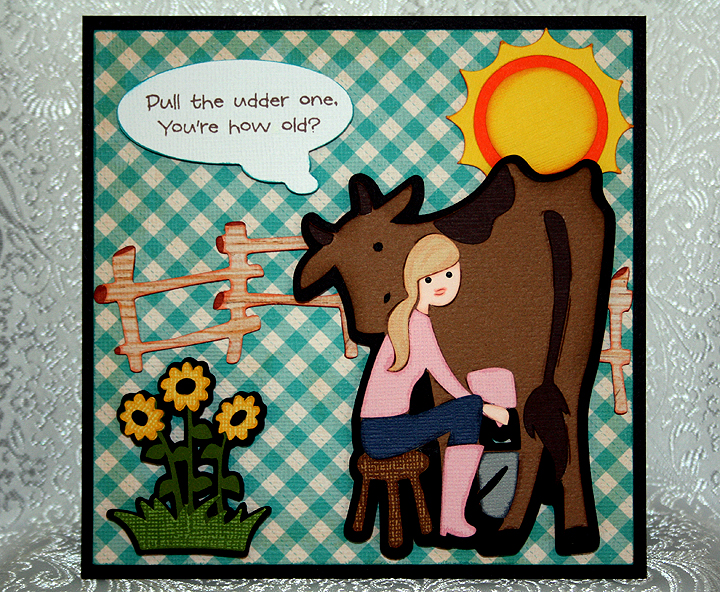
I made this birthday card for the On the Farm Challenge at Bitten by the Bug 2, which requires you to use any farm animal cut from any Cricut cartridge.  I selected the girl milking the cow from the Country Life cartridge.   My main reason for choosing this cut was that I had a sentiment stamp that I thought would be perfect with it.  The sentiment is from a set by Elzybell, who sadly is no longer making them.

I printed the checked background paper on my Imagine, using the Best Friends cartridge.  The fence and sun are from Pooh & Friends.  I printed the wood design on the fence, again with my Imagine, using the Snapshot: Nature cartridge. The girl milking the cow and the sunflowers are from the Country Life cartridge.  The thought balloon with the sentiment is from Cuttin’ Up.  All cuts, with the exception of those printed on the Imagine, were made using scrap cardstock. The girl and cow, sentiment and the flowers are popped up using foam dots.

And to show I learned something from this challenge, let me tell you about my cow.  She is a Brown Swiss.  The breed originated in the mountains of northeast Switzerland and was declared a dairy breed in the United States in 1906.  I’m not sure that the dark brown marking on her back is accurate, but if not then my Brown Swiss has a dark chocolate beauty mark on her.

After seeing the card assembled, it makes me wonder if there are many women working around cows who wear pink boots!  Well, my milk maid likes her stylish pink boots.

For the inside of the card, I printed another square of checked paper on my Imagine and added some sunflowers to the lower corner.

  • Cricut cartridges:  Best Friends (Imagine), Country Life, Cuttin’ Up, Pooh & Friends, Snapshot: Nature (Imagine)
  • Elzybells stamps

Ice Cream Shop Card for Cricut Circle Weekly Challenge


Weekly Challenge #33 over at the Cricut Circle Blog is called the Sweet Summertime Challenge.  You have to incorporate the shape of your favorite summertime treat and use a stamp somewhere on your project.

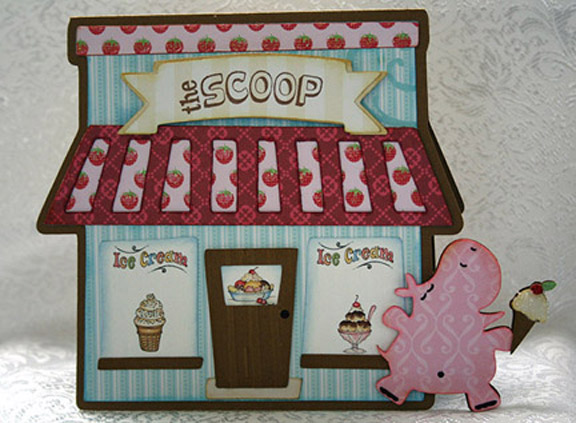
My summertime treat is easy — it’s the same treat I love all year long — ice cream!!  That being said, I knew right away what my card was going to have on it.  But I decided that I would not only include an ice cream cone but also the ice cream shop.

The lastest exclusive cartridge for Cricut Circle members is Pop-Up Neighborhood.  I was looking through the handbook and really liked some of the buildings.  While I didn’t use the pop-up feature on this card, I did take the bakery and turned it into an ice cream shop.

In Design Studio, I laid out two of the bakery shadow shapes and welded them together at the top.   I remembered the cute little hippo from Birthday Bash, who is blissfully running with her ice cream cone, and knew I wanted her on my card too.  So I laid out the hippo shape onto my base and welded that also.

I cut the shapes from the Sweet Stack by Die Cuts With A View.  The solid color cardstock is from Bazzill.  I used just the two cartridges — Birthday Bash and Pop-Up Neighborhood.   Oops, I just remembered a third cartridge that I used — the Lite cartridge Twinkle Toes.  I cut the banner for the shop name from it.

For the windows on my ice cream shop, I used graphics from Provo Craft — from their pccrafter.com site.  I thought they were perfect with my design.  I used a stamp to do the name of the shop.  I found a clear stamp in a set that I bought from K & Company that said “The Scoop” and when I saw it I knew that would be the name.

I used the Cuttlebug on the front door, the Distressed Stripes folder, and also on the ice cream cone, the Mesh Texture folder.  I needed something with a small pattern because the ice cream cone on the front of the card is quite small and this folder was great.  It gives the look of a waffle cone.  I used coarse glitter on the ice cream itself and red Stickles for the cherry on top.

Front3

This is a happy and fun creation and when I look at my card I can’t help but think of a book Erin had as a child.  It was called Yummers! and featured Miss Emily (a pig) and Eugene (a turtle).  When I look at the pink hippo, she just looks like she is running along thinking, yummers!!

The patterned paper on the inside of the card is from daisyd’s.  I made another ice cream cone, this time a little larger, to adhere to a corner.

  • Cricut Design Studio
  • Cricut cartridges:  Birthday Bash, Pop-Up Neighborhood, Twinkle Toes
  • Cuttlebug folders:  Distressed Stripes and Mesh Texture
  • DCWV — Sweet Stack
  • Bazzill solid cardstock
  • Coarse glitter
  • Red Stickles

Vintage Birthday Card for Cricut Circle Blog’s Monthly Challenge


Here I am, getting another project submitted with just a few hours to spare.  I guess I work better with deadlines closing in on me, although I do not care for the stress.  But who can I blame for procrastinating?  Yep, no one but me!

I decided to make a birthday card for my niece and this is my first time trying to make something that looks vintage.  I love the look of vintage but didn’t know how well I would do trying to create it.  I am happy with how it turned out, especially for a first try.

The paper I chose is the reason I went for the vintage look.  I picked up a pad of paper by Bo Bunny when I was shopping last week.  It is the Gabrielle Collection and there are some beautiful designs in it. 

The monthly challenge for May at the Cricut Circle is the Tic Tac Toe Challenge.  The object is to pick three prompts in a row from a tic tac toe grid and to include at least two Cricut cuts.

I chose a diagnoal row, going from the bottom left to the right top — which consisted of:  use a cut of a flower shape, use a ruffle, and use some buttons.

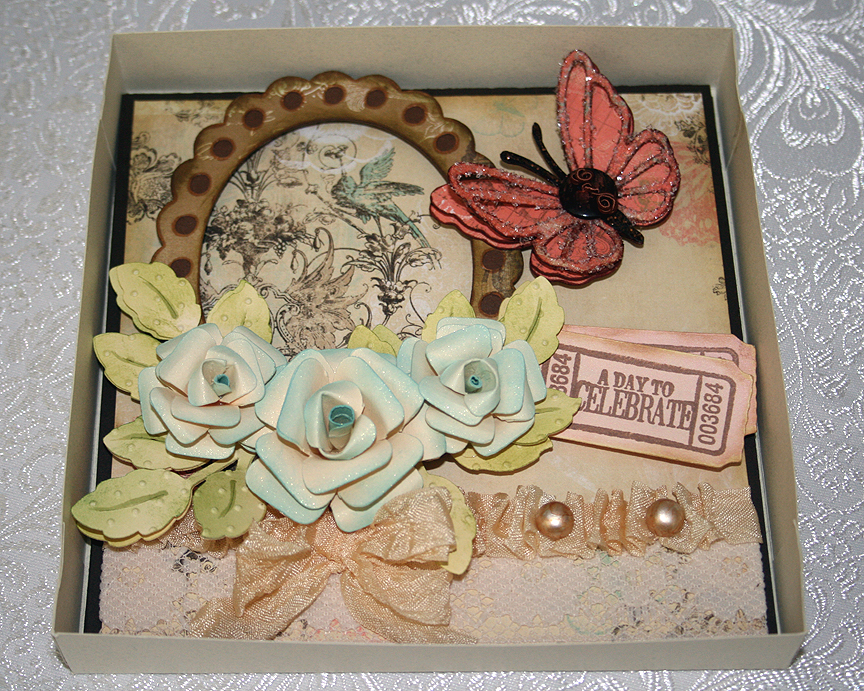
Because the paper is so pretty, I decided to use a frame around one of the designs.  I cut the frame from the Elegant Edges Cricut cartridge.  I made my ruffle from a piece of seam binding and laid down a piece of lace on the paper before adding the ruffle.  The pearls on the ruffle are actually white buttons that I colored with my Copics.  I cut the shanks off the button before gluing them on the ruffle.

The flowers were the most time-consuming part of my card.  I cut them out of plain off-white cardstock using my Accent Essentials cartridge.  I inked all the edges and then formed the cuts into roses.  I sprayed them with Glimmer Mist — sure wish the sparkle showed up in the pictures. 

I cut the leaves from the same off-white cardstock using the Picturesque cartridge, inked them green and then ran them through my Cuttlebug using the Swiss Dots folder.  The butterfly is from the Martha Stewart Elegant Cake Art cartridge.  I found a button in my stash that matched the butterfly beautifully.  I added some Memory Thread to the button and glued it on the body of the butterfly.  On the lacy layer of the butterfly, I added some sparkle using Glossy Accents and Diamond Dust.  I also used Distress Stickles on its body.

I cut some tickets using Wall Decor & More and inked them a light coral color.  I cut the tickets at 2″ and they fit the stamp set perfectly.  I then stamped them with a stamp set from Autumn Leaves called Ticketed. 

The inside of the card features a different piece of the Bo Bunny paper and another ticket.

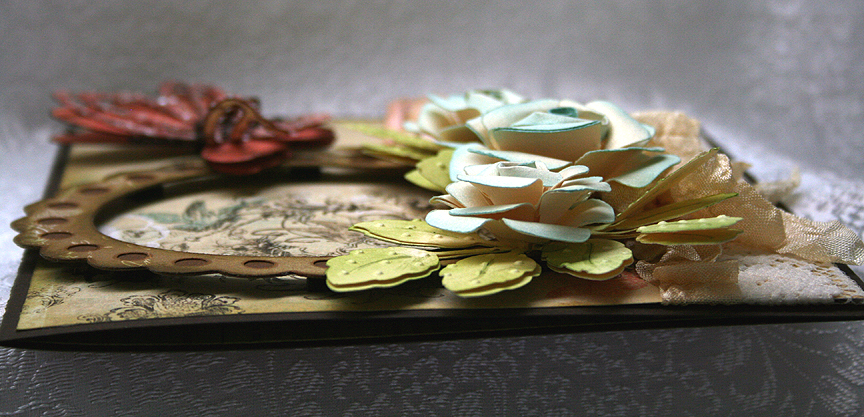
I used lots of foam dots on this card.  Here is a photo showing a side view so you can get an idea of the dimension that this card has.

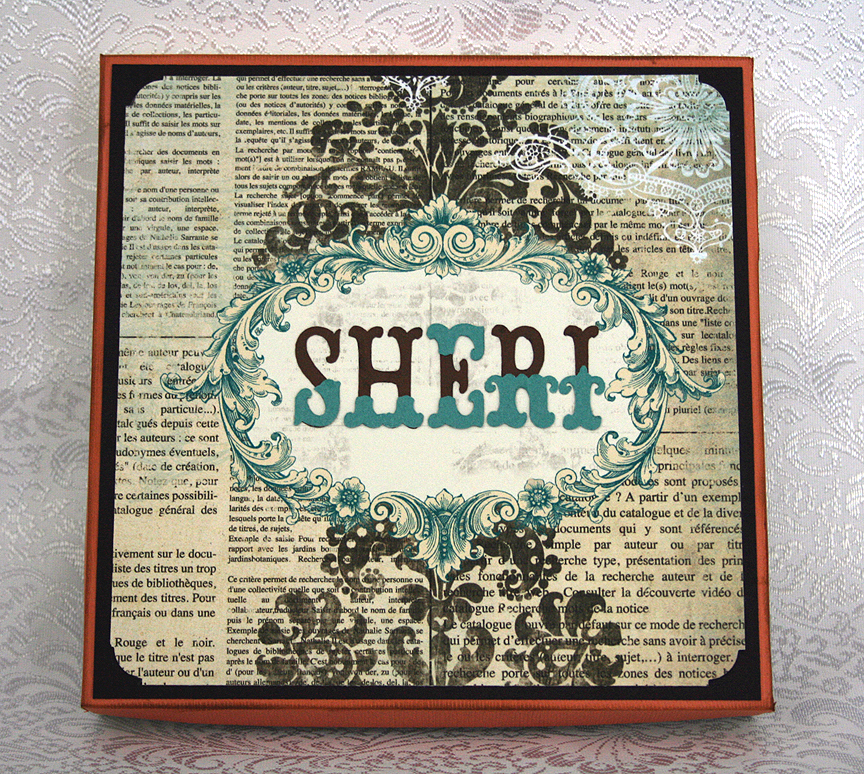
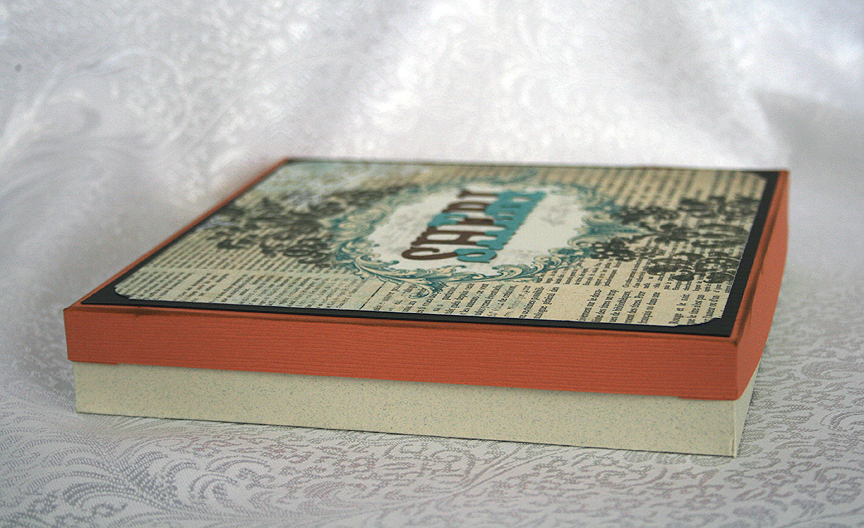
Since I can’t put this card into a normal envelope, I made a box to hold it.  But I need to take a picture of the box.  I will post the picture once I take it. 

I’m back with some pics of the box.  I ended up adding my niece’s name to the top of the box, which I cut from Storybook.


  • Bo Bunny – Gabrielle Collection
  • Cricut cartridges used:  Accent Essentials, Elegant Edges, Martha Stewart Elegant Cake Art, Picturesque, Wall Decor & More
  • Cuttlebug folder – Swiss Dots
  • Glimmer Mist
  • Seam binding
  • Stickles
  • Autumn Leaves stamps – Ticketed
  • DMC Memory Thread
  • Glossy Accents
  • Diamond Dust
  • Buttons from stash

Up On The Wooftop for Jitterbuggin’ Challenge – Here Comes Santa Claus!

 Ho, ho, ho!
Who wouldn’t go!
Ho, ho, ho!
Who wouldn’t go!
Up on the rooftop
Click, click, click
Down thru the chimney with
Good Saint Nick

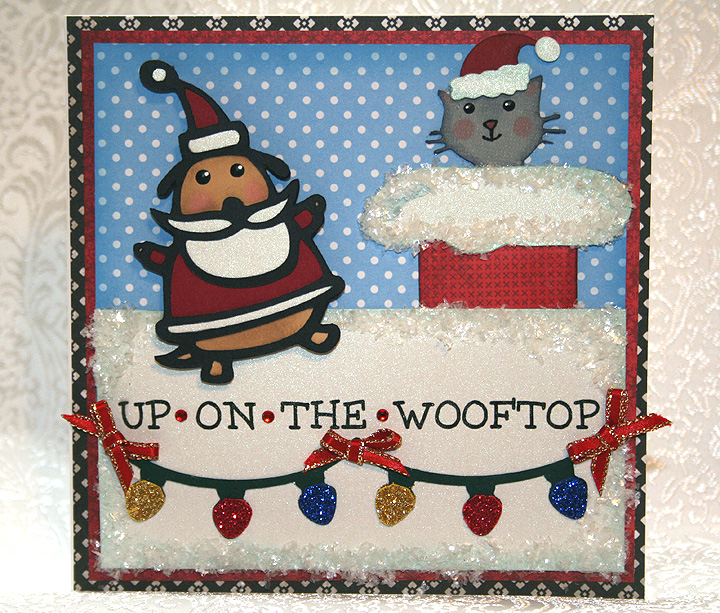
The above chorus is the inspiration for this card.  I haven’t made a card in so long that I finally took a little time and came up with this card for this week’s challenge at Jitterbuggin.  Now I have to put all the papercrafting supplies away and get back to embroidering. 

I don’t know why, but this card seemed to take forever to make.  I’m glad I didn’t keep track of the hours I have in it — it would probably be embarrassing to admit I took that long.  

The challenge was fairly easy — no sketch to follow or any requirements other than to use a Santa on your card.  I sure hope Santa Paws counts because he is certainly busy up on the wooftop with his little kitty helper.

I laid the card out in Design Studio and used a house from the Cricut Lite cartridge Jolly Holidays for the roof.  The house is over 10″, but I laid it on the mat so that the house part was off the mat and the only part that cut was the roof.  I wanted the roof to fill the entire front of my card, which is 5.5″ square.  The house design I used has Santa’s feet hanging out of the chimney, but I trimmed them off for this card.  I also used the hide contour feature of Design Studio to hide the footprints in the snow that are on this particular house. 

The patterned paper is all from various DCWV paper stacks and the solid white cardstock on the front is Pearls from Core’dinations. 

Santa Paws is cut from Paper Pups.  The cat is from ZooBalloo and his hat is from Jolly Holidays.  I printed the sentiment directly on the Pearls cardstock, leaving an extra space between the words so I could add a small rhinestone.  The strands of lights are from Create a Critter and I glittered the bulbs.  The snow on the roof is from Martha Stewart.  I added bows from 1/8″ ribbon to give a festive look to the lights.

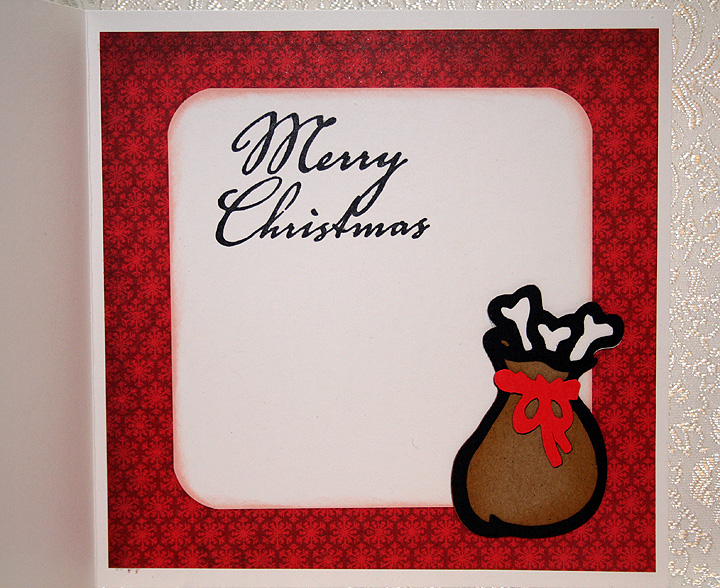
I cut Santa’s sack from Paper Pups and put it on the inside of the card.  The sentiment is a $1 stamp that I got at Michaels. 

  • Cricut Design Studio
  • Cricut cartridges:  Create a Critter, Jolly Holidays, Paper Pups, Zooballoo
  • DCWV — various paper stacks
  • Core’dinations Pearl cardstock
  • Martha Stewart Snow
  • Glitter, rhinestones, rubber stamp — all from Michaels $1 bins
  • Ribbon from stash