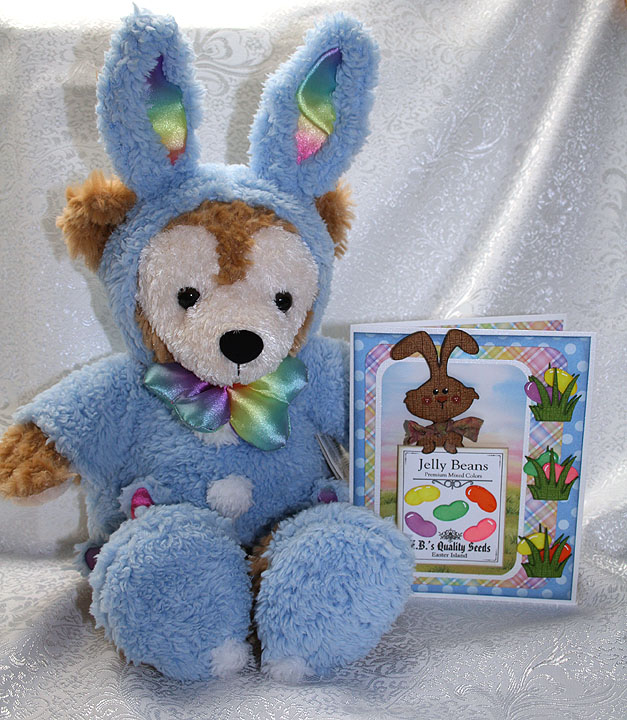
Easter Bunny Inside His Jelly Bean Seed Packet Card


This was a fun card to make.  I wanted to make an Easter card so I could enter it in Jitterbuggin’s Spring Fling contest.  We had extra time to complete this challenge, but I waited until the last minute and am getting this in just under the wire.  It took a while for me to take my concept and come up with a finished project.   This time the challenge is open to voting, so that part is new to me. 

I was inspired by the movie Hop — I loved it and can’t wait for it to come out on DVD.  But my little bunny has to use seeds for his beans as he does not have the talent EB does when it comes to producing jelly beans.

I was a member of PC Hug Club for many years and received some very cute clip art each month.  Because I have such a large collection and never use it, I decided I was going to print my own paper to make this card.  All the background prints are images that I printed on an inkjet printer.  I really like using the clip art because I can resize it — so a 12″ x 12″ background can be reduced to 6″ x 6″ to make a card.  The size of the print becomes smaller too, so it is perfect for cardmaking. 

Fantabulous Cricut has a challenge called Do the Bunny Hop! this week that I will enter this card in.  You have to create a project using a rabbit or chick.

Also, at Cooking With Cricut, their challenge is called Cash in Your Stash and you are supposed to use things in your stash — items that you have had for at least a year.  My clip art collection certainly qualifies, and I also used scraps that I have had for ages to make the bunny and the grass.

I made the seed packet in Adobe Illustrator.  I am such a beginner using that program and was thrilled when I actually made something with it.  I made it a complete packet so I could slip the bunny inside. 

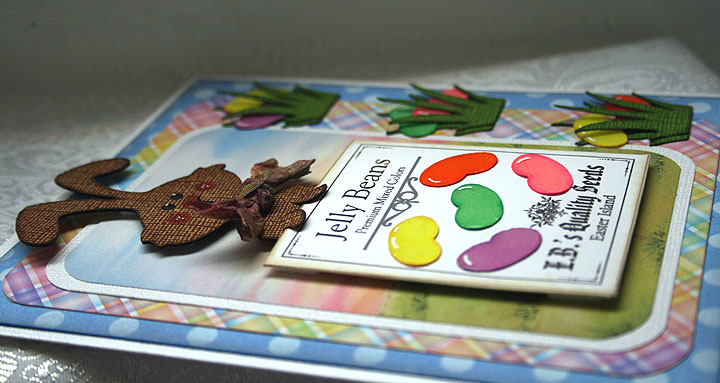
Making the jelly beans was probably the most time-consuming aspect of the card.  I first did an online search to see if I could find a Cricut cut file for a jelly bean as I was pretty sure there were no jelly beans on any of the Cricut cartridges.  I found a post where someone said they made a jelly bean using the George and Basic Shapes cartridge, using the crescent and heart shapes.    I used the same shapes and laid the beans out in Design Studio.  I cut the jelly beans from white cardstock and then colored them with Copic markers.  I applied two layers of Glossy Accents to give the beans their shine. 

The bunny is from the Paper Doll Dress Up cartridge — he’s the bunny from the magician’s costume.  I made a bow for him from seam binding that I spritzed with Glimmer Mist.  The grass is from Create a Critter.  I cut two layers of the grass for each clump so the jelly beans could be seen growing between the layers.  After I placed the bunny inside the seed packet, I pop dotted the entire piece on the front of the card.

Side view showing some of the dimension of the card.

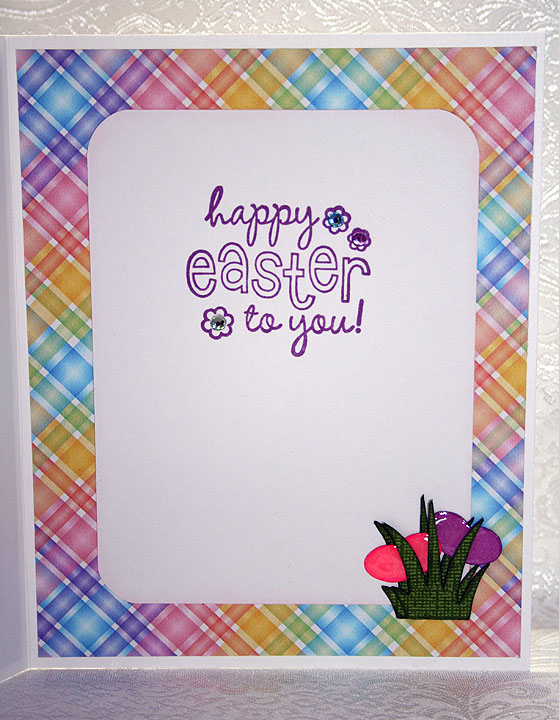
For the inside of the card, I used a stamp from a clear set that I picked up at a scrapbooking expo several months ago.  It came with the rhinestones that I put inside the stamped flowers.  I added another clump of grass with some more jelly beans.


  • Cricut cartridges:  George & Basic Shapes, Create a Critter, Paper Doll Dress Up
  • Cricut Design Studio
  • PC Hug Club clip art
  • Copic markers
  • Glimmer Mist
  • Rayon seam binding

Challenges:

Jitterbuggin — Follow the sketch, make an Easter card and use a Cricut cut somewhere on your card.

Cooking With Cricut — Use stuff in your stash, items that you have had for a year or more.

Fantabulous Cricut — Use a bunny or chick in your project.
Happy Birthday Cupcake Card

Mom and I decided on Monday that we’d try to enter the Jitterbuggin’ sketch challenge this week to motivate me to craft more — and put my now organized room to use!   This has been a busy week work-wise as I just finished up four days of writing non-stop for a special charity travel blogging event that was taking place.  I finished off my last post this morning and while I am exhausted, I am happy I participated.

Unfortunately, I didn’t leave myself much time to get a card done for the challenge so I spent the entire day crafting.  Since my birthday is rolling around again in two weeks, I joked with my husband that since we don’t really know where to get English birthday cards here, I will just make one for myself!

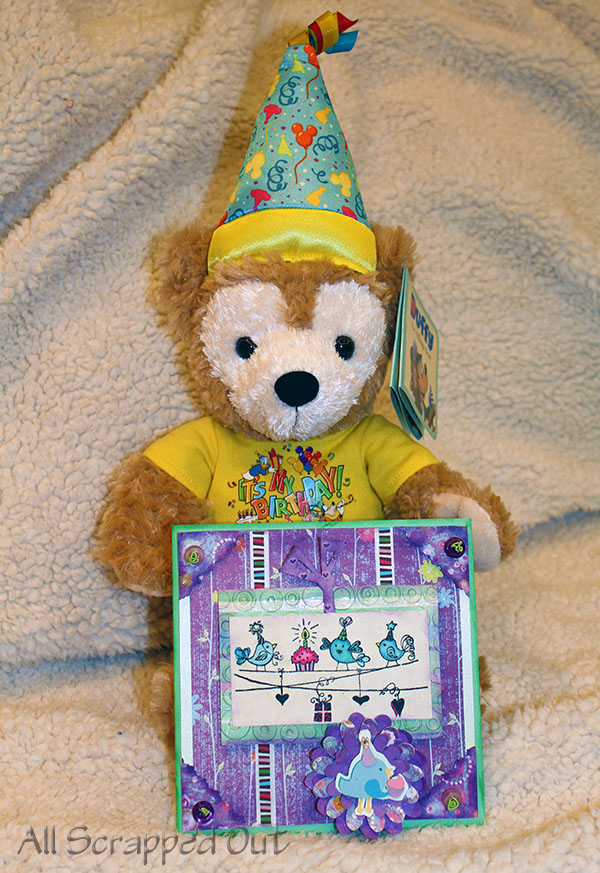
My Birthday Card

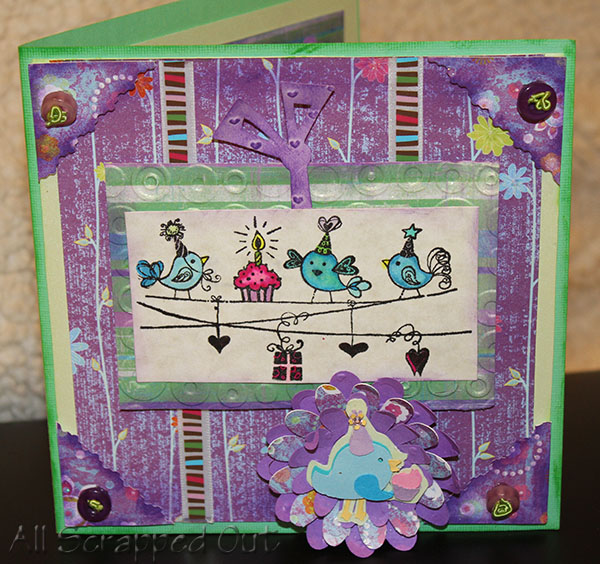
Making my own birthday card gave me an opportunity to use another recently purchased Taiwan stamp.  I love these three birds as they seem to coordinate with the 3 Birds on Parade Cricut cartridge!  I colored the birds with Copic Sketch Markers (well, tried anyways).

Close up detail of the Bday card

All the papers for this card were loose stock that I must have picked up at Michael’s or Joann’s at some point.  I ended up using four Cricut cartridges to make all the cuts on this card — it’s been so long since I did this much cutting with the Cricut, it was almost like starting over.

For all the rectangles and squares, I used Plantin Schoolbook again.  On the corners, I used wavy scissors to give one edge some contour.  The green rectangle “birthday present” is embossed with the Cuttlebug.  On each of the corners, I added buttons and green memory thread.  The stripes on the card are made using one of the $1 ribbon spools from Michael’s.

The layered flower cuts at the bottom are from the Sweet Treats cartridge.  The bow on the present is cut from the Birthday Bash cartridge.  I embossed it and then used dark purple ink to make the hearts on the bow stand out.  The small bird with the cupcake in the flower is from 3 Birds on Parade.  I cut several layers of each and used foam dots to pop them up.

Inside of the Bday card

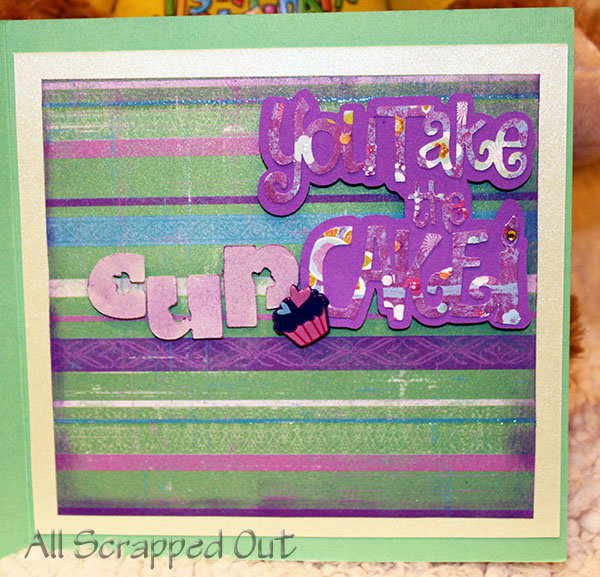
On the inside, the “You Take the Cake” is from 3 Birds on Parade as well.  I added the little birdie letters from 3 Birds on Parade to make it “cupcake”.  The cupcake brad is from Michael’s and is just glued on to the popped up letters.

Inside detail on the card

After completing it and sharing it with Mom on Skype, I found out about several more challenges I could enter with it!  For this card, I am entering:

Jitterbuggin’ — It’s Not Easy Being Green

Fantabulous Cricut – Challenge #52 – Happy Birthday

Cuttlebug Spot — Buttons…Buttons Everywhere

Jitterbuggin’ Challenge – Spring Butterfly Card

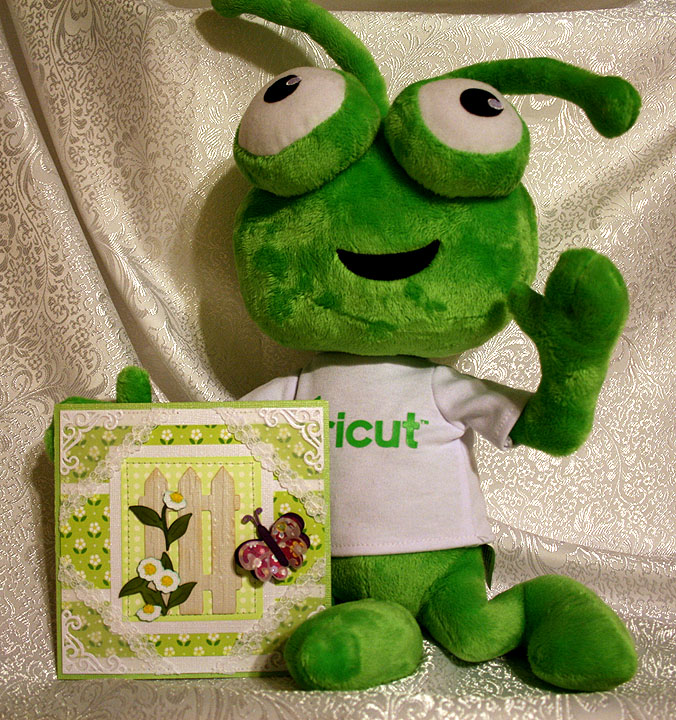
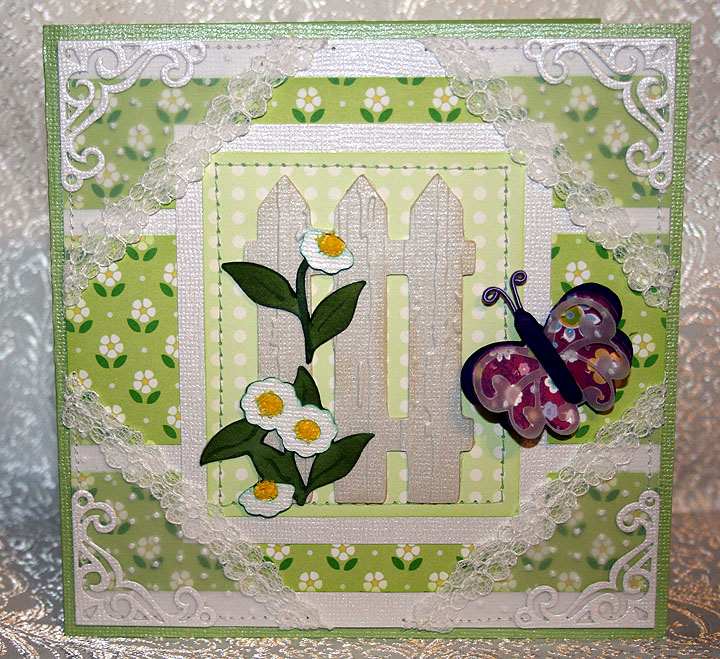
This week’s challenge over at Jitterbuggin’ is to follow the sketch, use green on your card and, of course, use your Cricut.  When I was planning this card in my head, it was going to be lavender.  But when I started picking out my paper, it suddenly became mostly green.  I wanted a card that looked like spring and when I saw this paper, I knew I wanted to go with daisies. 

I have sewn most of my life, and when Erin was young I made most of her clothes.  I loved making frilly dresses for her for Easter and dotted swiss was a favorite fabric.  The corners on my card are my papercrafting version of dotted swiss and lace. 

The daisy and dot print papers are from a pack by Martha Stewart that I got on clearance at Michaels some time ago.  The solid cardstock is Bazzill.  The corners are made from vellum and I ran them through my Cuttlebug using the Swiss Dots embossing folder.  I stitched some lace on the edge of the corners and then stitched the corners to the card.  I used my Cuttlebug again to cut some  fancy small corners out of white Bazzill that I glued in the uppermost part of the vellum corners.  The die I used for this is from a 4-pack called Vintage.

I used my Cricut and cut the fence and daisies from the Bloom Lite cartridge.  I cut everything out twice so I could layer them.  I ran the fence section through the Cuttlebug using the Distress Stripes folder so it would look like wood.  I inked the edges of all the cuts and used yellow Flower Soft in the center of the daisies.  The butterfly is from Graphically Speaking and I cut three layers, the top layer being vellum.  I used DMC Memory Thread for the antennae.  This was my first time using it and I love how easy it is to work with.  I pop-dotted the butterfly to the front of the card.

Close-up of front

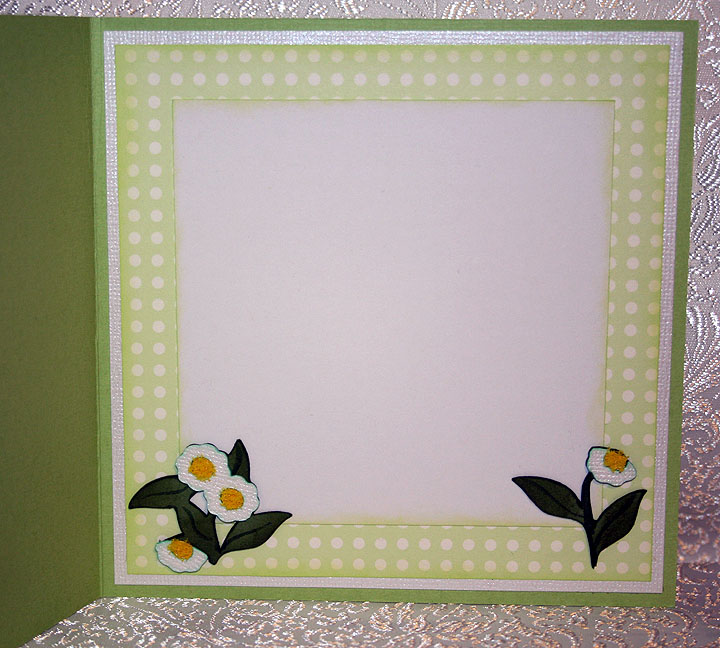
When I cut the flowers for the front of the card, I cut extras so I could use them inside. 

I found another challenge that my card qualifies for, so I am very excited.  It is always nice when you can bundle challenges together.  This newest challenge is at the Crafty Creations Challenge Blog and is called In Stitches.  Your project has to include some stitching. 

  • Bazzill cardstock
  • Martha Stewart paper
  • Vellum
  • Cricut Design Studio
  • Cricut cartridges:  Bloom Lite and Graphically Speaking
  • Cuttlebug embossing folders:  Distressed Stripes and Swiss Dots
  • Cuttlebug Vintage die
  • Flower Soft
  • DMC Memory Thread

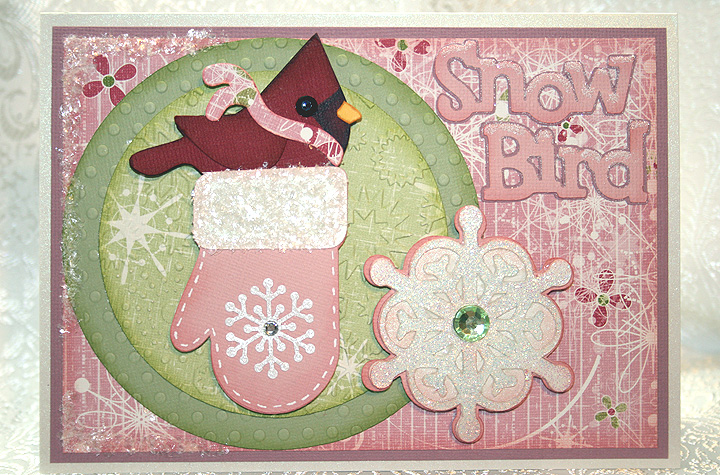
Snow Bird


Here’s another card that I made for several challenges and I had a lot of fun making it.  Unfortunately it will be my last card for a while.  The next couple of weeks are going to be filled with embroidery and trade shows.  CHA is coming up at the end of the month and Erin is flying home from Taiwan to attend with me. 

There’s lots of sparkle on this card as the little snow bird makes his winter home in a warm mitten.  The solid cardstock is from Bazzill and the patterned paper is called Snowflake Waltz and is from Daisy Bucket Designs.

I wanted to do a cardinal for my bird, but I wanted a chubby little guy and I couldn’t find one on any of my Cricut cartridges.  I found a cute bird on Straight from the Nest and decided to use him.  As I was laying out the card in Design Studio, I kept trying to figure out how to make the bird into a cardinal shape.  My solution was to use a lower case “v” from the Mickey Font cartridge.  I turned it upside down and welded it to the top of the bird’s head.  I used Copic markers to color the dark spot on his face.  I’m pleased with how he came out.

The circles are cut from the George and Basic Shapes cartridge and I used my Cuttlebug to emboss both of them.  The mitten is from Simply Charmed, the large snowflake is from Joys of the Season, “Snow Bird” is from Straight from the Nest, and the bird’s scarf is from 3 Birds on Parade. 

I added lots of bling to this card.  I heat embossed the large snowflake on the front using holographic embossing powder.  I put some fine snow on the sentiment using Martha Stewart glitter.  The coarser snow is also from Martha Stewart.  The small snowflake on the mitten is a Martha Stewart punch.  I added rhinestones to the centers of the snowflakes.

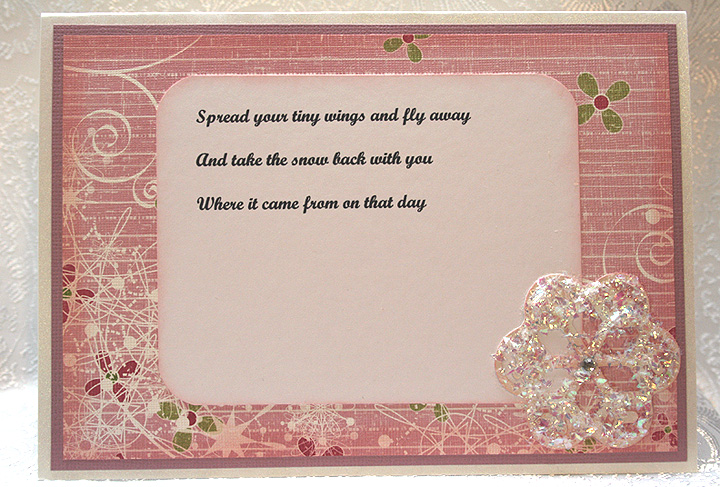
While I was working on this card, the song “Snowbird” by Anne Murray kept running through my head.  I printed part of the chorus and put it on the inside of the card.   The snowflake on the inside is from Joys of the Season.

 Here are the challenges I am entering and the requirements for each:

Jitterbuggin – For the Birds Challenge – follow the sketch, add a Cricut bird and use something pink.

Fantabulous Cricut – Challenge #42 Winter Warmies – create a project using some type of winter clothing or accessory.

Cooking With Cricut – Glittermania! – glitz up your project.

The Cuttlebug Spot – Inspired by a Song – find inspiration for your project in a song.

  • Bazzill cardstock
  • Designer paper – Snowflake Waltz from Daisy Bucket Designs
  • Cricut cartridges:  3 Birds on Parade, George and Basic Shapes, Joys of the Season, Mickey Font, Simply Charmed, and Straight from the Nest.
  • Cricut Design Studio
  • Cuttlebug
  • Copic markers
  • Ranger holographic embossing powder
  • Martha Stewart punch
  • Martha Stewart glitter
  • Rhinestones from stash


Bring It On — 1st Card of 2011!!


I haven’t posted in a quite a while.  I’m still busy with the business, so that is a good thing.  I decided to take a little down time and make a card.  The nice thing is that this card fits so many challenges that are starting off the new year. 

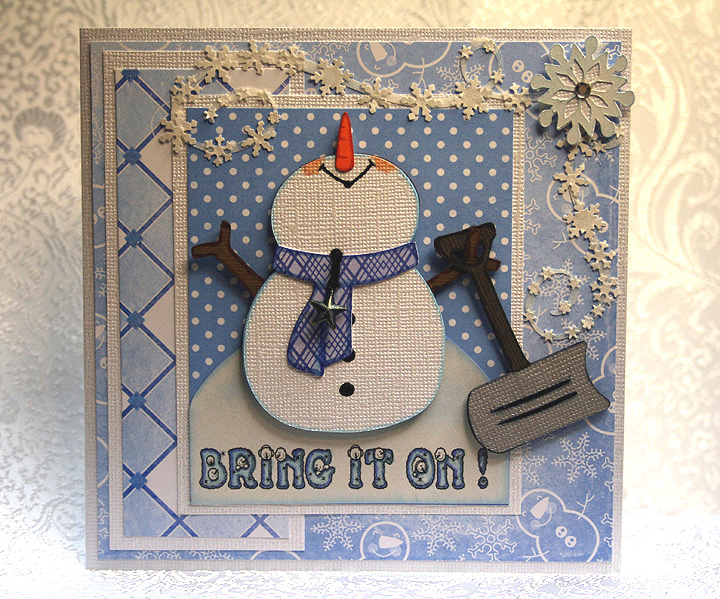
I made a whimsical snowman, who is looking up and telling Mother Nature to “bring it on!”  He is all prepared — he has his snow shovel at the ready.

The patterned paper is by Die Cuts With a View (DCWV) — from one of the holiday stacks that I picked up at Jo-Ann’s.  I cut the snowman with my Cricut using the Doodlecharms cartridge.  I used Design Studio to hide his face so I could move his nose to the top in order to have him looking up into the sky.  I sure hope this is what he looks like, and not some strange looking snowman/unicorn creature.

The snow shovel is cut from the Sesame Street Friends cartridge, the snowman’s scarf from 3 Birds on Parade, the large snowflakes from Accent Essentials, and the snow flurry swirls are from Calligraphy.  I printed the sentiment on the computer using a free font that I downloaded.  It has little snowmen faces peeking out of the letters.  I colored the letters using Copics.

I cut the flurry swirls from a transparency sheet (acetate) so they would be clear.  I then took some white paint and dabbed on them to give them a little opacity, but not too much.  I wanted them to remain in the background when I glued on all the small snowflakes, which I made using a Martha Stewart snowflake border punch.  I used the negative cuts (the part that usually gets thrown away).  Gluing those little snowflakes was a tedious job.

The finishing touches include a small metal star charm hanging from the snowman’s scarf and some rhinestones in the centers of the large snowflakes.  The charm was gold but I thought it looked too stark on the card, so I took my Copics and changed the color. 


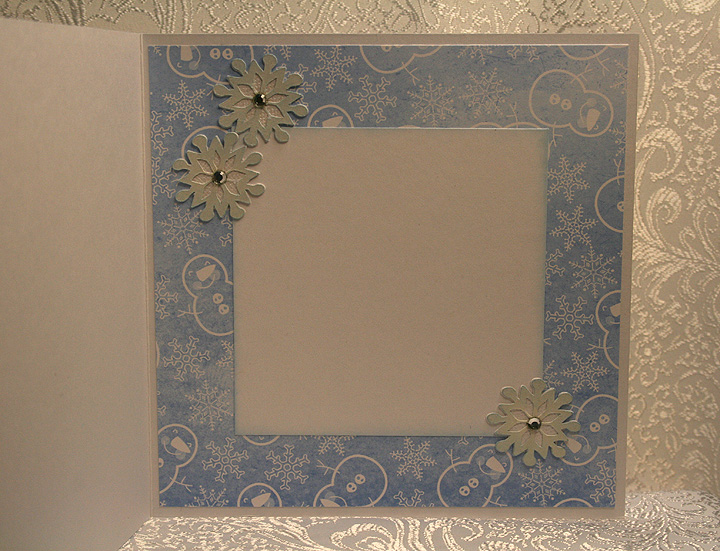
I placed three of the large snowflakes on the inside of the card:

Here are the challenges that I am entering :

Circle Blog Weekly Challenge #15:  Feeling Frosty!  The requirements are to use white paint, a snowflake and something metal.  I think I covered all of those bases with this card.

Jitterbuggin’ Challenge – Sketch 29 – Let It Snow!:  The requirements are to follow the sketch, use blue somewhere on the card, and include something snow related.

Fantabulous Cricut – Challenge Me Monday #41 – Snowy Delights:  The requirements are to create a project using snow or snowflakes.

Cooking With Cricut – Snow Fun!:  The requirement for this challenge is any project with snow or winter-time activities.

Made By Momo:  Make something with a snow theme.

My Sheri Crafts Challenge #39 – Winter:  What winter means to you. 

  • DCWV patterned paper
  • Cricut cartridges used:  Accent Essentials, 3 Birds on Parade, Calligraphy, Doodlecharms, and Sesame Street Friends
  • Clear acetate (transparency)
  • Martha Stewart snowflake border punch
  • Charm from stash
  • Rhinestones
  • Copics

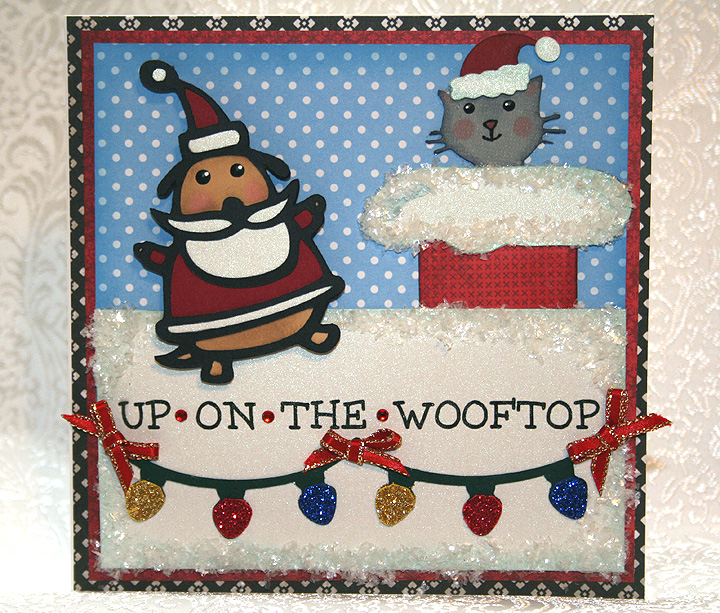
Up On The Wooftop for Jitterbuggin’ Challenge – Here Comes Santa Claus!

 Ho, ho, ho!
Who wouldn’t go!
Ho, ho, ho!
Who wouldn’t go!
Up on the rooftop
Click, click, click
Down thru the chimney with
Good Saint Nick

The above chorus is the inspiration for this card.  I haven’t made a card in so long that I finally took a little time and came up with this card for this week’s challenge at Jitterbuggin.  Now I have to put all the papercrafting supplies away and get back to embroidering. 

I don’t know why, but this card seemed to take forever to make.  I’m glad I didn’t keep track of the hours I have in it — it would probably be embarrassing to admit I took that long.  

The challenge was fairly easy — no sketch to follow or any requirements other than to use a Santa on your card.  I sure hope Santa Paws counts because he is certainly busy up on the wooftop with his little kitty helper.

I laid the card out in Design Studio and used a house from the Cricut Lite cartridge Jolly Holidays for the roof.  The house is over 10″, but I laid it on the mat so that the house part was off the mat and the only part that cut was the roof.  I wanted the roof to fill the entire front of my card, which is 5.5″ square.  The house design I used has Santa’s feet hanging out of the chimney, but I trimmed them off for this card.  I also used the hide contour feature of Design Studio to hide the footprints in the snow that are on this particular house. 

The patterned paper is all from various DCWV paper stacks and the solid white cardstock on the front is Pearls from Core’dinations. 

Santa Paws is cut from Paper Pups.  The cat is from ZooBalloo and his hat is from Jolly Holidays.  I printed the sentiment directly on the Pearls cardstock, leaving an extra space between the words so I could add a small rhinestone.  The strands of lights are from Create a Critter and I glittered the bulbs.  The snow on the roof is from Martha Stewart.  I added bows from 1/8″ ribbon to give a festive look to the lights.

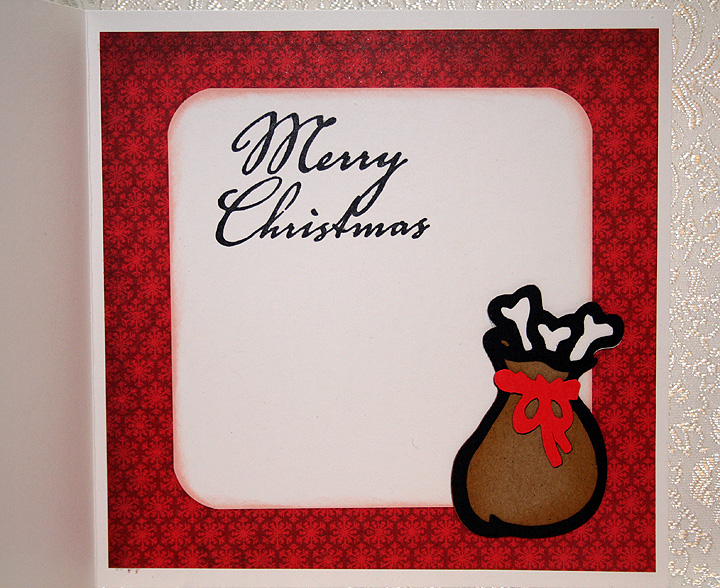
I cut Santa’s sack from Paper Pups and put it on the inside of the card.  The sentiment is a $1 stamp that I got at Michaels. 

  • Cricut Design Studio
  • Cricut cartridges:  Create a Critter, Jolly Holidays, Paper Pups, Zooballoo
  • DCWV — various paper stacks
  • Core’dinations Pearl cardstock
  • Martha Stewart Snow
  • Glitter, rhinestones, rubber stamp — all from Michaels $1 bins
  • Ribbon from stash

Jitterbuggin’ Gifts Galore Challenge and Fantabulous Cricut Ribbon Challenge


I haven’t been able to make many cards lately because this is my busy time of the year with the embroidery business.  I’ve had two machines running since Thanksgiving.  I’m taking a short break this weekend to go away with hubby to celebrate our 44th anniversay.  I wrapped up a couple of embroidery jobs on Tuesday and found time to make a card. 

I made this card to enter into two challenges.  At Jitterbuggin, Sherri asked us to make a card with a gift theme.  The sketch is not mandatory this week — we just have to add a bow and some bling — and, of course, use our Cricut.

At Fantabulous Cricut we have to use ribbon somewhere on our project and, again, have a Cricut cut on it.

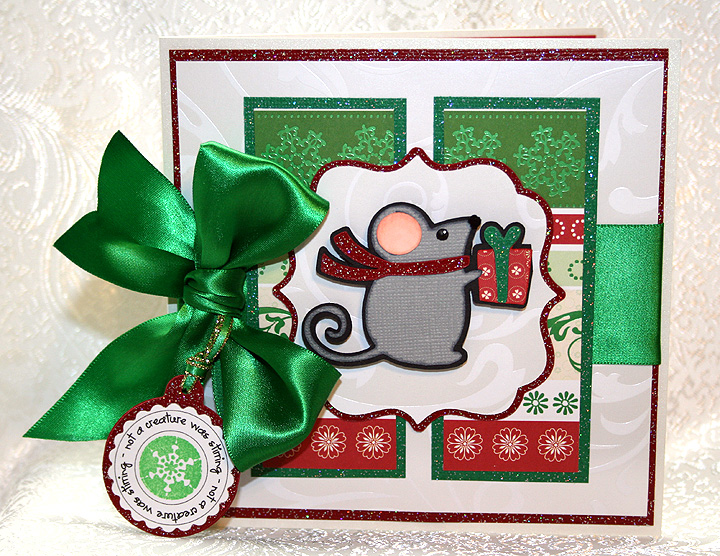
I made a card with a little mouse bearing a gift, which he wrapped up so prettily and tied with a bow.  The designer paper is Christmas Mint from SEI.  I used glitter cardstock from Core’dinations for my bling.  I am really happy with the way it cuts in the Cricut.

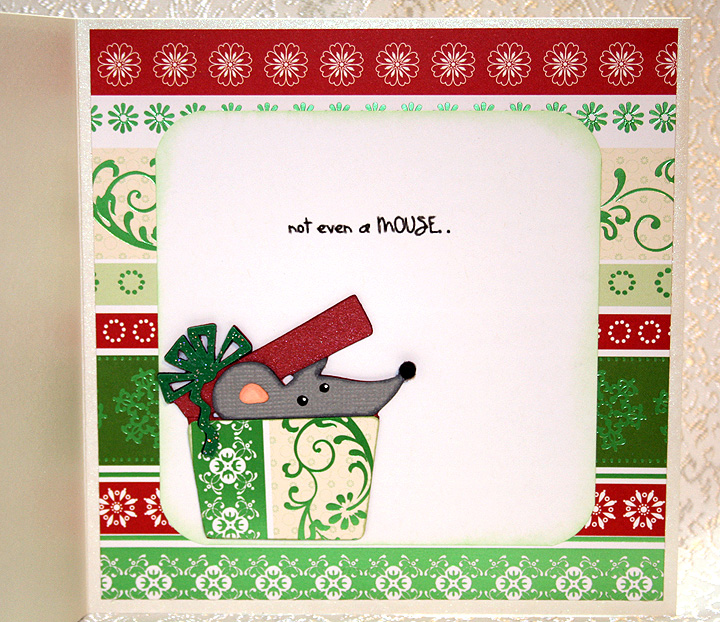
The little mouse is from the Winter Frolic Cricut cartridge.  The frame he is mounted on is from Lacy Labels Lite cartridge and I cut the tag from the Very Merry Tags cartridge.  The printing on the tag, “not a creature is stirring”, is a download I got from the Cutting Cafe.  I wanted something small and didn’t have time to try and put text on a circle myself, so I was happy to find the saying I wanted for a very reasonable price — just 99 cents.  The text on the inside of the card is also from this same download.  I cut out the text for the tag using my Cuttlebug and Nestabilities scalloped circles.

I cut the tag, the scarf, the bow on the present as well as mats from the glitter cardstock.  I found a piece of 1 1/2″ wide green satin ribbon in my stash and tied it around the middle of the card.  I attached the tag to the bow with a scrap of ribbon edged in metallic gold. 

The inside of the card has another little mouse and I cut this one from the new Birthday Bash cartridge.  When I laid out my card in Design Studio, I planned on putting this mouse on the front of the card and the mouse with the gift on the inside of the card.  But once I started cutting out the pieces and laying out the actual card, I decided to switch mice.  I thought the mouse carrying the gift looked better on the front of the card.  Oh, I almost forgot — for both mice I used very small pom poms for their noses. 

  • SEI Christmas Mint paper
  • Core’dinations glitter cardstock
  • Cricut cartridges:  Birthday Bash, Lacy Labels, Very Merry Tags and Winter Frolic
  • Cuttlebug
  • Spellbinders Nestabilities
  • Text for tag from Cutting Cafe
  • Ribbon and pom poms from stash

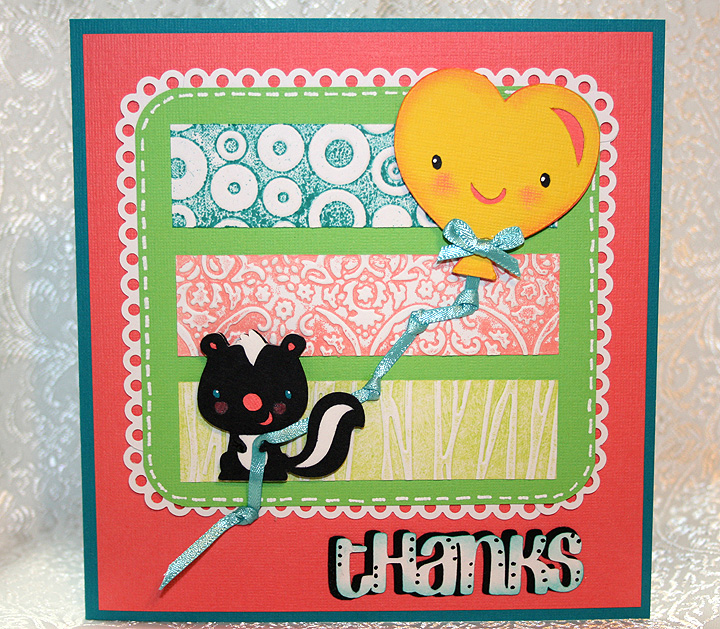
Jitterbuggin’ Challenge – Let’s Give Thanks! – Thanks From the Bottom of My Heart

The current challenge at Jitterbuggin’ is to follow the sketch, add a Cricut cut and emboss something. 

I’m not sure where my colors for this card came from — I must have been in a “bright” mood.  I recently received an order from Stampin’ Up and it was sitting in a box and I started pulling out colors.  All the colored cardstock is from Stampin Up’.

I embossed the three center sections using my Cuttlebug and the following folders:  Spots & Dots, Textile Texture and Forest Branches.  I inked each folder with a different color of ink and then ran white cardstock through the Cuttlebug.  The white scalloped trim around the center section is a Martha Stewart Punch Around the Page set called Scallop 3-Dot.  I used just the very top part of the punched piece — the top dot.  I had to piece it because my cardstock size was not the exact size to take advantage of the punch-around-the-page feature.

I used my Cricut to cut out the skunk from the Create a Critter cartridge.  I also cut the heart-shaped balloon from Create a Critter.  The “thanks” is cut from Don Juan.  I attached some ribbon to the ballon and then attached it to the skunk’s hand.  I added a bow to the ballon. 

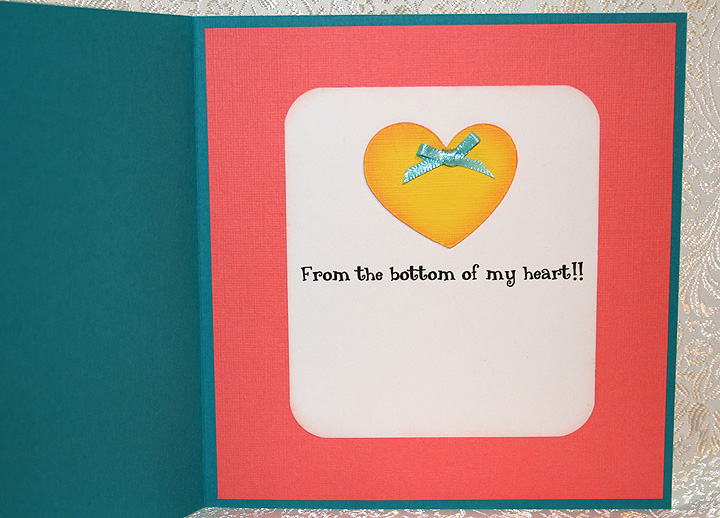
For the inside of the card, I cut another heart from Create a Critter.  I printed the sentiment on the computer.  I added another bow to the inside heart.

  • Stampin’ Up cardstock
  • Cricut cartridges:  Create a Critter and Don Juan
  • Cuttlebug folders:  Spots & Dots, Textile Texture and Forest Branches
  • Martha Stewart Scallop 3-Dot Punch Around the Page set
  • Ribbon from my stash