Christmas Mini Album for Cricut Circle Stocking Stuffer Swap

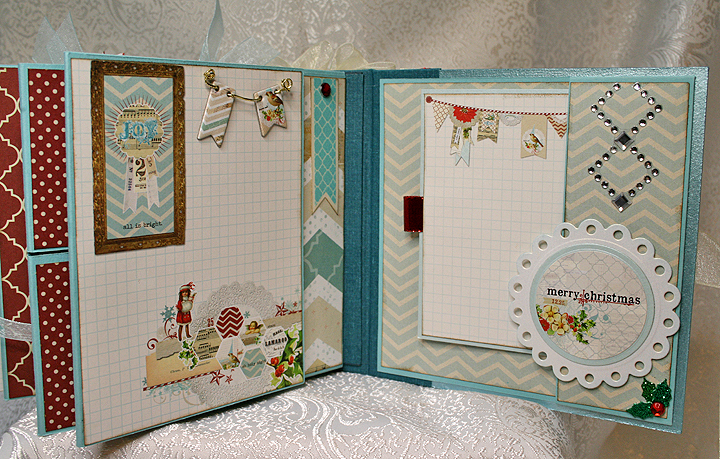
I participated in the Cricut Circle Stocking Stuffer Swap for the first time in 2013.  I figure it’s about time I posted the mini album I made to send to my partner, Sherry (Octoberbeauty).  I’ll warn you — there are lots of pictures.

This is the second mini album I’ve made and I again used a tutorial from Cathy, whose etsy shop is called So Much Scrap.   For this album I used her All Hallow’s Eve tutorial.  I really like her tutorials because they are very detailed and easy to follow.

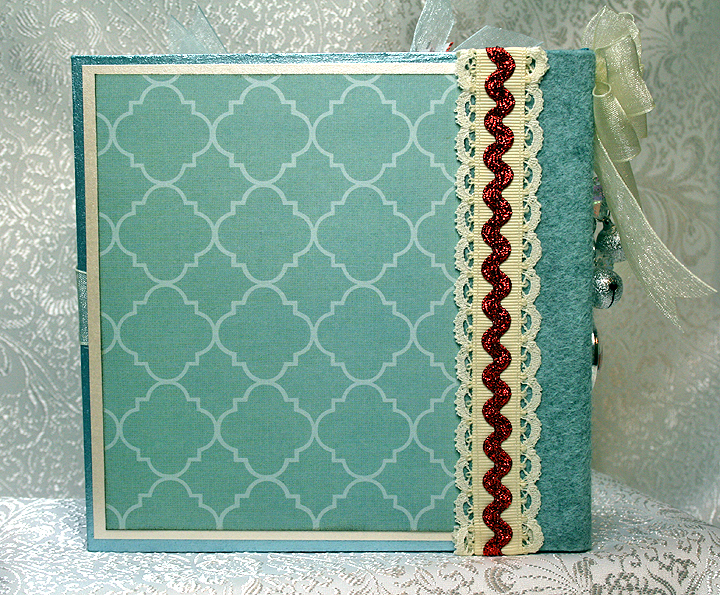
I did something a little different on this album than what the directions call for.  I made the spine and binding system using only chipboard and book binding cloth — I didn’t use any cardstock in the construction.  I am happy with the way it turned out — the binding system is very flexible.

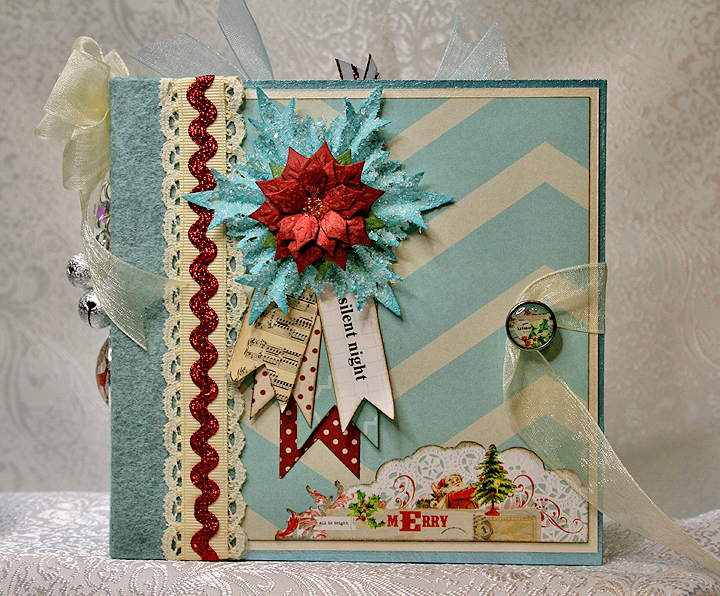
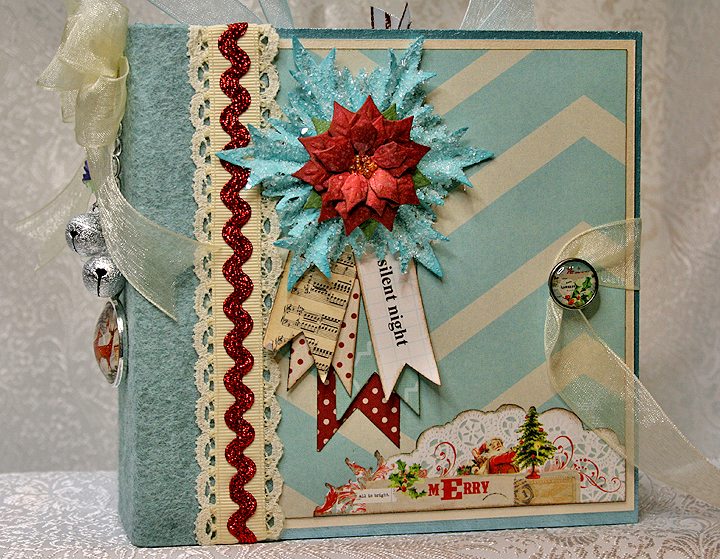
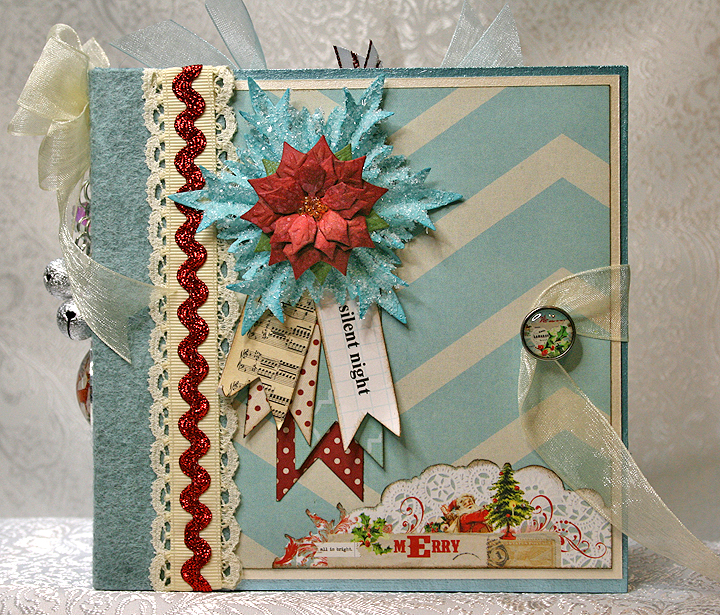
The patterned paper I used throughout the album is from My Mind’s Eye Merry & Bright collection.  The solid cardstock is all Basis 80#.  The edges of the chipboard are painted with Martha Stewart pearl paint.  I covered the outside of the spine in wool felt and added some ribbon, lace and metallic rick rack trim to the edges.

Front10B

Front12B

Back2

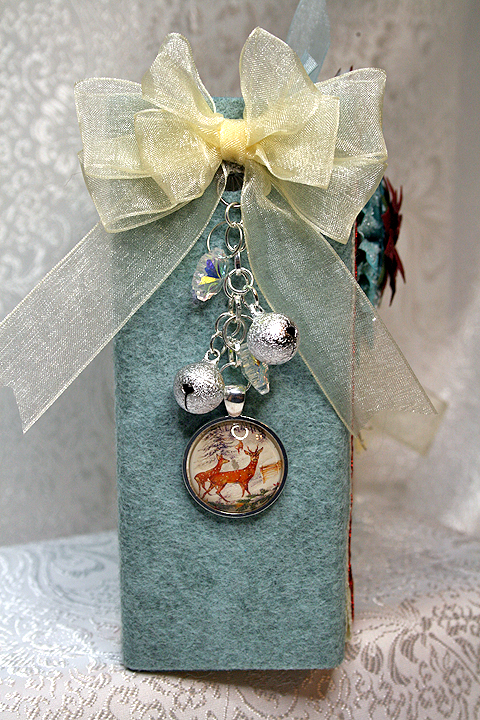
I made the charm on the spine using stardust jingle bells, crystal snowflake beads and a deer pendant I got from eBay. I made the bow using my Zutter Bow-It-All.  I’m really liking the bows I can make using this handy tool.

Charm

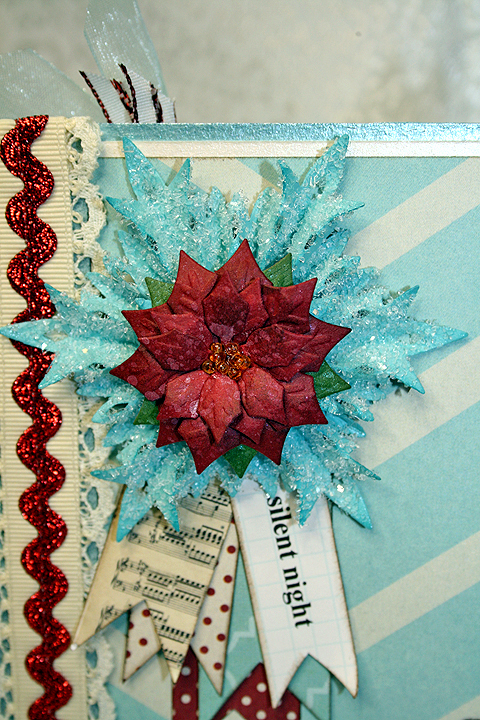
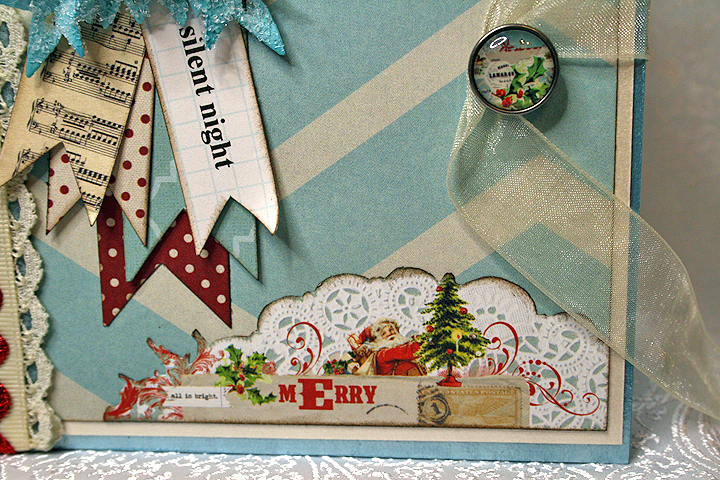
Here are some close-up details of the album front.  The poinsettia is made from the Layered Poinsettia die by Spellbinders, sprayed with Lindy’s Stamp Gang’s Starburst spray, and I added glass seed beads to the center.  The snowflake is from the Tim Holtz Snowflake Rosette die and is coated in coarse glitter.  The album closure is a ribbon that wraps around a brad on the front cover — another of Cathy’s wonderful ideas.

FrontPoinsettia

CoverDetail

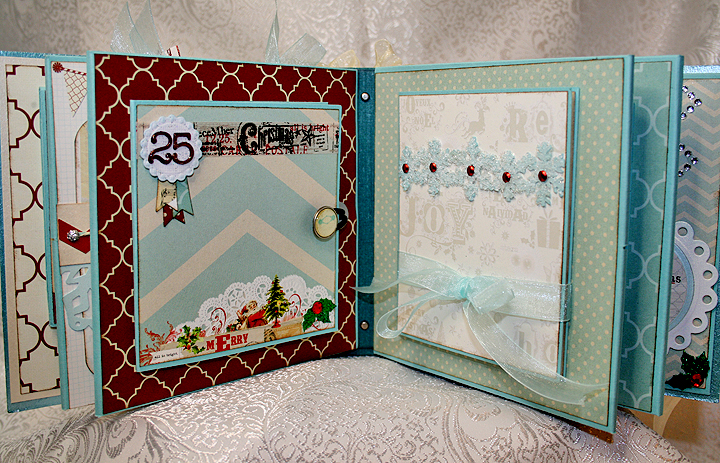
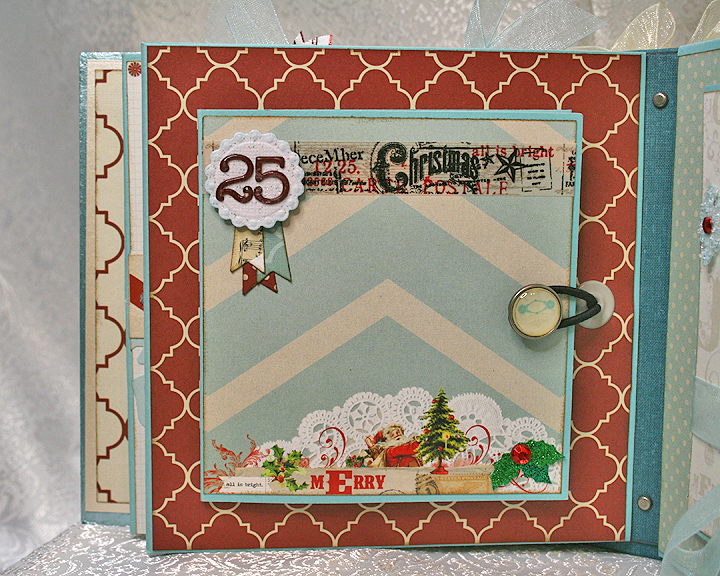
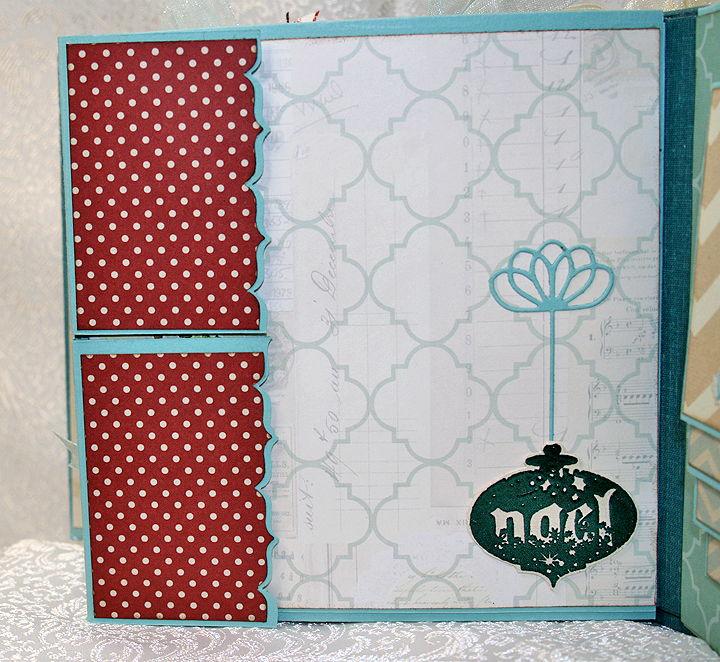
Pages 1 and 2:

P1-2

P1B

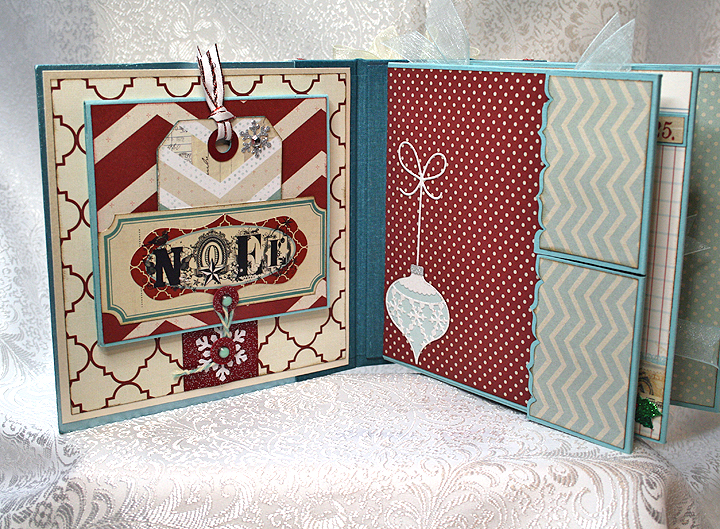
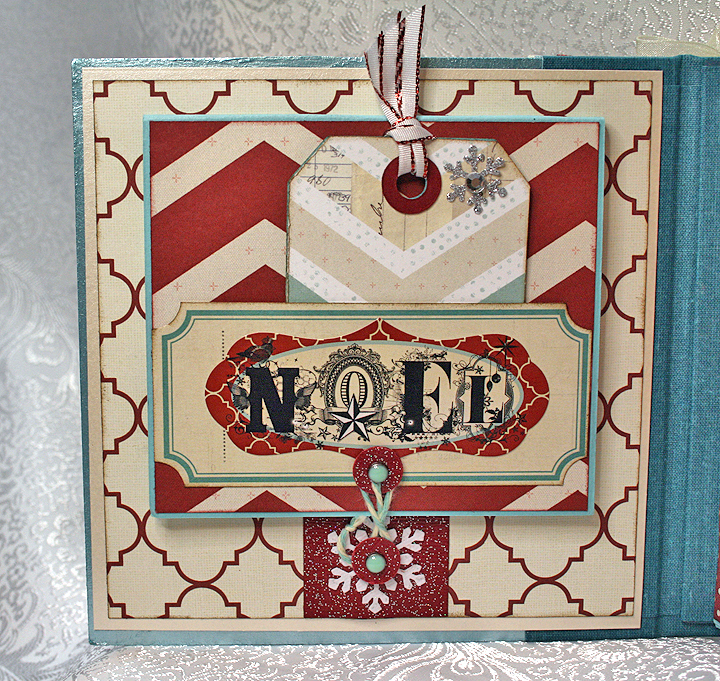
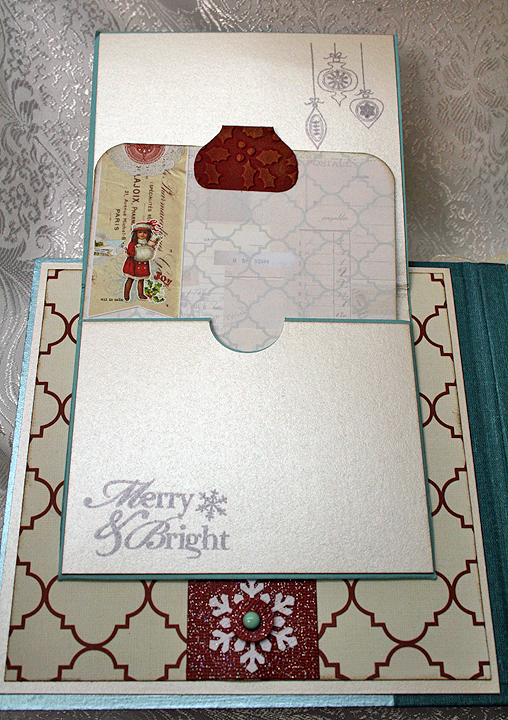
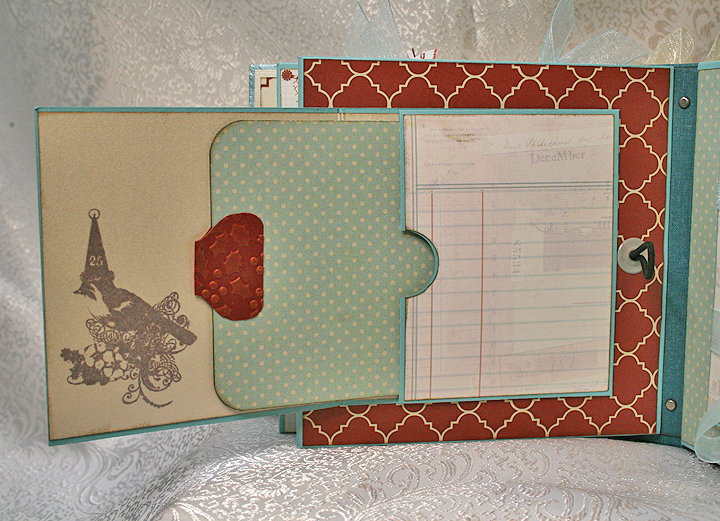
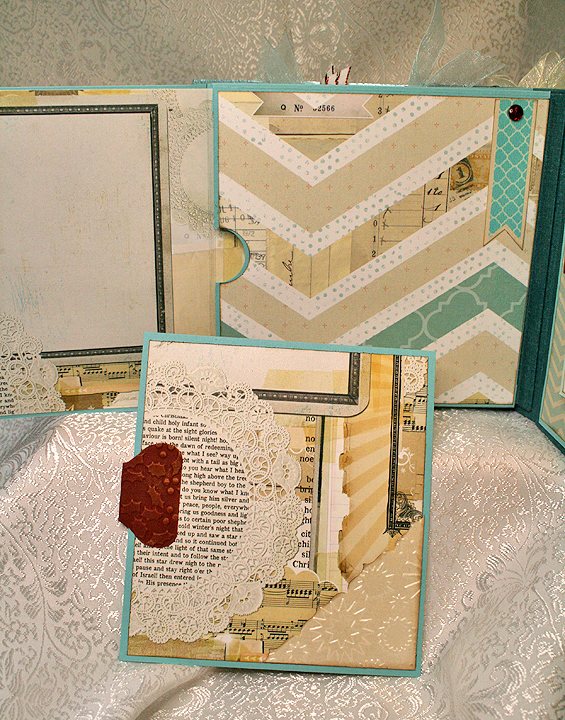
The pocket opens up to reveal a photo mat inside.  I made all the tabs for the photo mats using my We R Memory Keepers Envelope Punch Board and embossed the tabs with my Cuttlebug.

P1TagB

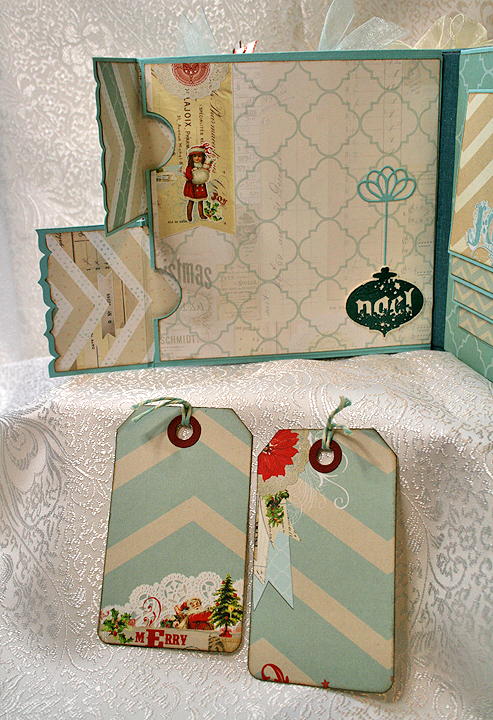
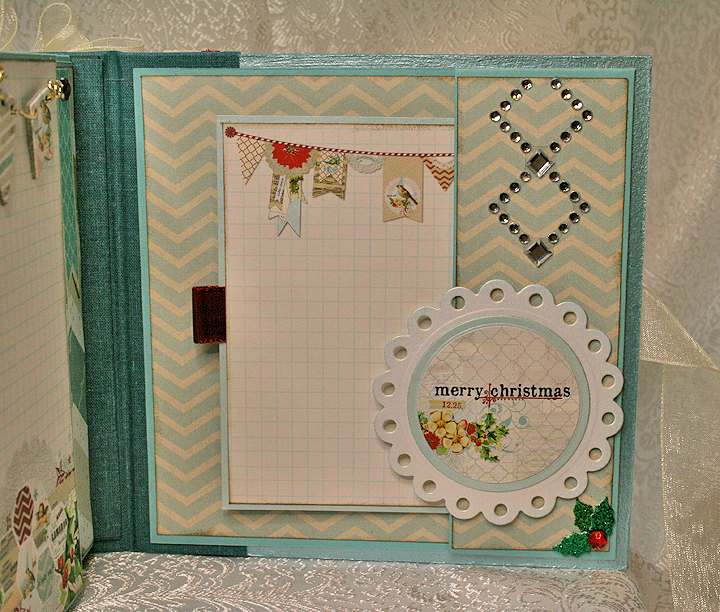
The ornament is cut from a Memory Box die.  The edges on the pocket flaps were done with a punch — I think it was an EK Success Bracket border punch.  The flaps close with a magnet — there are lots of magnetic closures used in this album.

P2

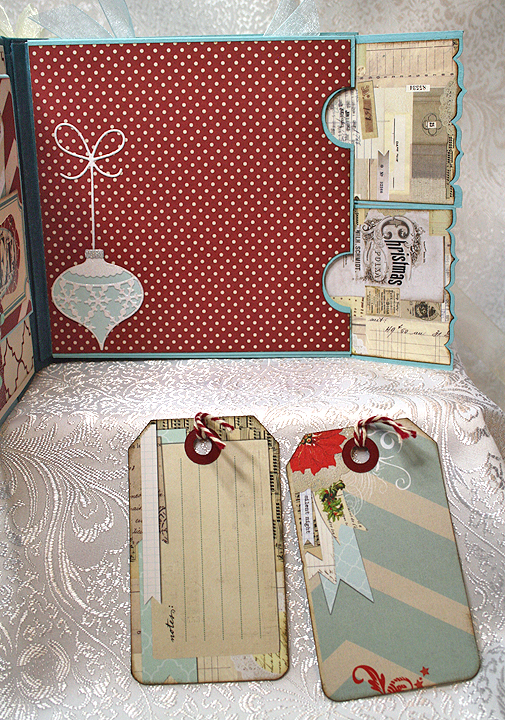
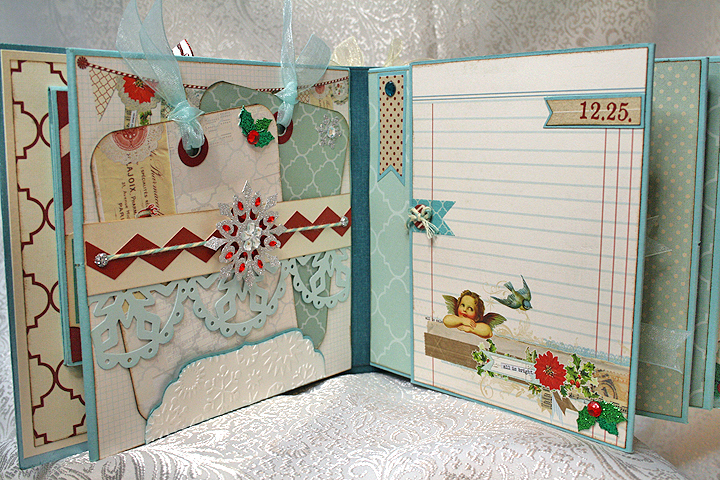
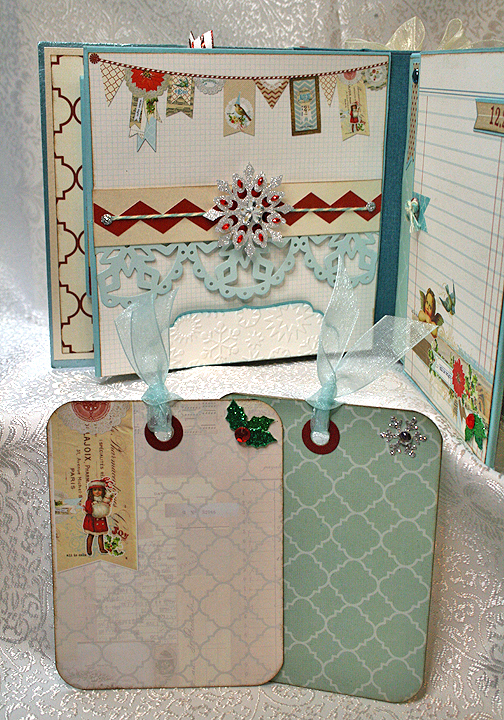
I made the small tags using Tim Holtz’s Tag & Tie die.

P2Tags

Pages 3-4:

P3-4

P3Tags

P4

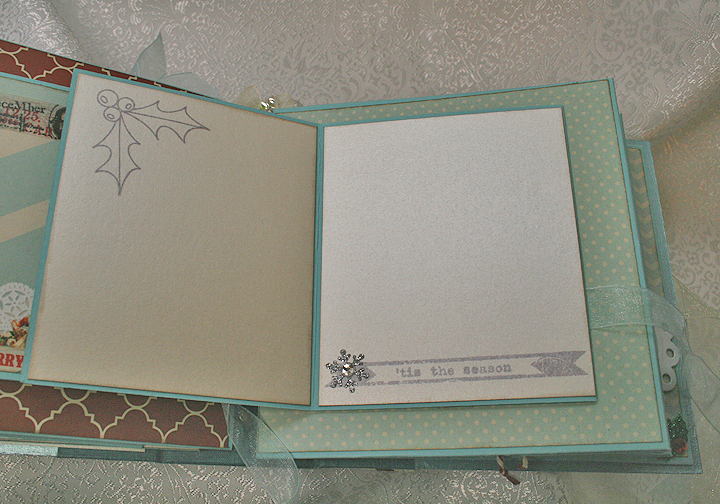
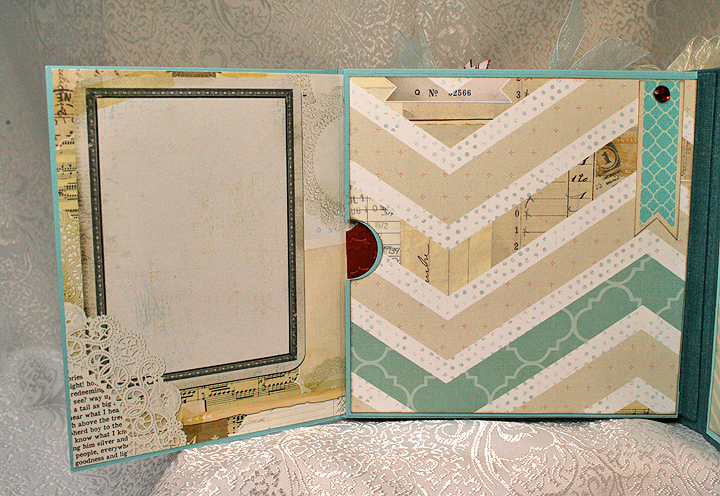
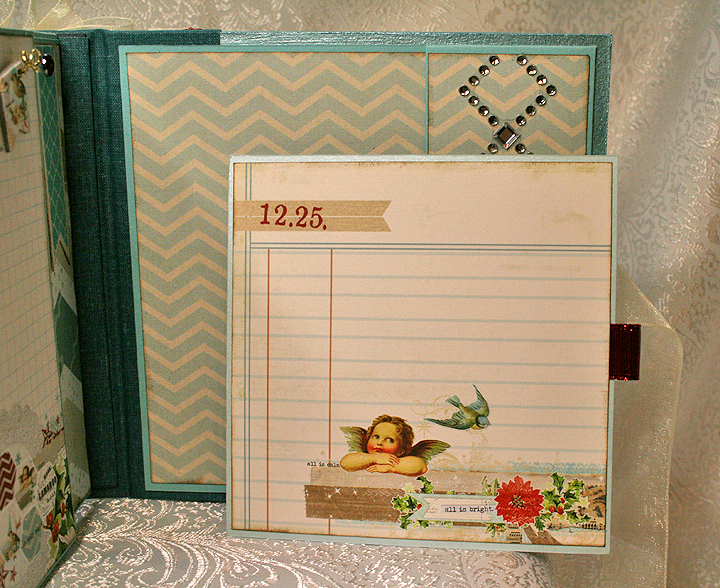
Page 4 opens and has a photo mat inside the pocket.

P4Open

P4Tag

Pages 5 and 6:

P5-6B

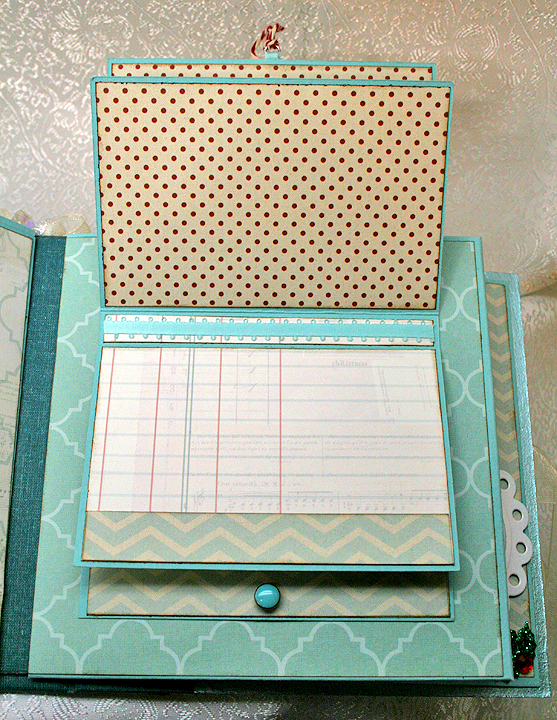
The pocket closes using an elastic hair band and a brad.

P5B

P5Open

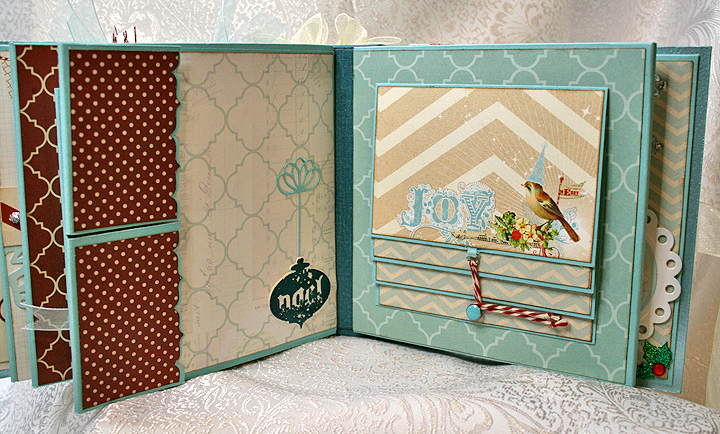
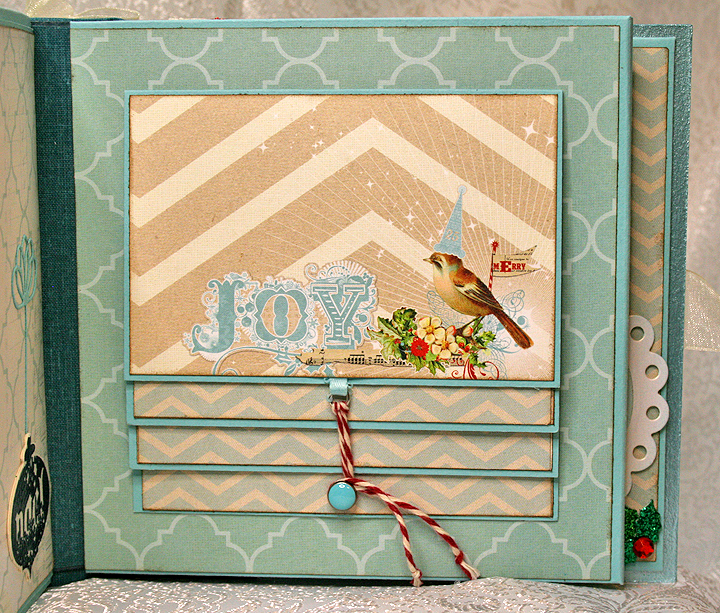
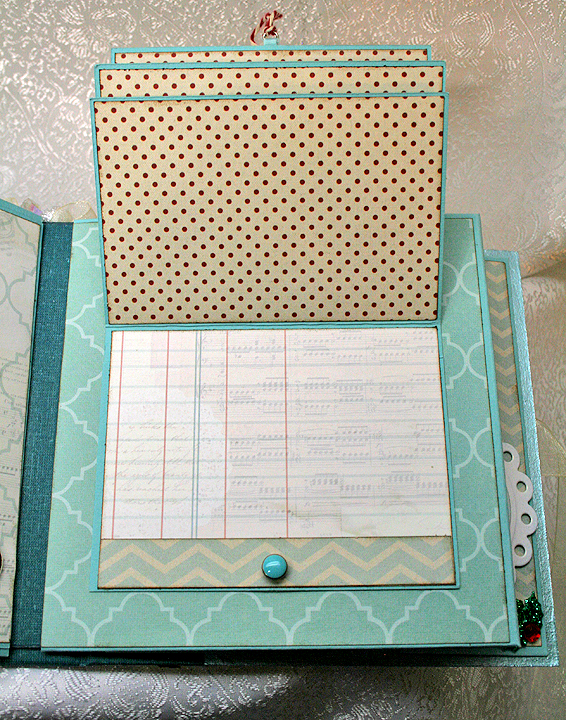
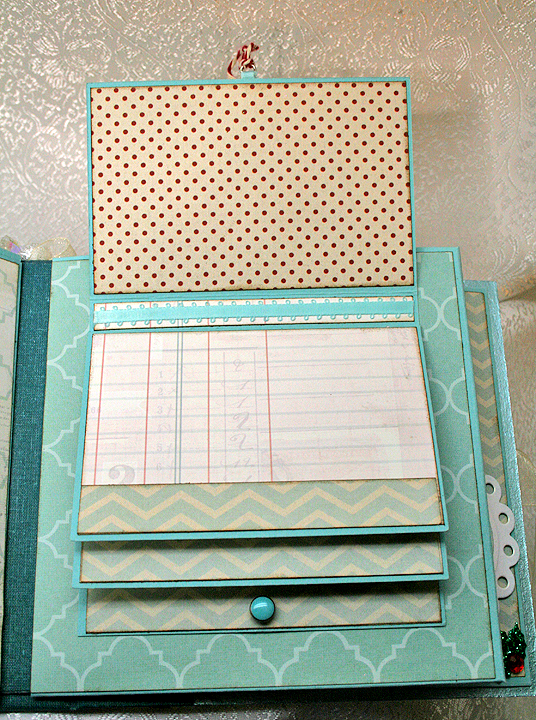
Page 6 has an accordion fold feature that folds up and is held closed with a ribbon.  The snowflake trim is from a Martha Stewart punch.

P6

P6Open

P6OpenB

Pages 7 and 8:

P7-8B

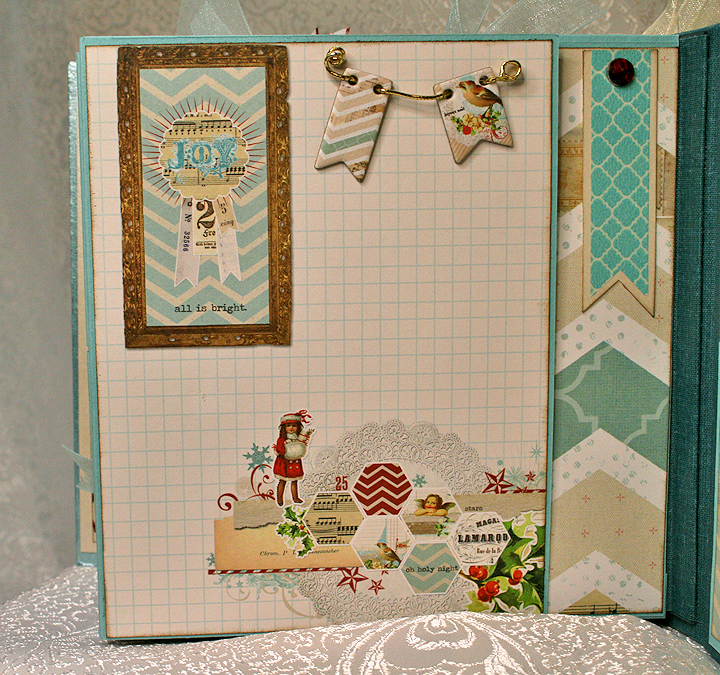
The ornament is embossed with Lindy’s Stamp Gang embossing powder.  I can’t remember what stamp I used for the ornament — that’s what I get for waiting so long to post this on our blog.  The ribbon hanger is a Memory Box die.

P7B

P7TagsB

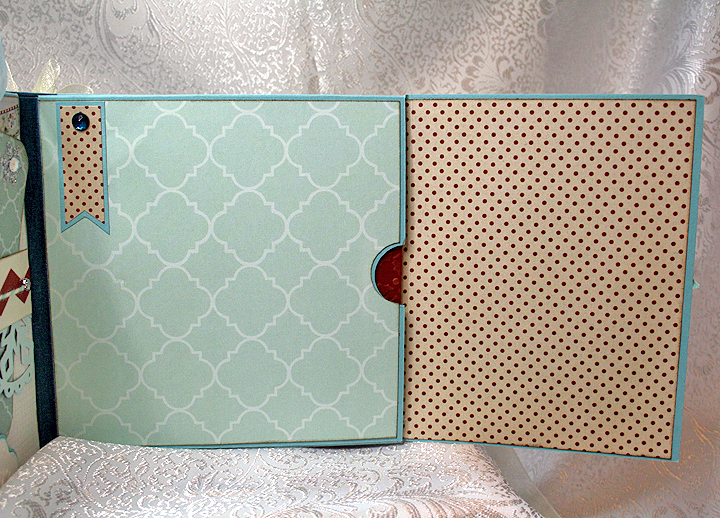
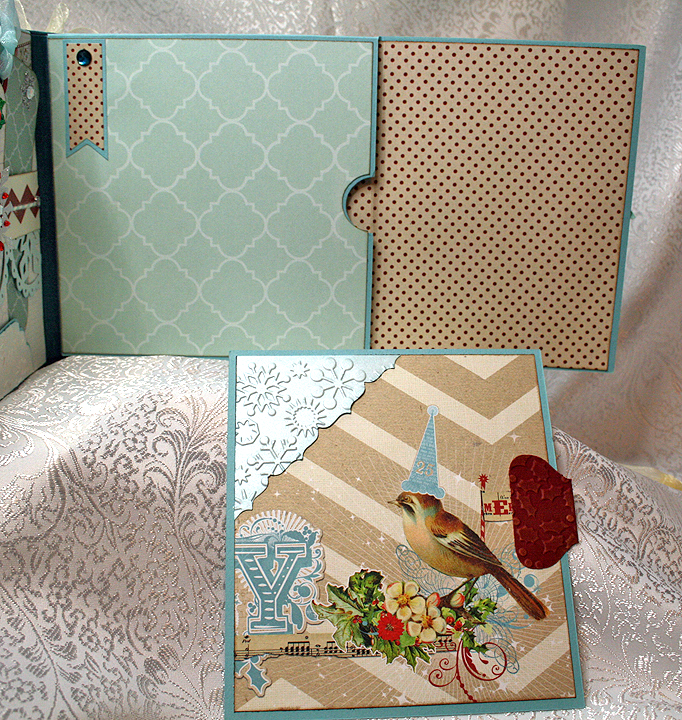
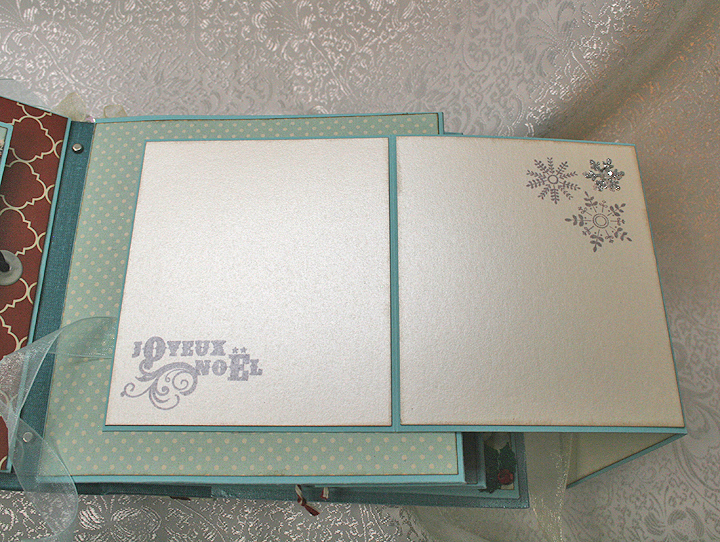
Page 8 has a waterfall feature.

P8B

P8OpenC

P8OpenB

P8Open

Pages 9 and 10:

P9-10B

P9

P9OpenB

P9TagC

P10

P10WTag

Thanks for checking out my Christmas album.  I have a Valentine mini to post next — I hope it doesn’t take me two months to get it written up, like it did with this album.

Front6B

  • My Mind’s Eye Merry & Bright paper collection
  • Basis 80# cardstock
  • So Much Scrap (etsy shop), All Hallow’s Eve tutorial
  • Tim Holtz dies: Snowflake Rosette and Tag & Tie
  • Memory Box ornament and bow dies
  • Spellbinders Layered Poinsettia die
  • Lindy’s Stamp Gang embossing powder
  • EK Success Bracket edger punch
  • We R Memory Keeps Envelope Punch Board
  • Zutter Bow-It-All
  • Martha Stewart pearl paint
  • Cuttlebug
Pac-Man Card


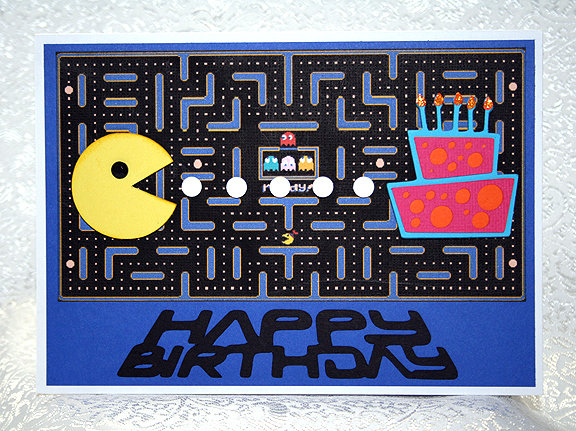
Erin asked me to make a birthday card for her to give to one of her friends and she requested something with an 80’s video arcade game on it, like Pac-Man.  I found a print card showing Pac-Man eating dots and heading towards a birthday cake.  So I did my version of that card using my Cricut.

I first printed a maze from the game that I found online.  I thought it would make a neat background for the card.  I designed Pac-Man in Cricut Craft Room, using the George & Basic Shapes cartridge.  I used a circle and laid a triangle over it (not using the weld feature) to make the mouth.  His eye is a black faceted stone from my stash — I think I got them at Joann’s.

Front5

The white dots are from an EK Success punch — I think it’s called Swiss Cheese. The birthday cake is from Life’s A Party and I added orange Stickles for the flames on the candles.  Pac-Man, the white dots, and the birthday cake are all popped up with foam dots.

Front

When I was laying out the card in Cricut Craft Room, I happened upon a really neat sentiment that I thought would be great with this card.  It is from a project cartridge called Space Party.  But wouldn’t you know it, it was one of the few cartridges that I didn’t have.  I looked at other fonts, but nothing grabbed me like the Space Party sentiment.

So I went on eBay, found a Space Party cartridge that wasn’t being bid too high and placed a bid.  I ended up getting it for less than $2.50 — can you believe that?  Still, I hope I use it for more than just the sentiment on this one card!

This was a pretty quick and easy card to make — and Erin was very happy with it.  I even made an envelope for it using my We R Memory Keepers Envelope Punch Board.

I am going to enter this card in the Cricut Circle Challenge, which is to use or try something new.  Since I have never used Space Party before, I figure that will satisfy the requirements.  And I used the Swiss Cheese punch, which I have owned for some time and have never used either.

  • Cricut cartridges used:  George & Basic Shapes, Life’s A Party, Space Party
  • EK Success Swiss Cheese punch
  • Stickles
  • Faceted stone from stash


Circleville 2013 NSD – Oh The Places You’ll Go! Challenge


I just completed my second project for Circleville’s NSD Challenges.  This one is hosted by Marty (Eyelet on the message board) and she gave us a sketch to follow.  I made a card.

I used my Imagine again, printing the papers from the Floral Emporium cartridge.  It was my first time using this cartridge — it has some really pretty patterns on it.  I printed both the patterned and solid paper.

Front5

Here is the sketch:

card sketch.jpg

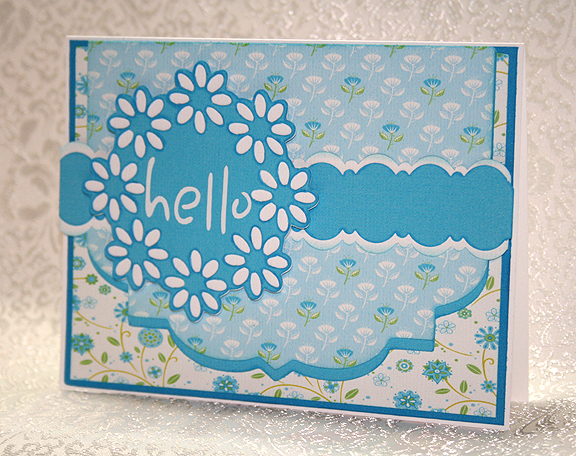
The blue flap (don’t know what else to call it) is from Elegant Edges <Eyelt1-s>.  I stretched it some in each direction in CCR to get it to the size of the card.  I then copied that shape and stretched it a bit more to get a shadow.  The circle of flowers is from Paper Trimmings <Flower8><Circle>, cut at 3″.  The sentiment is from Sentimentals <Letter2><Layer>, cut at 2.5″. Because the letters are so thin and small, I cut them from white vinyl.

The band on the card is two strips of cardstock, one 1″ wide, the other 1.25″ wide.  I used an EK Success border punch on them, Deco Scallops.

Front3

  • Cricut cartridges — Elegant Edges, Floral Emporium (Imagine), Paper Trimmings, Sentimentals
  • EK Success Deco Scallops border punch
  • White vinyl

Flowers Made With New EK Success Dimensional Punch


Boy, it has been a long time since I posted anything on our poor ol’ blog.  I have been busy with the embroidery business, which is such a blessing after being so slow last year. 

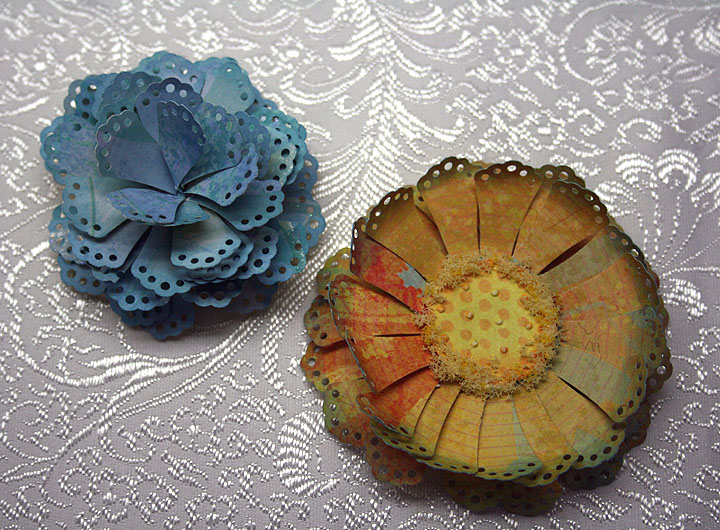
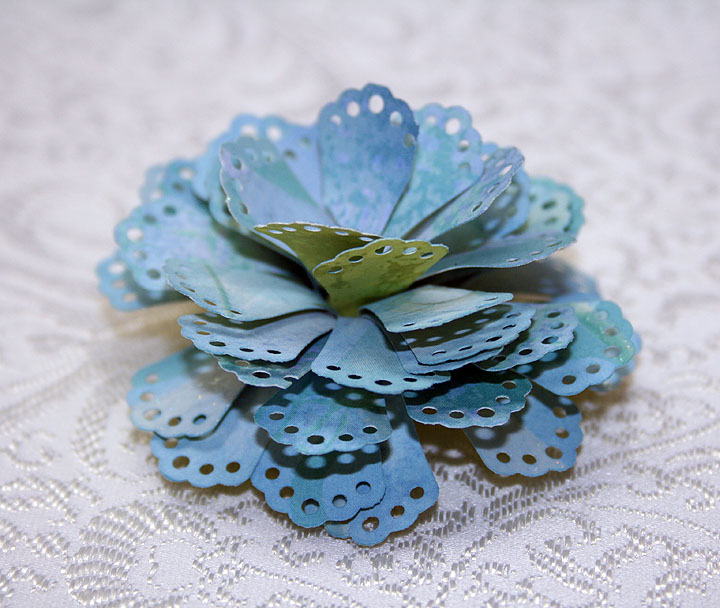
I want to share a couple of flowers I made with one of the new EK Success Dimensional Punches.  EK released four new punches for making flowers and I was able to find them at Joann’s.  The new punches are:  Doily Petals, Gerber Daisy, Dahlia, and Carnation.  The one I used to make these two flowers is the Doily Petals punch.  These are the first two flowers I made — I haven’t had a chance to try the other punches yet.  But after making these flowers, I am looking forward to playing with the other punches.

Before trying to make a flower, I watched a couple of videos showing how to use these new punches.  The video I watched on a blog called Tinker Planet really helped.  She showed making a flower using the directions given on the back of the punch package and then showed her method.  I made the blue flower using her method. 

I cut two strips from a scrap of 12″ K & Company paper for my petals.  I put tape at the bottom of each strip using my ATG gun, just as shown in the video.  I wrapped my two strips around a chopstick.  But instead of gluing a pearl or gem in the center of the flower, I cut another strip of petals and used just six petals from this strip.  I wrapped them tightly around a very small paint brush and then glued them in the center of my previous two strips, to hide the hole in the middle. 

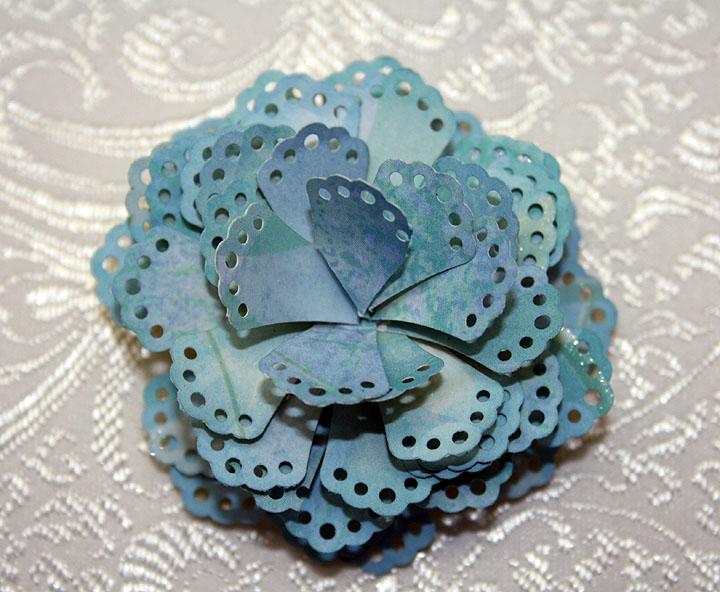
As in the video, I pulled all my petals down — just like peeling a banana.  Here is a picture showing the side view of the flower.


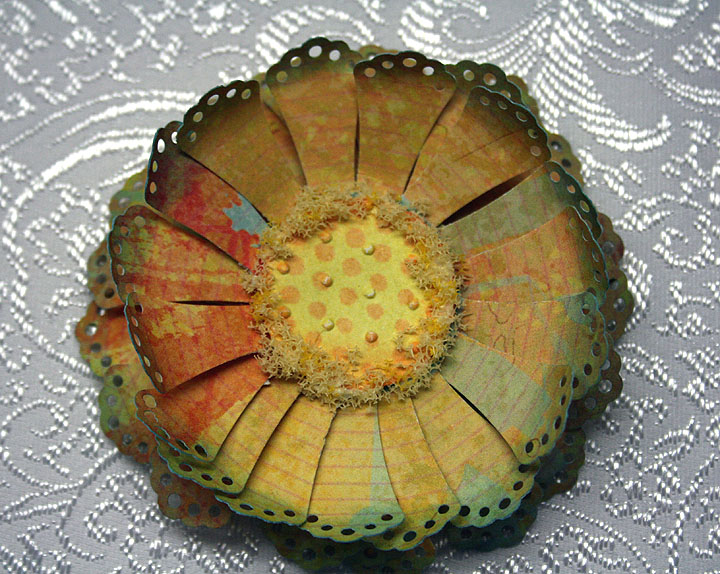
The second flower is my creation.  When I was looking at the strips of petals after punching them, I was reminded of a Spellbinders flower die that I have.  The only difference is that it is a round die — so the petals are all nicely in a circle.  I wondered how I could get the petals on the strip into a circle. 

I thought maybe I could score the strip and then fold it, like making a rosette, and get it into a circle.  I put the strip on my Martha Stewart score board and started scoring a line on each petal.  I scored right next to where the petal joined the bottom strip, scoring  just once on each petal — but always scoring on the same side of each petal. 

Then I folded along each score line and folded the petal until it was almost touching the next petal.  When I got to the end of the 12″ strip, I joined the ends.  Then I punched out a 1″ circle and glued my rosette onto it.  I made two layers and glued them together.  Then I took a third circle and put in the center of the flower and added some Flower Soft around the edges. 

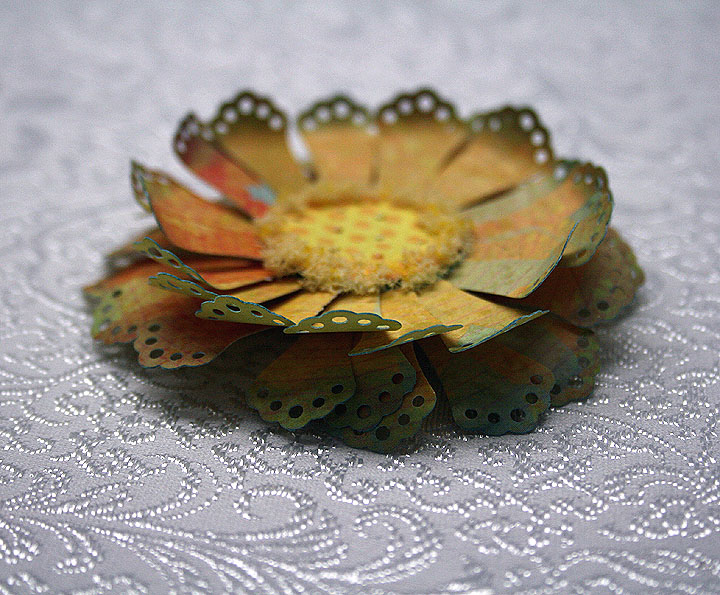
This flower is also cut from a scrap of K & Company paper.  I guess it looks OK — it reminds me of a sunflower.  And here is a side view so you can see the layers and dimension.

  • EK Success Doily Petals Dimensional Punch
  • K & Company paper
  • Flower Soft