Altered Book Box and Stick Pin Swap

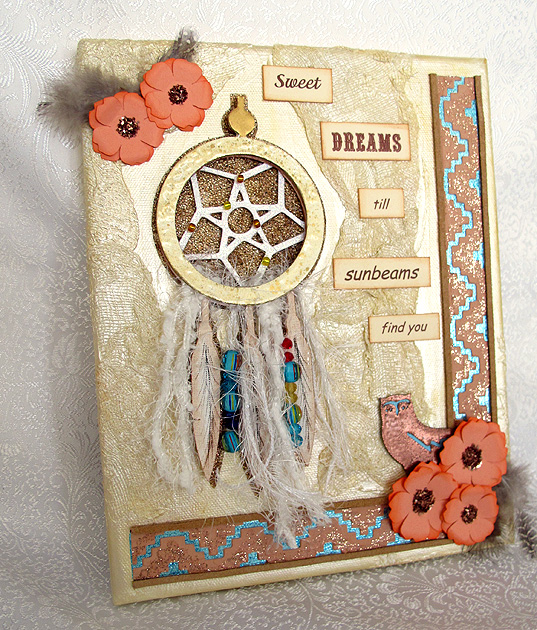
I just participated in an altered book box and stick pin swap on the Cricut Circle Message Board.  I had never altered a paper mache box before, so this was a new adventure for me.  My partner (Maria) let me know some of her likes — I knew she liked bright colors and owls.  Since I like owls too, I decided to use that for my theme.

Front9

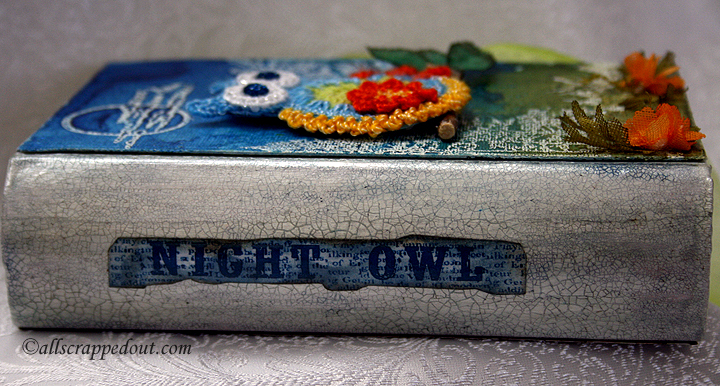
The first thing I did was primer the book in gesso.  Then I applied two coats of Martha Stewart  Mother of Pearl paint.  I let the last coat of paint dry overnight and then I brushed on a layer of Tim Holtz Rock Candy Crackle paint on the spine and the inside edges of the book.  When that was thoroughly dry, I sponged on some blue and brown distress ink over the crackled paint.

Spine

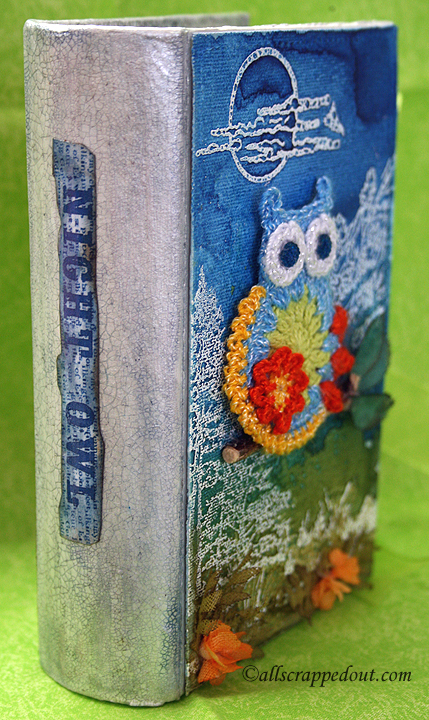
The title was printed on the computer and adhered on the spine using Liquitex Gloss Medium & Varnish.  I added a couple coats of the gloss medium over the crackle paint on the spine and on the inside.

Spine2

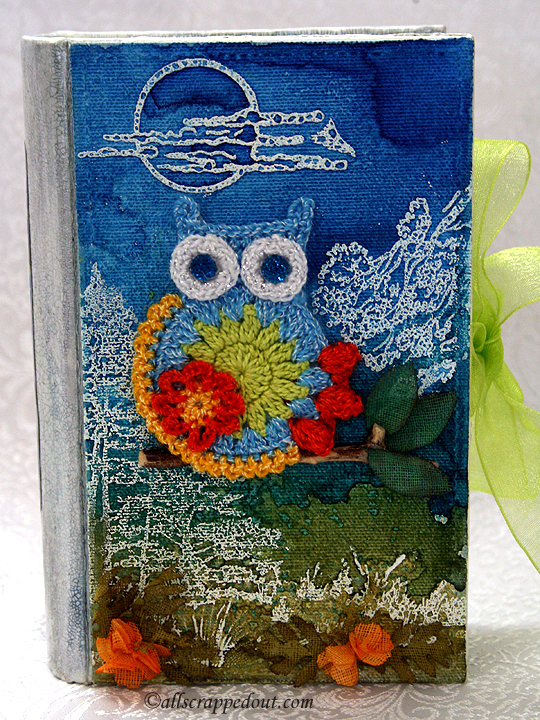
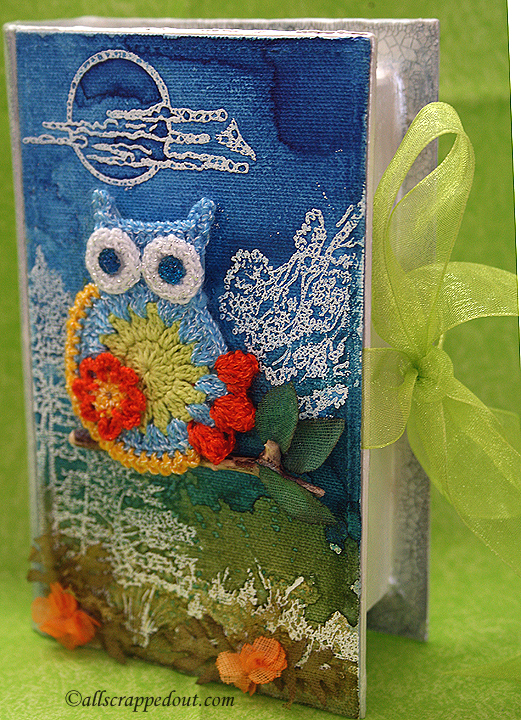
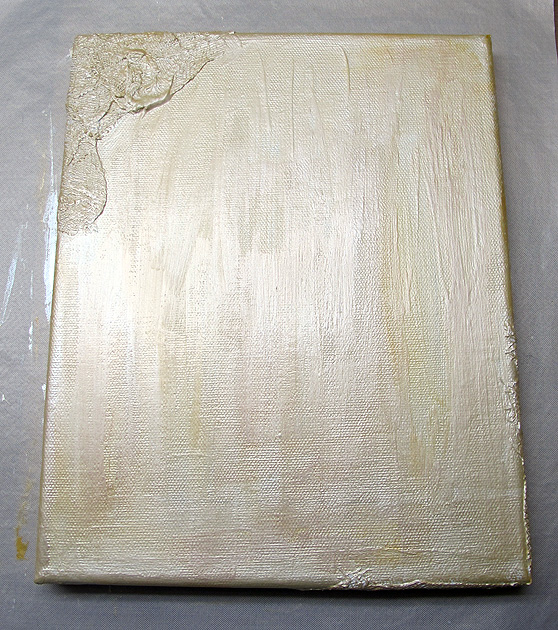
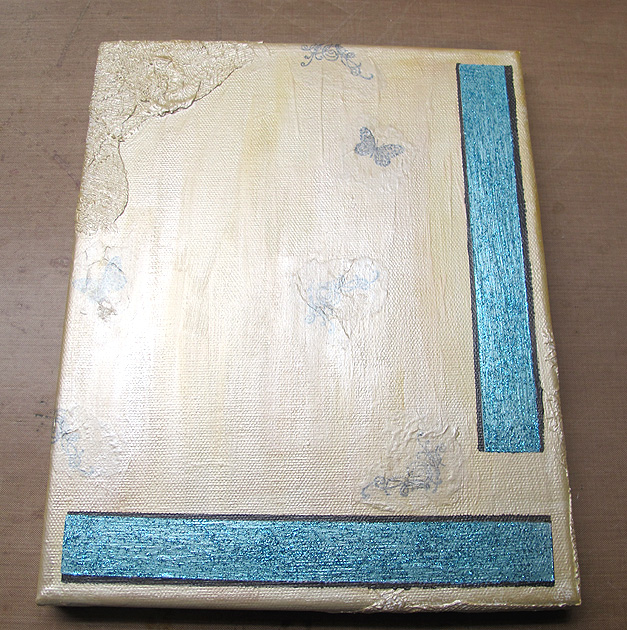
I used Ranger Sticky Back Canvas for the cover of the book.  Since this was my first time using it, I wasn’t sure if it need to be primed with gesso.  I decided to go ahead and gesso it, but first I stuck the canvas to a piece of cardstock and sewed around the edges. After the gesso dried, I stamped a scene of the moon and some trees using Versamark and heat embossed it using white embossing powder.  The stamp set is by Sheena Douglass and called Lakeside Shore.

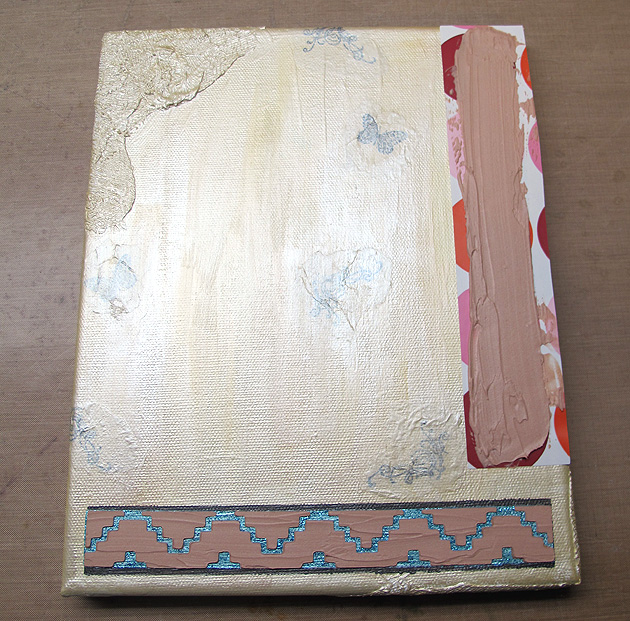
Then I sprayed the canvas with several different colors of Starburst spray by Lindy’s Stamp Gang.  As you can see, the colors are nice and bright. Since I had used gesso on the canvas, it acted as a resist to the sprays and I found they would easily wipe off.  So I let them dry and then sprayed a coat of gloss varnish (Krylon) over the canvas to seal it.  I was happy to see that I didn’t lose all the pretty shimmer when I sprayed the canvas with the sealer.

10

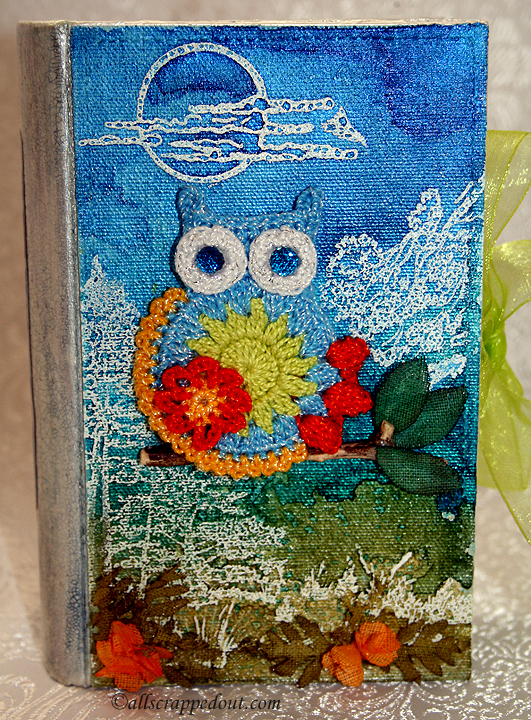
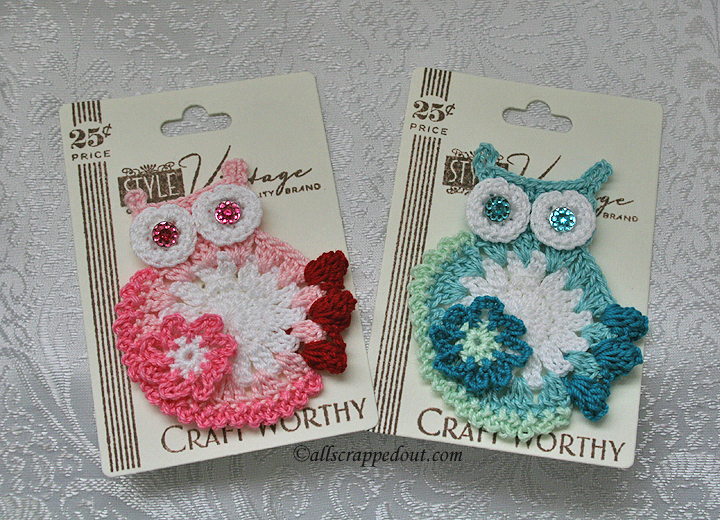
I purchased the crocheted owl from Tatiana, who I first found on the Cricut Message Board.  She now sells her beautiful crocheted pieces on her Facebook page, Created  By Tatiana.   I picked the colors for this owl to match the book and also ordered several other owls in different colors.

I added a branch and some leaves that I cut from white cotton crinoline using a Martha Stewart punch. The leaves were sprayed with Starburst spray. The flowers and foliage at the bottom were also cut from crinoline using Martha Stewart punches and colored with Starburst spray.

The book has a ribbon closure.

Front2

The back of the book is my attempt at humor, a pun on the Looney Tunes “That’s All Folks”.  The paper is from Doodlebug Designs and the owl is some clipart I got from the now defunct PC Crafter website. The image at the bottom is stamped and heat embossed using Lindy’s Stamp Gang’s embossing powder.

Back

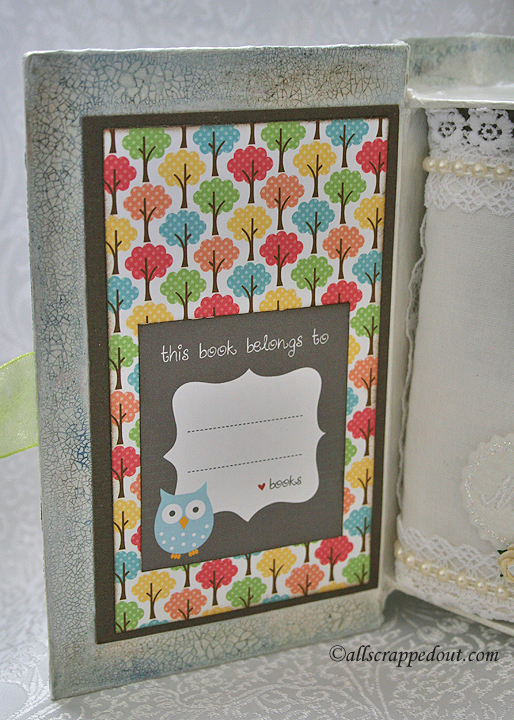
The inside of the cover is also Doodlebug Design paper and I added a clipart bookplate to it.

Bookplate

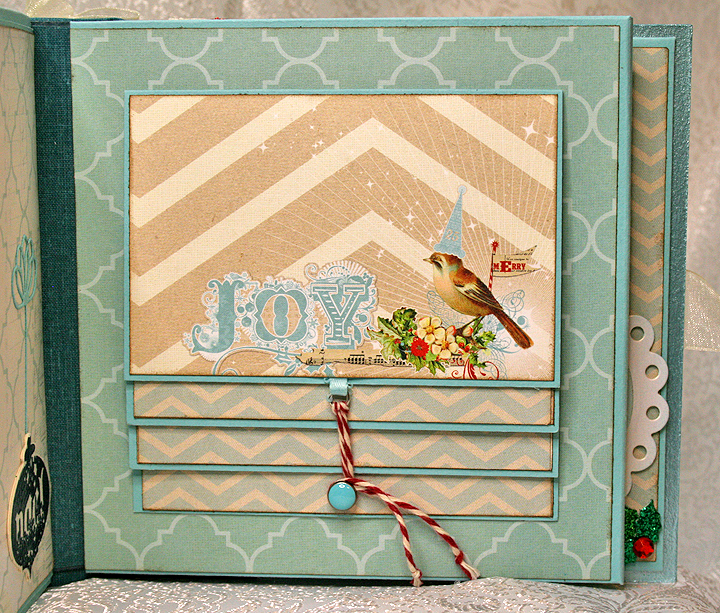
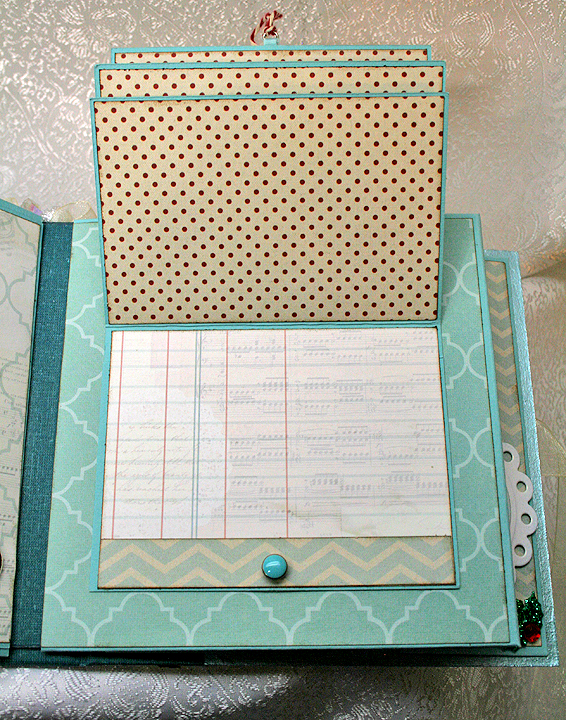
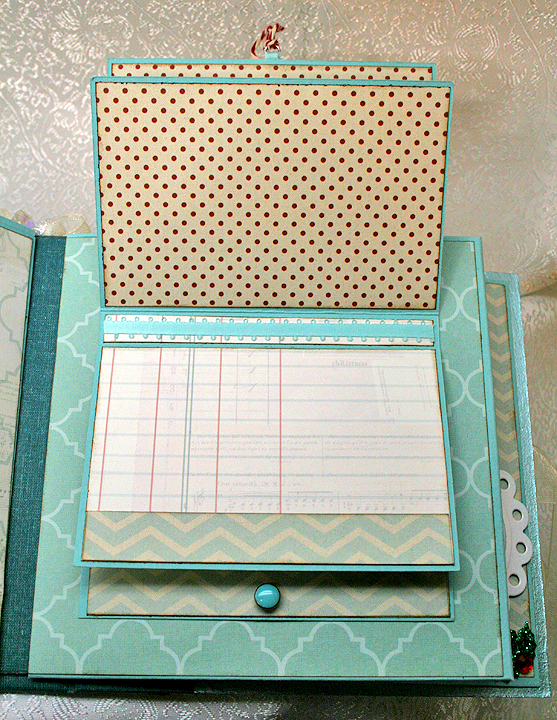
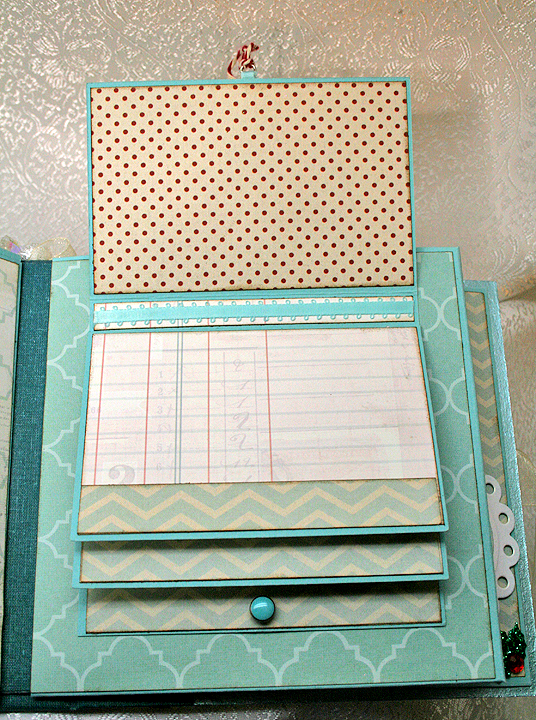
This is looking inside the book, showing the fabric book that I made to hold the stick pins.  Since this post is so long, I am going to do a separate post for the stick pin holder.

Inside

I included two extra crocheted owls for my swap partner.  The cards they are on were stamped with the Button Boutique stamp set from Papertrey Ink and cut using the coordinating die.

CrochetOwls


  • Paper mache book box from Hobby Lobby
  • Doodlebug Design paper
  • Ranger Sticky Back Canvas
  • Lindy’s Stamp Gang Starburst sprays and embossing powder
  • Tim Holtz Rock Candy Distress Crackle Paint
  • Tim Holtz Distress Ink
  • Crocheted owls from Created By Tatiana on Facebook
  • Sheena Douglass Lakeside Shore stamp set
  • Button Boutique stamp and die set from Papertrey Ink
  • Martha Stewart craft paint — Mother of Pearl
  • Martha Stewart punches
  • Liquitex Gloss Medium & Varnish
  • Cotton crinoline purchased at Joann.com

Christmas Mini Album for Cricut Circle Stocking Stuffer Swap

I participated in the Cricut Circle Stocking Stuffer Swap for the first time in 2013.  I figure it’s about time I posted the mini album I made to send to my partner, Sherry (Octoberbeauty).  I’ll warn you — there are lots of pictures.

This is the second mini album I’ve made and I again used a tutorial from Cathy, whose etsy shop is called So Much Scrap.   For this album I used her All Hallow’s Eve tutorial.  I really like her tutorials because they are very detailed and easy to follow.

I did something a little different on this album than what the directions call for.  I made the spine and binding system using only chipboard and book binding cloth — I didn’t use any cardstock in the construction.  I am happy with the way it turned out — the binding system is very flexible.

The patterned paper I used throughout the album is from My Mind’s Eye Merry & Bright collection.  The solid cardstock is all Basis 80#.  The edges of the chipboard are painted with Martha Stewart pearl paint.  I covered the outside of the spine in wool felt and added some ribbon, lace and metallic rick rack trim to the edges.

Front10B

Front12B

Back2

I made the charm on the spine using stardust jingle bells, crystal snowflake beads and a deer pendant I got from eBay. I made the bow using my Zutter Bow-It-All.  I’m really liking the bows I can make using this handy tool.

Charm

Here are some close-up details of the album front.  The poinsettia is made from the Layered Poinsettia die by Spellbinders, sprayed with Lindy’s Stamp Gang’s Starburst spray, and I added glass seed beads to the center.  The snowflake is from the Tim Holtz Snowflake Rosette die and is coated in coarse glitter.  The album closure is a ribbon that wraps around a brad on the front cover — another of Cathy’s wonderful ideas.

FrontPoinsettia

CoverDetail

Pages 1 and 2:

P1-2

P1B

The pocket opens up to reveal a photo mat inside.  I made all the tabs for the photo mats using my We R Memory Keepers Envelope Punch Board and embossed the tabs with my Cuttlebug.

P1TagB

The ornament is cut from a Memory Box die.  The edges on the pocket flaps were done with a punch — I think it was an EK Success Bracket border punch.  The flaps close with a magnet — there are lots of magnetic closures used in this album.

P2

I made the small tags using Tim Holtz’s Tag & Tie die.

P2Tags

Pages 3-4:

P3-4

P3Tags

P4

Page 4 opens and has a photo mat inside the pocket.

P4Open

P4Tag

Pages 5 and 6:

P5-6B

The pocket closes using an elastic hair band and a brad.

P5B

P5Open

Page 6 has an accordion fold feature that folds up and is held closed with a ribbon.  The snowflake trim is from a Martha Stewart punch.

P6

P6Open

P6OpenB

Pages 7 and 8:

P7-8B

The ornament is embossed with Lindy’s Stamp Gang embossing powder.  I can’t remember what stamp I used for the ornament — that’s what I get for waiting so long to post this on our blog.  The ribbon hanger is a Memory Box die.

P7B

P7TagsB

Page 8 has a waterfall feature.

P8B

P8OpenC

P8OpenB

P8Open

Pages 9 and 10:

P9-10B

P9

P9OpenB

P9TagC

P10

P10WTag

Thanks for checking out my Christmas album.  I have a Valentine mini to post next — I hope it doesn’t take me two months to get it written up, like it did with this album.

Front6B

  • My Mind’s Eye Merry & Bright paper collection
  • Basis 80# cardstock
  • So Much Scrap (etsy shop), All Hallow’s Eve tutorial
  • Tim Holtz dies: Snowflake Rosette and Tag & Tie
  • Memory Box ornament and bow dies
  • Spellbinders Layered Poinsettia die
  • Lindy’s Stamp Gang embossing powder
  • EK Success Bracket edger punch
  • We R Memory Keeps Envelope Punch Board
  • Zutter Bow-It-All
  • Martha Stewart pearl paint
  • Cuttlebug

My First Mixed Media Canvas — Cricut Southwest Contest

I have been wanting to try my hand at creating a mixed media canvas for a while now.  Cricut’s latest contest for their new Southwest cartridge gave me the push to get started.  The inspiration for my project was a picture I pinned on Pinterest of a gorgeous white dream catcher.

I watched a lot of videos online trying to gather facts on what supplies I needed and how I wanted to proceed.  I made a run to Michaels for supplies before I started.  I needed a canvas and gesso, and I also picked up a few fun items to try.  I think my favorite was the modeling paste.

3


4

I laid my design out in Cricut Craft Room.  The first step was to paint the 8″ x 10″ canvas with gesso.  After it was dry, I cut out the dream catcher  at 7″ and border strips at .85″ from scrap cardstock so I could gauge where I wanted them on the canvas.  I lightly traced around the cuts with a pencil.

StepCanvasLayout

Then I added some cheesecloth to the canvas using a gloss medium.  When that was dry, I gave everything another coat of gesso.  Then I used two shades of Martha Stewart metallic craft paint to cover it.

StepCanvasPaint

For my borders, I cut the design using repositionable vinyl and made stencils.  I used the negative images for my stencils.  The stencils are the polka dot material in the pictures.  It is some vinyl I picked up on clearance.  Using the first stencil, I laid down some gunmetal metallic paint.  I would skip this step next time because I ended up covering that part of the design with some leather lacing.  I didn’t like the dark paint — it was too much of a contrast.

StepBorderDk1

In this picture you will notice the canvas looks different than the finished project. I had stamped some images on it that I decided to delete by covering with gesso and adding some more cheesecloth. I then painted the area to blend in with the background.

I laid down the turquoise color with the second stencil.  I put a layer of gesso first and then added two layers of color.  The final layer was a coat of Martha Stewart glitter paint.

StepBorderBlue

The third stencil is where I got to try the modeling paste.  I mixed some copper color into the paste and used a craft stick to smooth it over the stencil.

StepModelPaste1

I was so happy with how it turned out — the design is raised and after it dried it reminded me of pottery.

StepModelPaste


Before doing the last layer of the borders, I cut a stencil of the shadow of the dream catcher and stuck it on the canvas.  I mixed some glass bead gel with some glitter paint and spread it over the canvas.  This layer was pretty wet and it had to dry overnight.

StepGlassBeads


You can see the glass beads behind the web part of the dream catcher.  They give a really neat effect.

DCCloseup2


The final border stencil was a little tricky.  My first issue was weeding the correct vinyl — I kept pulling off the wrong areas.  The I had trouble getting it to stick on top of the modeling pasted.  It wanted to lift up, so I opted to add just a coat of copper glitter paint for the final coat, rather than changing colors completely.  I was afraid the paint would bleed and be noticeable if I went for a contrast.

StepBorderTopLayer


I was very pleased with the finished border.  The last layer added a subtle glitter design on the modeling paste.

BorderCloseup2

At this point I decided I did not like the stamped images I placed on the canvas earlier.  I painted over them with gesso and then added some more cheesecloth.  I went over the entire area with the metallic paint and blended the areas into the background.   I also glued some leather lacing along the edges of the border, covering the dark painted layer I had first stenciled on.  I was much happier with this look.

StepCheesecloth2

I used several layers to make the dream catcher.  I trimmed one layer so all I had was a circle and used that to tie on the trim and beads.  The top layer is also just the circle and I heat embossed it using a Fran-tage powder from Stampendous.  The web part is also heat embossed using a holographic powder.  I glued some small seed beads to it.  I added several layers of feathers and sketched in some lines using a marker.

StepDCLayers


This is what it looks like all put together.


DCCloseup

The flowers were cut at two sizes, 1.5″ and 1.25″.  I inked the edges and curled the petals under.  The flower centers are glass glitter from Stampendous.  I glued some feathers behind the flowers.  The owl was cut at 2″ and heat embossed with copper embossing powder.

Owl

The saying was printed using various fonts and cut apart into rectangles.  I inked the edges and glued them on the canvas.  It is actually a song lyric from Dream a Little Dream of Me, sung by Cass Elliott of the Mamas & Papas.

Here is a side view of the canvas, to give you an idea of all the texture and dimension it has.

SideView

While this project was very time consuming, I do want to try doing a canvas again.  With all the supplies I now own, I don’t have an excuse not to.

1

  •  Cricut Southwest cartridge
  • 8″ x 10″ canvas
  • Liquitex Gesso
  • Liquitex Modeling Paste
  • Liquitex Glass Beads
  • Golden Acrylic Glazing Liquid (used to blend background paints)
  • Martha Stewart acrylic craft paints:  Light Gold Metallic, Pale Bronze Metallic, Aquarium Pearl, Turquoise Glitter, Brownstone Glitter, Sunstone Glitter
  • Cheesecloth
  • Stampendous Fran-tage embossing powder
  • Stampendous Glass Glitter
  • Yarn
  • Beads
  • Feathers
  • Leather lacing (from Michaels)