Circleville NSD 2013: It’s All About Perspective Challenge and E-I-E-I-O Challenge


On this project, I combined challenges.  I was making a card for the E-I-E-I-O challenge, hosted by Jenny.  She wanted us to make a project using a barnyard animal.  When I took a close look at the cut pieces, a light bulb went off — I thought this would also be a good project to do for Nadia’s challenge.  She has an excellent tutorial on how to add perspective to flat die cuts.  Be sure and check it out on Nadia’s blog.  Her challenge is to make a project using some of the techniques she shows in her tutorial.

So, I would like to present to you the premiere of………………

EXTREME MAKEOVER:  FDC EDITION

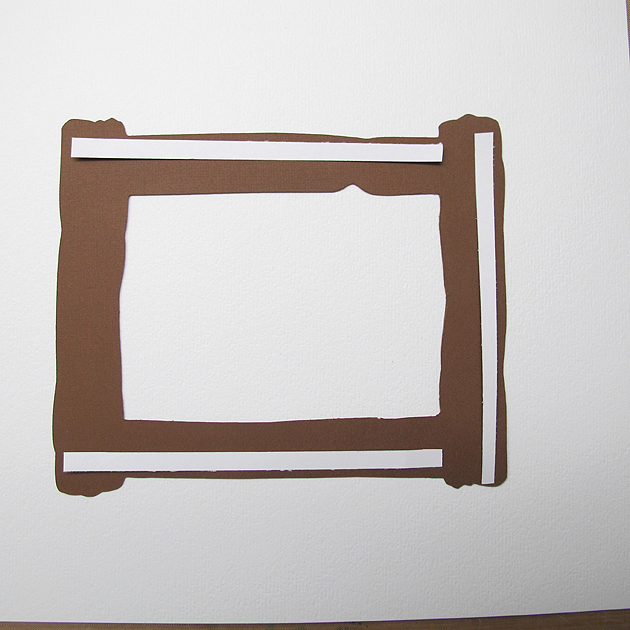
A flat die cut (FDC) is just that — flat.  This case presented itself when it landed on my desk after coming off the Cricut mat.  I looked at it and said to myself “this cut could definitely benefit from Nadia’s ideas.”  Something I really enjoyed in Nadia’s tutorial was her before and after photos.  So I took a photo of my die cut (from the County Fair cartridge), without any enhancement, as it went together after coming off the mat.

Before

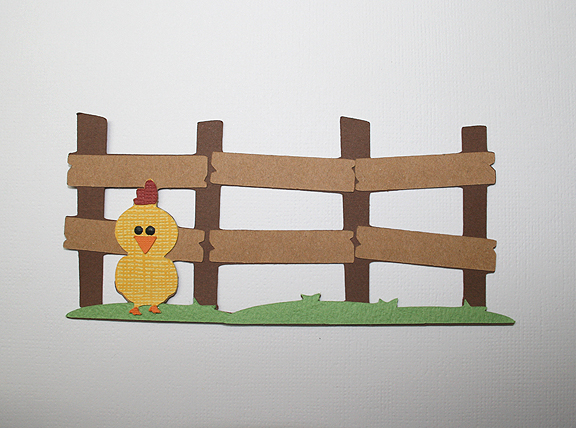
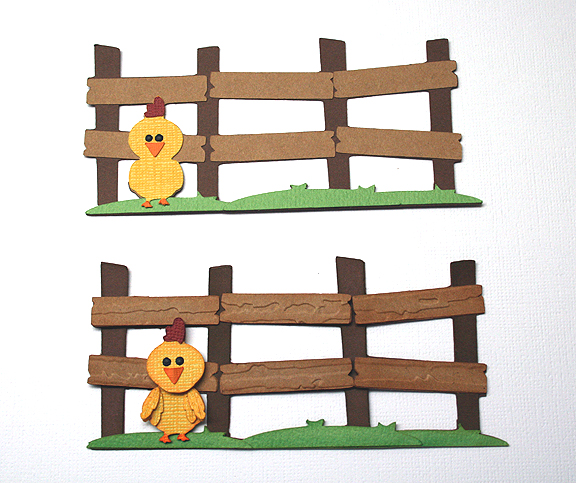
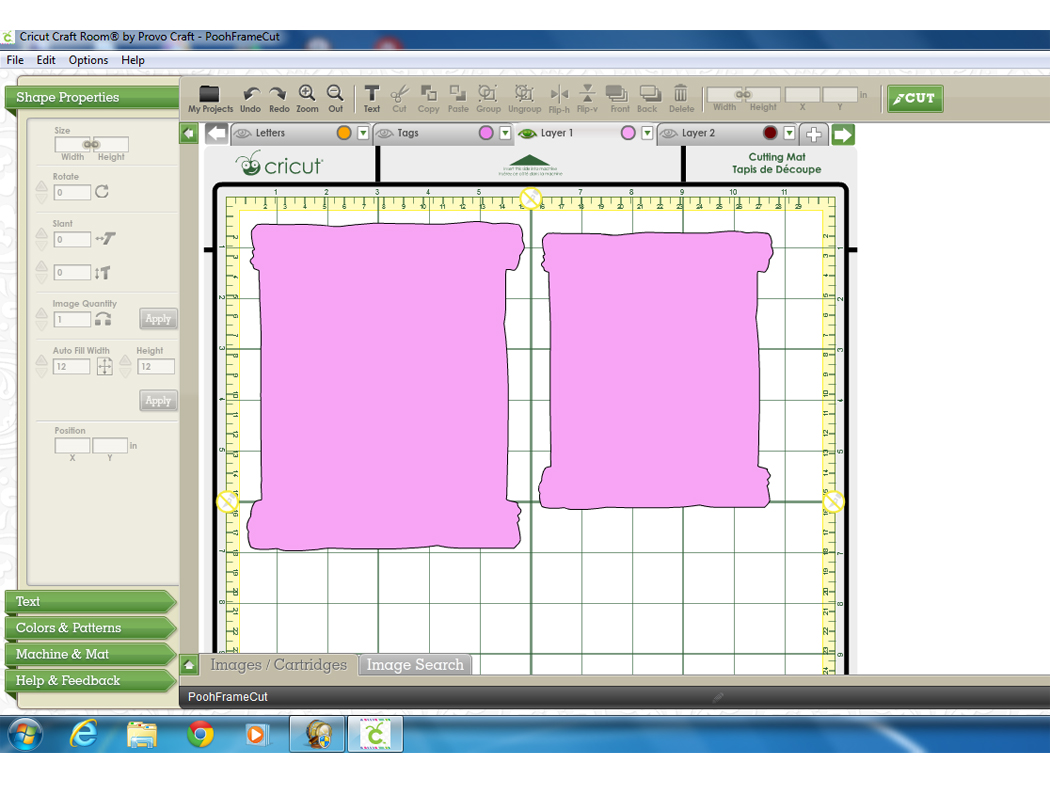
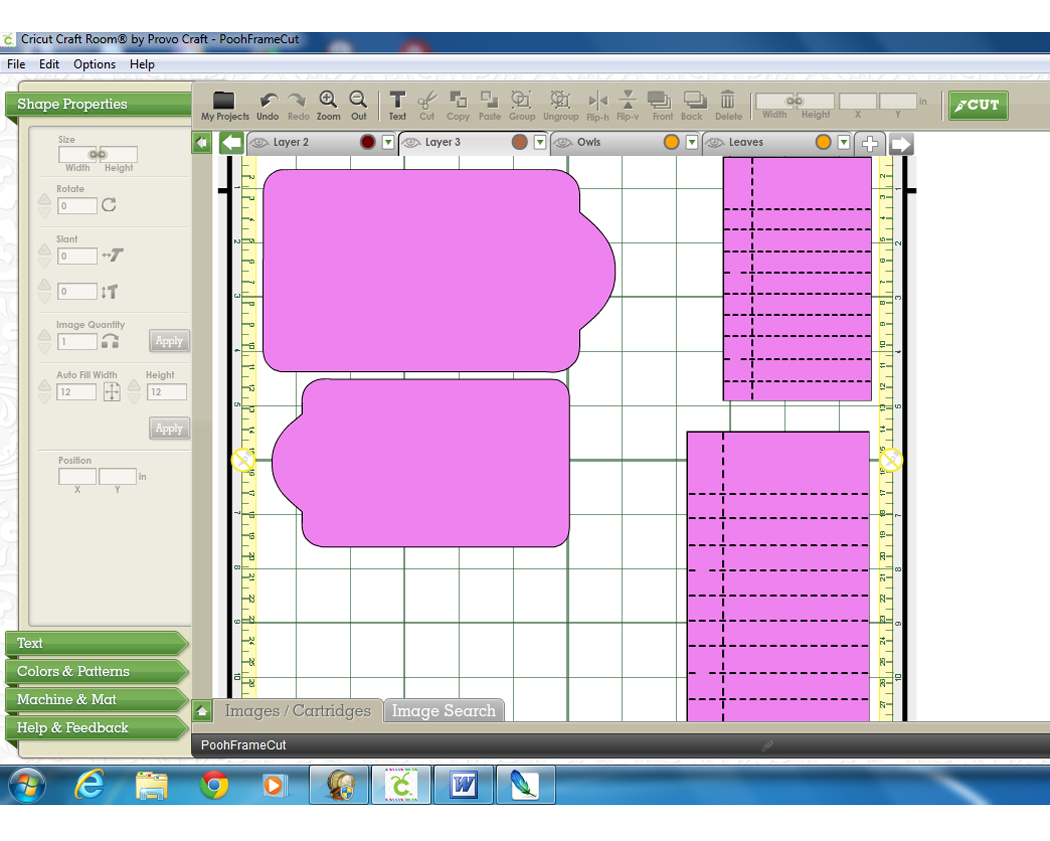
It’s cute, but it could be so much more.  I began with the fence, which was cut at 2.25″.  I added some grass to it by welding the shapes in Cricut Craft Room.  The grass is also from County Fair, cut at 3″.  I cut several of the same fence shapes so I could cut them apart and use only the pieces I wanted.

FencePieces

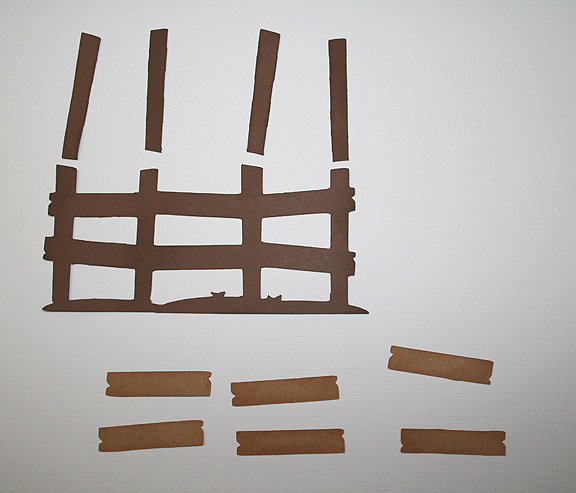
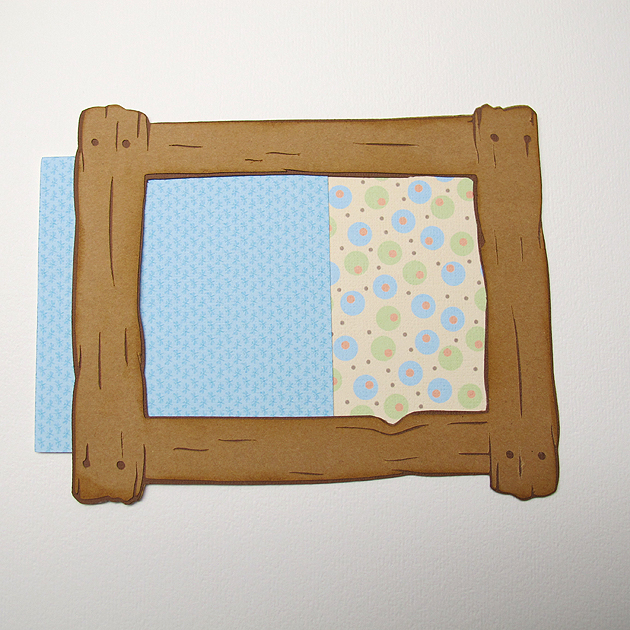
 I took extras of the upright pieces and inked them.  Two of them, the second from the left and the far right, I inked darker because I wanted them to look like they are farther away.  I adhered them to the fence.

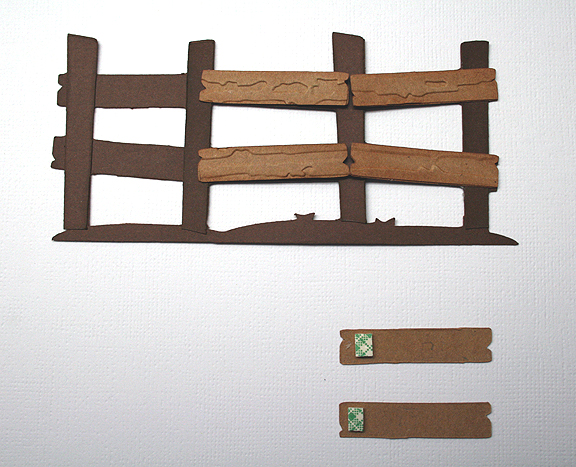
Then I began working on the cross pieces.  I inked the edges and ran them through the Cuttlebug using the Distress Stripes folder.  Because the paper was not real thick, I doubled the layers on these boards.  I then began attaching them to the fence.  I glued one end with liquid glue and put a piece of foam on the opposite end.  Where the boards attached to the uprights that were farther away, I adhered that edge with the liquid glue.  Where the boards are supposed to be closer to the viewer, I attached that end with the foam.  I ended up with sort of a zigzag effect.  When I finished gluing the boards on,  I inked the edges of the grass and adhered the pieces to the fence.

Fence

Next up was the little chick.  

PlainChic

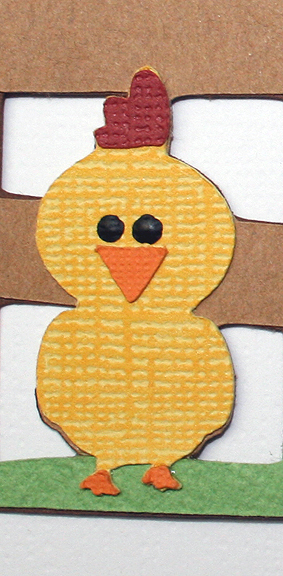
He is cute as is, but this little guy wanted some major work done.  I began with several layers, as I knew I would be doing some nipping and tucking.  He was very happy when he started getting inked.  I cut a separate head from one of the layers and inked it.

He wanted a  beak job done, but I recommended a little tuck instead.  I creased his beak in the middle and folded it. Then I adhered it to his face  and he ended up with some nice dimension.

The comb (his topknot) was next.  I cut two slightly larger than the original piece and cut those into separate sections.  I then adhered the three layers of the comb.  This was a microscopic procedure, done under my lighted magnifying glass because the pieces were so small.

Now we came to what was perhaps the chick’s biggest issue — his wings.  In the original cut, he has no wings.  Just sort of an outline of wings.  This little guy had more than wing envy, he had a wing obsession.  He wanted me to do wing transplants, but in my opinion that would be too drastic.  Without ruffling his feathers, I explained that wing transplants aren’t what they’re cracked up to be.  I thought wing extensions would be a better solution, especially since the little guy is still a spring chicken.

I found some feathers from Paper Doll Dress Up and cut several of those.  I inked the edges and then attached them to the chick, gluing only the top of each feather.  The only procedure left to perform was attaching his new head.  I glued the head even at the top and popped up the chin area (do chickens have chins?) with a pop dot.

As for his new look, the chick is very pleased.  In fact, he happier than a rooster in a hen house.  So let’s pull those curtains back and take a look at the results………..

Chick

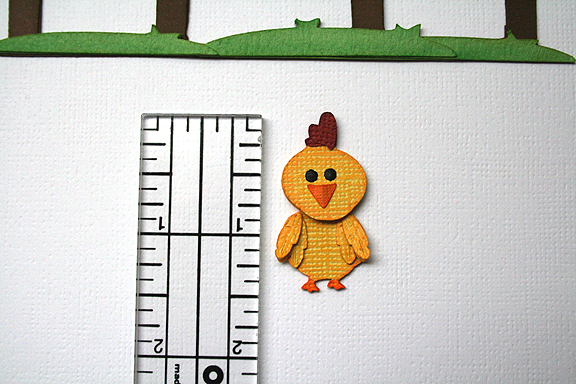
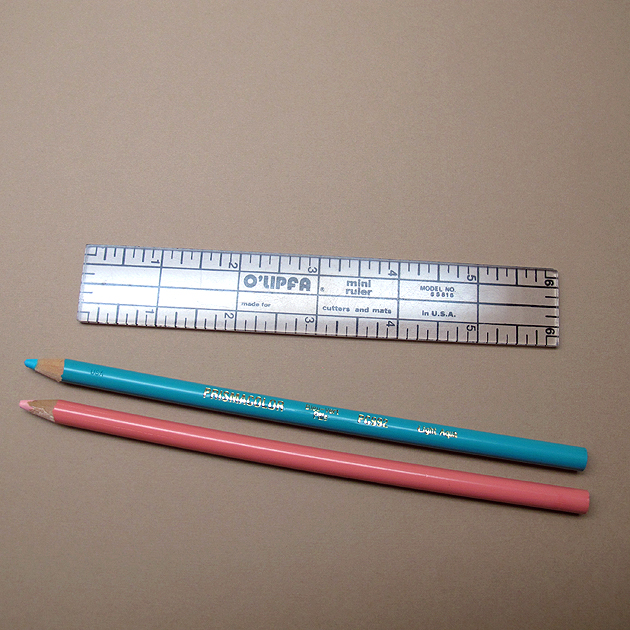
I photographed the chick alongside a ruler so you can see his size.  Altering small cuts and have a big effect.  He ended up being about three layers thick.  Here’s a before and after photo of the entire cut piece.

BeforeAfter2

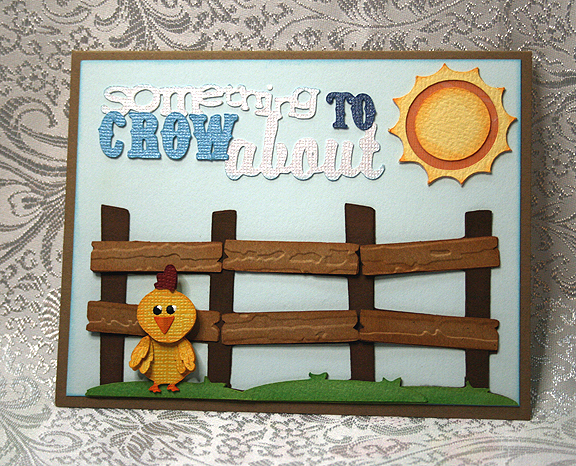
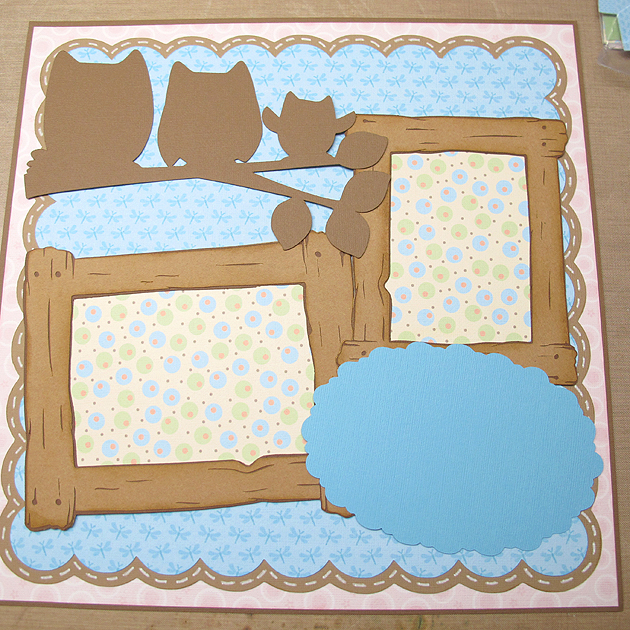
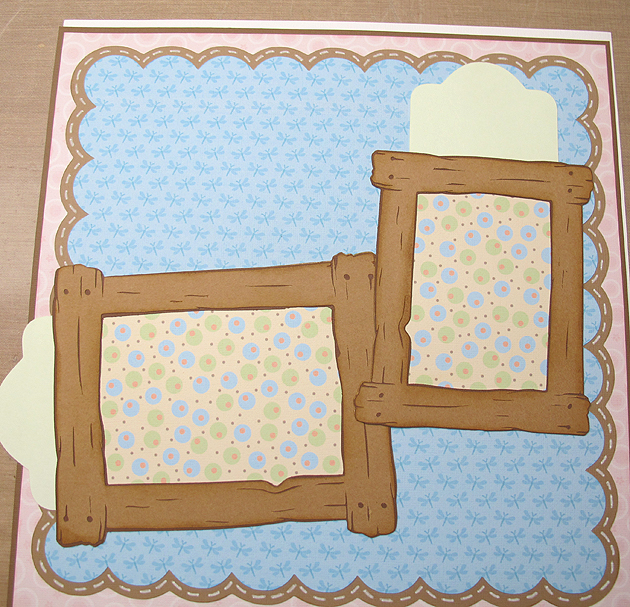
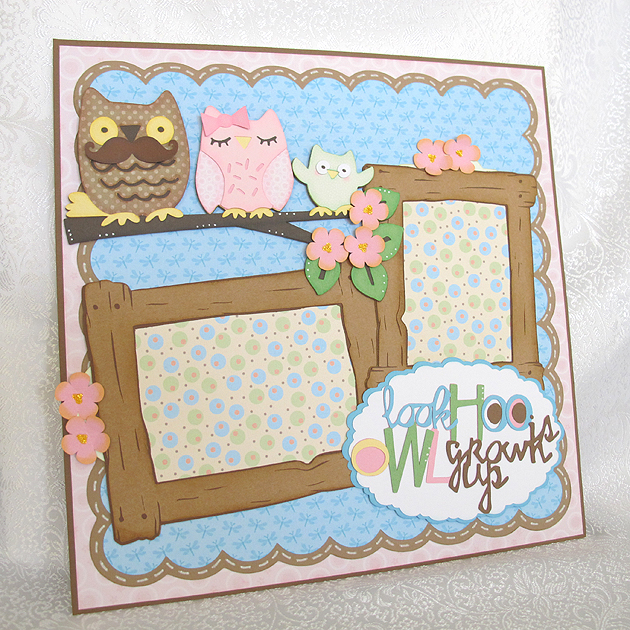
Since the chick now has something to crow about, I decided to use that as the sentiment on my card.  Nadia explained in her tutorial about atmospheric perspective and how you can lose the effect you create in altering your cut by putting it on a background with a lot of detail.  I decided to go with a plain background.  I thought about embossing the background but decided I didn’t want that distracting from my fence and chick.  I used a pale blue and inked the edges.

Front

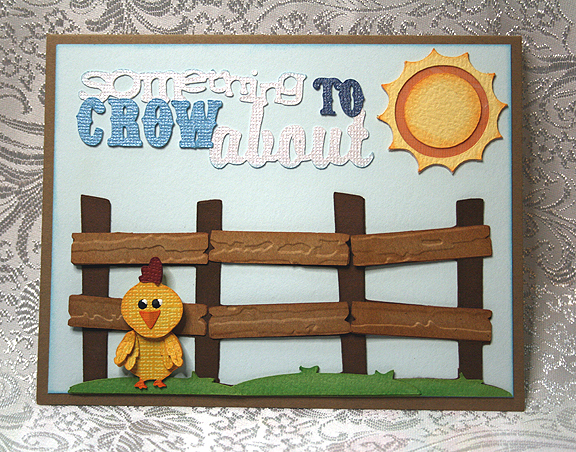
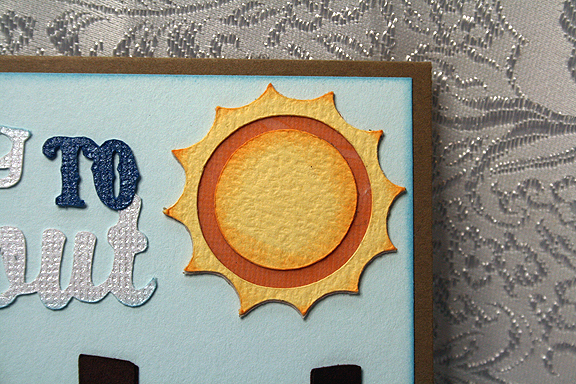
The sentiment is from Just Because Cards, cut at 5″.  The sun is from Pooh and Friends, cut at 1.5″ inches.  For the sun, I used another of Nadia’s ideas.  The orange layer was very bright and I thought it was distracting.  It seemed to draw my eye to that corner.  So I cut a piece of vellum and adhered it over the orange.  Although the orange still looks bright in the picture, it is actually more subdued.

Sun

I had a lot of fun with this project and I guess I should apologize for all the chicken puns.  Thank you, Jenny, for your fun challenge!

Front3

  • Cricut cartridges — County Fair, Just Because Cards, Paper Doll Dress Up, Pooh and Friends
  • Ink
  • Foam dots
  • Vellum

Circleville NSD 2013 — What’s It Owl About?


Thank you for stopping by my blog.  To celebrate National Scrapbook Day, some of the crafty members of the Cricut Circle are posting projects and activities on the message board all weekend long.

I created a challenge for my project and would like to share it with you.  My theme is owls — and the challenge is pretty simple, just create a project with an owl on it.  I made a layout using a cute owl family from Hoot ‘n’ Holler.

LO3

I laid out my design in Cricut Craft Room.  The patterned paper is printed on my Imagine using the Nursery Tails cartridge.  The solid cardstock is from Bazzill.  I began with Elegant Edges for the scalloped square in the background, cut at 10.5″, using <sclop2-s> and the shadow feature.  I used a white Sharpie poster paint marker to make the “stitch” lines around the square.

Scallop

Next I cut the two wood frames from Pooh & Friends at   5.5″ and 6.5″.  The frames are three layers — the basic feature and then two on the blackout feature.  For the piece cut using the printed paper, I hid the inside cut lines in CCR, so the piece was solid — it did not look like a frame.   Here is a picture of what it looks like in CCR.

FrameMat

I first assembled the basic cut and the blackout frame feature, adhering them together.  Then I prepared to glue the frame to the printed frame piece.  I wanted to leave an edge open so the picture could slide inside, so after deciding which end I wanted to leave open, I glued the frame to the mat on three sides only.  I used a liquid glue, but for the photo I laid some papers on the frame to show you were I put the glue. I did this to both frames.

FrameToMat

You can see in this photo how the pictures will slide into the frames.  I used a piece of scrap cardstock for demonstration purposes.

FramePic

Next was adhering the frames to the layout.  Since I wanted to hide tags behind the frames, I put the adhesive on the back of the frame the same way — gluing only 3 sides.  I marked the back of my frame to indicate which side was open for the photo, so I could be sure and leave the same end open for the tag.  I used the red sticky tape to adhere the frames to the layout.

FrameTape

Before attaching the frames to my background, I laid the cut pieces on it to get an idea where I wanted to place the frames.  I made light pencil marks on the background to guide me in the placement.

FramePlacement

I then checked to make sure the tags slid into the pockets behind the frames.

FramePocket


I made the tags to fit behind the frames, adjusting them in CCR to get the proper fit.  I used Tags, Bags, Boxes & More and the cut is <rndtop2>.  The large tag is 6.5″ x 3.75″ and the small one is 5.5″ x 3.125″.   The lined notebook paper is from  Simply Charmed, cut at 2.75″ x 4.5″ and 3.375″ x 5.375″, with the facial features and holes hidden.  This is a screenshot of the CCR file for the tags.

Tags


I used a punch to round the corners and a ruler and colored pencils to go over the score marks on the paper to make it look like actual notebook paper.  I just lightly held the pencils to the paper.

ColorPencils

I adhered the notebook paper to the tags.

Tags3

Next up was the owl family.  They were cut at 5″ using Hoot ‘n’ Holler.  After I cut all the pieces, I used chalk and ink to shade them.  I went over all the edges with chalk first, using a pom pom and chalk applicator.  Then I inked the edges using Distress Ink.

Chalk

 I assembled each owl first and then glued them onto the branch.  I bought a mustache punch a couple of weeks ago, so I had to try it out on Papa owl.  I think he looks pretty dapper with it.  The bow on Momma owl’s head is from Simply Charmed.  I attached the leaves next.

Owls

After adhering all the owls and leaves onto the branch, I attached the branch to my layout.  The owl cut did not include the flowers.  I used Cricut Essentials, cutting Flower 4 at 1″.  I cut three for the branch and four for the tags.  I used Distress Ink (Squeezed Lemonade) to ink the edges of the flowers and Stickles for the centers.

OwlsCU

 The title is from Hoot ‘n’ Holler, cut at 3″.  The scallop oval is from Francy Frames and the cut is <fram13lr>.  I hid the inside cut so I ended up with a solid piece.  I resized the oval to fit the title and it measures roughly 5.625″ x 3.75″.

TitleCU

Here is a picture of the completed layout with the tags pulled partially out.  Hiding journaling tags behind your photo mats is easy to do.

LoTags

LO7

To top off the fun,  I am offering a prize for comments here on my blog.  All you have to do is leave a comment, but only one per person will go into the drawing.  I will leave it open for a week, until May 12 at 8 p.m. (EDT), when I will randomly draw a name.  I am giving away some Graphic 45 goodies — an 8″ x 8″ Secret Garden paper pad and a small matchbook box.

SecretGardenCover copy

SmMatchbook copy

I am sharing a list of some of the talented members of Circleville who have joined together for the weekend festivities and invite you to visit their blogs and see their wonderful projects:

NSD1_edited-200


Cricut cartridges used:  Elegant Edges, Fancy Frames, Hoot ‘n’ Holler, Nursery Tails (Imagine), Pooh and Friends, Simply Charmed, Tags, Bags, Boxes & More

  • Bazzill cardstock
  • Distress Ink
  • Chalk
  • Stickles


Pull the Udder One, You’re How Old?

What a stressful weekend — and we found out the hard way that stress can have an adverse effect on dogs too.  About two weeks ago we found an abandoned kitten in our backyard, and it had a cold.  We started feeding it and even got antibiotics from the vet to give it.  We also started contacting every cat rescue organization in our area and always got the same answer — they could not take in any more cats.

Yesterday around noon we took Fifi, our 10 year old rescue Pomeranian/Chihuahua mix, outside.  She does not like cats but we thought she had been tolerating the kitten being in the yard.  The kitten was becoming tame and yesterday it came up to Fifi and started wrapping itself around her.  I could instantly see that Fifi was stressing out.

We knew something was amiss because Fifi had been having some digestive issues.  Seeing her reaction to the cat, I was sure it was coming from stress.  After that incident, Fifi refused to go back in the backyard.  She would only go out in the front yard, which requires us taking her out on a leash.

When it came time for Fifi to eat, she did not finish her dinner.  We started keeping a close eye on her.  About an hour later she threw up.  Around 1 a.m. we knew something was seriously wrong so we took her to an emergency animal clinic.  Fifi had intestinal bleeding and a temperature of 105 (normal for dogs can be up to 102).   They started her on an IV, antibiotics and gave her some medication for her stomach.

The dr. said it is not uncommon for small dogs to get so stressed out that it causes intestinal bleeding.  We were able to talk to our regular vet today (even though it is Sunday) and she suggested we have the cat out of the yard when Fifi comes home.  We are hoping we get to bring her home around 7 p.m. tonight.

Luckily the animal shelter is open today and we planned on loading up the poor kitten and taking it in.  Steve called a rescue lady that he had talked with yesterday (before Fifi got so bad) and when she found out we were taking it to a shelter she came over and picked up the kitten.

So the kitten stressor is gone and we hope Fifi will come home and be able to recover completely.  I will be taking her to see her own vet tomorrow and hopefully gain some insight to keep this from happening again.  This has been such a huge ordeal on the whole family — we were trying so hard to find the kitten a home.  I had no idea we were harming our dog in the process.  I so wish everyone would spay and neuter their pets.

OK, now on to my card.  I was able to put this together but wasn’t sure I would get it posted in time for the challenge I am entering it in.  Luckily I made it with a few hours to spare.

I made this birthday card for the On the Farm Challenge at Bitten by the Bug 2, which requires you to use any farm animal cut from any Cricut cartridge.  I selected the girl milking the cow from the Country Life cartridge.   My main reason for choosing this cut was that I had a sentiment stamp that I thought would be perfect with it.  The sentiment is from a set by Elzybell, who sadly is no longer making them.

I printed the checked background paper on my Imagine, using the Best Friends cartridge.  The fence and sun are from Pooh & Friends.  I printed the wood design on the fence, again with my Imagine, using the Snapshot: Nature cartridge. The girl milking the cow and the sunflowers are from the Country Life cartridge.  The thought balloon with the sentiment is from Cuttin’ Up.  All cuts, with the exception of those printed on the Imagine, were made using scrap cardstock. The girl and cow, sentiment and the flowers are popped up using foam dots.

And to show I learned something from this challenge, let me tell you about my cow.  She is a Brown Swiss.  The breed originated in the mountains of northeast Switzerland and was declared a dairy breed in the United States in 1906.  I’m not sure that the dark brown marking on her back is accurate, but if not then my Brown Swiss has a dark chocolate beauty mark on her.

After seeing the card assembled, it makes me wonder if there are many women working around cows who wear pink boots!  Well, my milk maid likes her stylish pink boots.

For the inside of the card, I printed another square of checked paper on my Imagine and added some sunflowers to the lower corner.

  • Cricut cartridges:  Best Friends (Imagine), Country Life, Cuttin’ Up, Pooh & Friends, Snapshot: Nature (Imagine)
  • Elzybells stamps