Cricut Create a Critter 2 Owl Witch Card


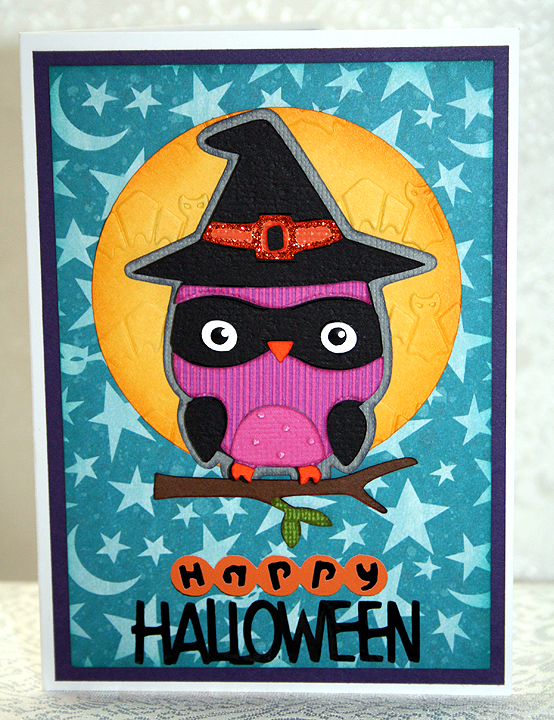
I was able to use my new Create a Critter 2 cartridge last night to make a card to participate in the latest challenge at Cooking With Cricut,  their Card Outreach Challenge.  The challenge is to make fun Halloween cards (no scary ones) for the I Feel the Love Project.

The “I Feel the Love” Project for September is to make Halloween Cards to be given to the kids who live at Casa Pacifica.   Casa Pacifica serves abused and neglected children and adolescents, and those with severe emotional, social, behavioral, and mental health challenges on California’s Central Coast.  Each year the facility has an amazing Halloween party for the kids. It is IFTL’s goal to send a card to each of the 70 children who reside there. (For more information about Casa Pacifica please visit their website.)
I laid out my card in Cricut Craft Room, cutting the owl at 3″.  The owl’s body was printed and cut on my Imagine, using the Bubblegum Stripes cartridge for the small purple stripes.  I did not use CCR for this step, as it still is not compatible with the Imagine.  I embossed the small tummy piece with the Cuttlebug Swiss Dots embossing folder.
For the owl’s eye, I hid the cut that forms the pupil in CCR.  On the mat in CCR, the circles look perfectly round.  But when I cut the eyes with my Expression, they did not come out round.   I had what looked like a cross-eyed owl.  So I took black paint  and a stylus (you can also use the round end of a paintbrush), dipped the stylus into the paint and then formed black circles on the white part of the eye.  Once the paint dried, I put a white highlight on the black dot.
I added a moon behind the owl, which is a circle that I also cut at 3″.  I embossed the moon with a new Cuttlebug folder I recently got, the bat folder from the Midnight Hauntings set.  The phrase was cut at 1″.  Because of the small size of the phrase, I cut it out of vinyl.  The Cricut easily cuts vinyl.  Vinyl is great for small pieces because it already has adhesive, so you don’t have to fuss trying to put glue on them.
I added Stickles to the band and buckle on the hat.
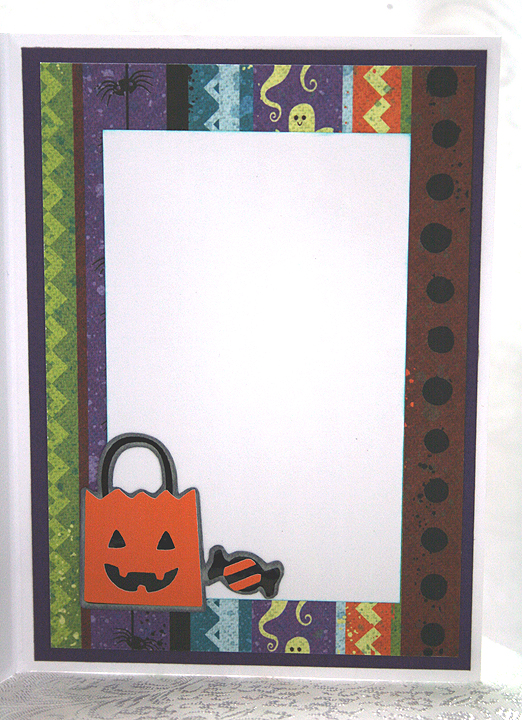
For the inside of the card, I lined it with a couple of pieces of patterned paper.  I cut the pumpkin treat bag and candy piece, also from Create a Critter 2, at 1.5″.  I cut the shadow layer from cardstock and the black and orange layers from vinyl.
The background paper and print paper inside my card are from a K & Company Halloween collection that came out a year or so ago.  I picked it up on sale and don’t remember exactly when I bought it.
  • Cricut cartridges:  Create a Critter 2, Imagine Bubblegum Stripes
  • Cuttlebug:  Midnight Hauntings embossing folder set
  • K & Company Halloween paper pad
  • Stickles

Flowers Made With New EK Success Dimensional Punch


Boy, it has been a long time since I posted anything on our poor ol’ blog.  I have been busy with the embroidery business, which is such a blessing after being so slow last year. 

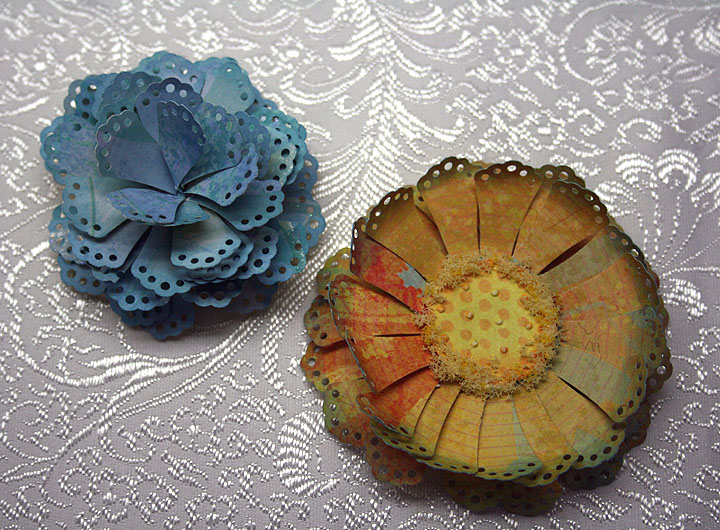
I want to share a couple of flowers I made with one of the new EK Success Dimensional Punches.  EK released four new punches for making flowers and I was able to find them at Joann’s.  The new punches are:  Doily Petals, Gerber Daisy, Dahlia, and Carnation.  The one I used to make these two flowers is the Doily Petals punch.  These are the first two flowers I made — I haven’t had a chance to try the other punches yet.  But after making these flowers, I am looking forward to playing with the other punches.

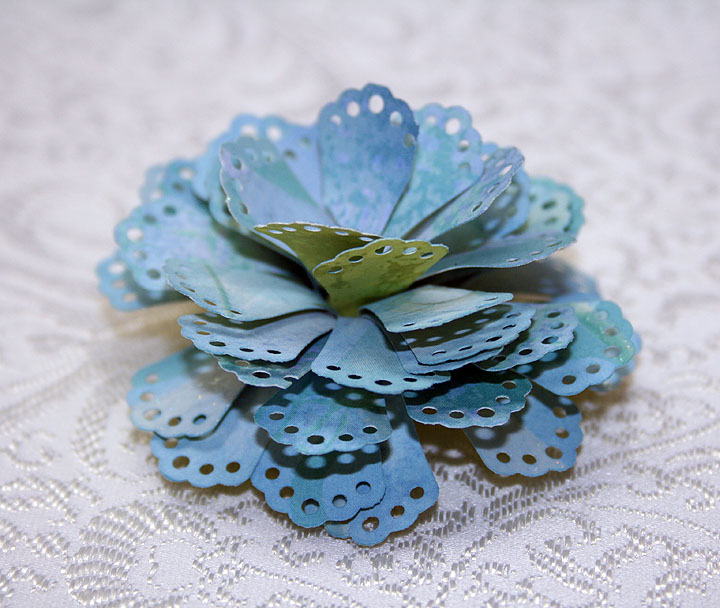
Before trying to make a flower, I watched a couple of videos showing how to use these new punches.  The video I watched on a blog called Tinker Planet really helped.  She showed making a flower using the directions given on the back of the punch package and then showed her method.  I made the blue flower using her method. 

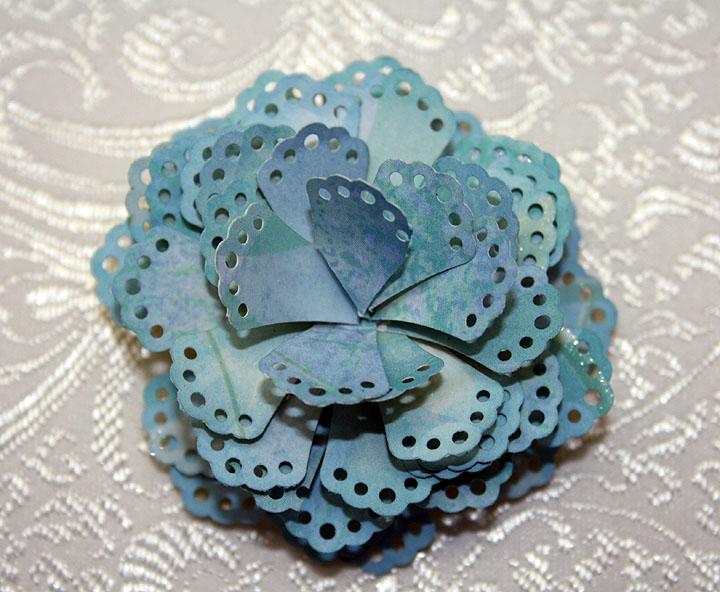
I cut two strips from a scrap of 12″ K & Company paper for my petals.  I put tape at the bottom of each strip using my ATG gun, just as shown in the video.  I wrapped my two strips around a chopstick.  But instead of gluing a pearl or gem in the center of the flower, I cut another strip of petals and used just six petals from this strip.  I wrapped them tightly around a very small paint brush and then glued them in the center of my previous two strips, to hide the hole in the middle. 

As in the video, I pulled all my petals down — just like peeling a banana.  Here is a picture showing the side view of the flower.


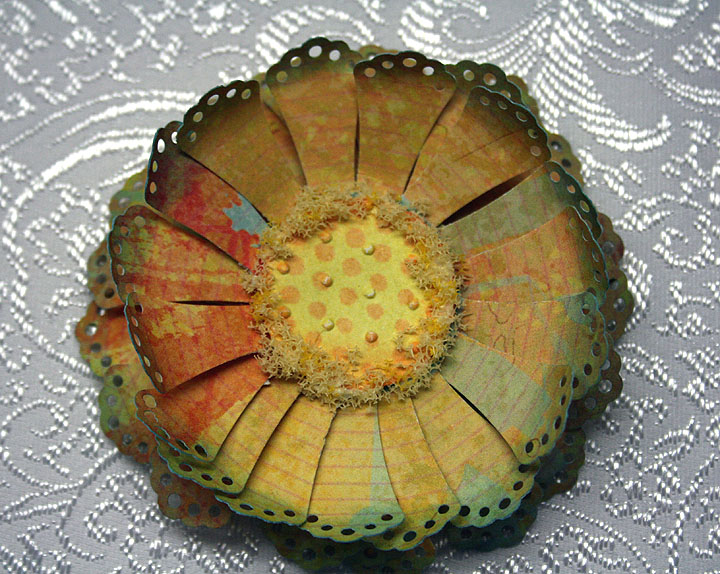
The second flower is my creation.  When I was looking at the strips of petals after punching them, I was reminded of a Spellbinders flower die that I have.  The only difference is that it is a round die — so the petals are all nicely in a circle.  I wondered how I could get the petals on the strip into a circle. 

I thought maybe I could score the strip and then fold it, like making a rosette, and get it into a circle.  I put the strip on my Martha Stewart score board and started scoring a line on each petal.  I scored right next to where the petal joined the bottom strip, scoring  just once on each petal — but always scoring on the same side of each petal. 

Then I folded along each score line and folded the petal until it was almost touching the next petal.  When I got to the end of the 12″ strip, I joined the ends.  Then I punched out a 1″ circle and glued my rosette onto it.  I made two layers and glued them together.  Then I took a third circle and put in the center of the flower and added some Flower Soft around the edges. 

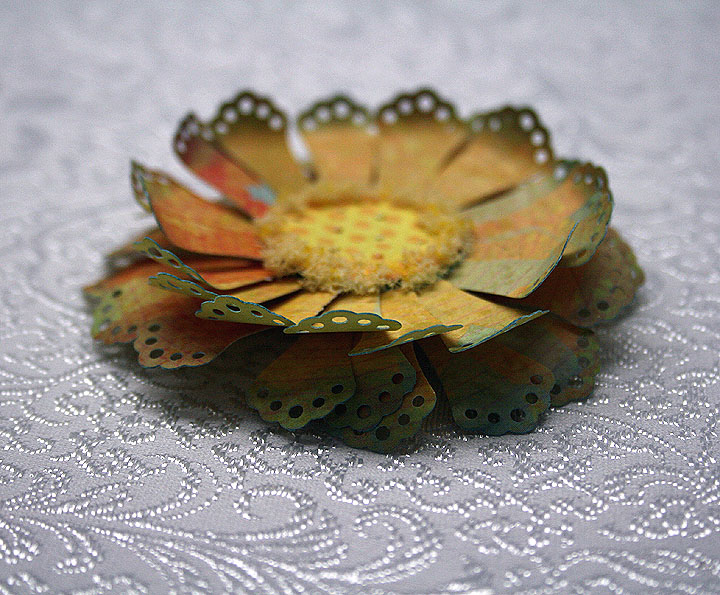
This flower is also cut from a scrap of K & Company paper.  I guess it looks OK — it reminds me of a sunflower.  And here is a side view so you can see the layers and dimension.

  • EK Success Doily Petals Dimensional Punch
  • K & Company paper
  • Flower Soft