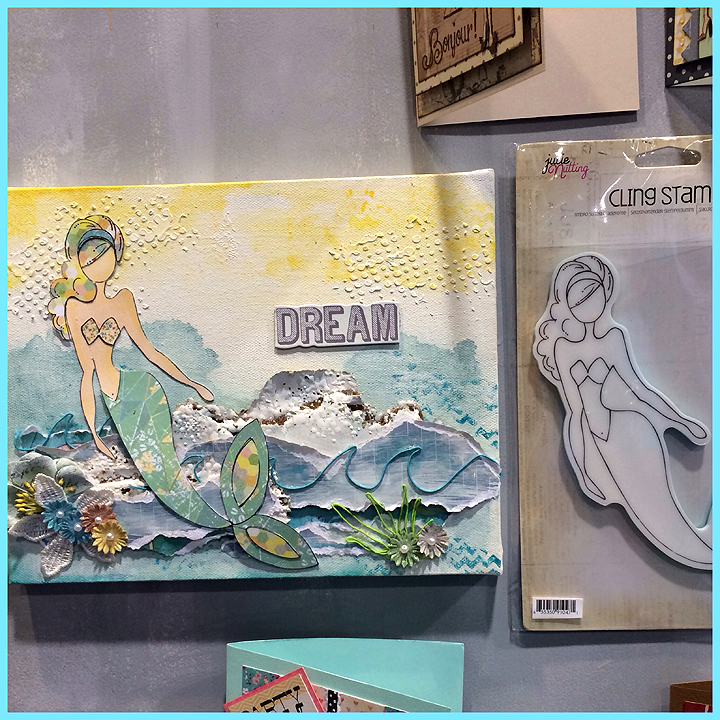
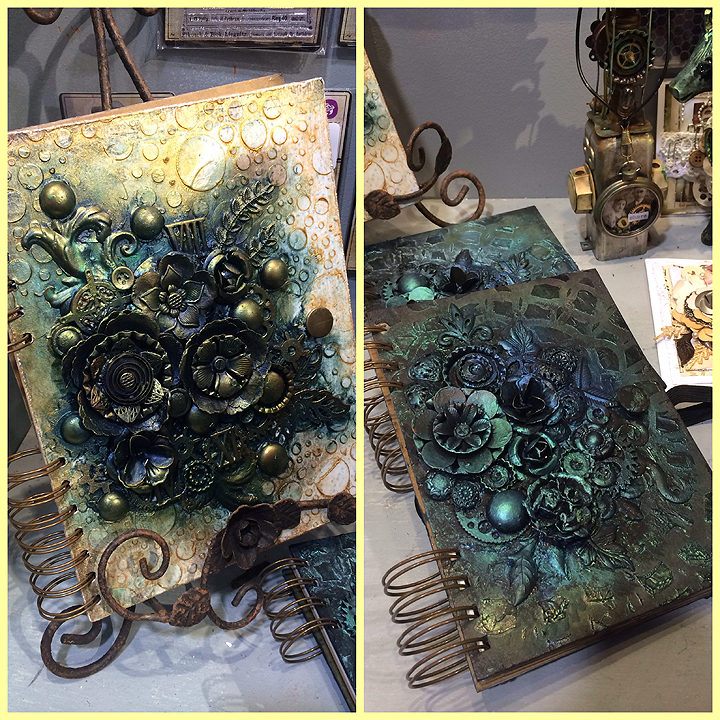
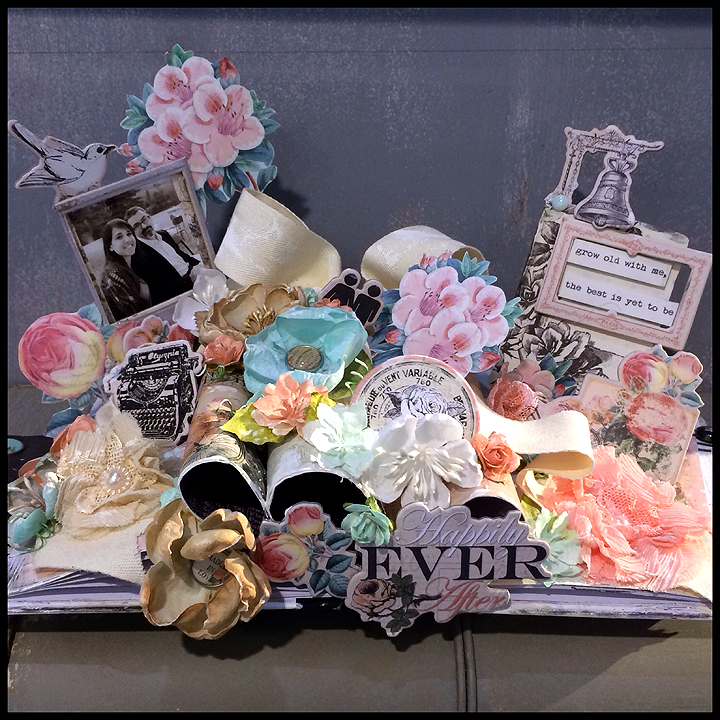
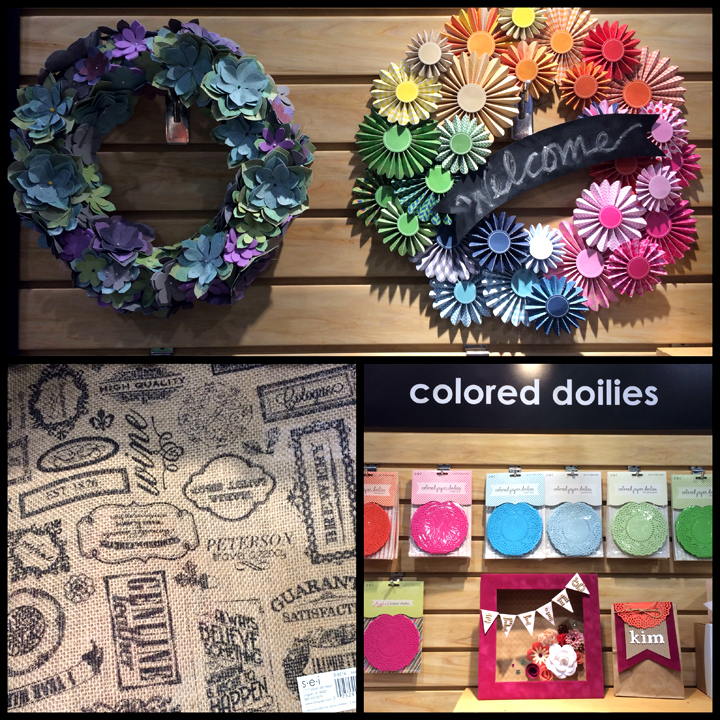
CHA Winter 2014 Conference & Trade Show, Day Two

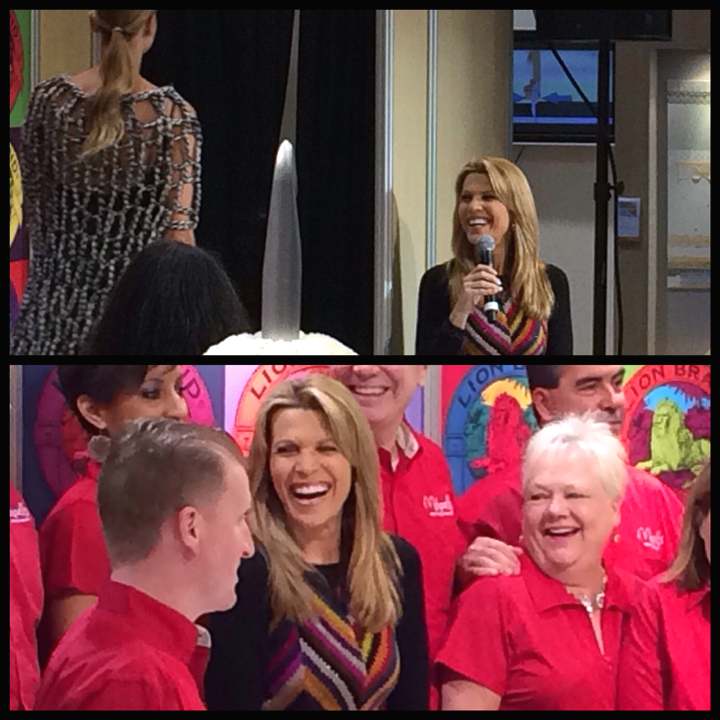
Today we saw some really neat products — and we got to see Vanna White.  Vanna was in Lion Brands Yarn’s booth for a fashion show. It was standing room only, but we had a pretty good spot to watch.  After the show ended, several people went up to have their picture taken with Vanna.  There was a large group of men and women from Michaels (all wearing red shirts) posing for pictures.

Vanna

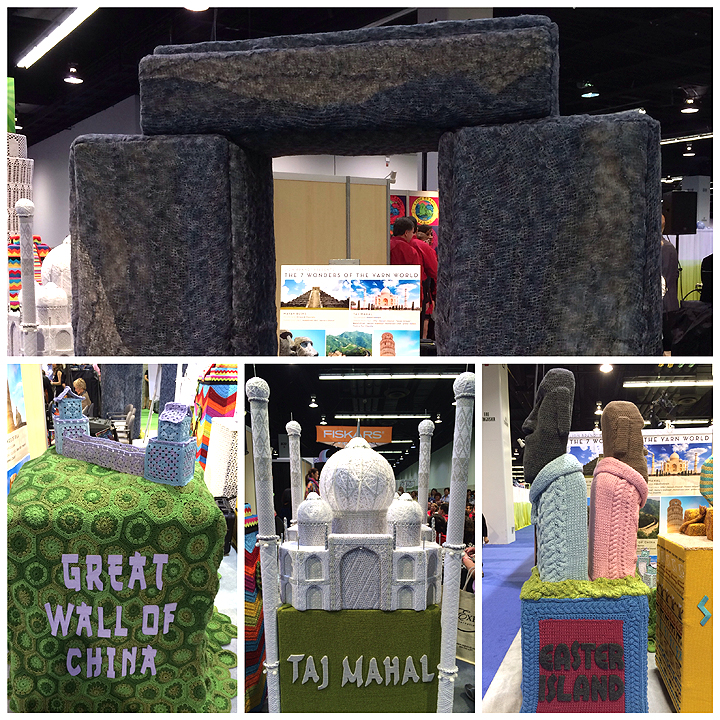
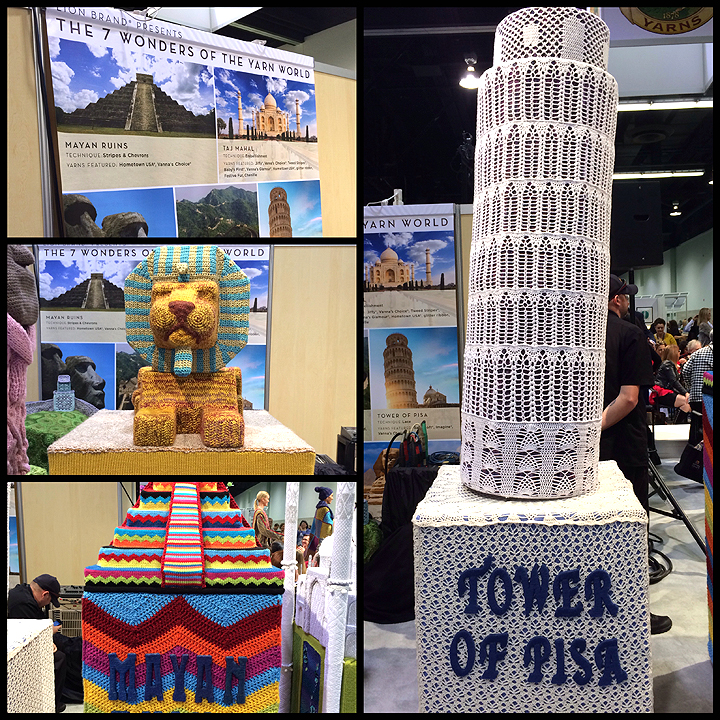
After the crowd started thinning out, Erin was able to take some pics of the displays around the stage.  They were very impressive — all made from yarn.   The display was titled, “The 7 Wonders of the Yarn World” and featured 7 yarn sculptures.

Lion2

Lion3

Soon after we left Lions booth, I spotted a banner for a 3D printer and we headed right there.  It was Klic-N-Kut’s booth and they were doing a demo on the printer.  We watched as it made a mini goblet.  Both Erin and I (and lots of other people) were fascinated by the printer.  The printer is $1300.  You have to have a software program that enables you to draw 3D objects, then you bring that file into the printer’s software program and from there it prints out the object.

3D

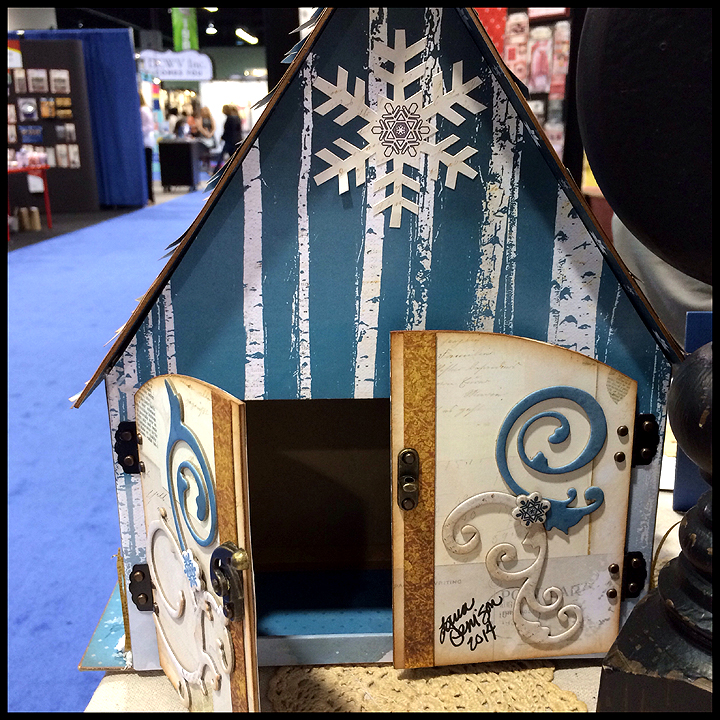
We visited Bo Bunny’s booth again because I wanted to look at the two buildings that Laura Denison (of Following the Paper Trail) created.  Erin took more pictures and this time got some pics of the back of the Winter Fairy House.  It opens up and has space to hold a mini album.

LauraFairyHouse

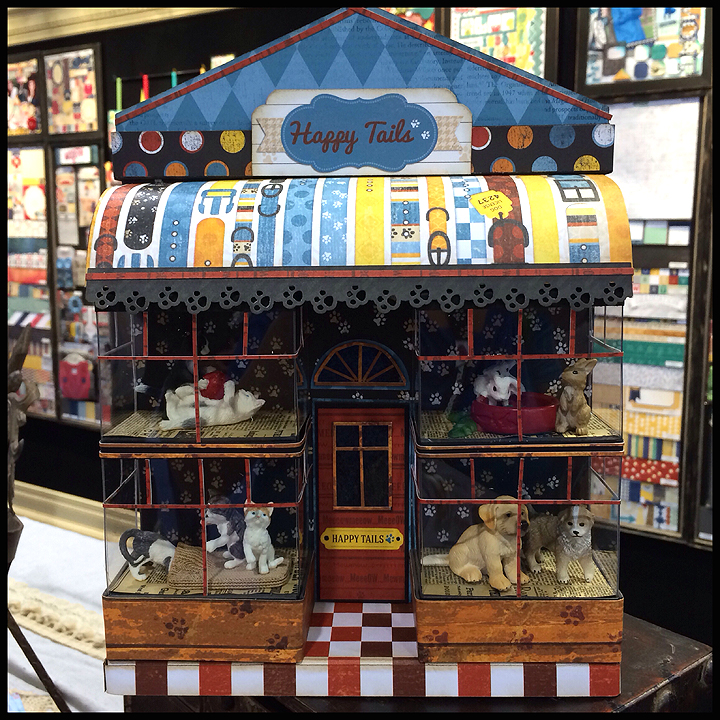
And here is another pictured of Laura’s Pet Shoppe.

LauraPetShoppe

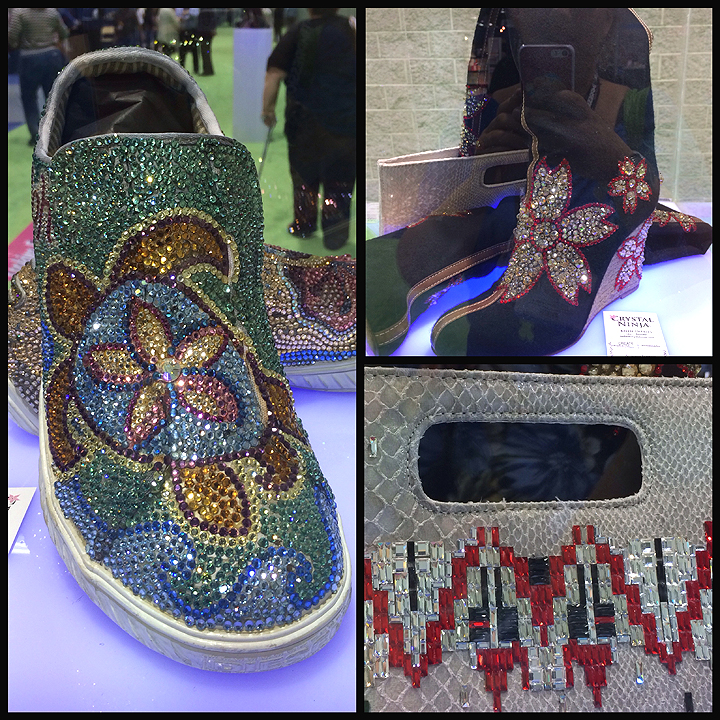
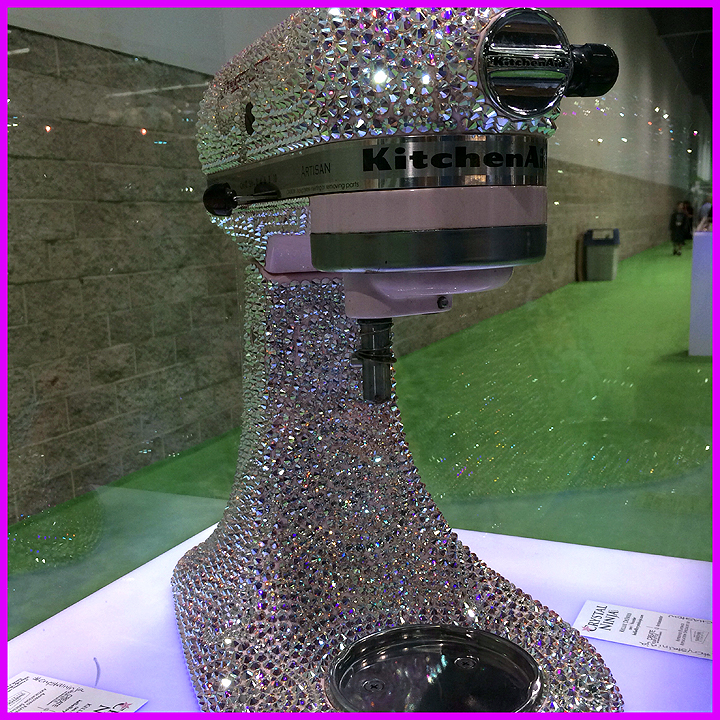
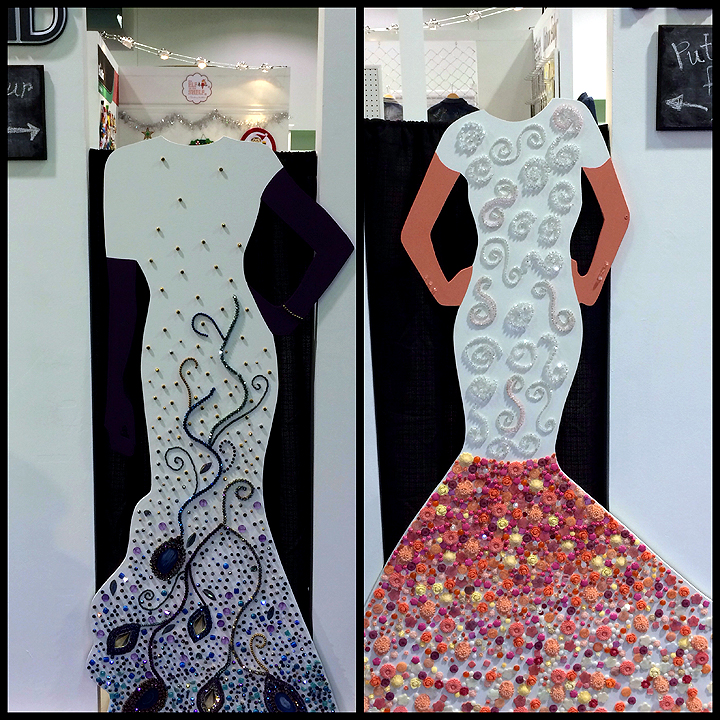
There is plenty of bling on the other half of the showroom floor, too.  We found 3 more blinged out projects in glass cases along the front walkway.  They are all eye catching, but the Kitchen Aid mixer covered in rhinestones is really a knock out.

Bling

Bling2

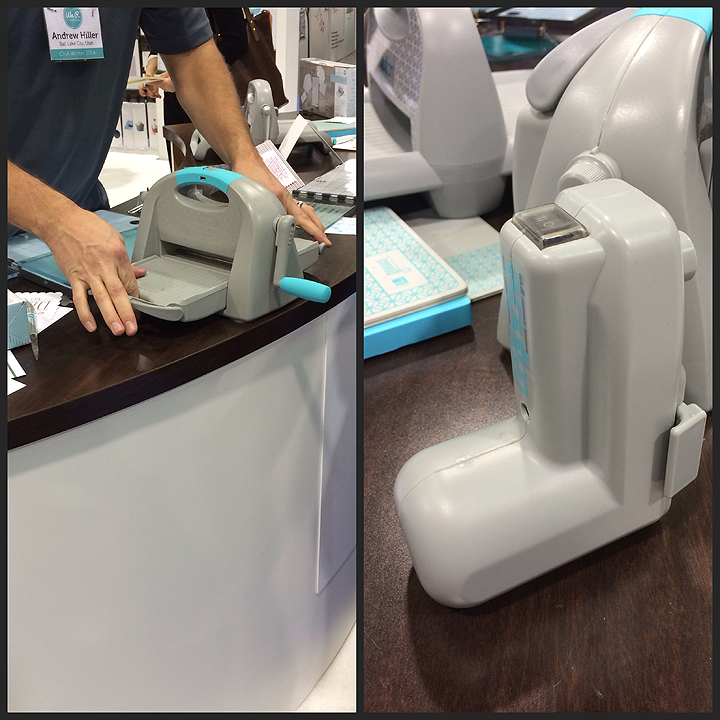
We spent a little time in the We R Memory Keepers booth.  We watched a demonstration of the Lifestyle Crafts Letterpress.  When the man finished with the demo, he showed us a prototype of a new die cutting/embossing machine.  It reminded me a little of my Cuttlebug, but it has a lot of different features.  One is a button that you turn and it raises or lowers the bed.  You need only one set of plates — no more sandwiches.  It also has an optional motor that slips over where the handle attaches — so you can have a motorized version, when you want it.

WeR

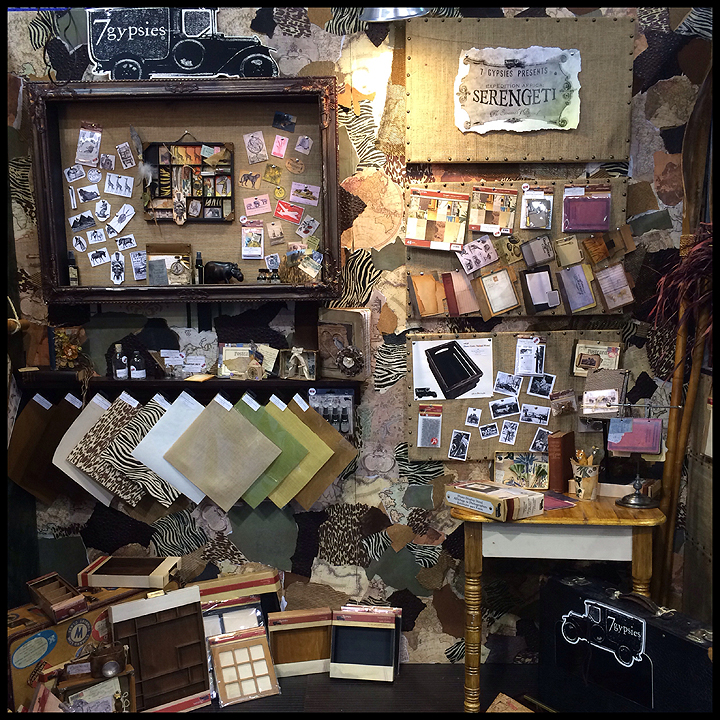
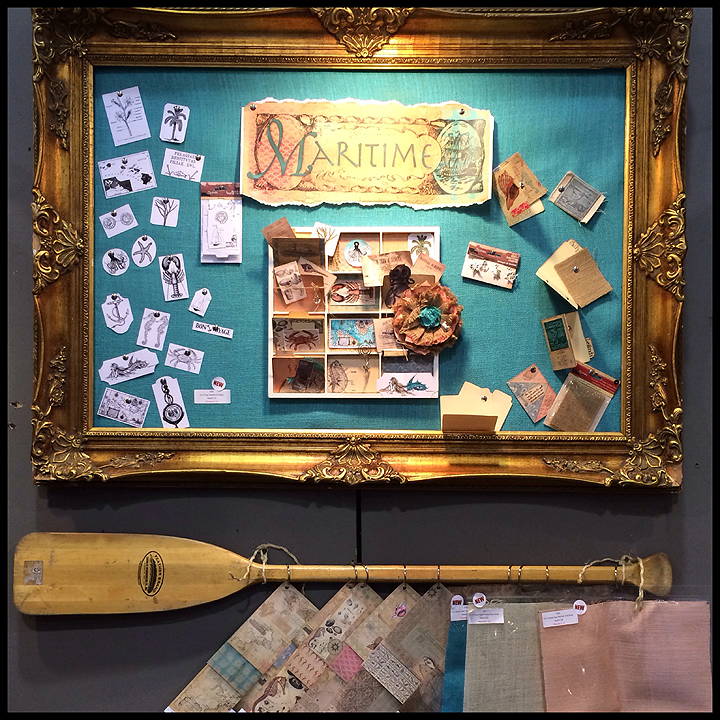
Once again it is getting late, so I am just going to add the rest of the pictures with short captions.
7Gyp

7 Gypsies


7 Gypsies

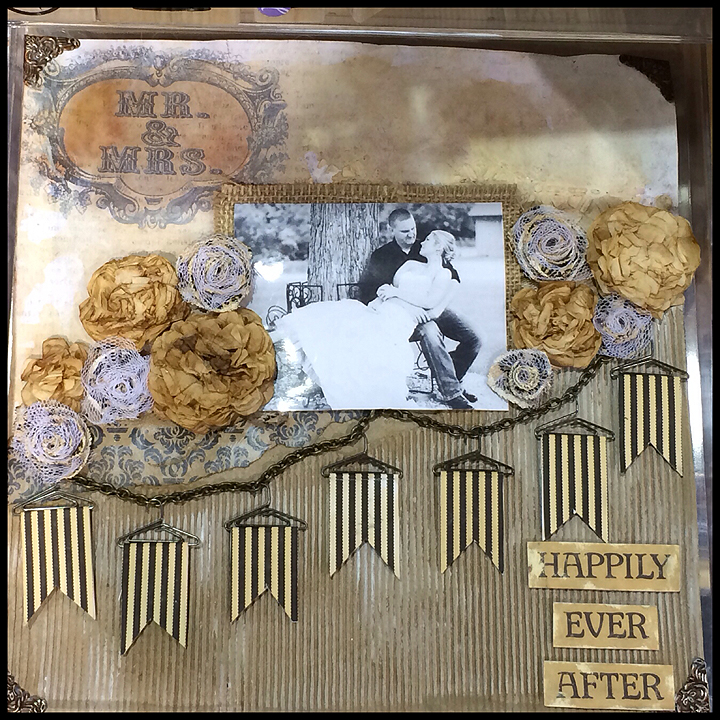
7 Gypsies – I love how they did the banner on this layout. The banners are on small hangers that are hung on a chain.


7 Gypsies

7 Gypsies

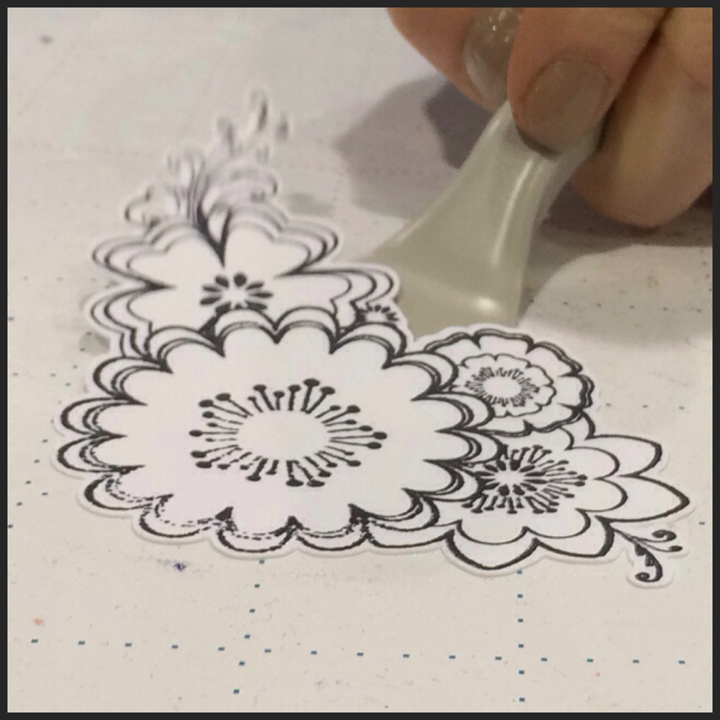
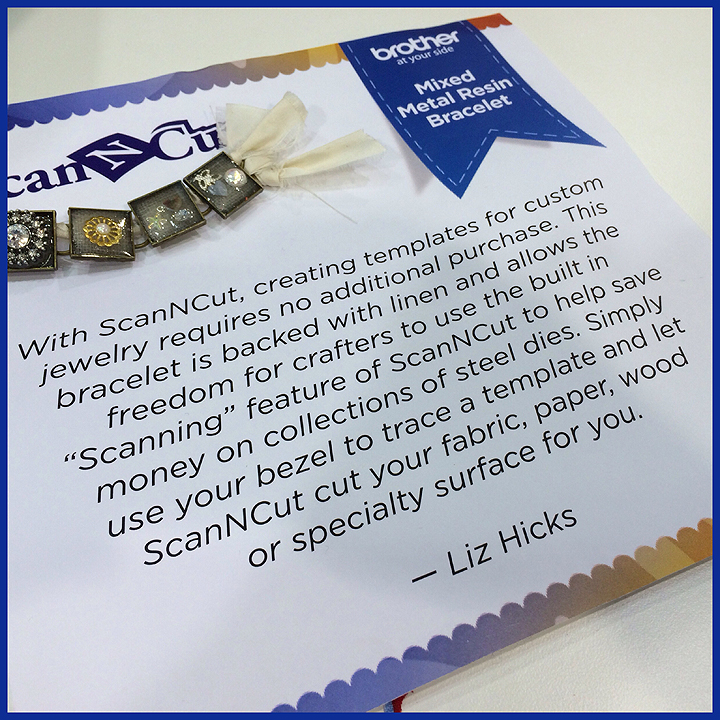
We got to see the new Brother ScanNCut.  It was impressive to watch — the demonstrator stamped an image and cut it out.  Erin came up with a very good point.  So many stamp companies are now selling dies to coordinate with some of their stamps so you don’t have to fussy cut around the images.  Why not take the money you would invest in dies and buy this machine?  That way you don’t have to store the dies and you will be able to cut around any stamped image.  As you can see, it cuts around the fine details.
ScanNCut from Brother cutting out a stamped image.

ScanNCut from Brother cutting out a stamped image.


Removing the cut from Brother's ScanNCut.

Removing the cut from Brother’s ScanNCut.


Bro3

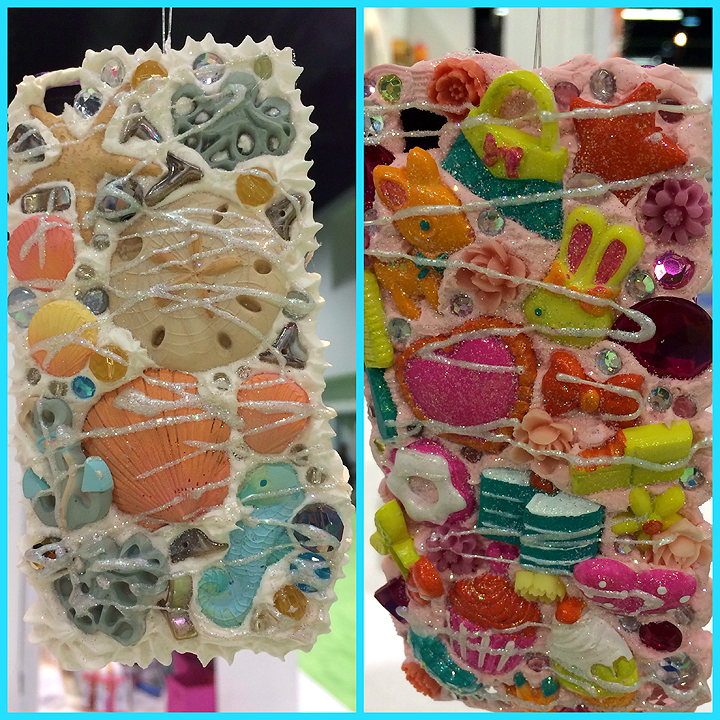
Decorated cell phone cases.

Decorated cell phone cases.


More cell phone cases.

More cell phone cases.


Fabscraps

Fabscraps


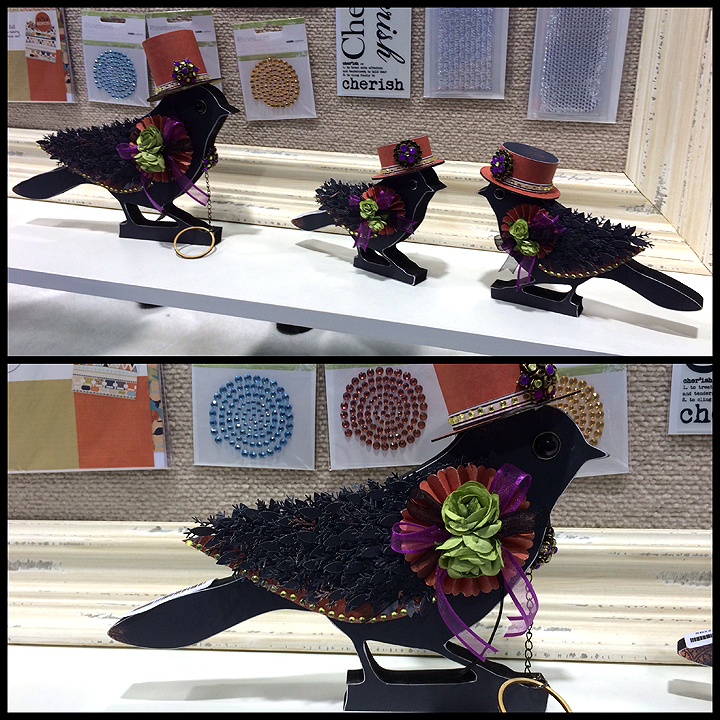
Crows in the Kaisercraft booth.

Crows in the Kaisercraft booth.


Lindy's Stamp Gang

Lindy’s Stamp Gang


Lindy's Stamp Gang

Lindy’s Stamp Gang


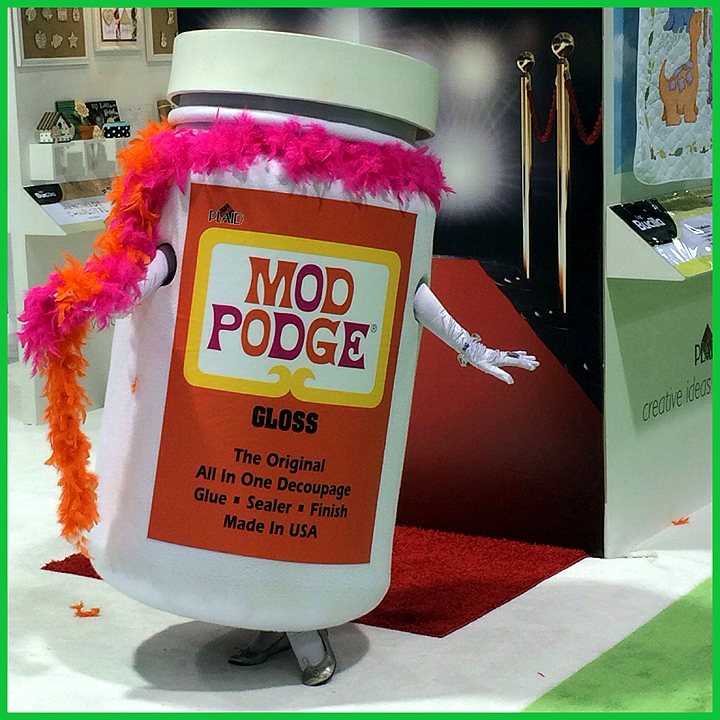
The Modge Podge mascot -- she was kind enough to pose for us.

The Modge Podge mascot — she was kind enough to pose for us.


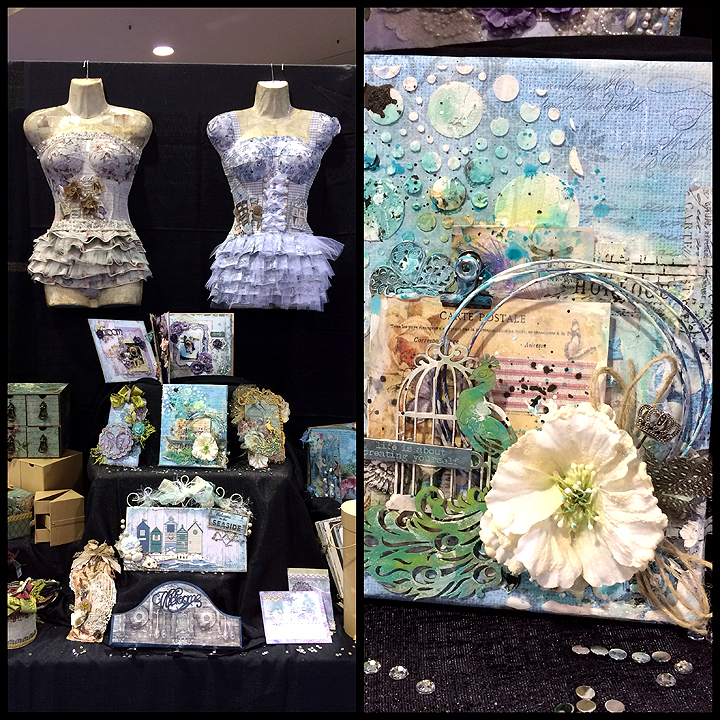
Displays in the Plaid booth.

Displays in the Plaid booth.


Prima

Prima


Prima

Prima


Prima

Prima


Prima

Prima


SEI

SEI


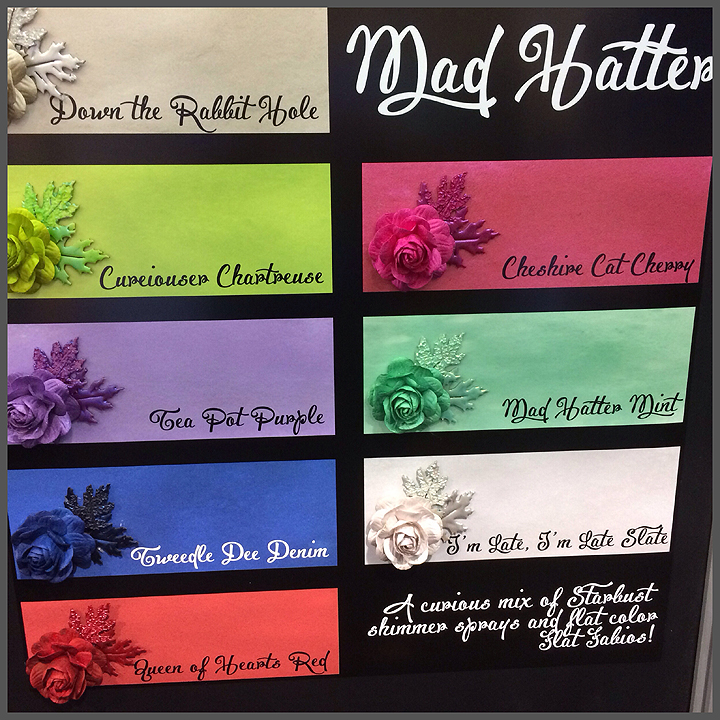
Stampendous

Stampendous


Stampendous

Stampendous


Stampendous

Stampendous


Stampendous

Stampendous


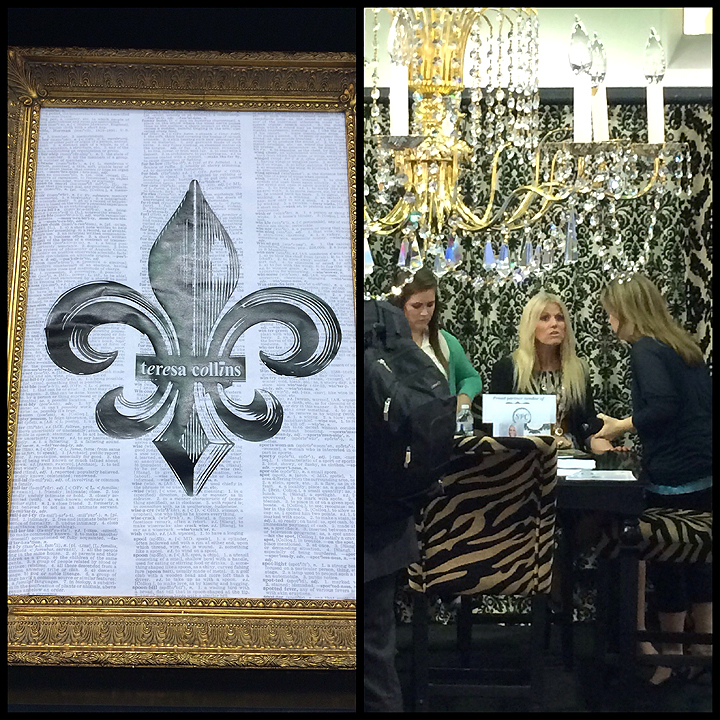
Teresa Collins

Teresa Collins


Teresa Collins -- the bottom picture shows an album that doesn't look like much in the package.  But you pull the tab on the one end and it flips through the pages.

Teresa Collins — the bottom picture shows an album that doesn’t look like much in the package. But you pull the tab on the one end and it flips through the pages.
 

Tim Holtz demonstrating his new spritzer.

Tim Holtz demonstrating his new spritzer.


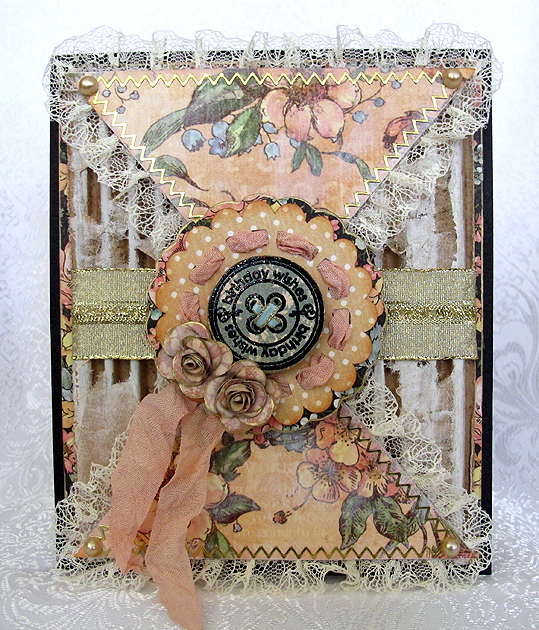
Graphic 45 A Ladies’ Diary Birthday Card


I wanted to make a special birthday card and only knew that I wanted to use some of my beautiful Graphic 45 paper (that I seem to be hoarding) to make it.  I went looking on the web for some inspiration and it didn’t take long for me to decide on my design.

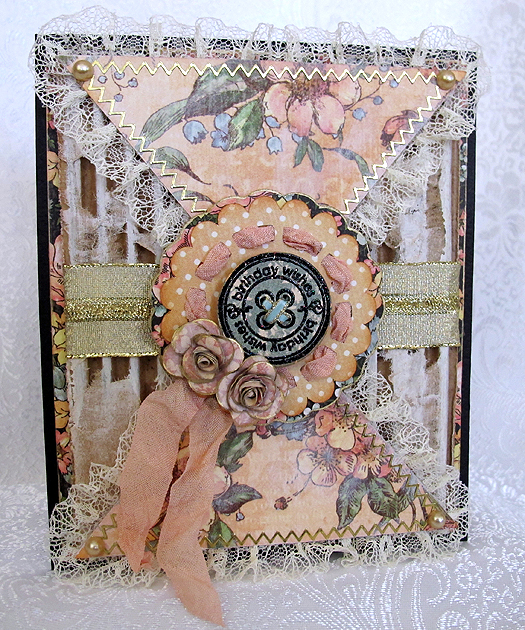
I found a card sketch on Stuck On U Sketches that I liked and got out my paper.  All the printed paper is from A Ladies’ Diary collection.  The base of the card, the solid black cardstock, is from Bazzill.

Front6

The background is a piece of corrugated cardboard — I removed one of the layers so you can see the ribs.  Then I took some gesso and dry brushed it on.  I wrapped a piece of gold ribbon from my stash around the middle.

I cut the triangle pieces in Cricut Craft Room using George & Basic Shapes.  I dry brushed some gesso on the triangles and glued lace trim around the edges using Farbri-Tac glue.  The gold trim around the edges is stickers.  I attached pearls at the corners.
Front5

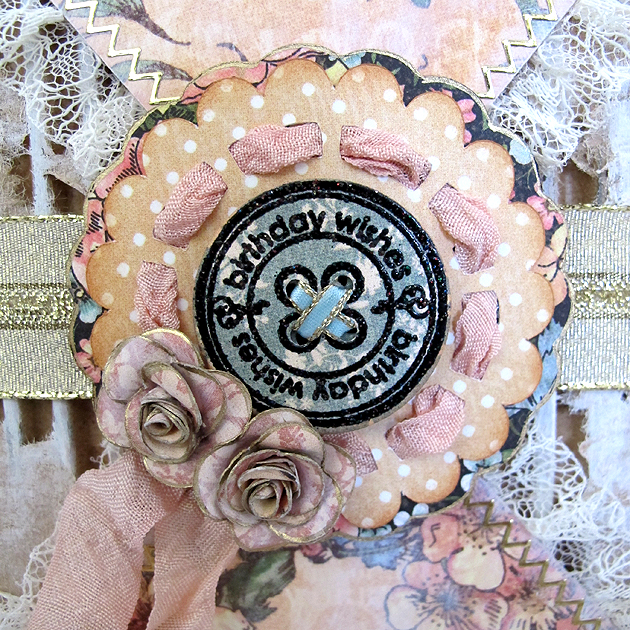
The scallop circle is from Cricut Alphabet, <Doily12>, and it is cut at 2.5″.  I used a Krylon 18kt. Gold Leafing pen to go around the edges of the shadow scallop.  I dyed some seam binding using Tattered Angels Glimmer Mist and threaded it through the holes in the doily, leaving the tails to hang down.

ScallopCircle

The birthday button in the center of the scallop is a new stamp and die set that I just got from Whimsy Stamps.  I heat embossed the sentiment using Stampendous Stardust embossing powder.

Button

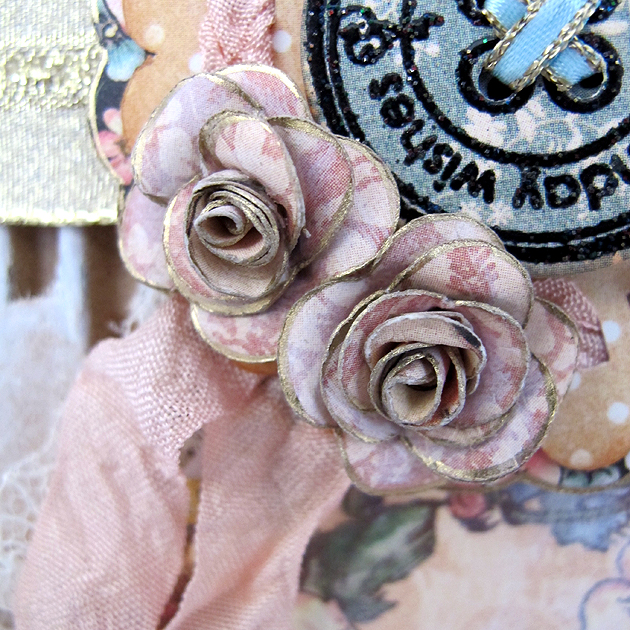
The two small roses were made following this tutorial, from Scraps of Life’s blog.  I used a flower shape from Paisley, Layer1 + <Shoes1>, cut at 4.5″.  I dry brushed the layers with gesso and used the gold leafing pen on the edges of the petals before I assembled the flowers.    I love how tiny they are — they are under 1″ across.

Roses

The scallop layer and the button are attached to the card using foam pop dots.

On the inside of the card, I edged the black floral layer with the gold leafing pen.  I still have to do my sentiment layer.  I think I will write it first before attaching it.  If I make a mistake, then I can just redo it rather than having my blunder permanently attached to the card.

Inside

  • Graphic 45 A Ladies’ Diary collection
  • Bazzill cardstock
  • Cricut Craft Room
  • Cricut cartridges:  Cricut Alphabet, George & Basic Shapes, Paisley
  • piece of corrugated cardboard
  • ribbon from my stash
  • seam binding
  • Tattered Angels Glimmer Mist
  • Stampendous Stardust embossing powder
  • gold border stickers
  • self-adhesive pearls
  • Gesso
  • Krylon 18kt Gold Leafing Pen
  • Whimsy Stamps — Everyday Button Sentiments and Button Die
  • Fabri-Tac adhesive


My First Mixed Media Canvas — Cricut Southwest Contest

I have been wanting to try my hand at creating a mixed media canvas for a while now.  Cricut’s latest contest for their new Southwest cartridge gave me the push to get started.  The inspiration for my project was a picture I pinned on Pinterest of a gorgeous white dream catcher.

I watched a lot of videos online trying to gather facts on what supplies I needed and how I wanted to proceed.  I made a run to Michaels for supplies before I started.  I needed a canvas and gesso, and I also picked up a few fun items to try.  I think my favorite was the modeling paste.

3


4

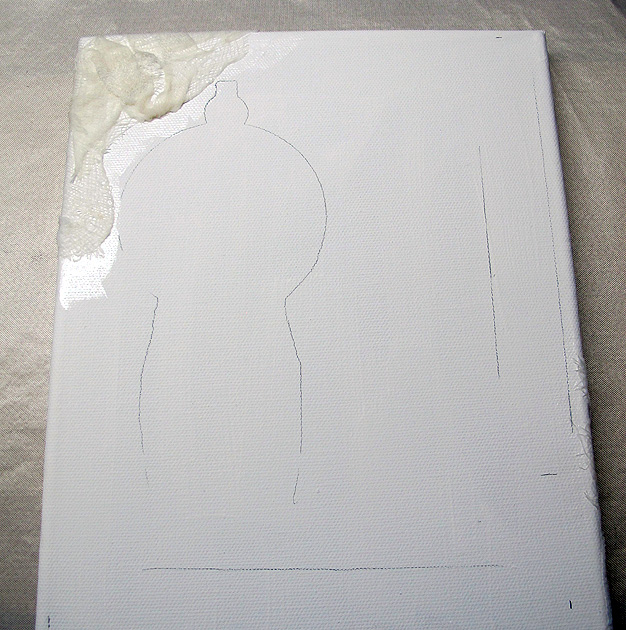
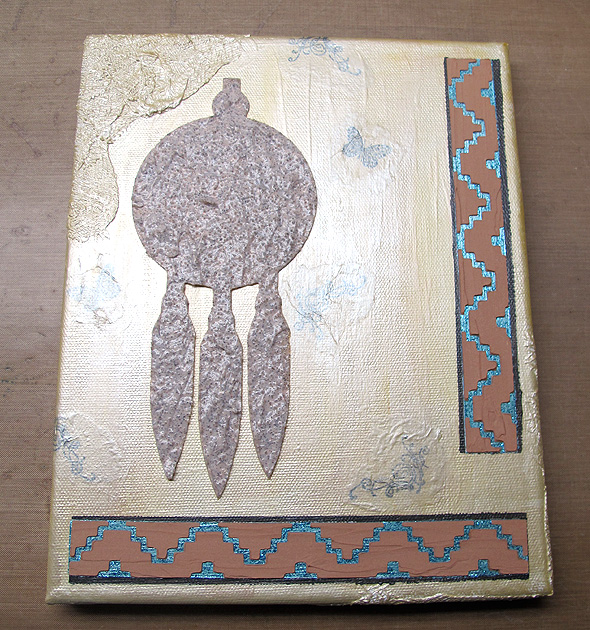
I laid my design out in Cricut Craft Room.  The first step was to paint the 8″ x 10″ canvas with gesso.  After it was dry, I cut out the dream catcher  at 7″ and border strips at .85″ from scrap cardstock so I could gauge where I wanted them on the canvas.  I lightly traced around the cuts with a pencil.

StepCanvasLayout

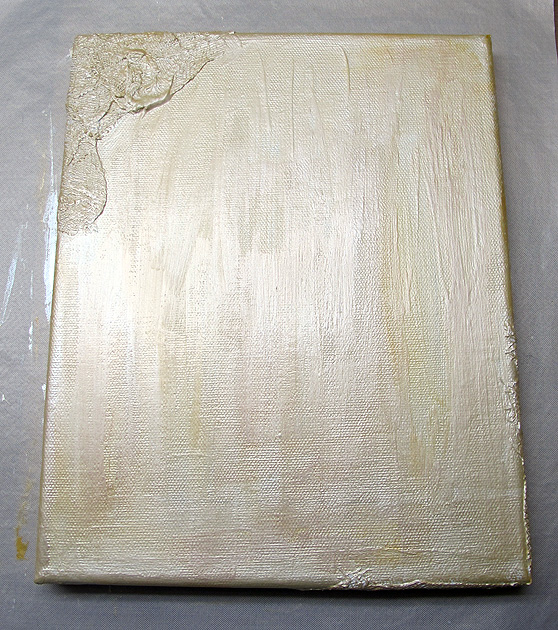
Then I added some cheesecloth to the canvas using a gloss medium.  When that was dry, I gave everything another coat of gesso.  Then I used two shades of Martha Stewart metallic craft paint to cover it.

StepCanvasPaint

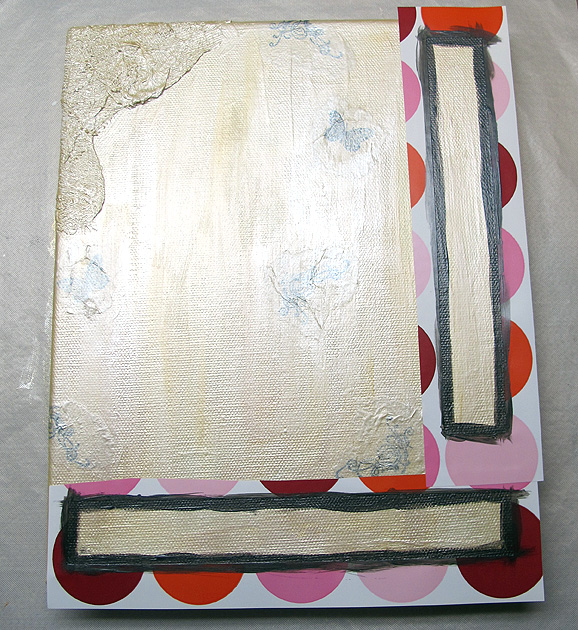
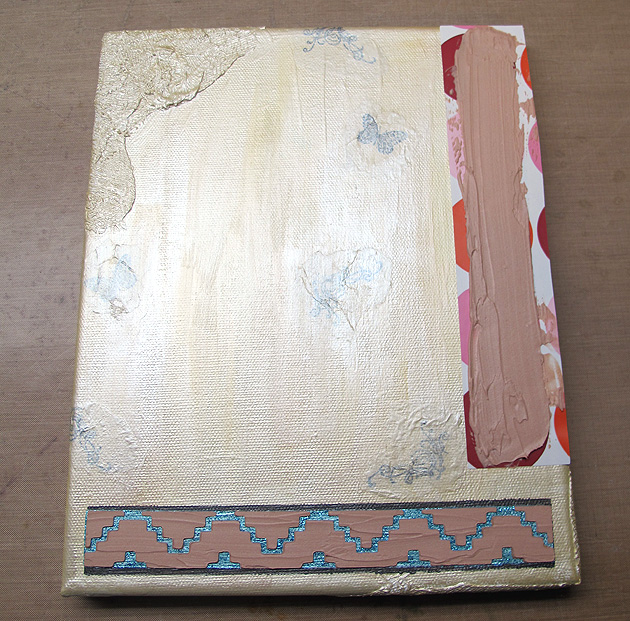
For my borders, I cut the design using repositionable vinyl and made stencils.  I used the negative images for my stencils.  The stencils are the polka dot material in the pictures.  It is some vinyl I picked up on clearance.  Using the first stencil, I laid down some gunmetal metallic paint.  I would skip this step next time because I ended up covering that part of the design with some leather lacing.  I didn’t like the dark paint — it was too much of a contrast.

StepBorderDk1

In this picture you will notice the canvas looks different than the finished project. I had stamped some images on it that I decided to delete by covering with gesso and adding some more cheesecloth. I then painted the area to blend in with the background.

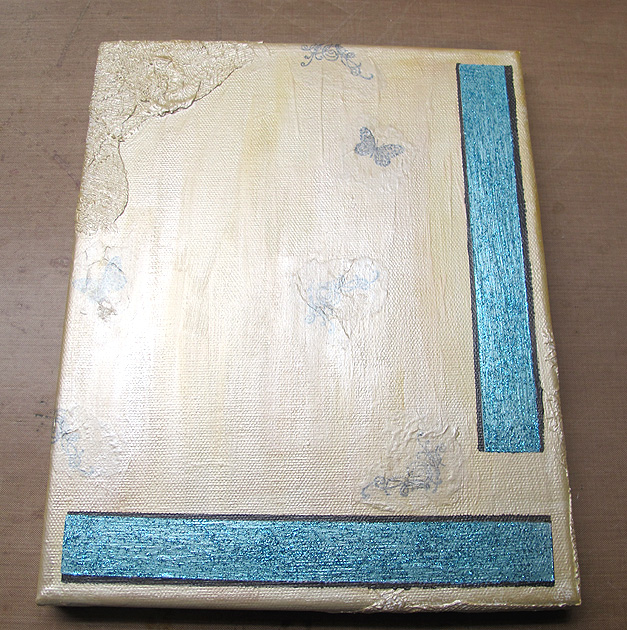
I laid down the turquoise color with the second stencil.  I put a layer of gesso first and then added two layers of color.  The final layer was a coat of Martha Stewart glitter paint.

StepBorderBlue

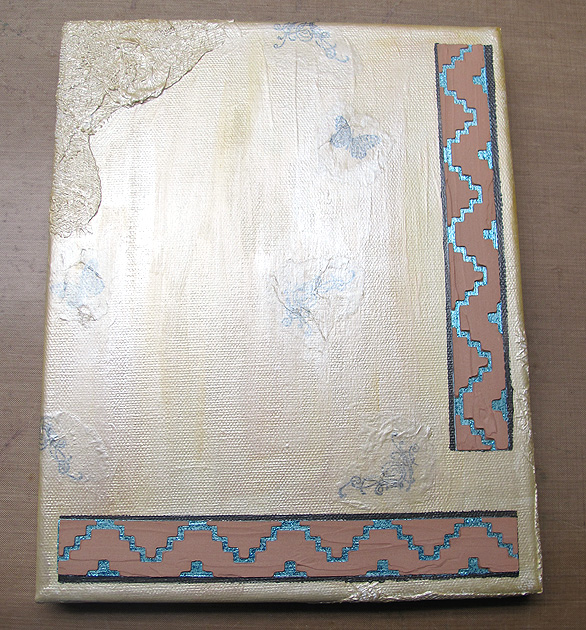
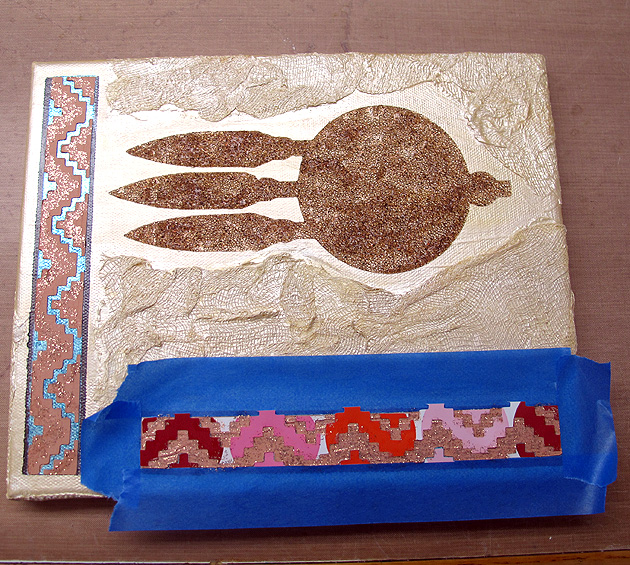
The third stencil is where I got to try the modeling paste.  I mixed some copper color into the paste and used a craft stick to smooth it over the stencil.

StepModelPaste1

I was so happy with how it turned out — the design is raised and after it dried it reminded me of pottery.

StepModelPaste


Before doing the last layer of the borders, I cut a stencil of the shadow of the dream catcher and stuck it on the canvas.  I mixed some glass bead gel with some glitter paint and spread it over the canvas.  This layer was pretty wet and it had to dry overnight.

StepGlassBeads


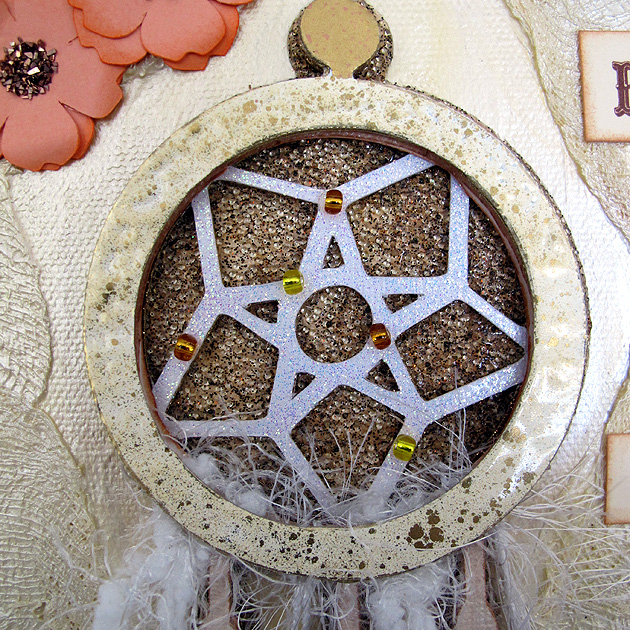
You can see the glass beads behind the web part of the dream catcher.  They give a really neat effect.

DCCloseup2


The final border stencil was a little tricky.  My first issue was weeding the correct vinyl — I kept pulling off the wrong areas.  The I had trouble getting it to stick on top of the modeling pasted.  It wanted to lift up, so I opted to add just a coat of copper glitter paint for the final coat, rather than changing colors completely.  I was afraid the paint would bleed and be noticeable if I went for a contrast.

StepBorderTopLayer


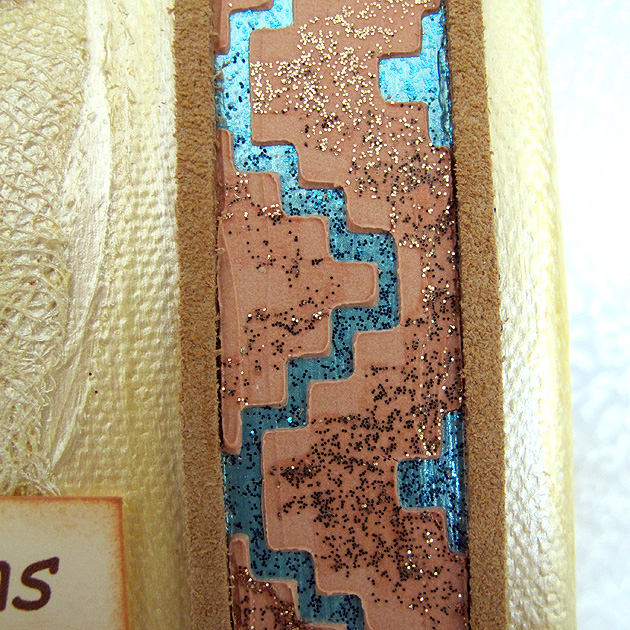
I was very pleased with the finished border.  The last layer added a subtle glitter design on the modeling paste.

BorderCloseup2

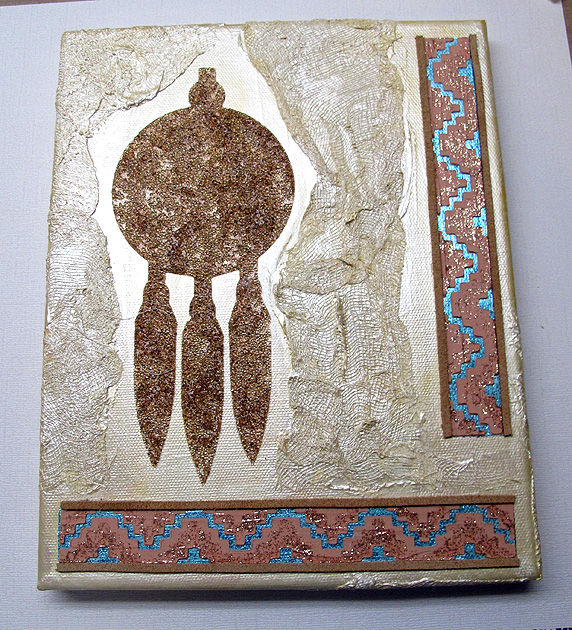
At this point I decided I did not like the stamped images I placed on the canvas earlier.  I painted over them with gesso and then added some more cheesecloth.  I went over the entire area with the metallic paint and blended the areas into the background.   I also glued some leather lacing along the edges of the border, covering the dark painted layer I had first stenciled on.  I was much happier with this look.

StepCheesecloth2

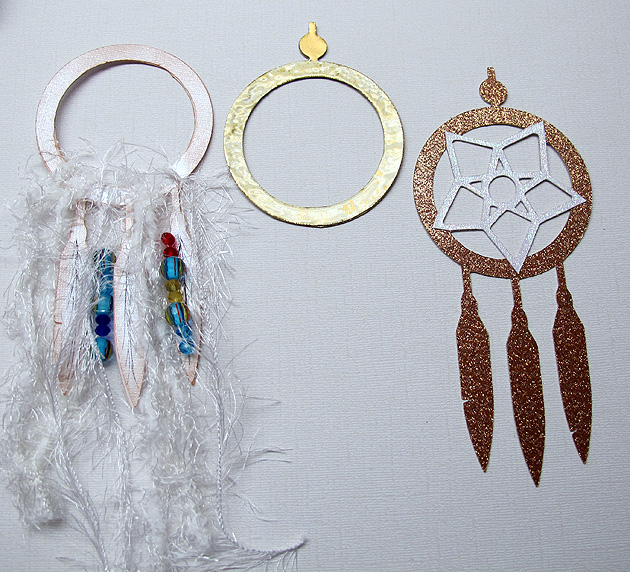
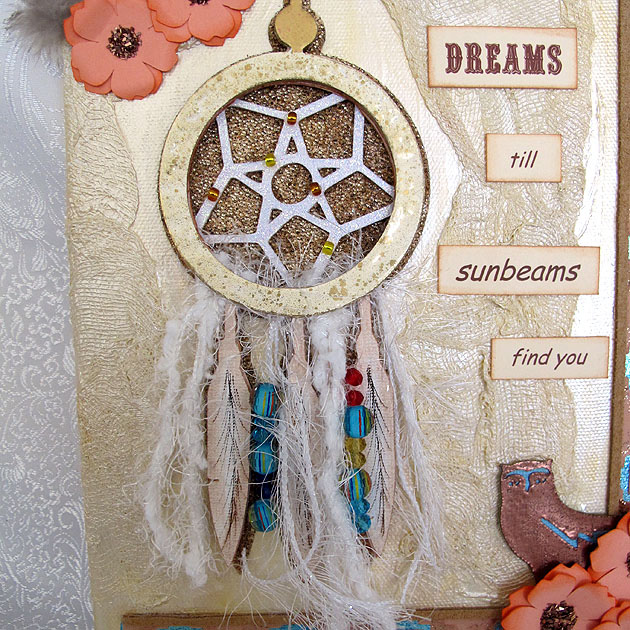
I used several layers to make the dream catcher.  I trimmed one layer so all I had was a circle and used that to tie on the trim and beads.  The top layer is also just the circle and I heat embossed it using a Fran-tage powder from Stampendous.  The web part is also heat embossed using a holographic powder.  I glued some small seed beads to it.  I added several layers of feathers and sketched in some lines using a marker.

StepDCLayers


This is what it looks like all put together.


DCCloseup

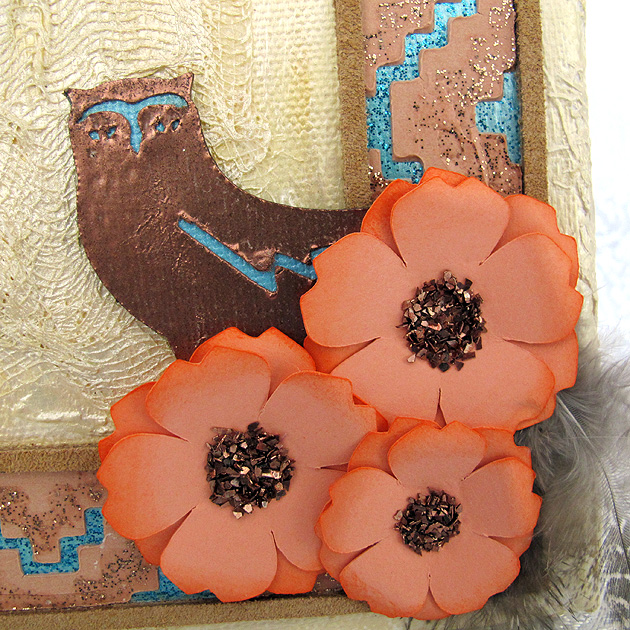
The flowers were cut at two sizes, 1.5″ and 1.25″.  I inked the edges and curled the petals under.  The flower centers are glass glitter from Stampendous.  I glued some feathers behind the flowers.  The owl was cut at 2″ and heat embossed with copper embossing powder.

Owl

The saying was printed using various fonts and cut apart into rectangles.  I inked the edges and glued them on the canvas.  It is actually a song lyric from Dream a Little Dream of Me, sung by Cass Elliott of the Mamas & Papas.

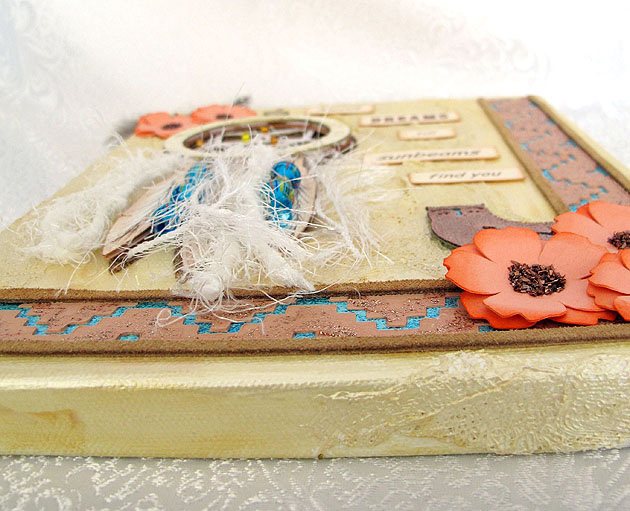
Here is a side view of the canvas, to give you an idea of all the texture and dimension it has.

SideView

While this project was very time consuming, I do want to try doing a canvas again.  With all the supplies I now own, I don’t have an excuse not to.

1

  •  Cricut Southwest cartridge
  • 8″ x 10″ canvas
  • Liquitex Gesso
  • Liquitex Modeling Paste
  • Liquitex Glass Beads
  • Golden Acrylic Glazing Liquid (used to blend background paints)
  • Martha Stewart acrylic craft paints:  Light Gold Metallic, Pale Bronze Metallic, Aquarium Pearl, Turquoise Glitter, Brownstone Glitter, Sunstone Glitter
  • Cheesecloth
  • Stampendous Fran-tage embossing powder
  • Stampendous Glass Glitter
  • Yarn
  • Beads
  • Feathers
  • Leather lacing (from Michaels)

Prom Princess Scrapbook Layout

Wow, it has been so long since I posted something on our blog.  A couple of weeks ago, Bitten by the Bug 2, posted their Princess (the Word) Challenge and I decided I wanted to participate.  Of course, I waited until the last minute to finish my project.  Time is running so short, in fact, that I am going to post pictures right now so I can link my project to their blog and then come back and post the details.   I am hoping I can come back and add comments without creating a disaster — we’ll see how that works out 🙂

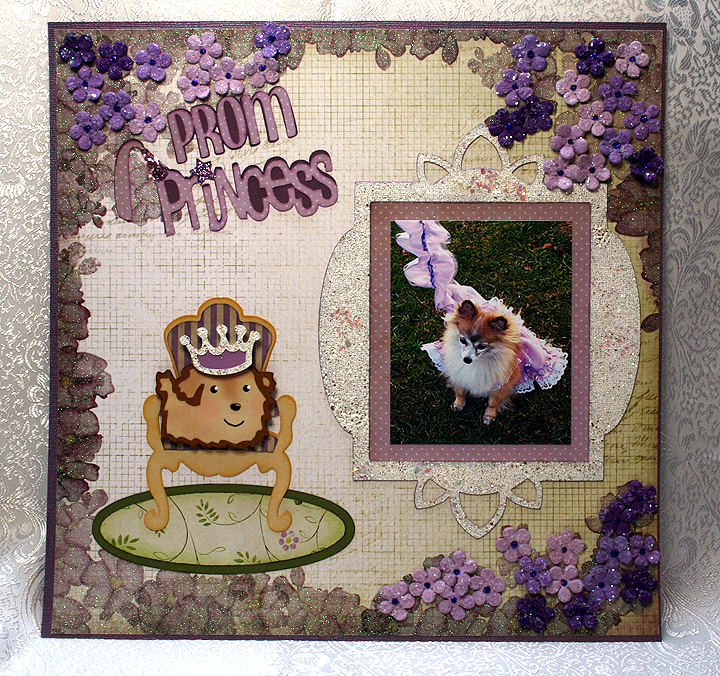
OK, now I will see if I can add some details.   The picture in this layout is of our dog and it was taken in 2006, shortly after we adopted her from a rescue group.  Fifi was in foster care for about a year before we got her, so we decided to keep the name she came with — even though it was not high on my hubby’s list of dog names.

Fifi also came with a few issues, the most worrisome was that she nipped.  We talked with our veterinarian about the problem and she recommended a dog trainer–Fifi likes to refer to her as her personal trainer.  Anyway, the trainer seemed to do the trick as Fifi has not nipped since getting individual and group training.

At the end of the year, the trainer had a party for the dogs.  She does this each year and always chooses a different theme.  For 2006 the theme was Prom.  The dogs all came dressed up, but once they walked for judging they got to get undressed and get down to some serious partying — which included running in the dog park and lots of doggy treats.

This was the first  (and so far only) time that Fifi has dressed up — and I wanted to make her something special to wear.  I altered a dog pattern to make her frilly dress.  I also made a matching cover for her leash.  I was surprised that Fifi did not mind wearing the dress.  After walking for the judges, Fifi was chosen as a Prom Princess and her award was a new chew toy.

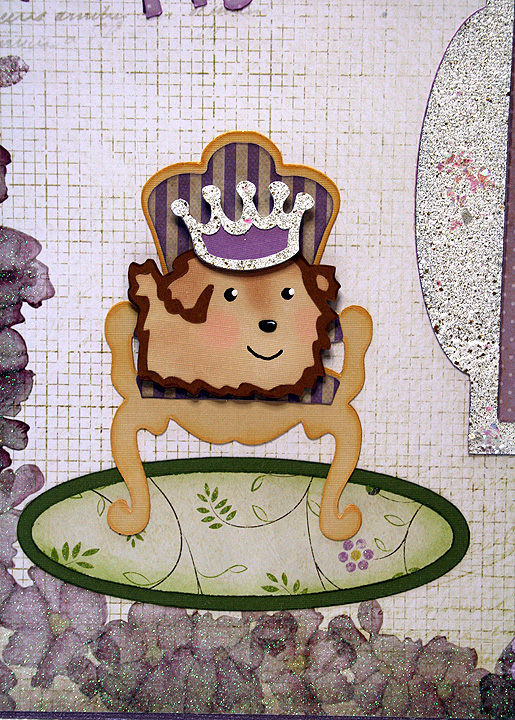
 I used a paper stack from Die Cuts With a View called The Chateau Lavender.  I laid out my design in Cricut Design Studio and I used the Once Upon a Princess cartridge for the title “Princess” cut and Don Juan for “Prom”.  The frame was cut from Elegant Edges, the throne from Formal Occasion and the dog and crown from Paper Pups.

 I did some heat embossing on the frame using some Stampendous products that I recently bought.  The embossing powder I used all over the frame is called Fran-tage Shabby White Opaque.  It is chunky and has lots of gold glitter in it.  I also added some Stampendous Shaved Ice on top of the powder before I heated it — the Shaved Ice adds chunks of bling.  My only problem was trying to keep it from blowing all over.  I heated the frame from underneath, as Stampendous recommends.

 I cut a throw rug to go underneath the throne using George and Basic Shapes.  For the white on the crown, I heat embossed it using the same Stampendous products that I used on the frame.  I did some chalking on the pup.

I used Stampendous Fran-Tage Lavender Crushed Glass Glitter on the princess hat in the title and used Stickles on the star that dots the “i”.  The last step was the small flowers, which are Recollections brand from Michaels that I recently got on clearance.  I used Stickles in the center of the flowers.

  • DCWV The Chateau Lavender
  • Cricut Cartridges:  Don Juan, Elegant Edges, Formal Occasion, Once Upon a Princess, Paper Pups
  • Stampendous Fran-tage Shabby White Opaque Embossing Powder, Lavender Crushed Glass Glitter, Shaved Ice
  • Recollections flowers
  • Stickles