This is My Little Black Dress Onesie and Matching Card


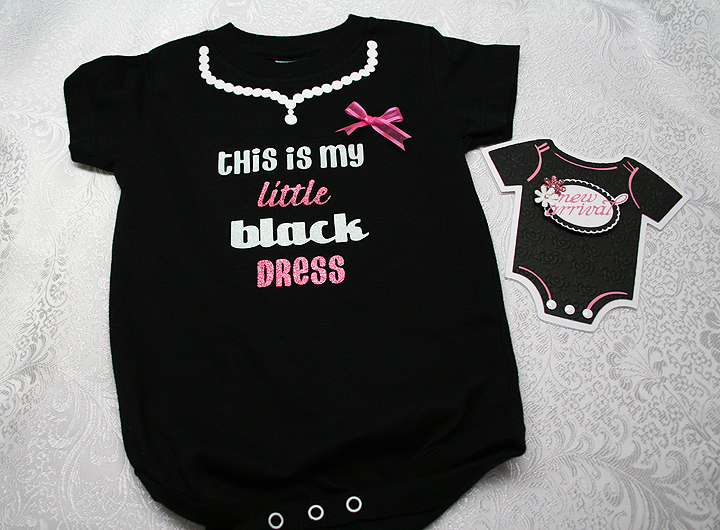
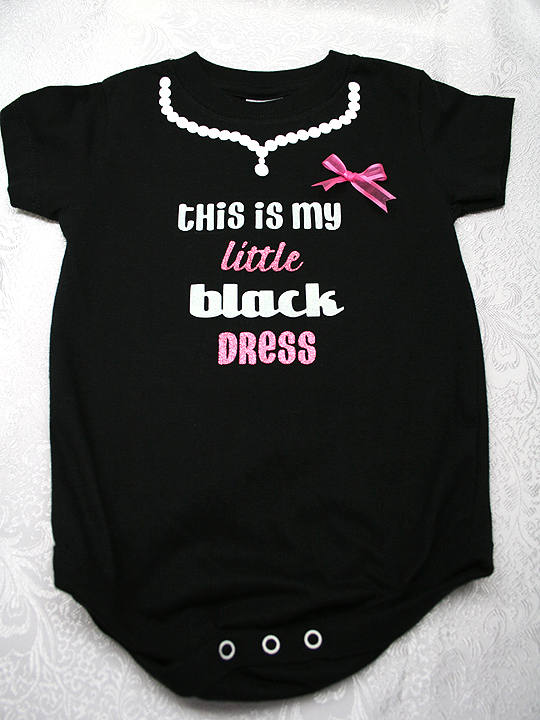
Several months ago I bought some black onesies so I could decorate them using heat transfer vinyl.  I went on to other things and the onesies just sat — until Bitten by the Bug 2 posted their Fashion Challenge.  That was the push I needed to get the onesies done.  And when I finished with the onesies (I made a 6 mos size and a 12 mos size), I made a matching card.  Now I have a couple of gift sets ready when I need them.


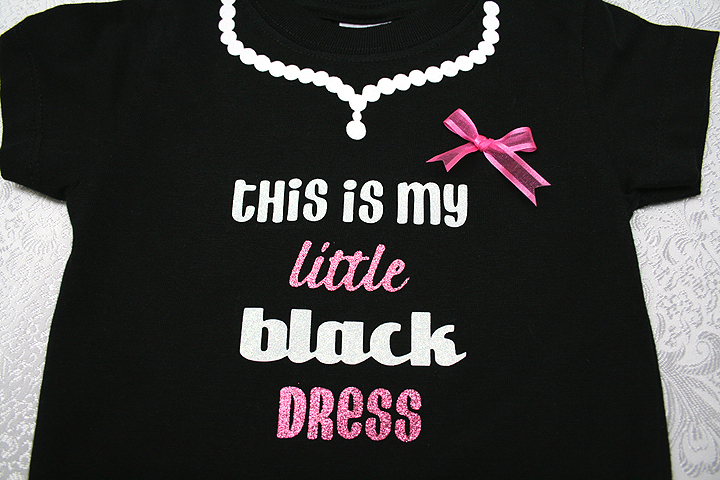
I saw this phrase on a onesie on the Internet a long time ago and always thought it would be fun to do.  I cut all the vinyl with my Cricut, using Design Studio to lay out everything.  For the necklace, I brought a cut from the Paper Doll Dress Up cartridge into Design Studio to use as a guide.  I enlarged the design until it fit the neck of the onesie.  I then took circles from George and laid them along the contour of the necklace, making sure they touched so I could weld them. Once I had circles completely covering the necklace shape, I deleted the necklace so that all was left was a string of pearls.  I cut this from white flock vinyl, so it has a fuzzy feel to it.

I used a variety of cartridges for the letters — sort of felt like I was putting together a ransom note.  I used Don Juan for the “this is my” and “dress” cuts.  I used Forever Young for “black” and Graphically Speaking for “little”.  I cut these out of white and pink glitter vinyl.

When cutting heat transfer vinyl, you have to remember to mirror the images.  I had no problem mirroring the words  “little” and “black” —  just had to check the “flip shapes” button in Design Studio.  But because I was putting the other words together myself using individual letters, I was having issues getting the words to mirror.  I finally figured out if I typed the words in backwards and then checked the “flip shapes” button that it worked.

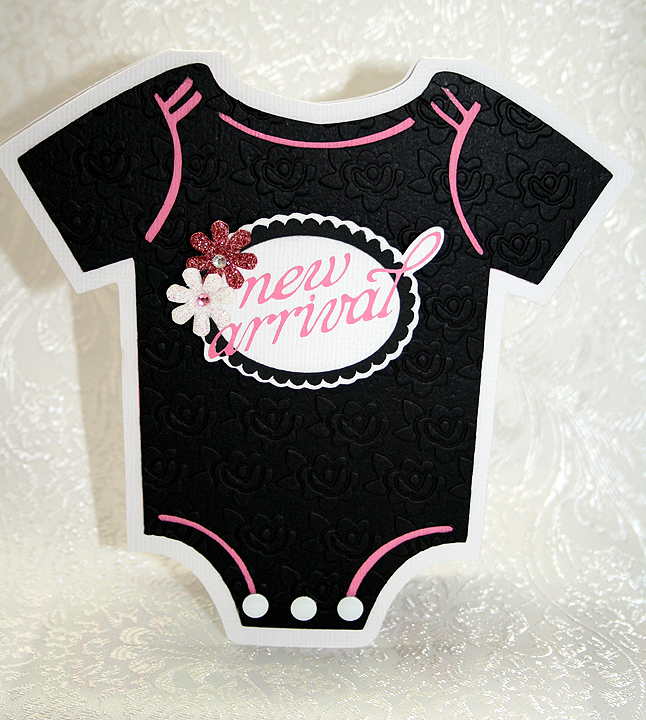
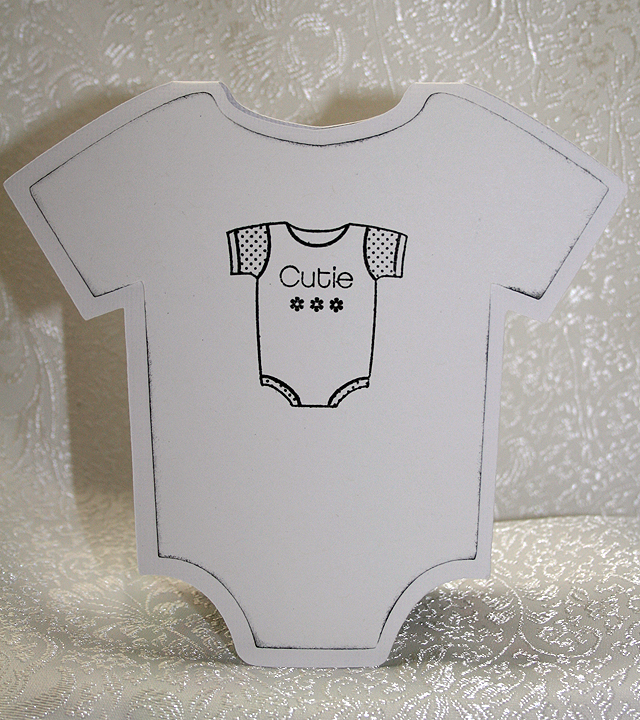
I used Life’s a Party for the onesie card.  I welded two of the shadow bases together at the shoulders.  I embossed the black layer using my Cuttlebug and a 5″ x 7″ folder from the Once Upon a Princess Companion Set that has little roses all over.

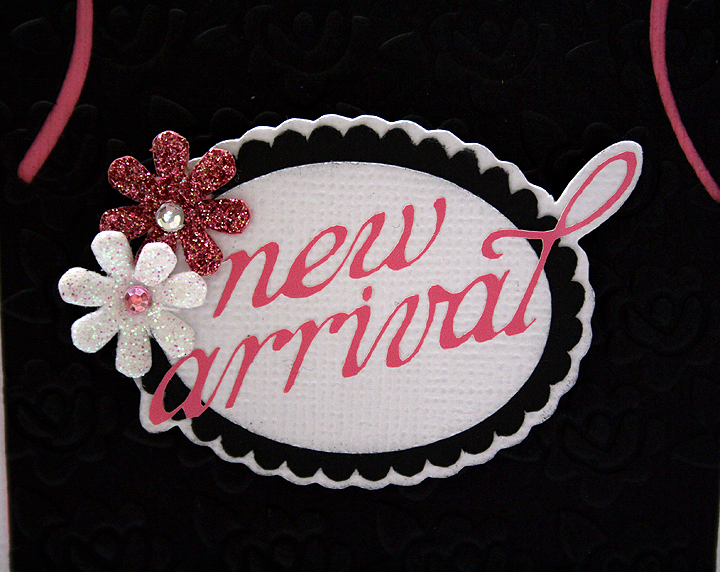
The label on the front of the onesie is from the Phrases cartridge.  Because the lettering is so thin, I cut it from pink vinyl and used transfer tape to put it on the scalloped ovals.  I added a couple of glittery flowers that I picked up at a Tuesday Morning store a while ago.  I used 3 white dot embellishments that I got in one of Joann’s $1 bins for the snaps on the onesie.

For the inside of the card, I cut a white layer and inked the edges and then I stamped an image from a stamp I have in my stash.

  • Cricut cartridges – Don Juan, Forever Young, George & Basic Shapes, Graphically Speaking, Life’s a Party, Phrases
  • Cuttlebug – Once Upon a Princess Companion Set
  • Heat transfer vinyl
  • Assorted embellishments

Prom Princess Scrapbook Layout

Wow, it has been so long since I posted something on our blog.  A couple of weeks ago, Bitten by the Bug 2, posted their Princess (the Word) Challenge and I decided I wanted to participate.  Of course, I waited until the last minute to finish my project.  Time is running so short, in fact, that I am going to post pictures right now so I can link my project to their blog and then come back and post the details.   I am hoping I can come back and add comments without creating a disaster — we’ll see how that works out 🙂

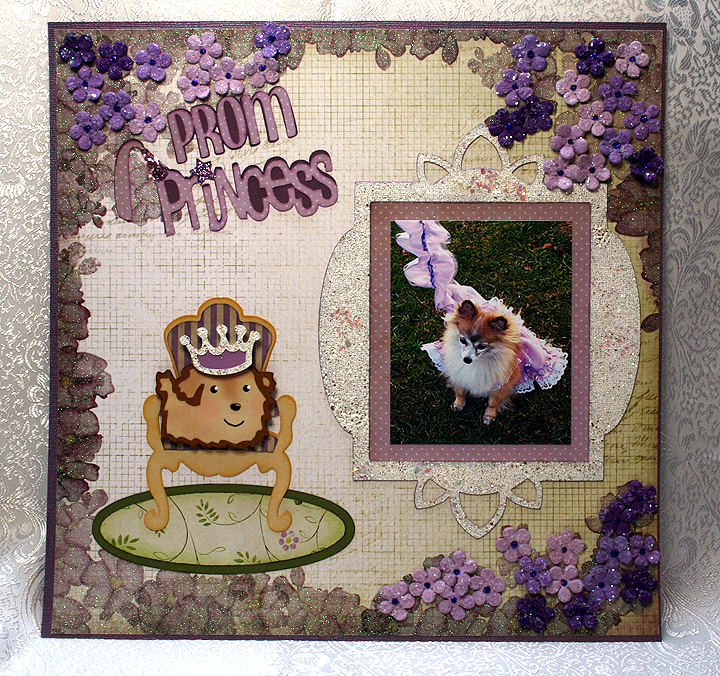
OK, now I will see if I can add some details.   The picture in this layout is of our dog and it was taken in 2006, shortly after we adopted her from a rescue group.  Fifi was in foster care for about a year before we got her, so we decided to keep the name she came with — even though it was not high on my hubby’s list of dog names.

Fifi also came with a few issues, the most worrisome was that she nipped.  We talked with our veterinarian about the problem and she recommended a dog trainer–Fifi likes to refer to her as her personal trainer.  Anyway, the trainer seemed to do the trick as Fifi has not nipped since getting individual and group training.

At the end of the year, the trainer had a party for the dogs.  She does this each year and always chooses a different theme.  For 2006 the theme was Prom.  The dogs all came dressed up, but once they walked for judging they got to get undressed and get down to some serious partying — which included running in the dog park and lots of doggy treats.

This was the first  (and so far only) time that Fifi has dressed up — and I wanted to make her something special to wear.  I altered a dog pattern to make her frilly dress.  I also made a matching cover for her leash.  I was surprised that Fifi did not mind wearing the dress.  After walking for the judges, Fifi was chosen as a Prom Princess and her award was a new chew toy.

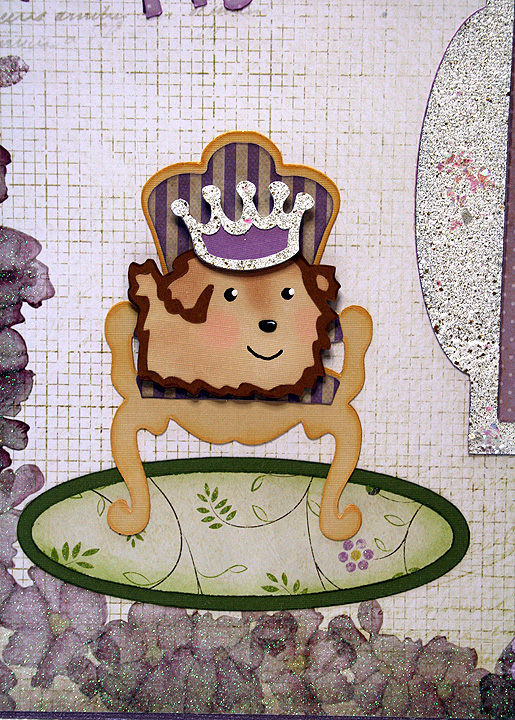
 I used a paper stack from Die Cuts With a View called The Chateau Lavender.  I laid out my design in Cricut Design Studio and I used the Once Upon a Princess cartridge for the title “Princess” cut and Don Juan for “Prom”.  The frame was cut from Elegant Edges, the throne from Formal Occasion and the dog and crown from Paper Pups.

 I did some heat embossing on the frame using some Stampendous products that I recently bought.  The embossing powder I used all over the frame is called Fran-tage Shabby White Opaque.  It is chunky and has lots of gold glitter in it.  I also added some Stampendous Shaved Ice on top of the powder before I heated it — the Shaved Ice adds chunks of bling.  My only problem was trying to keep it from blowing all over.  I heated the frame from underneath, as Stampendous recommends.

 I cut a throw rug to go underneath the throne using George and Basic Shapes.  For the white on the crown, I heat embossed it using the same Stampendous products that I used on the frame.  I did some chalking on the pup.

I used Stampendous Fran-Tage Lavender Crushed Glass Glitter on the princess hat in the title and used Stickles on the star that dots the “i”.  The last step was the small flowers, which are Recollections brand from Michaels that I recently got on clearance.  I used Stickles in the center of the flowers.

  • DCWV The Chateau Lavender
  • Cricut Cartridges:  Don Juan, Elegant Edges, Formal Occasion, Once Upon a Princess, Paper Pups
  • Stampendous Fran-tage Shabby White Opaque Embossing Powder, Lavender Crushed Glass Glitter, Shaved Ice
  • Recollections flowers
  • Stickles


Provo Craft Card Making Contest

Provo Craft is going to be announcing a new product on HSN on January 20, 2011.   Anna Griffin is also going to be introducing a new product on the same day.  Provo Craft is sponsoring a card making contest and the winners will receive both new products.  After each airing on HSN, two winners will be posted on Jinger Adam’s Facebook Page.

The requirements for the contest are that you create a card using at least one Anna Griffin product and one or more of these Cricut cartridges:  Don Juan, Wall Decor & More, and Winter Lace.  Entries have to arrive at Provo Craft offices no later than Tuesday, January 18, 2011.

I just mailed my card today, January 13, and I am hoping it arrives it time.  I sent it priority mail and it just has to go from CA to UT, but with this being a holiday weekend I am going to be holding my breath.

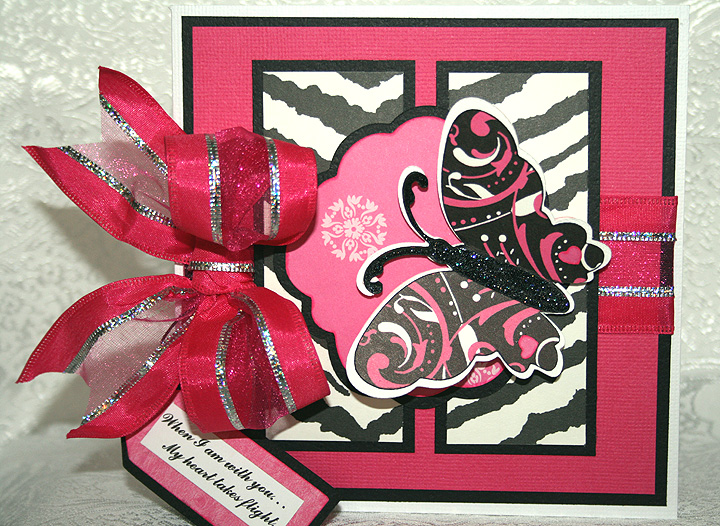
I went searching through my stockpile of cardstock because I was pretty sure I had some Anna Griffin paper somewhere.  I found two different paper pads, one with soft, subdued pastel prints and the other with bright, wild prints.  I opted to go with the bright prints and paired them with Bazzill solid cardstock.

My card is 5.5″ square and all cuts are from Wall Decor & More, with the exception of the tag.  The tag is cut from Don Juan.  The sentiment is computer generated and says, “When I am with you….My heart takes flight.”

I cut several layers for the butterfly and pop-dotted him on the front of the card.  I used Stickles for the butterfly’s body.  The ribbon is from Michaels — I got it on clearance at 70% off.  I attached the tag to the bow using a cell phone charm strap.

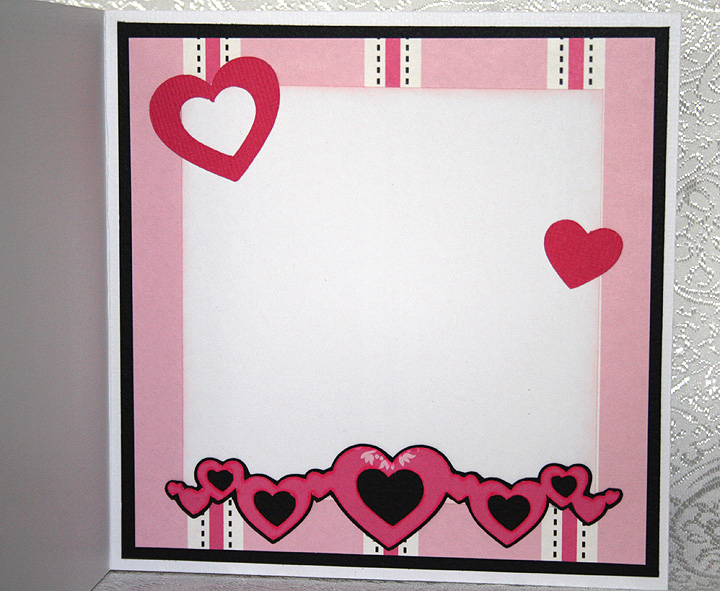
The inside of the card features more Anna Griffin paper and  hearts cut using Wall Decor & More.

  • Anna Griffin cardstock — Peyton Collection
  • Bazzill cardstock
  • Cricut cartridges:  Wall Decor & More, Don Juan
  • Stickles
  • Ribbon from Michaels
  • Cell phone charm strap

Jitterbuggin’ Challenge – Let’s Give Thanks! – Thanks From the Bottom of My Heart

The current challenge at Jitterbuggin’ is to follow the sketch, add a Cricut cut and emboss something. 

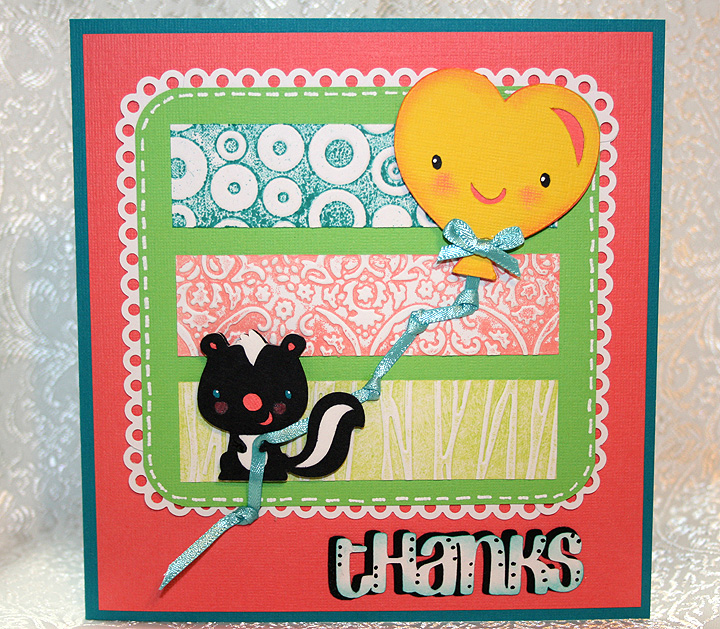
I’m not sure where my colors for this card came from — I must have been in a “bright” mood.  I recently received an order from Stampin’ Up and it was sitting in a box and I started pulling out colors.  All the colored cardstock is from Stampin Up’.

I embossed the three center sections using my Cuttlebug and the following folders:  Spots & Dots, Textile Texture and Forest Branches.  I inked each folder with a different color of ink and then ran white cardstock through the Cuttlebug.  The white scalloped trim around the center section is a Martha Stewart Punch Around the Page set called Scallop 3-Dot.  I used just the very top part of the punched piece — the top dot.  I had to piece it because my cardstock size was not the exact size to take advantage of the punch-around-the-page feature.

I used my Cricut to cut out the skunk from the Create a Critter cartridge.  I also cut the heart-shaped balloon from Create a Critter.  The “thanks” is cut from Don Juan.  I attached some ribbon to the ballon and then attached it to the skunk’s hand.  I added a bow to the ballon. 

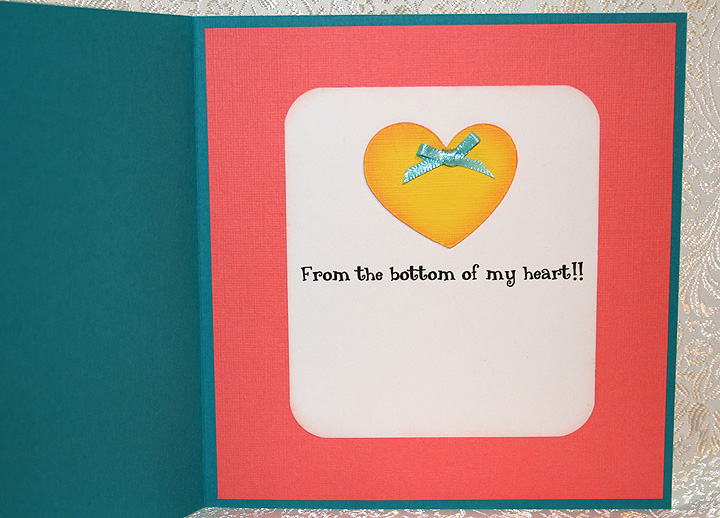
For the inside of the card, I cut another heart from Create a Critter.  I printed the sentiment on the computer.  I added another bow to the inside heart.

  • Stampin’ Up cardstock
  • Cricut cartridges:  Create a Critter and Don Juan
  • Cuttlebug folders:  Spots & Dots, Textile Texture and Forest Branches
  • Martha Stewart Scallop 3-Dot Punch Around the Page set
  • Ribbon from my stash