Altered Book Box and Stick Pin Swap

I just participated in an altered book box and stick pin swap on the Cricut Circle Message Board.  I had never altered a paper mache box before, so this was a new adventure for me.  My partner (Maria) let me know some of her likes — I knew she liked bright colors and owls.  Since I like owls too, I decided to use that for my theme.

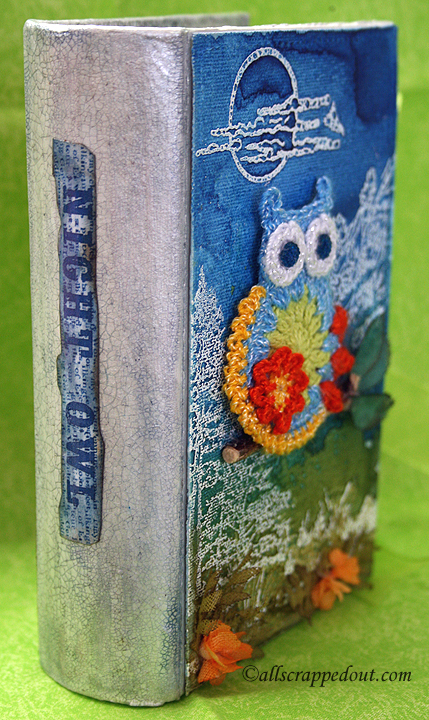
Front9

The first thing I did was primer the book in gesso.  Then I applied two coats of Martha Stewart  Mother of Pearl paint.  I let the last coat of paint dry overnight and then I brushed on a layer of Tim Holtz Rock Candy Crackle paint on the spine and the inside edges of the book.  When that was thoroughly dry, I sponged on some blue and brown distress ink over the crackled paint.

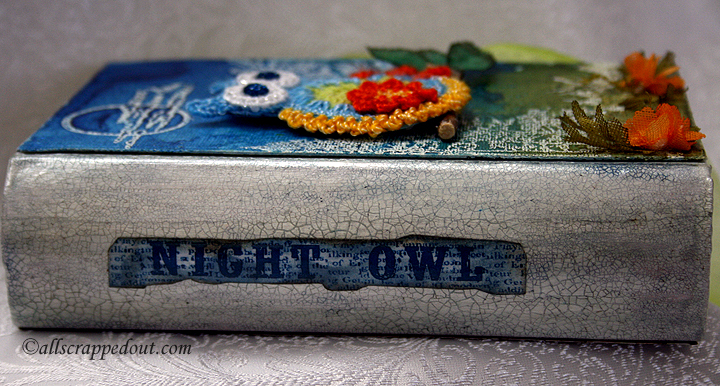
Spine

The title was printed on the computer and adhered on the spine using Liquitex Gloss Medium & Varnish.  I added a couple coats of the gloss medium over the crackle paint on the spine and on the inside.

Spine2

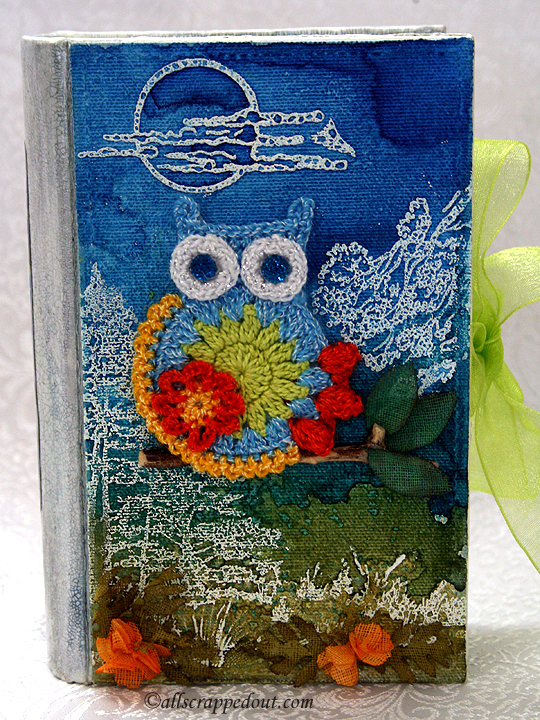
I used Ranger Sticky Back Canvas for the cover of the book.  Since this was my first time using it, I wasn’t sure if it need to be primed with gesso.  I decided to go ahead and gesso it, but first I stuck the canvas to a piece of cardstock and sewed around the edges. After the gesso dried, I stamped a scene of the moon and some trees using Versamark and heat embossed it using white embossing powder.  The stamp set is by Sheena Douglass and called Lakeside Shore.

Then I sprayed the canvas with several different colors of Starburst spray by Lindy’s Stamp Gang.  As you can see, the colors are nice and bright. Since I had used gesso on the canvas, it acted as a resist to the sprays and I found they would easily wipe off.  So I let them dry and then sprayed a coat of gloss varnish (Krylon) over the canvas to seal it.  I was happy to see that I didn’t lose all the pretty shimmer when I sprayed the canvas with the sealer.

10

I purchased the crocheted owl from Tatiana, who I first found on the Cricut Message Board.  She now sells her beautiful crocheted pieces on her Facebook page, Created  By Tatiana.   I picked the colors for this owl to match the book and also ordered several other owls in different colors.

I added a branch and some leaves that I cut from white cotton crinoline using a Martha Stewart punch. The leaves were sprayed with Starburst spray. The flowers and foliage at the bottom were also cut from crinoline using Martha Stewart punches and colored with Starburst spray.

The book has a ribbon closure.

Front2

The back of the book is my attempt at humor, a pun on the Looney Tunes “That’s All Folks”.  The paper is from Doodlebug Designs and the owl is some clipart I got from the now defunct PC Crafter website. The image at the bottom is stamped and heat embossed using Lindy’s Stamp Gang’s embossing powder.

Back

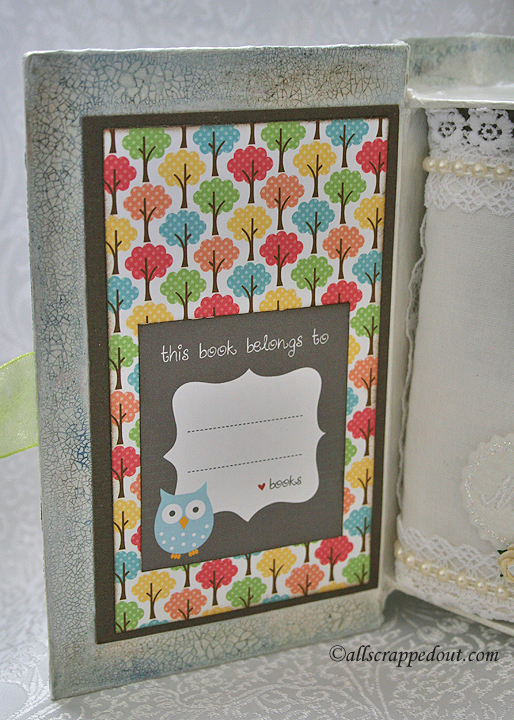
The inside of the cover is also Doodlebug Design paper and I added a clipart bookplate to it.

Bookplate

This is looking inside the book, showing the fabric book that I made to hold the stick pins.  Since this post is so long, I am going to do a separate post for the stick pin holder.

Inside

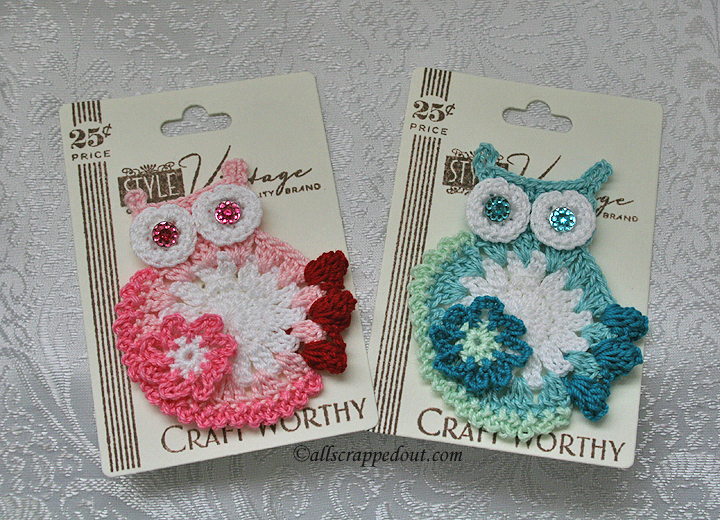
I included two extra crocheted owls for my swap partner.  The cards they are on were stamped with the Button Boutique stamp set from Papertrey Ink and cut using the coordinating die.

CrochetOwls


  • Paper mache book box from Hobby Lobby
  • Doodlebug Design paper
  • Ranger Sticky Back Canvas
  • Lindy’s Stamp Gang Starburst sprays and embossing powder
  • Tim Holtz Rock Candy Distress Crackle Paint
  • Tim Holtz Distress Ink
  • Crocheted owls from Created By Tatiana on Facebook
  • Sheena Douglass Lakeside Shore stamp set
  • Button Boutique stamp and die set from Papertrey Ink
  • Martha Stewart craft paint — Mother of Pearl
  • Martha Stewart punches
  • Liquitex Gloss Medium & Varnish
  • Cotton crinoline purchased at Joann.com
CHA Winter 2014 Conference & Trade Show, Day One


Erin and I attended the opening day of the CHA Conference & Trade Show held in Anaheim, CA.  We arrived about an hour after it opened — we were a little late because Erin had to drive up from San Diego.  We stayed until about an hour before it closed and managed to walk a little over 1/3 of the show.  We will be back tomorrow when it opens.

Erin took a lot of pictures and I am sharing quite a few.  I would post more but I am just too tired and I need to get to bed so we can get up and do it all over again tomorrow.  We plan on going all four days.  So, here are some of the highlights from today.

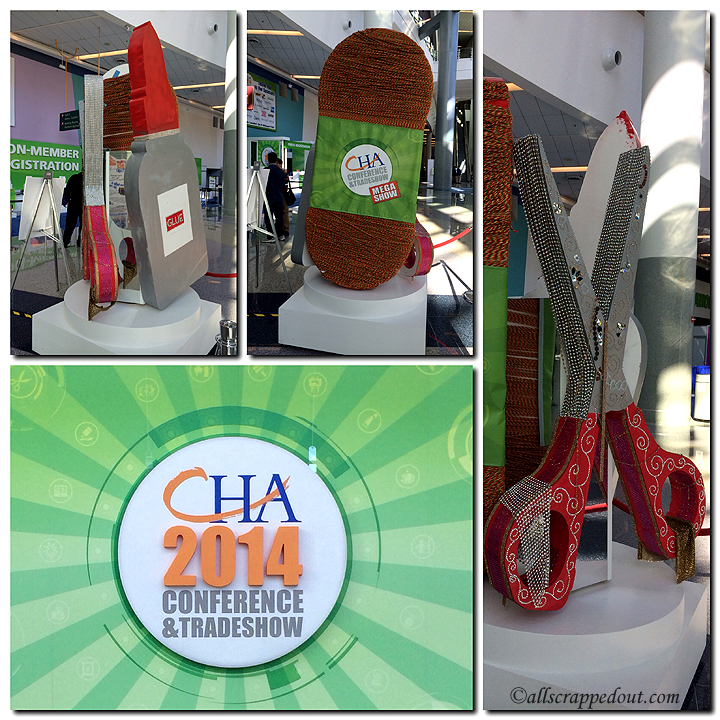
Some of the displays in the lobby.

Some of the displays in the lobby.


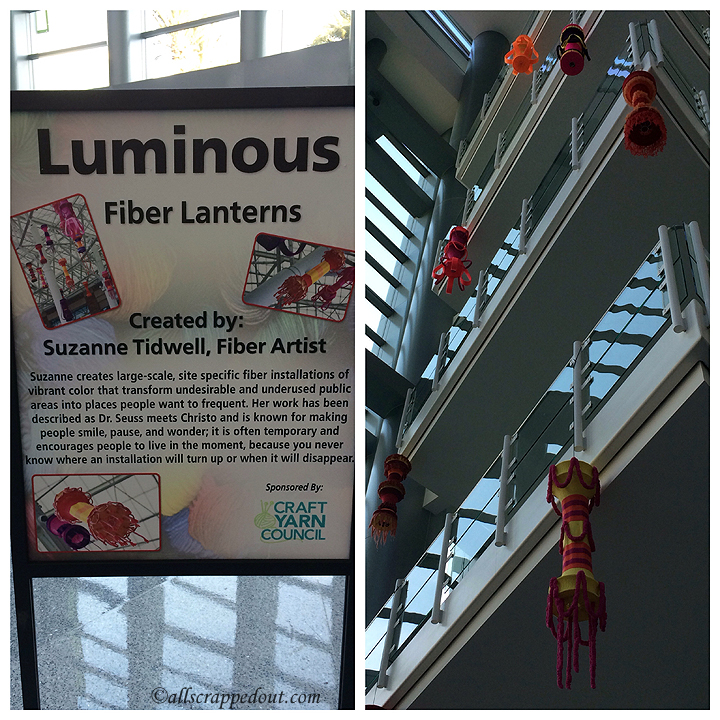
Lanterns hanging in the lobby.

Lanterns hanging in the lobby.


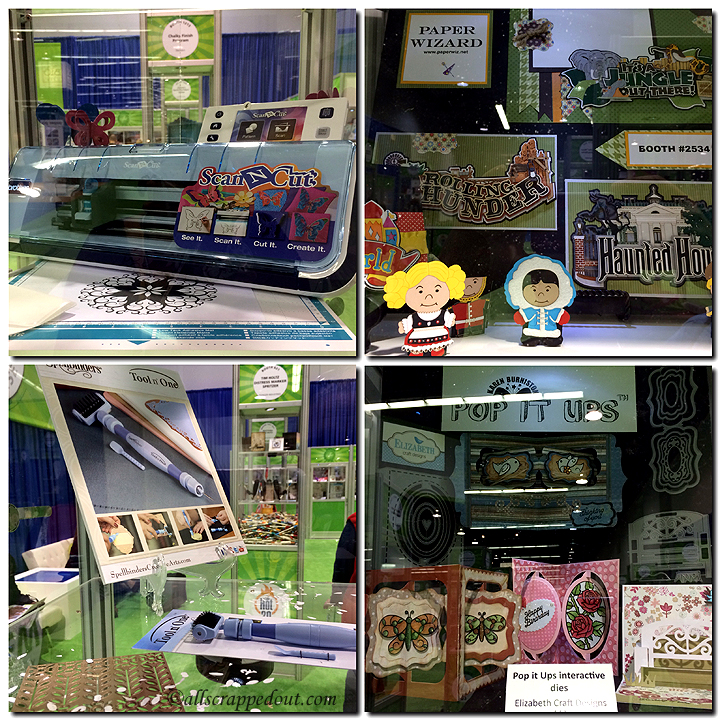
Brother's new Scan & Cut machine, laser die cuts, Pop-It-Up dies, and Spellbinders Tool In One (used to clean up those hard-to-get-out pieces from intricate dies).

In the New Showcase area: Brother’s new Scan & Cut machine, laser die cuts, Pop It Up dies, and Spellbinders Tool in One (to clean up those hard-to-get-out pieces from intricate dies).


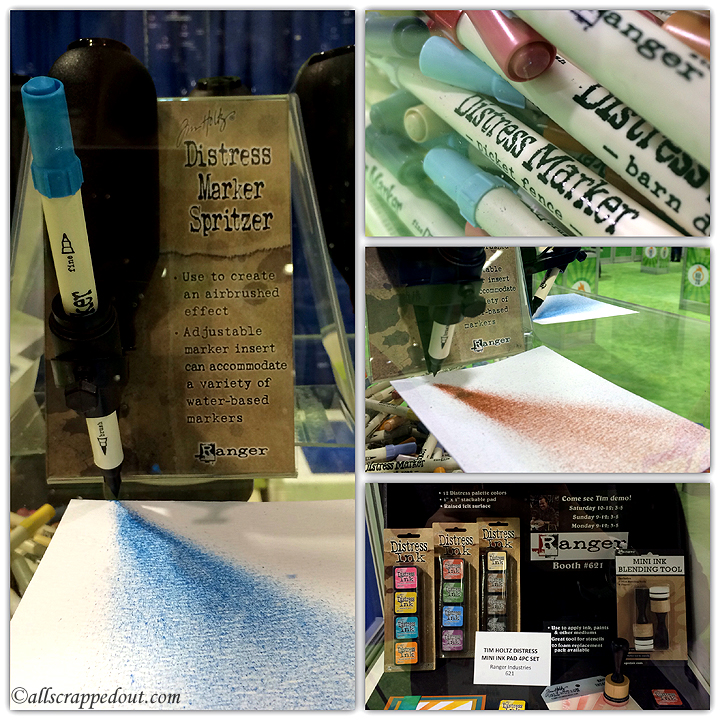
New Tim Holtz products - a Spritzer to use with Distress Markers and some mini Distress Inks and Ink Blending Tool.

New Tim Holtz products – a Spritzer to use with Distress Markers and some Mini Distress Inks and Ink Blending Tool.


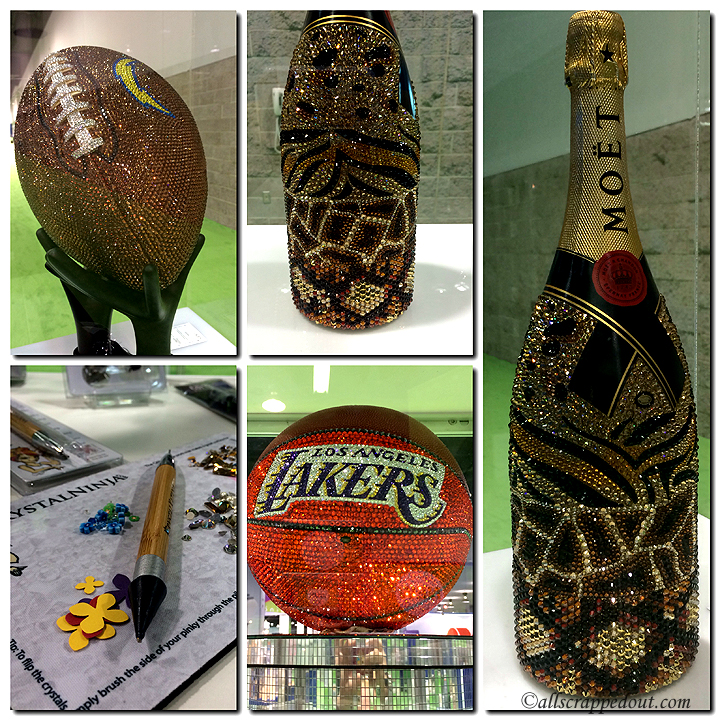
Crystals

Lots of bling at the show. Even Swarovski is there — we haven’t made it to the Swarovski Elements booth yet.


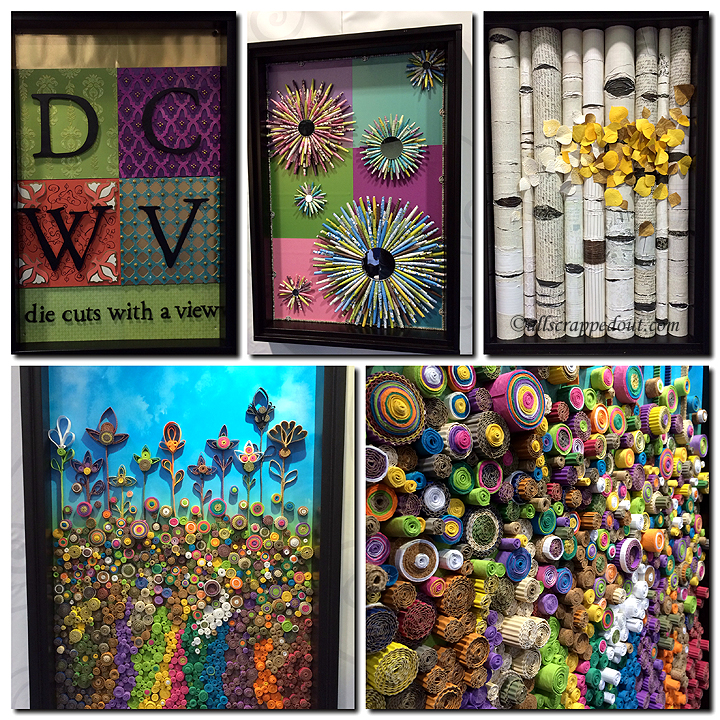
Die Cuts With a View always has fantastic displays.  This year their booth has walls and they have gorgeous framed paper art hanging on the sides.

Die Cuts With a View always has fantastic displays. This year their booth has walls and they have gorgeous framed paper art hanging on the outside.


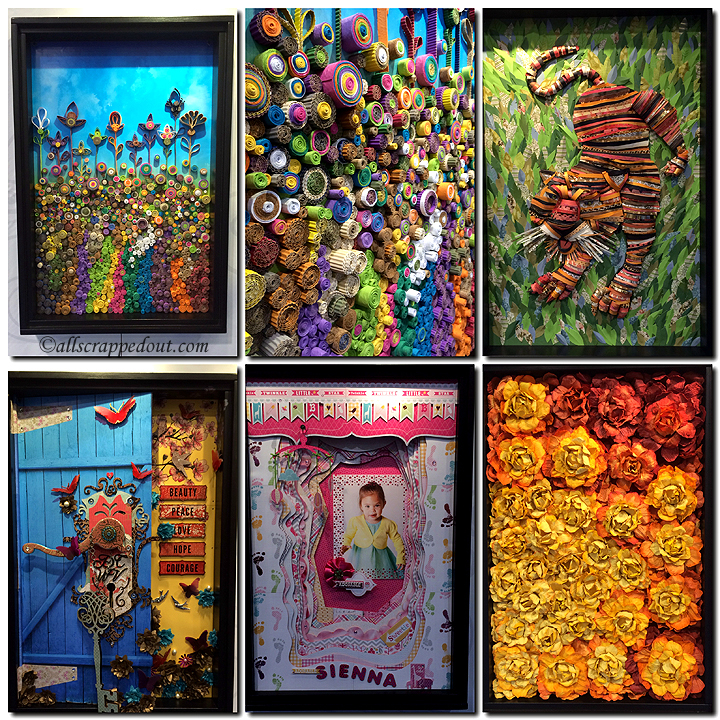
More DCWV

More DCWV


Bo Bunny's booth features two beautiful projects -- a Winter Fairy House and a the Happy Tails Pet Shoppe, both created by Laura Denison of Following the Paper Trail.

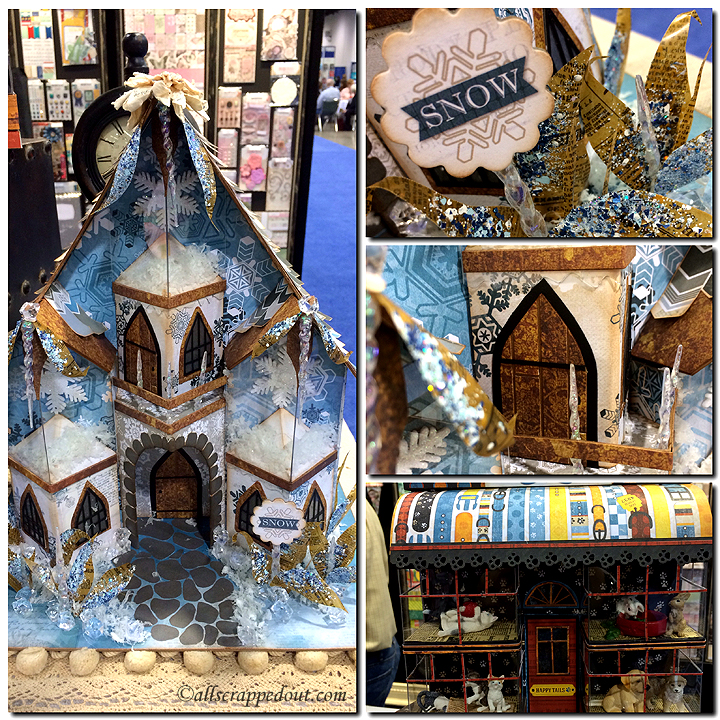
Bo Bunny’s booth features two beautiful projects — a Winter Fairy House and the Happy Tails Pet Shoppe, both created by Laura Denison of Following the Paper Trail.


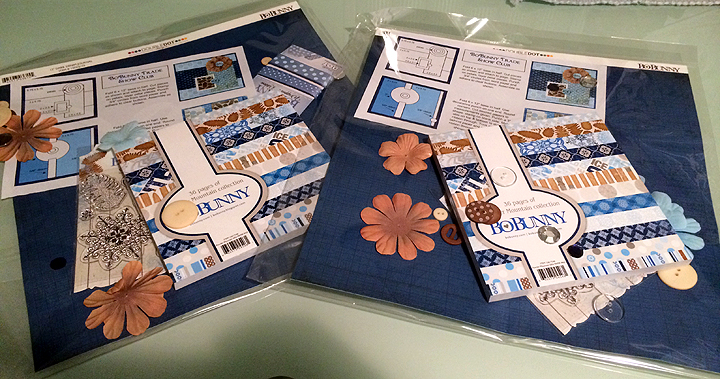
The kits Erin & I received at the Bo Bunny booth for giving them a business card.

The kits Erin & I received at the Bo Bunny booth for giving them a business card.


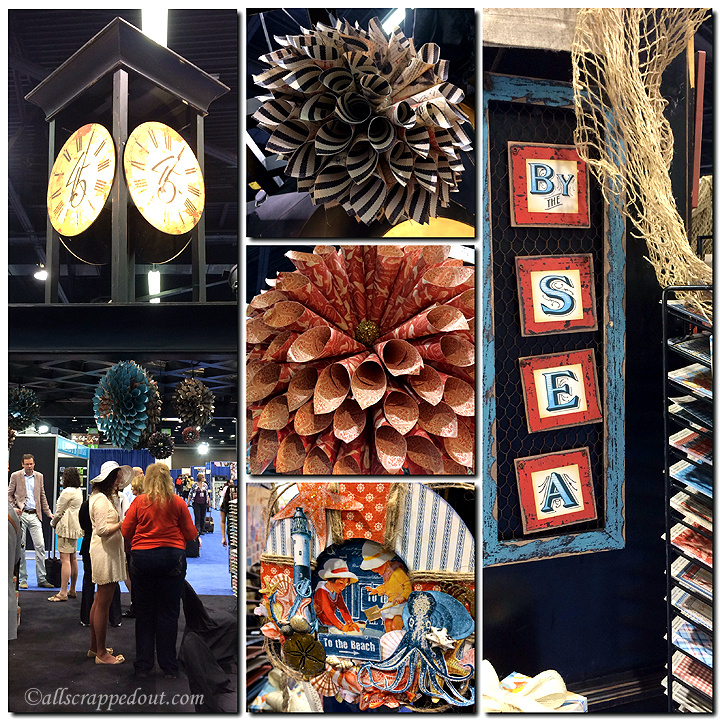
The Graphic 45 booth -- always a popular location.

The Graphic 45 booth — always a popular location.


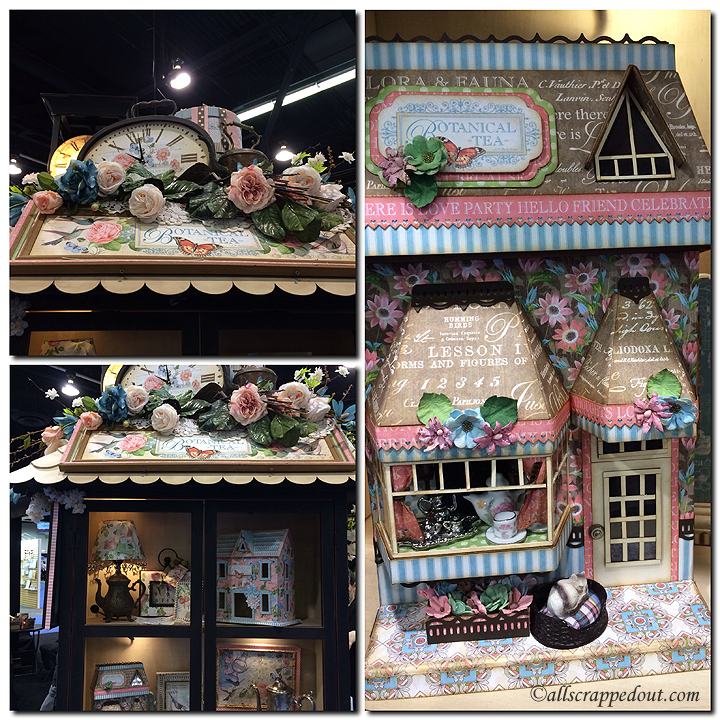
More Graphic 45.  The Tea Shoppe is gorgeous.  It was also created by Laura Denison of Following the Paper Trail.

More Graphic 45. The Tea Shoppe is gorgeous. It was also created by Laura Denison of Following the Paper Trail.

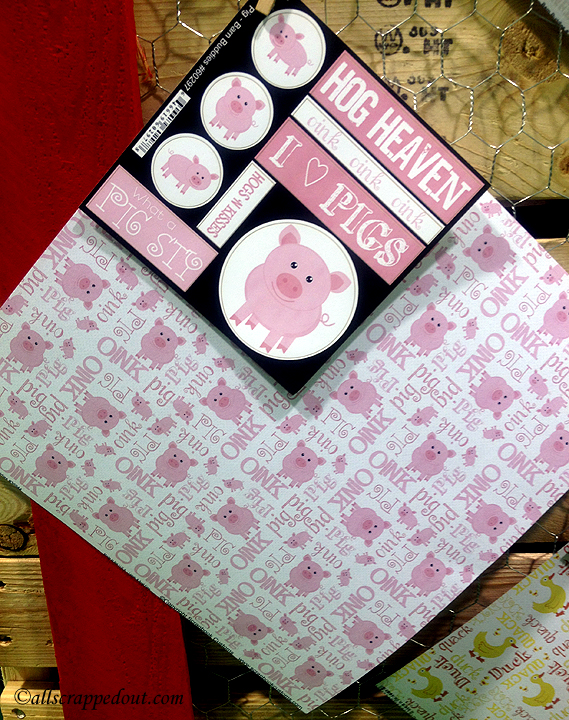
Cute paper and stickers from Scrapbook Customs.

Cute paper and stickers from Scrapbook Customs.


Welcome Spring — Cricut Campin’ Critters

This little card is for the Spring is in the Air weekly challenge at Bitten by the Bug 2.   The seasons may be more subtle here in California than in other states, but I always look forward to spring.  I love seeing all the birds and listening as they fill the air with chirping.  Right now we have mockingbirds building nests in the trees outside our kitchen door.   And yesterday I watched a hummingbird in our orange tree as I sat at the dining table.

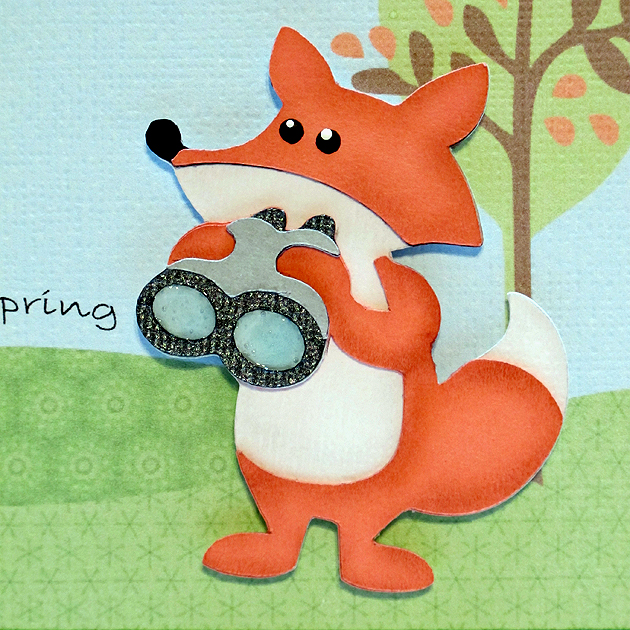
My card is whimsical — a little fox doing some bird watching on a beautiful spring day.  I printed the papers using my Imagine and the Nursery Tails cartridge.  I love that you can print to fit whatever you are making, as in the background.  I printed this at 5″.

Front2

I made the  “welcome spring” sentiment for the card using Photoshop.  I took the text and put it on an arc.  I printed it out on a piece of plain paper and put the background piece over top.  I held both up to a light so I could see where the sentiment was going to be and when I got it where I wanted it, I held it in place with a few pieces of the blue painter’s tape.  I just lightly pressed the tape down — I didn’t want it sticking too much and removing any of the color.  Then I ran both pieces through the printer.

The fox is from Campin’ Critters and cut at 2.5″.  I used chalk to give his body some definition and used pop-dots to attach him to the front.  I added Glossy Accents to the lenses in his binoculars.

Fox2

I cut an extra bird and layered it on the front.  For the inside I added another bird and a frog, also from Nursery Tails.

Inside

I hope you enjoy my spring card.

  • Cricut cartridges – Campin’ Critters, Imagine Nursery Tails
  • White cardstock – American Crafts
  • Chalk
  • Ranger Glossy Accents

Barbie Suitcase Gift Card Holder for National Convention


I had a lot of fun with this project.  I was asked to make ten gift card holders that were to be handed out at the 2012 National Barbie Doll Collectors Convention this week in Garden Grove, CA.  They were originally going to hold gift cards, but then it was decided that they would contain raffle tickets.  I guess there are some fabulous prizes in the Raffle Room.  The theme of this year’s convention is The Grand Tour.

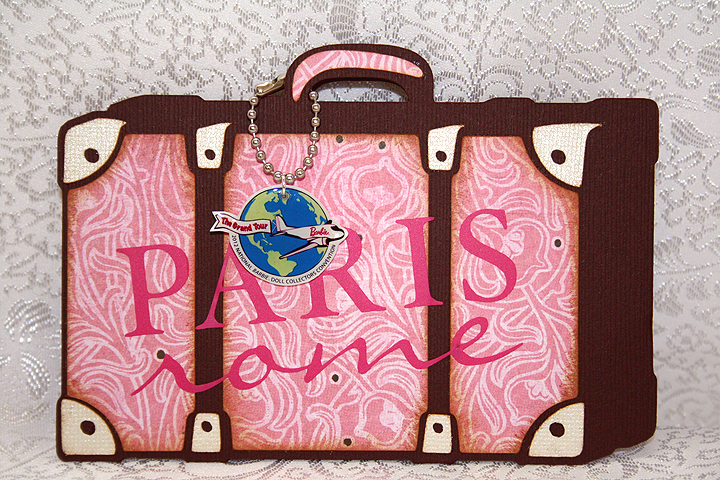
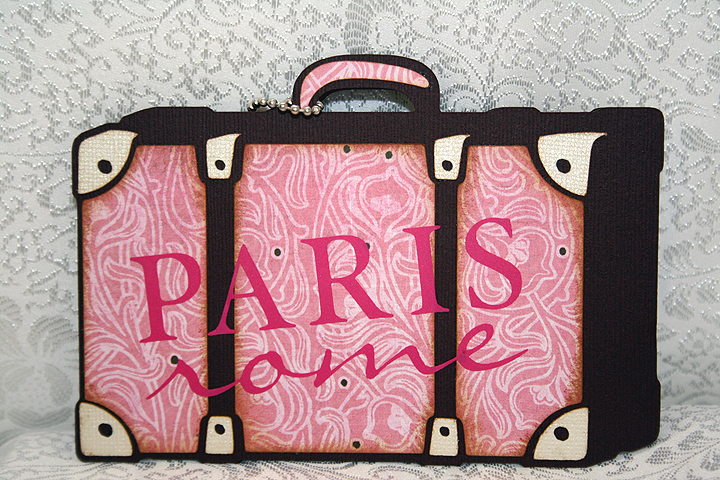
My first thought was to make the card shaped like a suitcase, as a rectangular shape would work well with a gift card.  I searched through suitcase cuts on mycutsearch.com and decided to use the one on the Summer Celebrations cartridge, since it looked sort of vintage.
I welded two shapes together at the bottom in Cricut Design Studio.  I cut the base of the card from chocolate Bazzill cardstock.  All the solid cardstock is Bazzill and the prints are from Basic Grey.  I chose a pink print for the front of the suitcase, using a neutral color for the hardware.  Since Paris and Rome are on the itinerary of the Convention, I cut those words from pink vinyl using the Word Collage cartridge.  Here is a picture of the vinyl lettering.

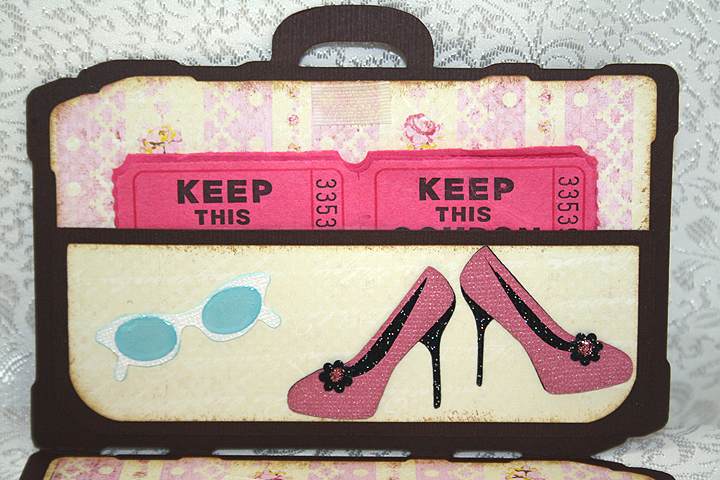
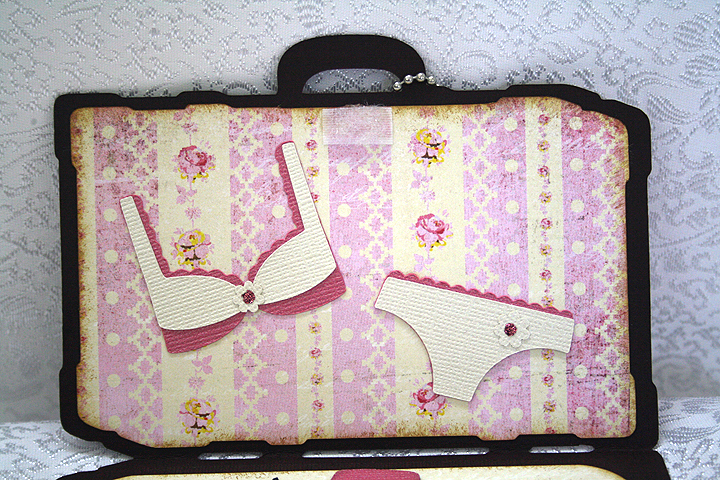
I chose a vintage stripe print for the lining of the suitcase.  I used a rectangle from George & Basic Shapes to create the pocket on the inside, using a punch to round the bottom corners.  Velcro at the top holds the suitcase together when closed.

The shoes, sunglasses and bra and panties are all cut from Forever Young.  I used a black glitter cardstock from Core’dinations for the shoes.  I applied Glossy Accents to the lenses on the sunglasses.

For the small flower embellishments on the shoes and bra and panties, I used the negative cuts from a Martha Stewart punch called Flower Shower.  It makes the tiniest of flowers.  I added Stickles to the centers of the flowers.

Now comes the most fun part — making the charms.  This was my first time using Ink Jet Shrinky Dinks to make charms.  I followed a great tutorial from the talented Nadia to make my charms.  Here are her step-by-step instructions.

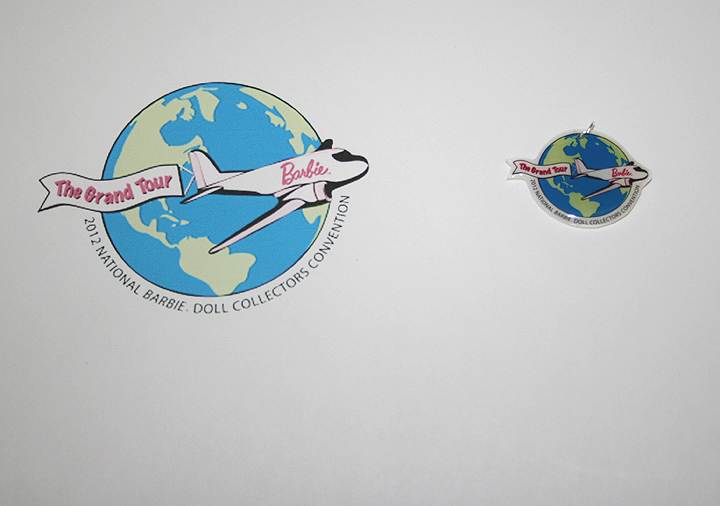
I did not use my Imagine to make the charms as I used a jpg of the Convention logo.  I printed the design on the Shrinky Dink material using my ink jet printer.  So instead of having a Cricut to do my cutting, I hand cut around the charms.  I am not the greatest when it comes to cutting around objects — I got a little wobbly in places.  But the great thing about the Shrinky Dinks is that you don’t really see my wonky cuts.  Here is a photo showing the size of the print I started out with and what it looked like after shrinking.  I also lightened the jpg in Photoshop before printing, as the colors get intense with baking.

Following Nadia’s instructions, after the Shrinky Dinks baked and were flat, I applied some Ultra Thick Embossing Enamel (UTEE) to them.  I then popped them back in the oven and waited for the UTEE to melt.

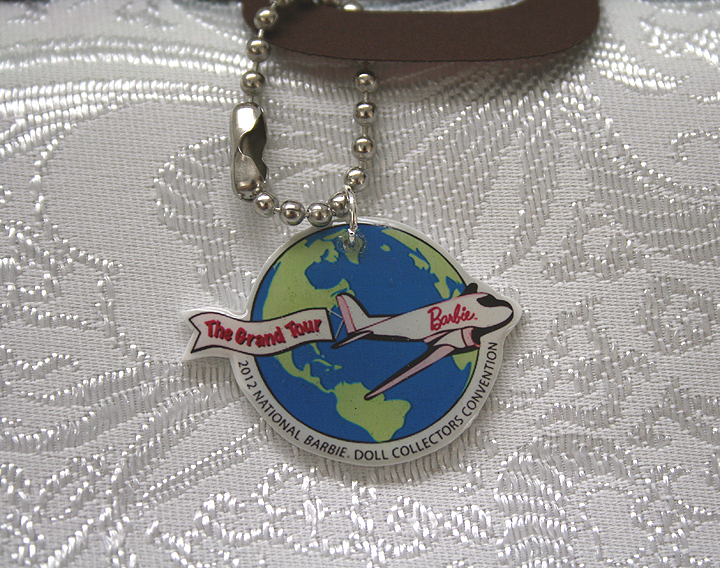
I was so happy with the way they turned out — even my hubby thought they were neat.  The circle part of the charm is not quite an inch across — and look how well you can read the tiny lettering.

I attached jump rings in the holes and hung the charms from key chains that I shortened to fit on the suitcases.

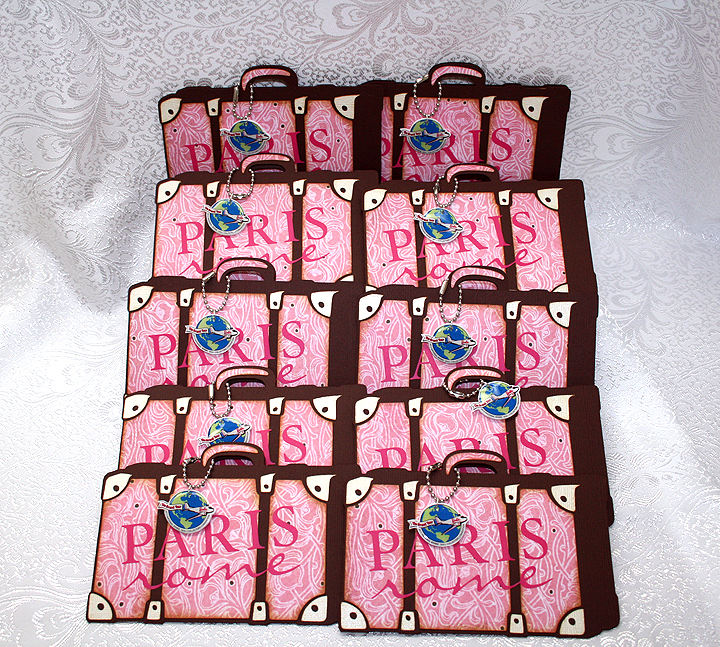
Here are all ten suitcases.

  • Cricut Cartridges – Forever Young, George & Basic Shapes, Summer Celebrations, Word Collage
  • Bazzil cardstock
  • Basic Grey designer paper
  • Vinyl
  • Martha Stewart Flower Shower punch
  • Stickles
  • Glossy Accents by Ranger
  • Ink Jet Shrinky Dinks

Snow Bird


Here’s another card that I made for several challenges and I had a lot of fun making it.  Unfortunately it will be my last card for a while.  The next couple of weeks are going to be filled with embroidery and trade shows.  CHA is coming up at the end of the month and Erin is flying home from Taiwan to attend with me. 

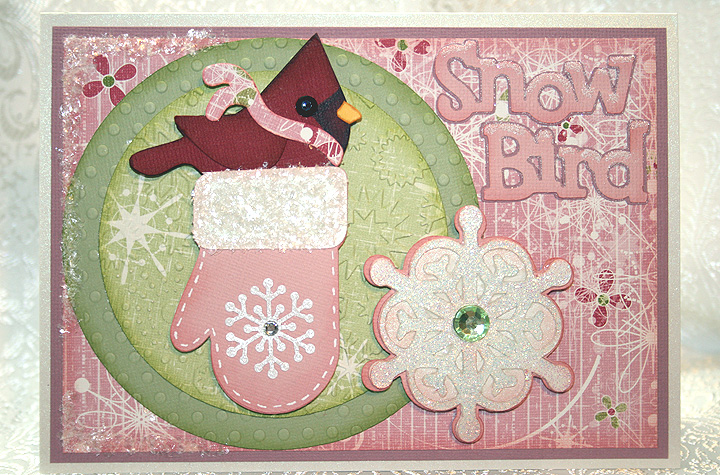
There’s lots of sparkle on this card as the little snow bird makes his winter home in a warm mitten.  The solid cardstock is from Bazzill and the patterned paper is called Snowflake Waltz and is from Daisy Bucket Designs.

I wanted to do a cardinal for my bird, but I wanted a chubby little guy and I couldn’t find one on any of my Cricut cartridges.  I found a cute bird on Straight from the Nest and decided to use him.  As I was laying out the card in Design Studio, I kept trying to figure out how to make the bird into a cardinal shape.  My solution was to use a lower case “v” from the Mickey Font cartridge.  I turned it upside down and welded it to the top of the bird’s head.  I used Copic markers to color the dark spot on his face.  I’m pleased with how he came out.

The circles are cut from the George and Basic Shapes cartridge and I used my Cuttlebug to emboss both of them.  The mitten is from Simply Charmed, the large snowflake is from Joys of the Season, “Snow Bird” is from Straight from the Nest, and the bird’s scarf is from 3 Birds on Parade. 

I added lots of bling to this card.  I heat embossed the large snowflake on the front using holographic embossing powder.  I put some fine snow on the sentiment using Martha Stewart glitter.  The coarser snow is also from Martha Stewart.  The small snowflake on the mitten is a Martha Stewart punch.  I added rhinestones to the centers of the snowflakes.

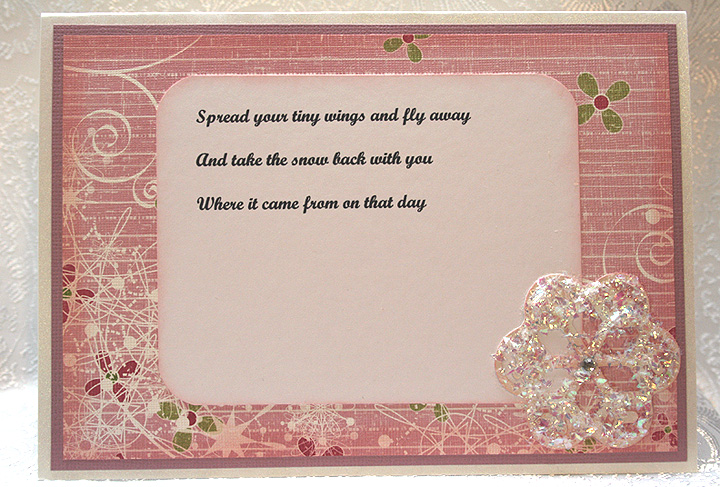
While I was working on this card, the song “Snowbird” by Anne Murray kept running through my head.  I printed part of the chorus and put it on the inside of the card.   The snowflake on the inside is from Joys of the Season.

 Here are the challenges I am entering and the requirements for each:

Jitterbuggin – For the Birds Challenge – follow the sketch, add a Cricut bird and use something pink.

Fantabulous Cricut – Challenge #42 Winter Warmies – create a project using some type of winter clothing or accessory.

Cooking With Cricut – Glittermania! – glitz up your project.

The Cuttlebug Spot – Inspired by a Song – find inspiration for your project in a song.

  • Bazzill cardstock
  • Designer paper – Snowflake Waltz from Daisy Bucket Designs
  • Cricut cartridges:  3 Birds on Parade, George and Basic Shapes, Joys of the Season, Mickey Font, Simply Charmed, and Straight from the Nest.
  • Cricut Design Studio
  • Cuttlebug
  • Copic markers
  • Ranger holographic embossing powder
  • Martha Stewart punch
  • Martha Stewart glitter
  • Rhinestones from stash


Snow Owl ~ Winter Wonderland

It has been quite a while since I made a card.  Erin, my darling daughter and the other half of this blog, came out to visit from Taiwan for a month.  We spent a lot of time at Disneyland and had lots of fun.  And we did a lot of shopping.  We went to Michaels so many times — even hit three different stores in one day.  On one of our last shopping trips, we both bought a Cricut Gypsy.  Thanks to so many online tutorials, I am slowly learning how to use it. 

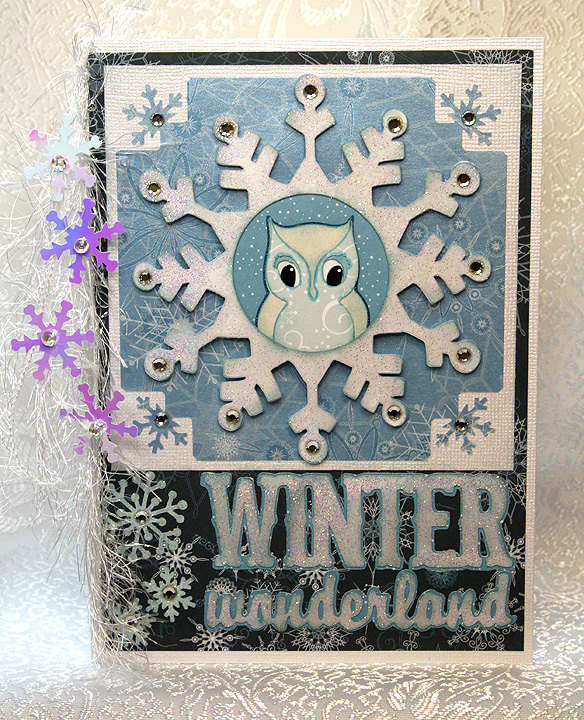
For this card I used my favorite Cricut owl cut, which is from the Disney Happily Ever After cartridge.  I decided to make him a snow owl and wanted the card to be all sparkly and pretty.  The solid cardstock for the card base is Bazzill Bling and the patterned paper is from Heidi Grace, the Frost Blvd collection.   

I cut a snowflake from When It’s Cold Outside and cut a circle in the middle of it so the little owl can look out.  The sentiment is cut from Winter Woodland.  I heat embossed both cuts all over using a Versamark Dazzle stamp pad and Ranger holographic embossing powder. 

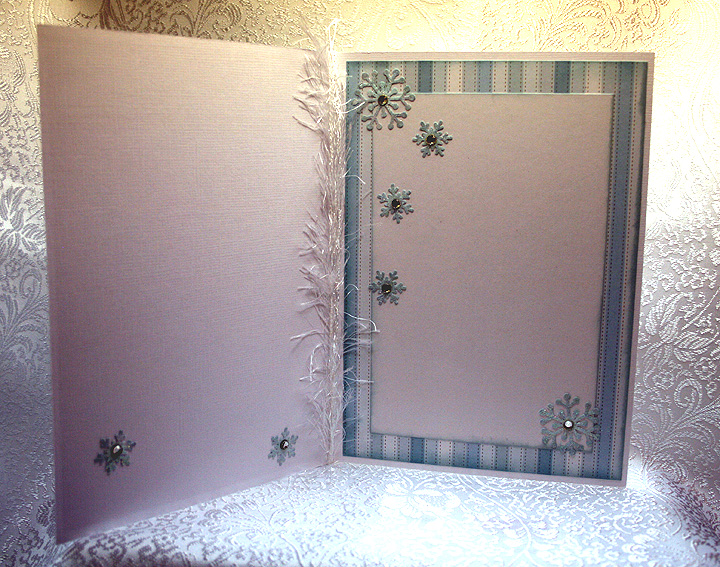
I used a Martha Stewart corner punch from the Snowfall Punch Around the Page combo for the snowflakes on the corners of the light blue square.  I used two other Martha Stewart snowflake punches to add some extra snowflakes by the sentiment and on the inside of the card.  And I added a lot of rhinestones.

The final embellishment I did was to wrap some yarn around the fold of the card.  I love mini albums and the ribbon and charms that hang from the binding, so I attempted to duplicate that look.   After wrapping the yarn around the card, I threaded some snowflake sequins and beads on thread and attached the thread to the yarn. 

For the inside of the card, I sprinkled snowflakes on both sides and added more rhinestones.

I am going to enter this card in two challenges.  The first is Jitterbuggin’s Wise Guys challenge and this week the sketch is optional.  The only requirements are to use a circle and a square, include an owl and a Cricut cut.

The second challenge is Fantabulous Cricut’s Challenge Me Monday #34, Bird Bonanza.  For this challenge you have to create a project that has something to do with a bird. 

  • Bazzill Bling cardstock
  • Heidi Grace patterned paper, Frost Blvd collection
  • Cricut cartridges:  When It’s Cold Outside, Happily Ever After and Winter Woodland
  • Versamark Dazzle stamp pad
  • Ranger holographic embossing powder
  • Rhinestones, snowflake sequins and yarn from my stash