Sympathy Card

This is a sympathy card I made for a friend who lost her mother unexpectedly. I used white cardstock and colored the background pink using Lindy’s Stamp Gang’s Starburst spray. I stamped the Dandelion Frame from Hero Arts using Versamark and then embossed it using white embossing powder.

5

The flower is a stamp from Hero Arts called 3 Dotted Flowers.  I stamped it on vellum, again heat embossing it in white.  I layered the 3 flowers together and added a pearl for the center.  The butterfly is from two Memory Box dies (Pippi & Isabella), one for the filigree layer and one for the solid layer.  The sentiment is computer generated and cut with a Spellbinders tag die.

2


  • Hero Arts stamps:  Dandelion Frame, 3 Dotted Flowers
  • Lindy’s Stamp Gang Starburst spray
  • Memory Box dies:  Pippi and Isabella
  • Spellbinders tag die

Circleville NSD 2013 — On Pins Challenge


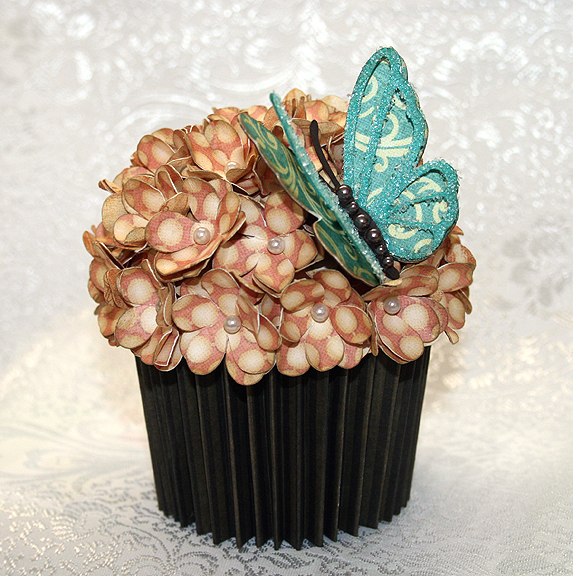
I just completed this cupcake for the On Pins Challenge that was hosted by Sis.  Be sure and check out her blog to see the beautiful mini album she made for her project.

The challenge was to make a pin-inspired project.  I had no trouble deciding which pin I was going to use.  It is the one here.   I wanted to make one of the cupcakes.  Miranda has some gorgeous projects on her blog and I was lucky because she had a video on how to make the cupcake.  You can find the link to her video on her blog here.

CC2

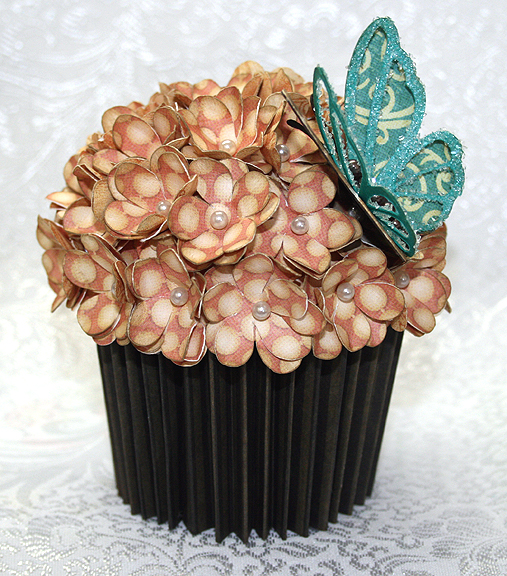
I followed Miranda’s directions, except that I cut the flower petals with my Cricut rather than using a punch.  I used George and Basic Shapes <Flower2>, cut at 1.125″ and I hid the center hole in CCR.  I ended up using more than one 12″ x 12″ sheet full of flowers.  I think I placed mine a little closer together than Miranda did.  I used pearl pins I got at Joann’s to place the pins on the stryofoam.  The paper is all from Graphic 45.

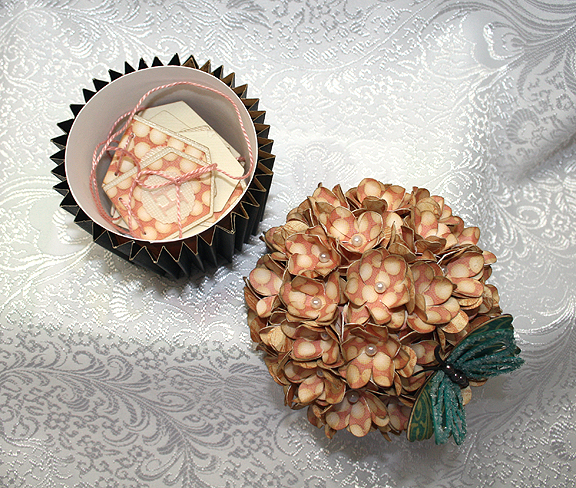
The cupcake opens and inside is a little banner that says “Happy Birthday.”

Open

I cut the banner from Birthday Bash at 1.5″ using the print Graphic 45 paper.  I cut the shadow layer from Bazzil cardstock.  I threaded it together using some DMC pearl cotton.  The letters are from a Cuttlebug Plus Embossing folder, Monogram Seals. I inked the letters with Distress Ink.

Banner2

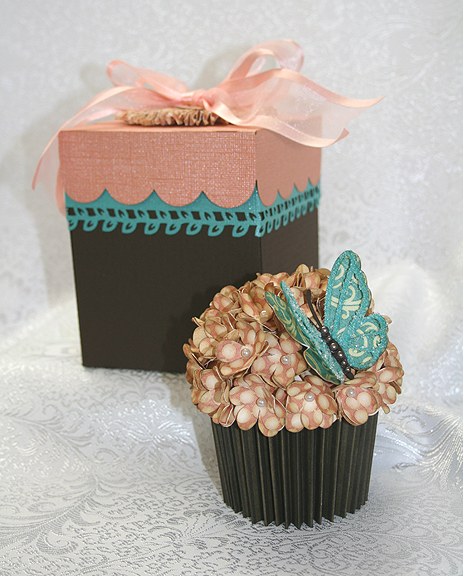
I also made a box for the cupcake for a different challenge.  I will share a picture here, but will put the details for the box in my next post.

Set

The butterfly is from Martha Stewart Elegant Cake Art and was cut at 2″ from Graphic 45 paper.  I cut several layers and on the top layer I added some coarse crystal glitter.  I put brown pearls on the body.

CC3

  • Cricut cartridges used:  Birthday Bash, George and Basic Shapes, Martha Stewart Elegant Cake Art
  • Cuttlebug Plus Monogram Seals embossing folder
  • Graphic 45 paper
  • Bazzill cardstock
  • Pearl pins
  • Coarse crystal glitter
  • Distress Ink
  • 3″ stryofoam ball
  • 9 oz paper cup
  • Brown adhesive pearls
  • DMC pearl cotton

Cricut Circle Weekend Challenge Card


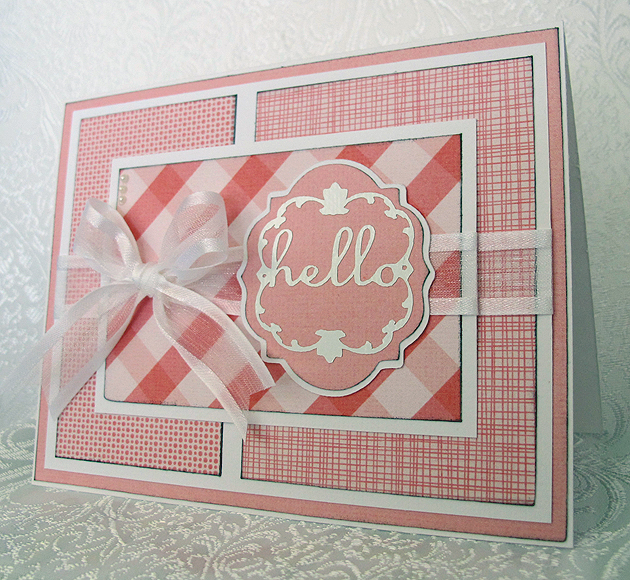
This is a quick card I did for a weekend challenge on the Cricut Circle message board.  Di challenged us to create a project using several tones of the same color.

I decided to go the easy route and went to my Imagine library for my papers, since it would have taken me hours to dig through my paper collection trying to decide what I wanted to use.  I used the Hey Diddle Diddle cartridge and printed out several different pink prints.

Front

The sentiment was cut from the Lacy Labels Lite cartridge at 2″.  The white letters at that size are very intricate, so I cut that layer from white vinyl.  I like using vinyl for intricate cuts because it is like making a sticker – I don’t have to apply any glue to the cut.  At that small a size, I would smear glue all over.  I do take a little stickiness off the transfer tape by sticking it a couple of times to a piece of cloth before applying it to the vinyl.  That way it doesn’t stick too tightly to my paper piece when I apply the vinyl.

Front4

I added some ribbon to two of the layers and then a bow to the top layer.  I also put three small pearls in the upper left corner.

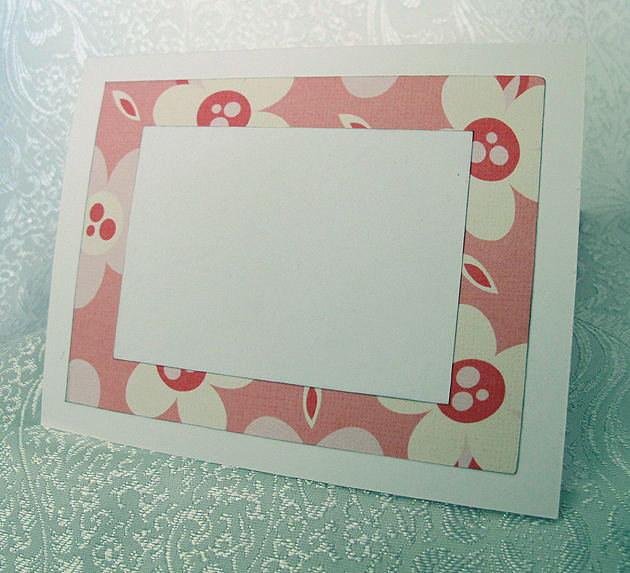
The inside is another piece of the pink print paper with a white piece on top for writing.

Inside

  • Cricut cartridges used:  Hey Diddle Diddle Imagine and Lacy Labels lite
  • American Craft cardstock
  • White vinyl
  • Pearls
  • Ribbon

Graphic 45 A Ladies’ Diary Birthday Card


I wanted to make a special birthday card and only knew that I wanted to use some of my beautiful Graphic 45 paper (that I seem to be hoarding) to make it.  I went looking on the web for some inspiration and it didn’t take long for me to decide on my design.

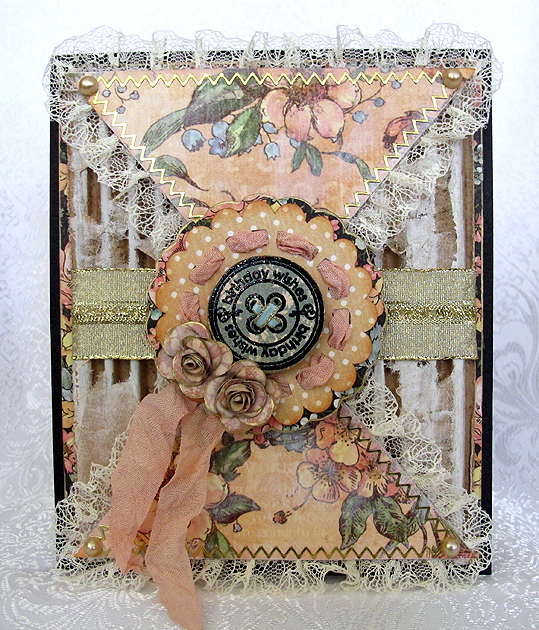
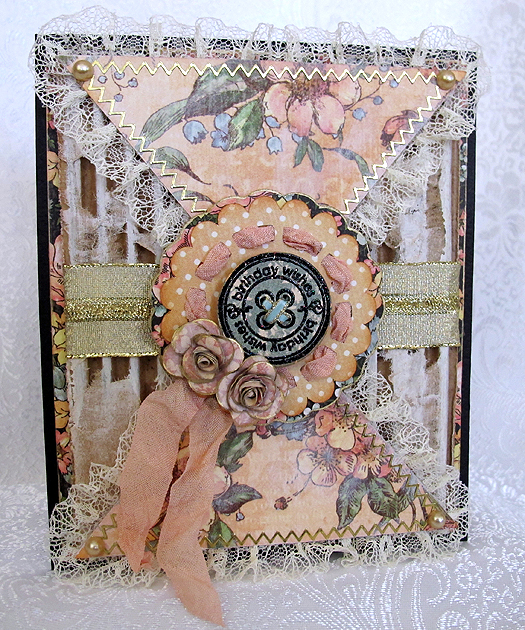
I found a card sketch on Stuck On U Sketches that I liked and got out my paper.  All the printed paper is from A Ladies’ Diary collection.  The base of the card, the solid black cardstock, is from Bazzill.

Front6

The background is a piece of corrugated cardboard — I removed one of the layers so you can see the ribs.  Then I took some gesso and dry brushed it on.  I wrapped a piece of gold ribbon from my stash around the middle.

I cut the triangle pieces in Cricut Craft Room using George & Basic Shapes.  I dry brushed some gesso on the triangles and glued lace trim around the edges using Farbri-Tac glue.  The gold trim around the edges is stickers.  I attached pearls at the corners.

Front5

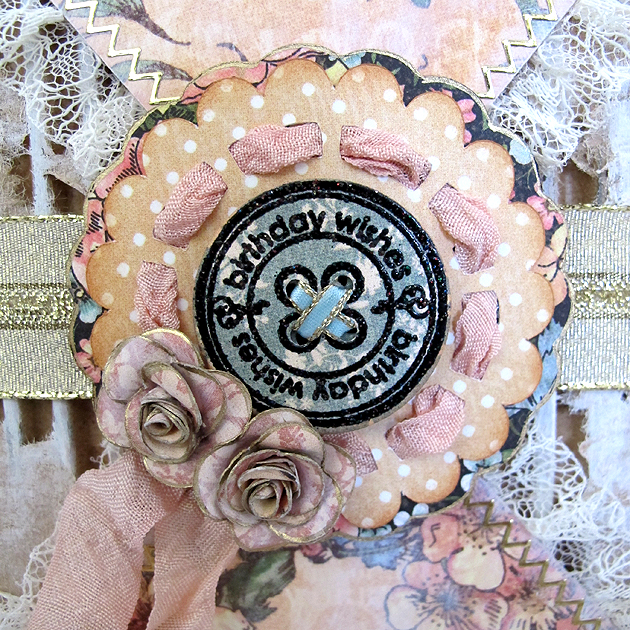
The scallop circle is from Cricut Alphabet, <Doily12>, and it is cut at 2.5″.  I used a Krylon 18kt. Gold Leafing pen to go around the edges of the shadow scallop.  I dyed some seam binding using Tattered Angels Glimmer Mist and threaded it through the holes in the doily, leaving the tails to hang down.

ScallopCircle

The birthday button in the center of the scallop is a new stamp and die set that I just got from Whimsy Stamps.  I heat embossed the sentiment using Stampendous Stardust embossing powder.

Button

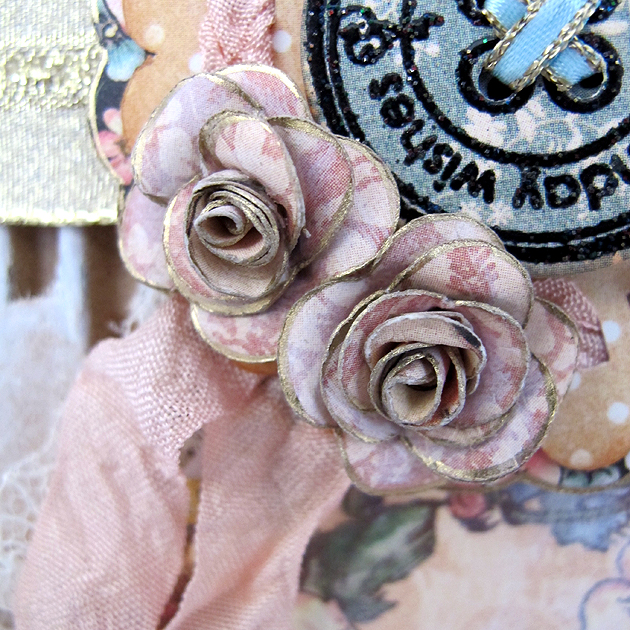
The two small roses were made following this tutorial, from Scraps of Life’s blog.  I used a flower shape from Paisley, Layer1 + <Shoes1>, cut at 4.5″.  I dry brushed the layers with gesso and used the gold leafing pen on the edges of the petals before I assembled the flowers.    I love how tiny they are — they are under 1″ across.

Roses

The scallop layer and the button are attached to the card using foam pop dots.

On the inside of the card, I edged the black floral layer with the gold leafing pen.  I still have to do my sentiment layer.  I think I will write it first before attaching it.  If I make a mistake, then I can just redo it rather than having my blunder permanently attached to the card.

Inside

  • Graphic 45 A Ladies’ Diary collection
  • Bazzill cardstock
  • Cricut Craft Room
  • Cricut cartridges:  Cricut Alphabet, George & Basic Shapes, Paisley
  • piece of corrugated cardboard
  • ribbon from my stash
  • seam binding
  • Tattered Angels Glimmer Mist
  • Stampendous Stardust embossing powder
  • gold border stickers
  • self-adhesive pearls
  • Gesso
  • Krylon 18kt Gold Leafing Pen
  • Whimsy Stamps — Everyday Button Sentiments and Button Die
  • Fabri-Tac adhesive


Wee Wee Wee!! Pig With Pinwheels Shaped Card

I wanted to make a birthday card for my sister-in-law and I wanted to create one that was very whimsical — and I hope I succeeded.  I enjoy making shaped cards and when I found the All Shaped Up Challenge on Bitten by the Bug 2, the idea for my card was hatched.

I love the pig with the pinwheels in the Geico commercials.  You can’t help but smile when one comes on TV, and I have been wanting to do something along those lines for while now.   I decided to make my pig a girly girl and give her a fancy party dress, complete with a birthday party hat.

I started laying out my design in Cricut Craft Room.  Unfortunately, the program still has issues and I ran into some of them while creating this card — and ended up wasting time.  I find CCR so frustrating at times that bad words will just start popping out of my mouth.

When I got ready to cut my card, Cricut Craft Room was down and I could not log in.  I kept getting a message that the program couldn’t connect to the internet.   I kept trying and after an hour or so, I was able to log in and cut my layers.

All the solid color cardstock is from Bazzill, except for the glitter cardstock on the hat — that is from Core’dinations. The patterned paper I printed on the Imagine using the Blast Off cartridge.

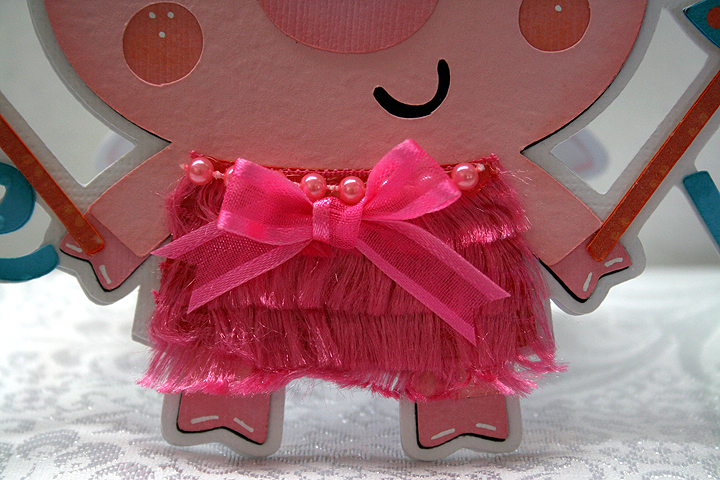
I used Create a Critter for the pig and pinwheels and B is for Boy, a Lite cartridge, for the “wee” words.  I welded them all together to form the base of the card.  I used the Swiss Dots folder and my Cuttlebug to emboss the words.  I found some eyelash-type yarn at Joann’s that I used for her dress, layering it so it looks like a fringe dress — reminds me of a flapper dress.  I added some pearls at the neckline and a bow on both the dress and hat.  I used Stickles on the center of the pinwheels.

The inside of the card features a computer-generated sentiment.

I hope this little piggy card brings a smile to my sister-in-law’s face.  I need to make an envelope so I can get it in the mail.  Since it is a over-sized card, I will probably send it in a padded envelope.

I am also entering this card into the following challenges:

Cricut Chirp Challenge #6 – Create a Critter Craft:  use any animal Cricut cut on your project

Scrappy Moms Stamps – Terrific Tuesday Challenge – Shape Up:  create a shape project

  • Cricut cartridges:   B is for Boy Lite, Blast Off (Imagine), Create a Critter
  • Cuttlebug:  Swiss Dots embossing folder
  • Bazzill cardstock
  • Stickles
  • Yarn, pearls, ribbon

Butterfly Kisses Baby Girl Card


The weekly challenge on the Cricut Circle Blog is a card sketch challenge and you must use at least two Cricut cuts.  I thought I’d make a card on my Imagine, since I haven’t made a complete project using the Imagine.

I decided to make a baby card,  even though I don’t know anyone who is having a baby right now.  But it will be good to have on hand.  Again, for no particular reason, I made the card for a baby girl.

I used the Cricut Imagine cartridge Nursery Tails for this card.  All the paper is from this cartridge, as are the pink socks and the Butterfly Kisses title.  I embossed the brown floral background and the pink contrast strip with my Cuttlebug.  I cut the images in layers and inked around all the edges.   I added some ribbon, attached the socks with foam pop-dots and added three pearls by the tag.

For the inside of the card, I used a Cuttlebug die for the “Welcome Baby” and the bib is from Nursery Tails.

This is a fairly simple card, but I like the way it turned out.

  • Cricut Imagine Cartridge Nursery Tails
  • Cuttlebug
  • Ribbon, pearls

Strawberry Teapot Card — My First Easel Card


I made this card for the Kitchen Challenge over at Bitten by the Bug 2. Your project must be based on something you would find in a kitchen and have a Cricut cut on it.  I started out with all sorts of ideas but narrowed it down to a teapot.  I was laying out my design in Cricut Design Studio and thought it was looking pretty good.  I decided to try making an easel card, going for a floral, frilly teapot.

Then, a couple of nights ago I was checking out one of my favorite embroidery websites, EmbLibrary.com, and happened upon a strawberry teapot.  I kept looking at it and wondered if I could make something similar using my Cricut.  So I started playing around in Design Studio and ended up with this card.

I used Core’dinations solid cardstock for the base of the card.  All the dotted printed paper I did on my Imagine, using The Good Old Days cartridge.  I am really having fun using my Imagine.

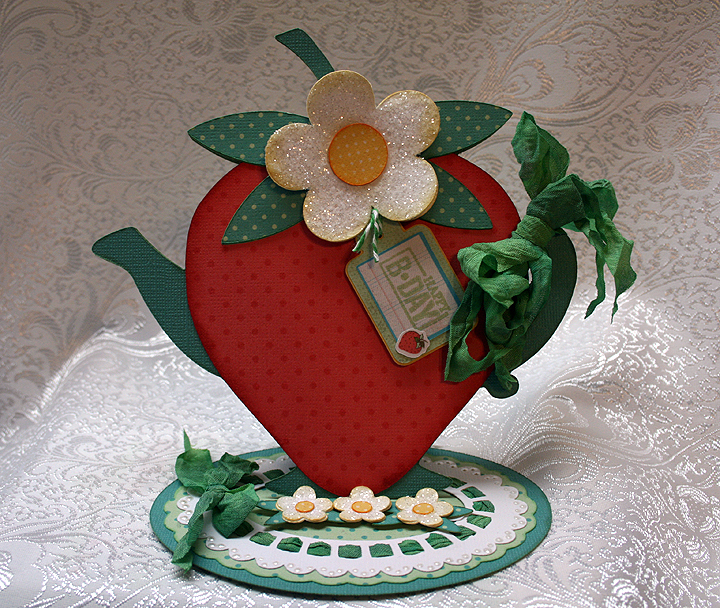
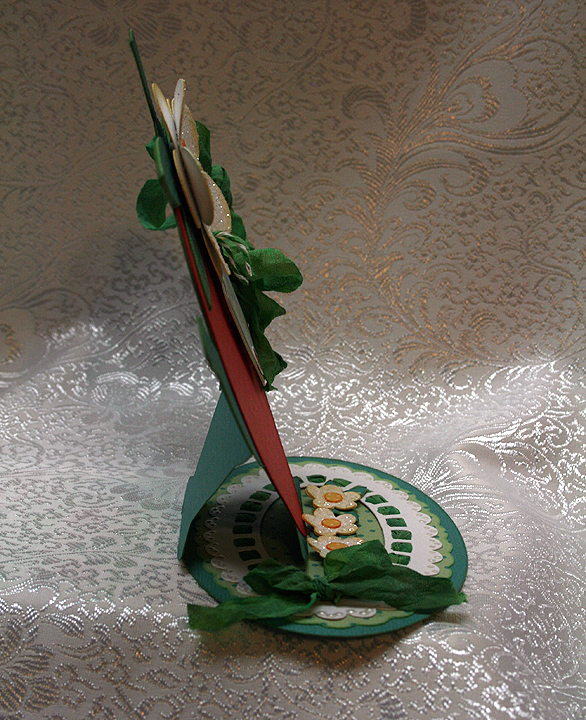
The teapot I used is from Kate’s ABCs cartridge and I welded a strawberry from Preserves over top of the teapot, so just the spout and handle were sticking out beyond the strawberry.  I then welded an oval from George & Basic Shapes onto the bottom of the teapot, to form the base of my easel card.  Here is a side view of the card, so you can see how it stands up.

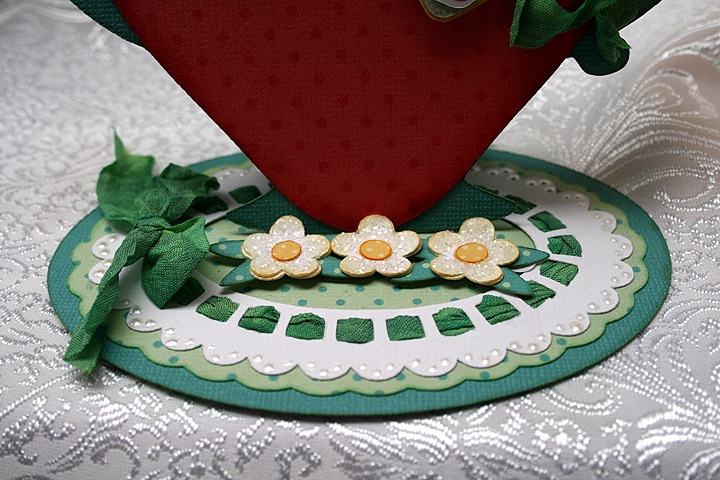
I cut a scalloped oval and doily shape from Lacy Labels to go on my base.  Through the holes of the doily shape, I threaded seam binding that I dyed using Tattered Angels Glimmer Mist.  Where my seam binding met, I tied a bow.  Here is a close-up of the base so you can see how I threaded the binding, and also how the three small flowers allow the card to stand up.  I used Liquid Pearls to add some dots on the doily.

I also used seam binding to tie a bow around the handle of the teapot.  I used Glossy Accents and Martha Stewart coarse glitter to add some sparkle to the flowers.

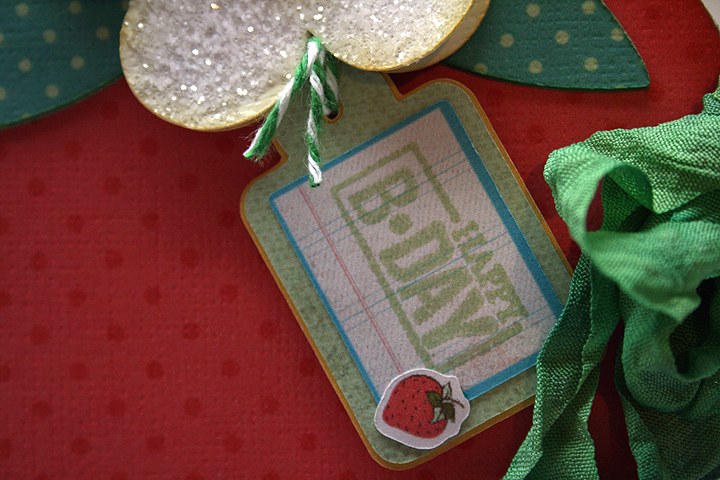
I made the tag using my Imagine and the Imagine More cartridge.  I am very happy with how it came out — it is my first cut and print piece that I have used on a project.  I changed the color on one of the layers and left off the sentiment that was on this particular tag.  I then took a Studio G stamp and stamped Happy B-Day on the front and tied it up with some twine.

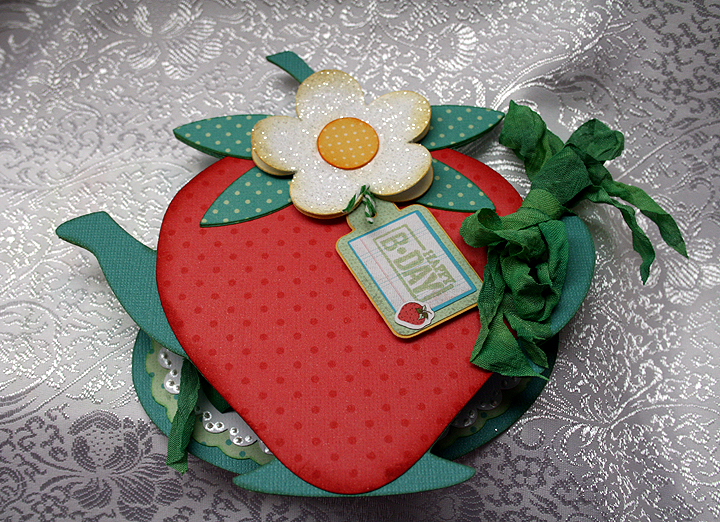
And here is a picture to show you what the card looks like when it is flat.

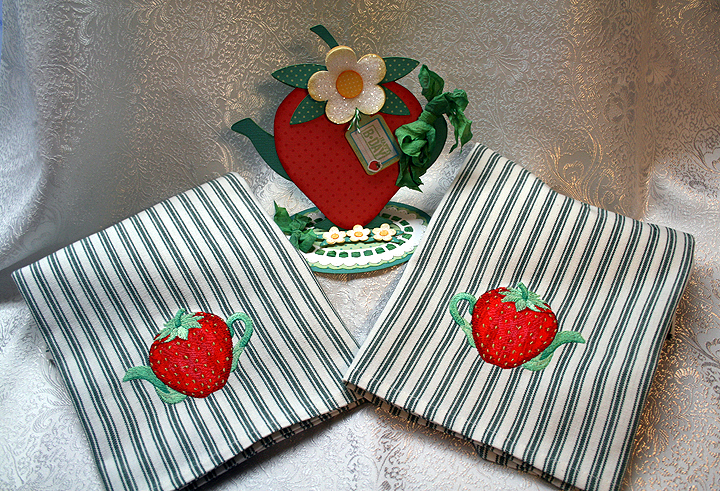
When I finished my card, I thought it would be nice if I embroidered some tea towels using the strawberry embroidery design that inspired my creation.  I found a couple of blank striped towels that I thought the design would look OK on and proceeded to stitch them out.  So now I have a nice gift set to give to someone.

And, finally, I want to thank the wonderfully talented Design Team at Bitten by the Bug 2 for the prize that I won in the frame challenge.  My number was picked to receive the Smash Book prize — and I am so excited!  Thank you everyone at Bitten by the Bug 2.

  • Cricut cartridges:  George & Basic Shapes, Kate’s ABCs, Lacy Labels (Lite), Preserves
  • Imagine cartridges:  Imagine More, The Good Old Days
  • Core’dinations cardstock
  • Martha Stewart coarse glitter
  • Glossy Accents
  • Rayon seam binding
  • Liquid Pearls

Speedy Turtle – Fantabulous Cricut Challenge Blog – Challenge #36 Achoo!

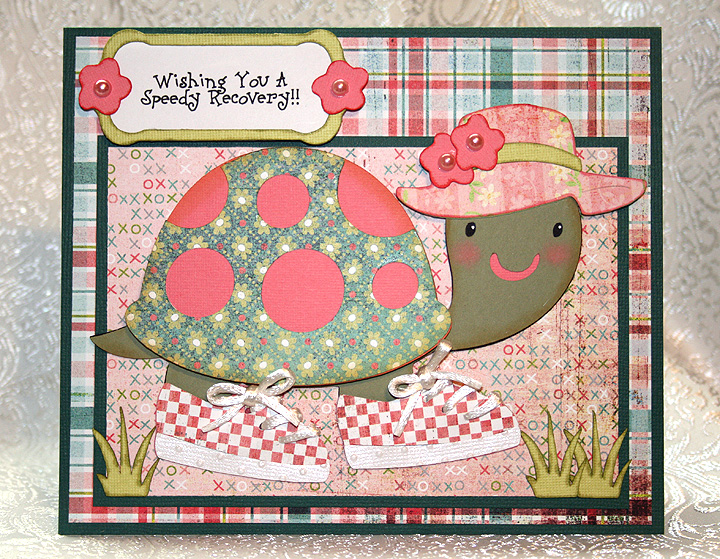
Here is my card for the current challenge at the Fantabulous Cricut Challenge Blog, which is to make a project that has something to do with being sick.  I don’t know why, but this challenge stumped me.  I couldn’t think of anything exciting that I wanted to make.  I started several different projects before the light bulb finally went off and I had a clear vision of what I wanted to make.

The card base is Bazzill cardstock, the patterned paper is Basic Grey, and the solid that the turtle is cut from is Stampin’ Up.  I cut the turtle using my Cricut and the Create a Critter cartridge.  Since I am wishing the recipient a speedy recovery, I figured I needed to give my turtle some running shoes so she could speed things up a bit.  I cut the shoes from My Community and laced them up with some white cording that I found in my stash.  I used the Cuttlebug embossing folder Swiss Dots to emboss the bottom edge of her shoes.  I also gave her a hat, which I cut from Paper Doll Dress Up.  The label that the sentiment is printed on is from a Lite cartridge, Lacy Labels.  I used Create a Critter for the flowers and the tufts of grass.  I added pearls to the centers of the  flowers. 

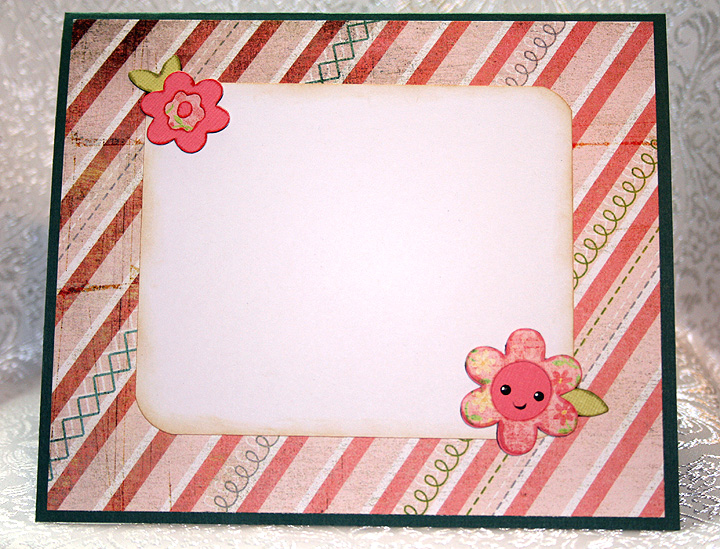
The flowers on the inside of the card are also from Create a Critter. 

  • Bazzill cardstock
  • Stampin’ Up cardstock
  • Basic Grey designer paper
  • Cricut cartridges:  Create a Critter, Lacy Labels (Lite), My Community, Paper Doll Dress Up
  • Cuttlebug Swiss Dots embossing folder
  • Pearls
  • Cording from my stash