Birthday Shaker Card & Nugget Box

It took me about a year to break my Zing cutter out of its box and give it a try — and now I am kicking myself for waiting so long!  I love it — it is cutting paper that I had trouble cutting with my Expression.  The paper that gave me problems was usually textured.  I had some Bazzill that the Expression would refuse to cut — it looked like it tried to gum its way through.  So far the Zing has cut everything I’ve thrown at it.

What I am really loving is cutting svg files.  svgcuttingfiles.com has some of the cutest designs and I love that jadedblossom.com has coordinating stamps for many of the cut files.  For this project I used two cutting files and two different sets of stamps.

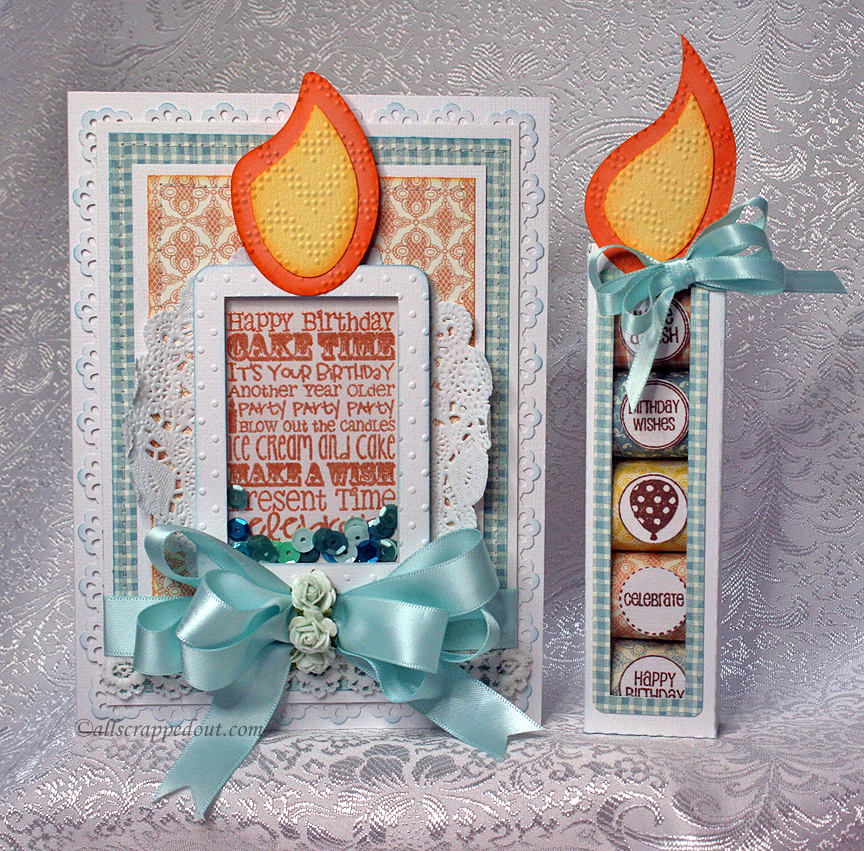
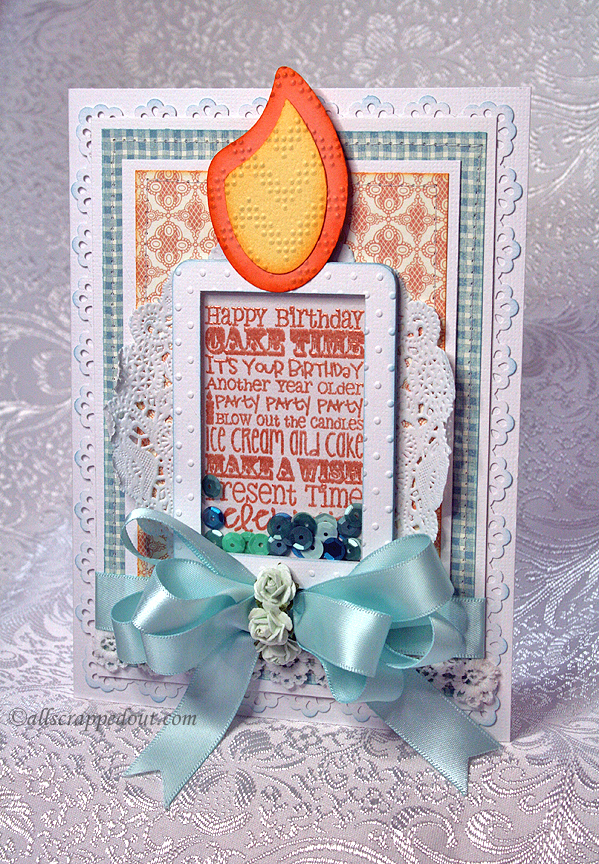
I made this birthday card and matching box that holds little Nugget candy bars for my niece.   I love shaker cards and when I saw the Party Shaker Tag file, I had to buy it.   I made the candle card — there are three other shakers in this set.  I used the Birthday Treat Tags stamps to heat emboss the design in the shaker.  Of course I used my favorite embossing powder, from Lindy’s Stamp Gang.   I think the color I used was Cleopatra’s Copper.

CardCandy6

The patterned paper is from the Secret Garden collection by Graphic 45.  I used a Martha Stewart punch around the page set called Vintage Floral.  I stitched around a couple of the mats, added some lace trim at the bottom, along with a satin bow made using one of my favorite tools, the Zutter Bow-it-All.  The roses are from Wild Orchid Crafts and the sequins in the shaker from Doodlebug Designs.

I used two Cuttlebug folders, Dotted Swiss and Charles (for the flames).

Card1

For the box, I used the Candle Nugget Box svg.  I wrapped each nugget and then topped it with a circle sentiment from the Birthday Candies stamp set.
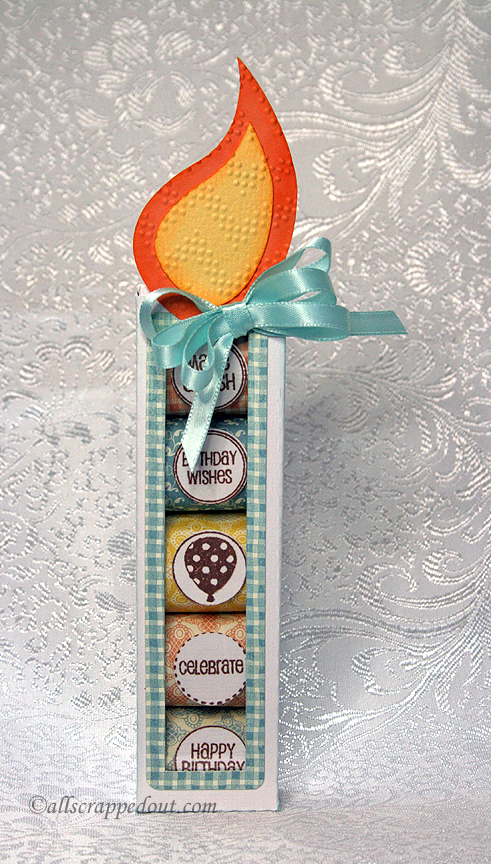
Candy1This set was so much fun to make.

Birthday Tag — NSD 2014 Challenges

Since time is running out to enter the challenges on the Cricut Circle Message Board, I made this tag to enter into two different categories.  Actually, I think it qualifies for three.  The first is the XO Three in a Row, the second one is Everything’s Coming Up Rosettes, and the third is All Mixed Up.

For Maria’s XO Three in a Row challenge, you have to pick three items from a Tic Tac Toe board and incorporate them into your project. I chose the bottom row, which is Flower, Ribbon (or Twine), and Stamp.

For Colleen’s Everything’s Coming Up Rosettes, you have to make a project and use a rosette on it.

For Di’s All Mixed Up challenge, you need to use a piece of fabric on your project.

3

I covered the tag with sticky back canvas and then inked it using Peacock Feathers Distress Ink.  I stamped the images on the canvas using the same ink.

I used this tutorial from Tammy Tutterow for my tag, because I wanted to make the flower out of crinoline and she has step-by-step instructions.  I used a Tim Holtz rosette die to cut the crinoline and then sprayed them with Lindy’s Stamp Gang’s Starburst Sprays to get the beautiful colors.   The leaves are from a Spellbinders die, also cut from crinoline.  I stamped a butterfly on vellum and added it to the flower.

2

All that was left was the sentiment and bow, which I made using my Bow-it-All.

  • Ranger Sticky Back Canvas
  • Tim Holtz rosette die
  • Crinoline (from Jo-Ann’s)
  • Distress Ink
  • Lindy’s Stamp Gang Starburst Spray

Spring Card with Bunnies

I wanted to make a nice spring card to send to my book box swap partner (Maria), so I went looking at some of the cards I have pinned on Pinterest to get some inspiration.  Right away I found one I liked.  It is pinned from KittieKraft’s blog — she makes the most beautiful cards.

I have always wanted to make a wreath card and figured this was the perfect time.  While I didn’t have the dies she used to make the wreath, I did have the die to make the cute bunnies.  So I used two Martha Stewart punches to make the wreath — the branch punch and the medium frond punch and I followed Kittie’s tutorial on making the wreath.  For the flowers, I used another Martha Stewart punch — the 3-in-1 Hydrangea punch.  I used the two smaller blossoms for the flowers.

6

I have been wanting to try my new Anna Griffin Cuttlebug Lace Trimmings embossing folders and dies and thought they would make a nice background for the wreath.  I had no problem cutting the borders, but I did have a bit of a problem trying to emboss them.  The white cardstock embossed fine, but the yellow kept slipping in the folders and the embossing was all over the place.  The yellow cardstock is heavier than the white, so I thought that might be the issue.

I ended up lining the border up inside the folder and taping it (using blue painter’s tape) to the Cuttlebug plate.  I was still having a problem right at the end of the folder, where it opens.  So I turned the folder around and ran it through the Cuttlebug with the open end first and then it embossed nicely.

I cut the bunnies in white cardstock and inked them brown using Walnut Stain Distress Ink.  The flowers have Stickles in the centers and the bow was made using my Zutter Bind-it-All.  I sure love how easy it is to make bows using the Bow-it-All.

4


  • Martha Stewart punches:  Branch, Medium Frond & 3-in-1 Hydrangea
  • Anna Griffin Cuttlebug Lace Trimmings Embossing Folders & Dies
  • Zutter Bow-it-All
  • Stickles

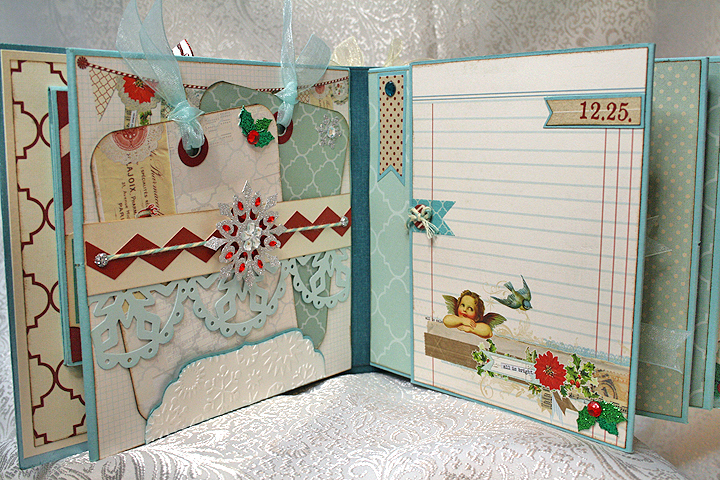
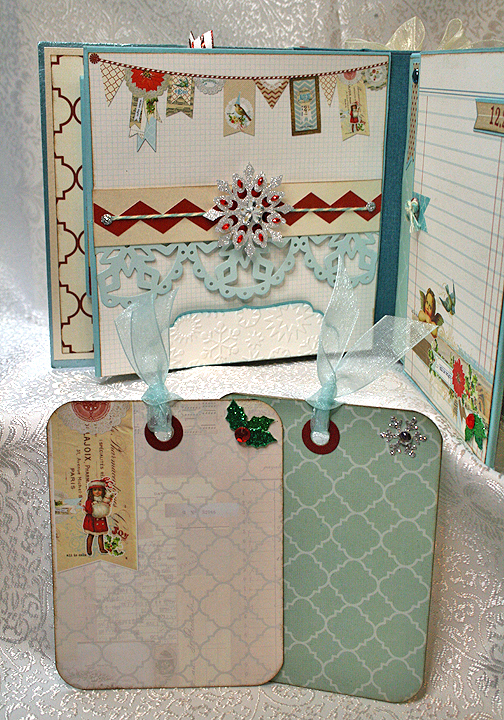
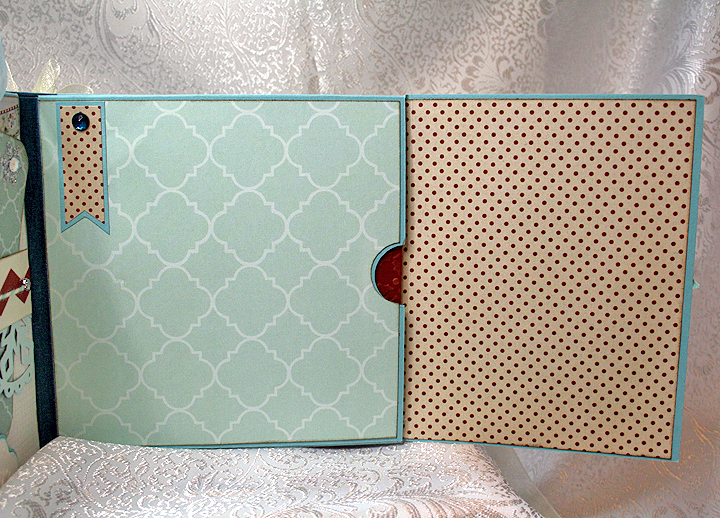
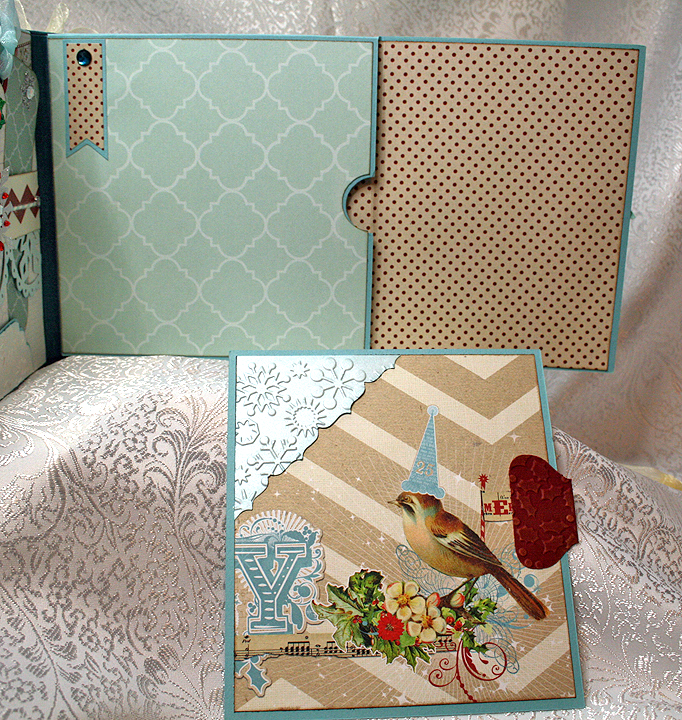
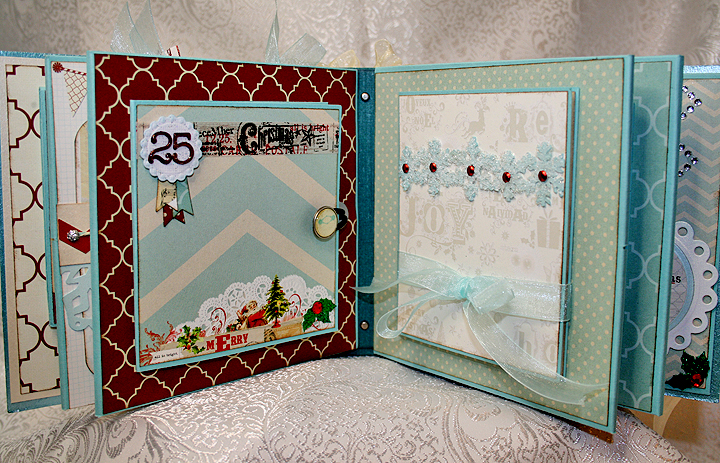
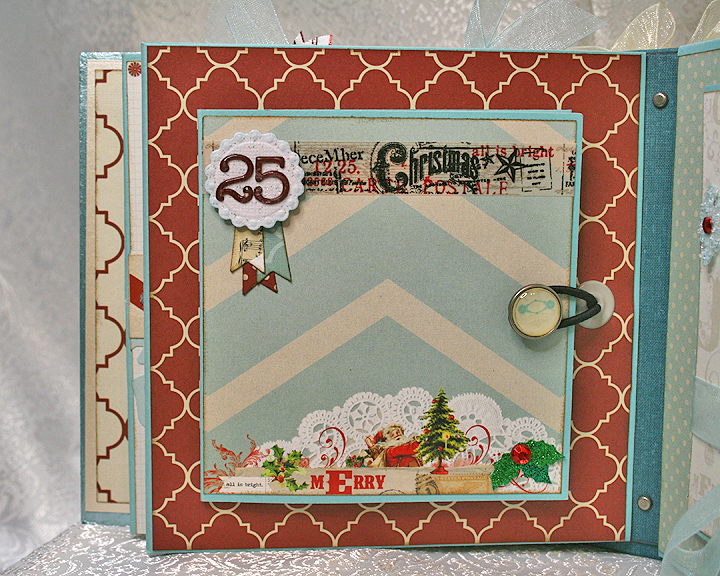
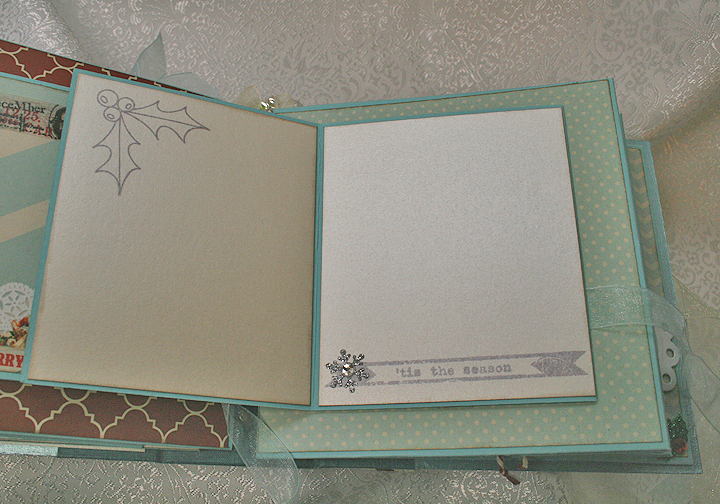
Christmas Mini Album for Cricut Circle Stocking Stuffer Swap

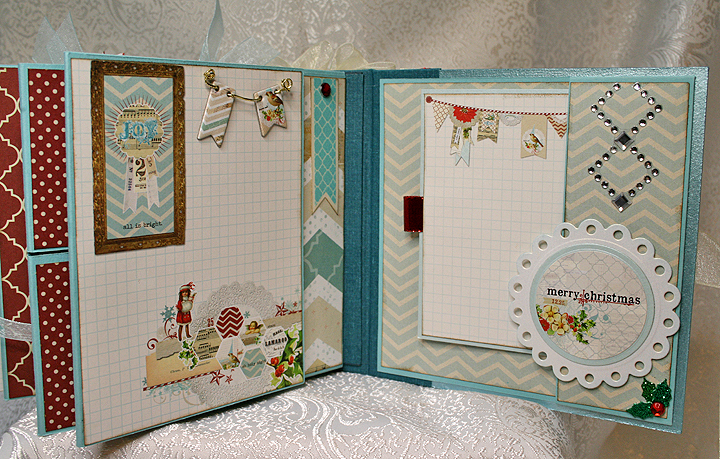
I participated in the Cricut Circle Stocking Stuffer Swap for the first time in 2013.  I figure it’s about time I posted the mini album I made to send to my partner, Sherry (Octoberbeauty).  I’ll warn you — there are lots of pictures.

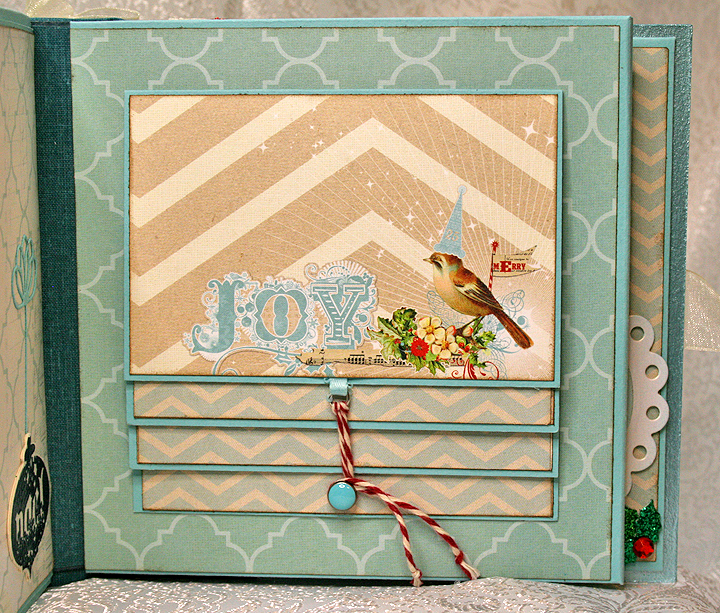
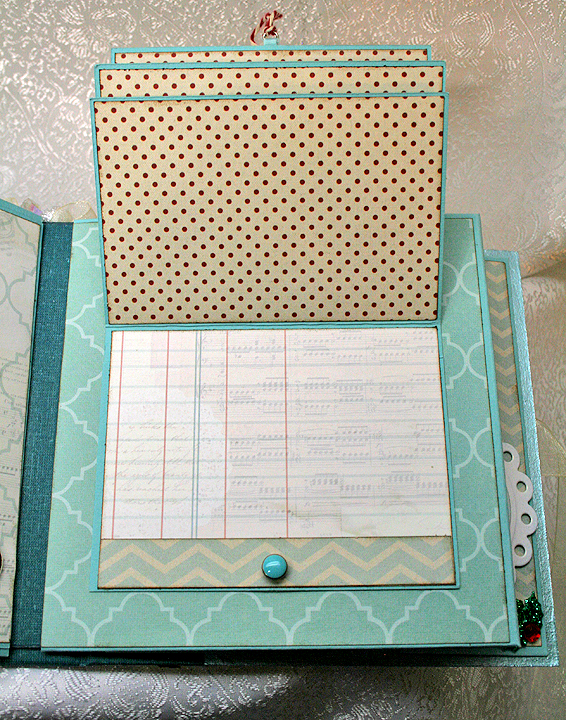
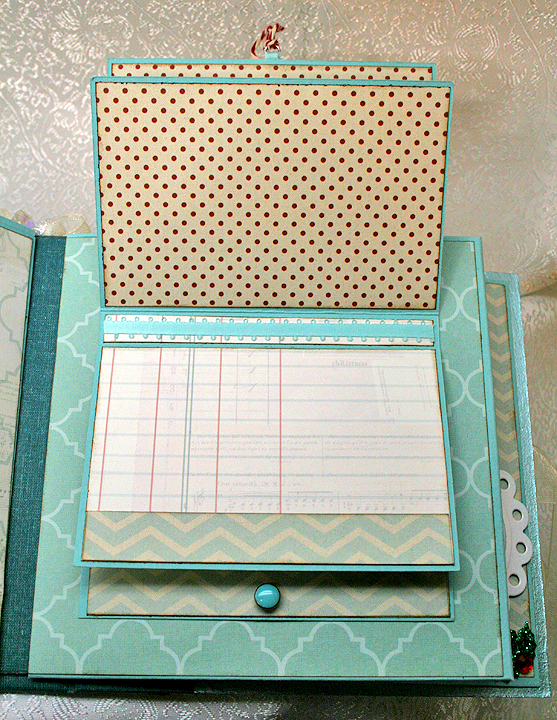
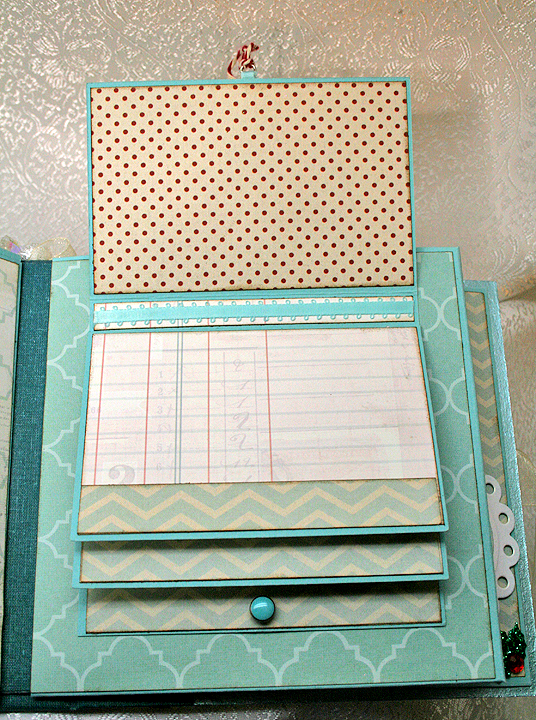
This is the second mini album I’ve made and I again used a tutorial from Cathy, whose etsy shop is called So Much Scrap.   For this album I used her All Hallow’s Eve tutorial.  I really like her tutorials because they are very detailed and easy to follow.

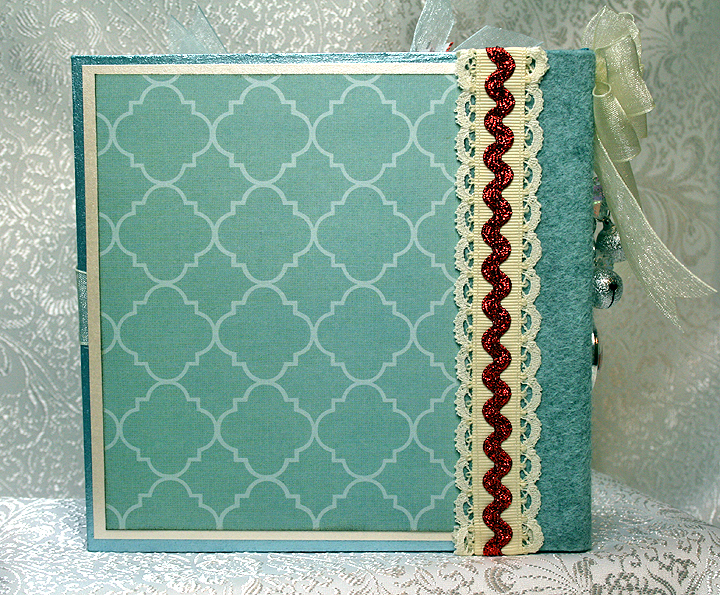
I did something a little different on this album than what the directions call for.  I made the spine and binding system using only chipboard and book binding cloth — I didn’t use any cardstock in the construction.  I am happy with the way it turned out — the binding system is very flexible.

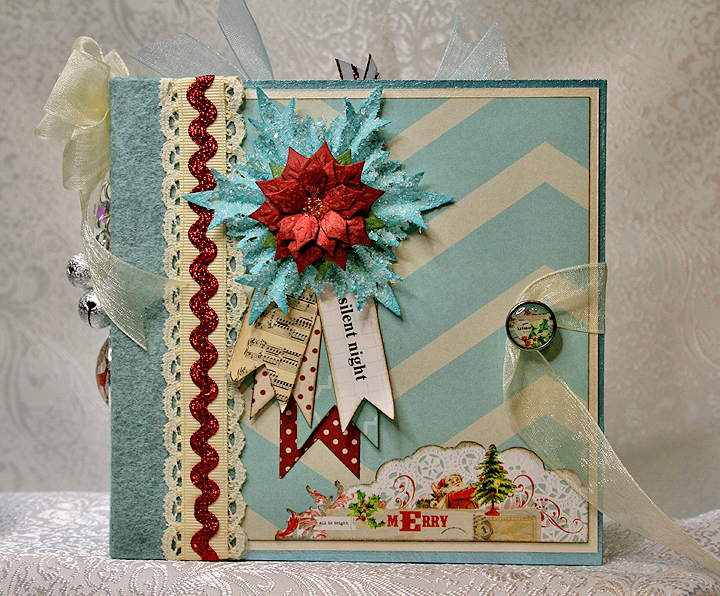
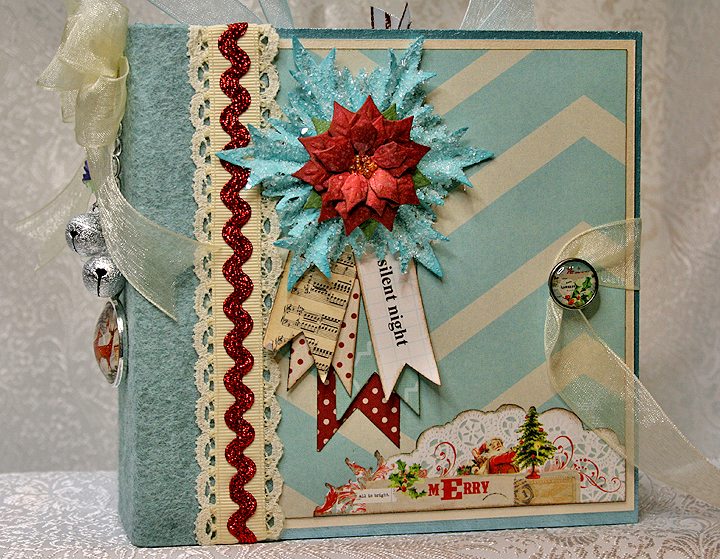
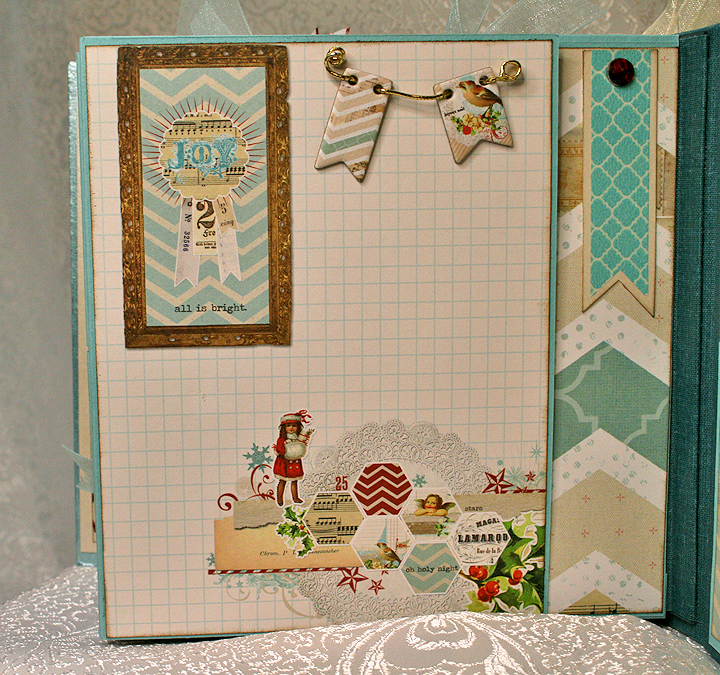
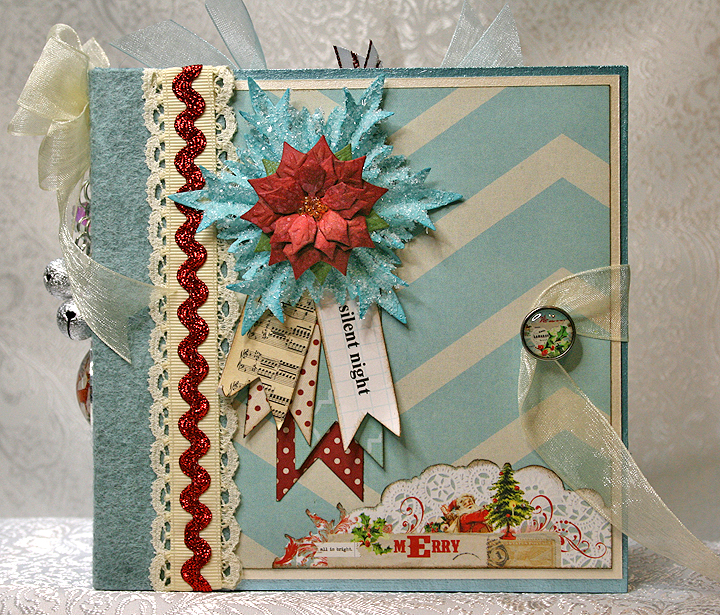
The patterned paper I used throughout the album is from My Mind’s Eye Merry & Bright collection.  The solid cardstock is all Basis 80#.  The edges of the chipboard are painted with Martha Stewart pearl paint.  I covered the outside of the spine in wool felt and added some ribbon, lace and metallic rick rack trim to the edges.

Front10B

Front12B

Back2

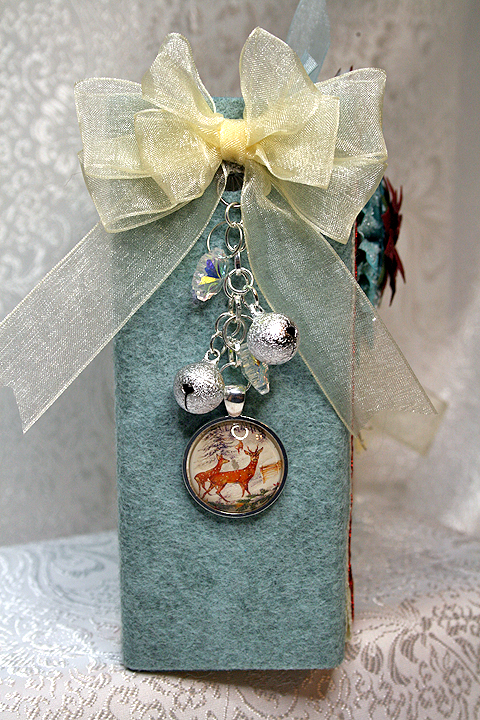
I made the charm on the spine using stardust jingle bells, crystal snowflake beads and a deer pendant I got from eBay. I made the bow using my Zutter Bow-It-All.  I’m really liking the bows I can make using this handy tool.

Charm

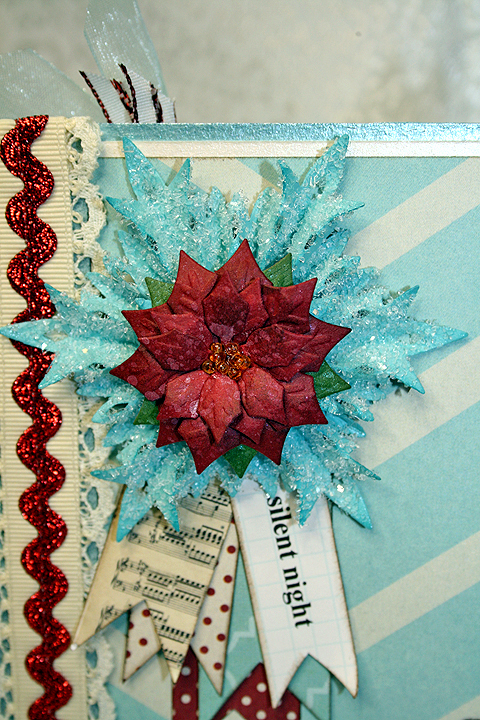
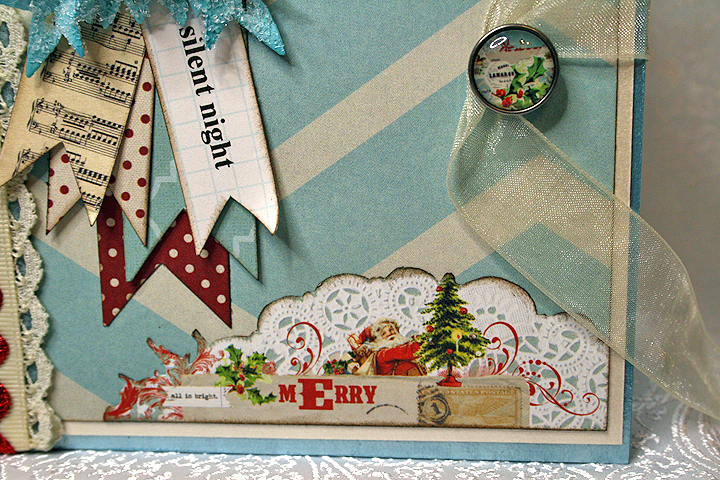
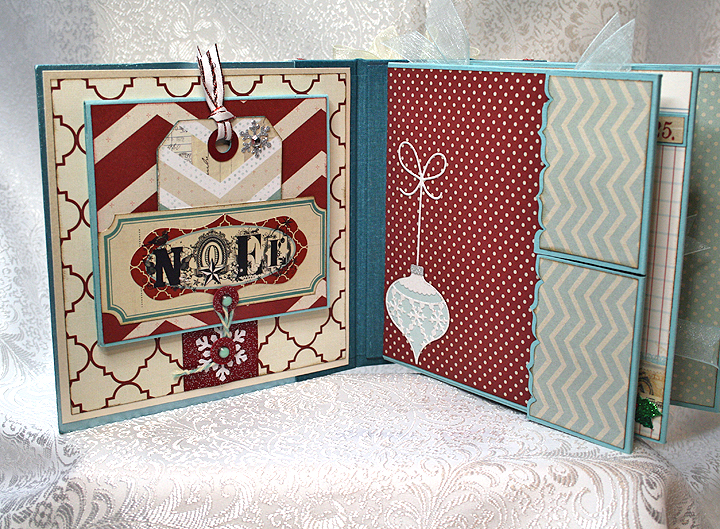
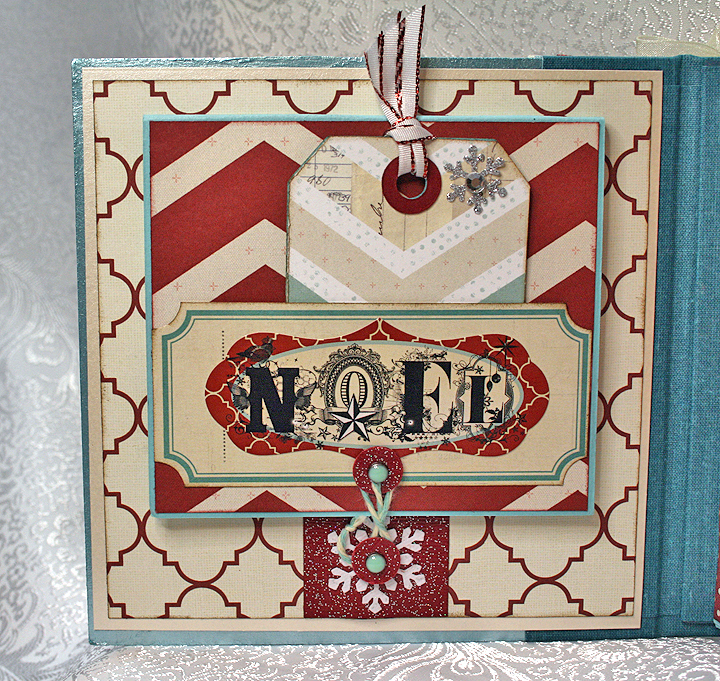
Here are some close-up details of the album front.  The poinsettia is made from the Layered Poinsettia die by Spellbinders, sprayed with Lindy’s Stamp Gang’s Starburst spray, and I added glass seed beads to the center.  The snowflake is from the Tim Holtz Snowflake Rosette die and is coated in coarse glitter.  The album closure is a ribbon that wraps around a brad on the front cover — another of Cathy’s wonderful ideas.

FrontPoinsettia

CoverDetail

Pages 1 and 2:

P1-2

P1B

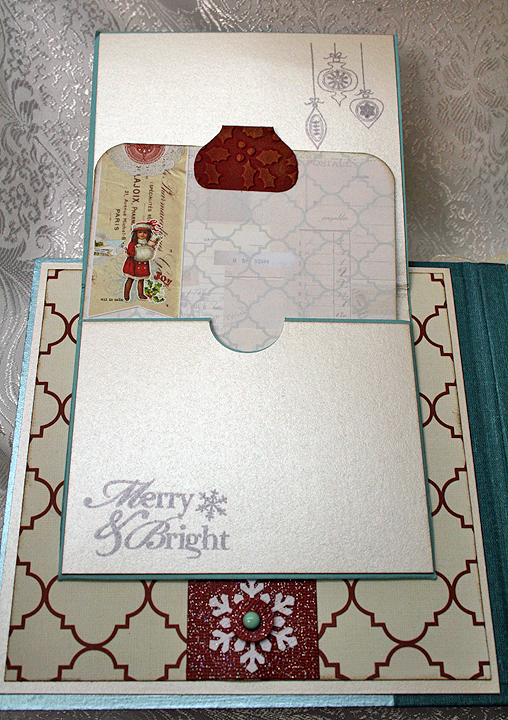
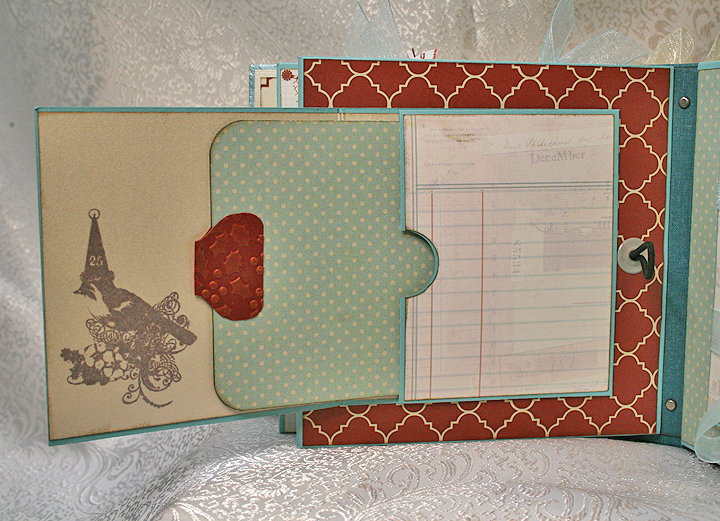
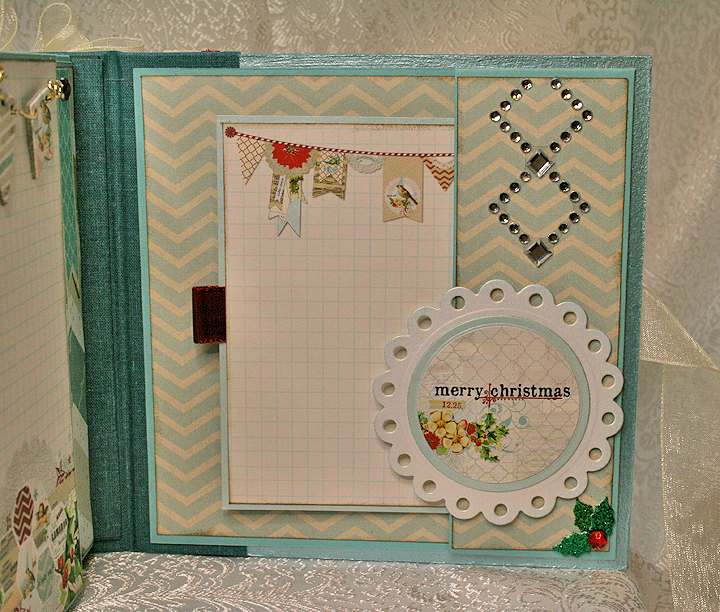
The pocket opens up to reveal a photo mat inside.  I made all the tabs for the photo mats using my We R Memory Keepers Envelope Punch Board and embossed the tabs with my Cuttlebug.

P1TagB

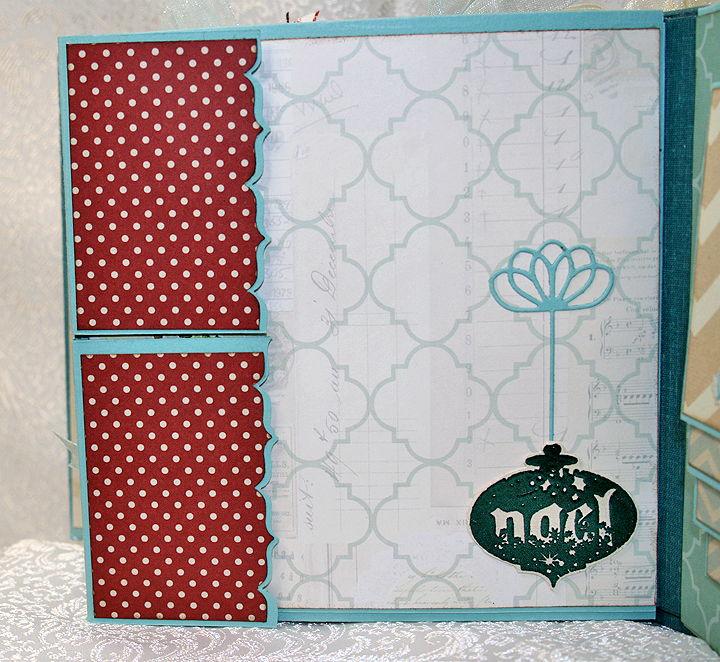
The ornament is cut from a Memory Box die.  The edges on the pocket flaps were done with a punch — I think it was an EK Success Bracket border punch.  The flaps close with a magnet — there are lots of magnetic closures used in this album.

P2

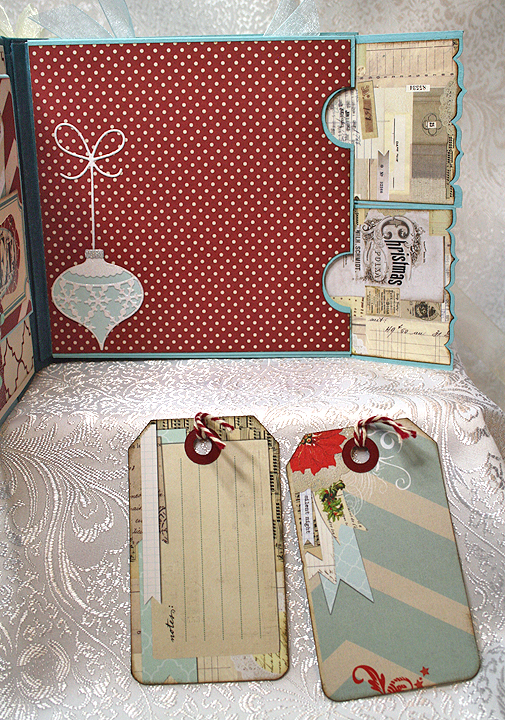
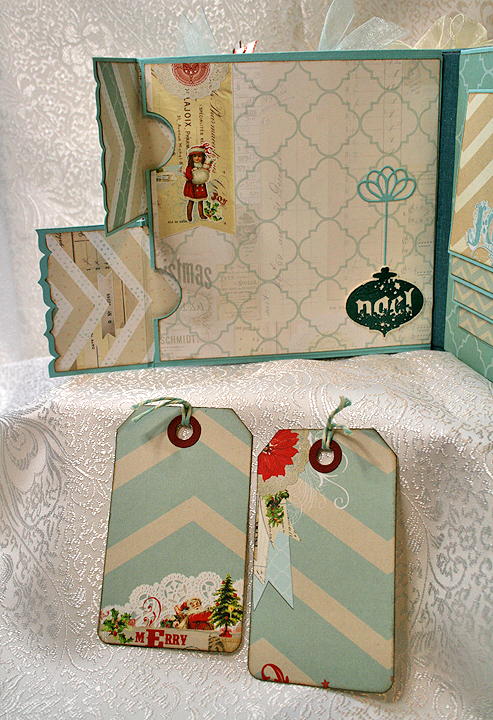
I made the small tags using Tim Holtz’s Tag & Tie die.

P2Tags

Pages 3-4:

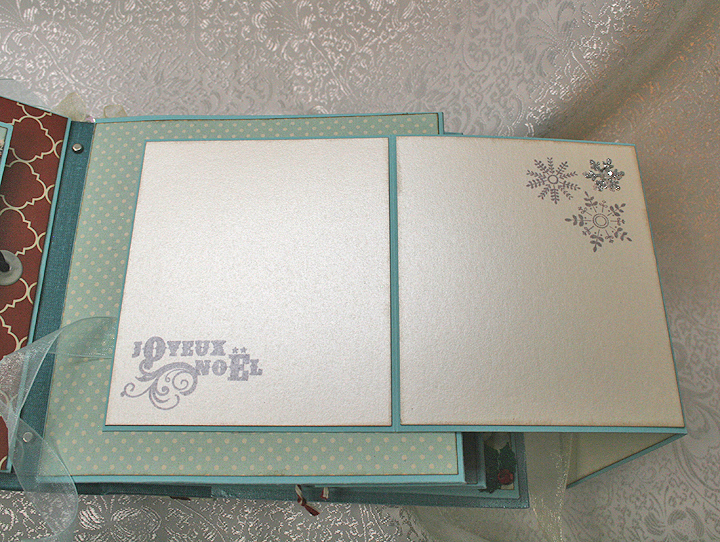
P3-4

P3Tags

P4

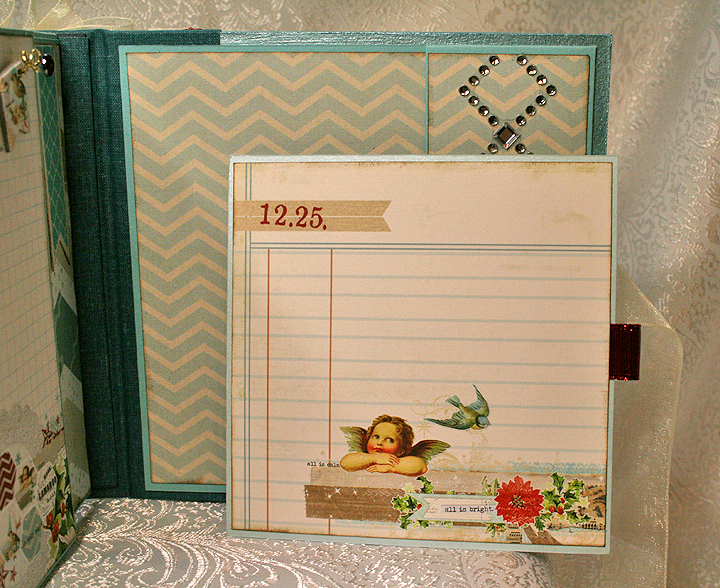
Page 4 opens and has a photo mat inside the pocket.

P4Open

P4Tag

Pages 5 and 6:

P5-6B

The pocket closes using an elastic hair band and a brad.

P5B

P5Open

Page 6 has an accordion fold feature that folds up and is held closed with a ribbon.  The snowflake trim is from a Martha Stewart punch.

P6

P6Open

P6OpenB

Pages 7 and 8:

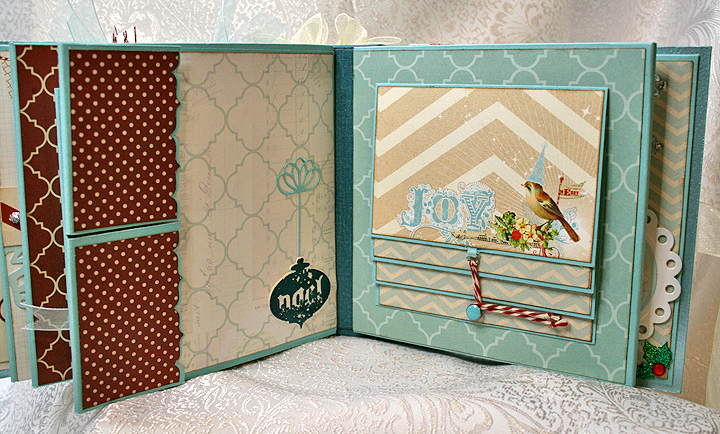
P7-8B

The ornament is embossed with Lindy’s Stamp Gang embossing powder.  I can’t remember what stamp I used for the ornament — that’s what I get for waiting so long to post this on our blog.  The ribbon hanger is a Memory Box die.

P7B

P7TagsB

Page 8 has a waterfall feature.

P8B

P8OpenC

P8OpenB

P8Open

Pages 9 and 10:

P9-10B

P9

P9OpenB

P9TagC

P10

P10WTag

Thanks for checking out my Christmas album.  I have a Valentine mini to post next — I hope it doesn’t take me two months to get it written up, like it did with this album.

Front6B

  • My Mind’s Eye Merry & Bright paper collection
  • Basis 80# cardstock
  • So Much Scrap (etsy shop), All Hallow’s Eve tutorial
  • Tim Holtz dies: Snowflake Rosette and Tag & Tie
  • Memory Box ornament and bow dies
  • Spellbinders Layered Poinsettia die
  • Lindy’s Stamp Gang embossing powder
  • EK Success Bracket edger punch
  • We R Memory Keeps Envelope Punch Board
  • Zutter Bow-It-All
  • Martha Stewart pearl paint
  • Cuttlebug

Embroidered Christmas Stocking

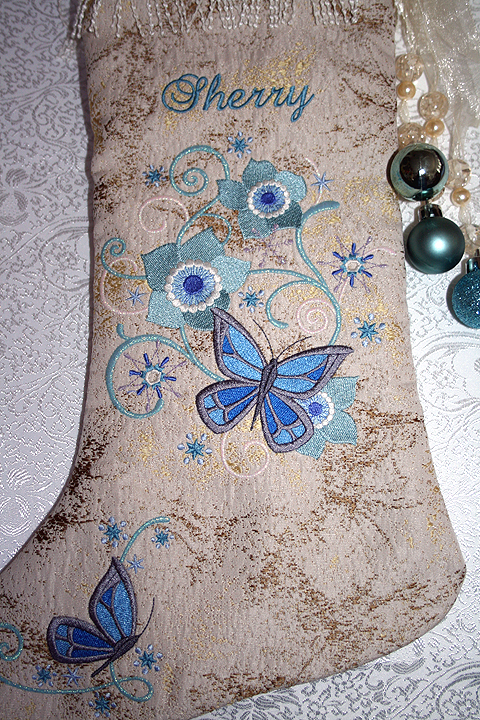
As I said in a recent post, I joined the Stocking Stuffer Swap on the Cricut Circle Message Board last month.  My secret partner was the hostess of the swap, Sherry, and I wanted to make a special stocking for her.  She likes butterflies, so I went searching for an embroidery file with a Christmas design with butterflies.  My first stop was Embroidery Library, because I knew I would surely find something I liked on this site.  And I was not disappointed.  I chose their Feliz Flutterby Winter Rose pattern for my stocking, which I made using a Simplicity pattern (that I enlarged in both width and length).  The fabric is a brocade from JoAnn and I used three different metallic threads for some of the swirls and snowflakes.

14

I love all the baubles hanging from the stocking.  The bow is my first attempt at using my Bow-it-All from Zutter.  I really like how easy it was to make, once I figured out how to tie off the bow correctly.  I made a double bow with three loops, using organza ribbon.

Here’s a close-up of the embroidery.

Closeup2

Winter 2012 – 2nd Day of Exhibition


The show was a little more crowded today than it was on Saturday, but it was still easy to navigate through the aisles.   Our first stop was at a booth where a line of people had formed.  I figured there was either a really cool demo going on or a celebrity was in the booth.

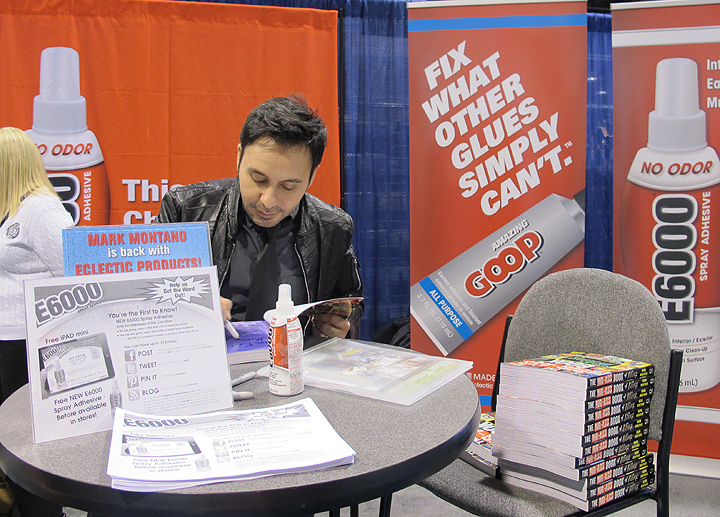
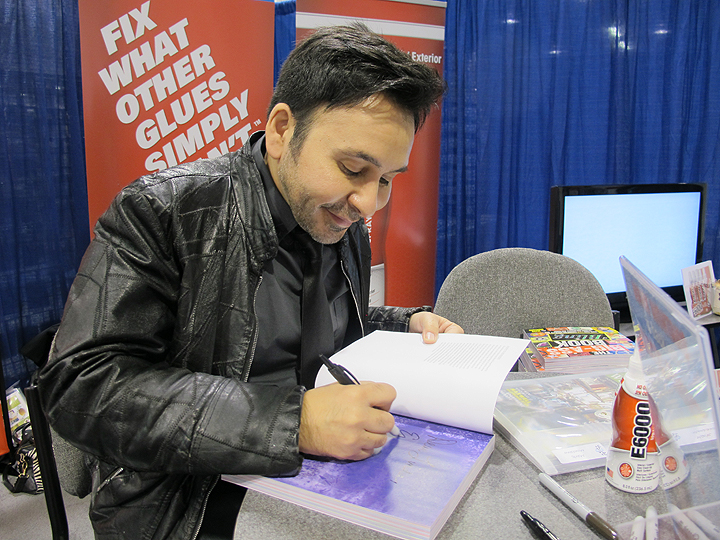
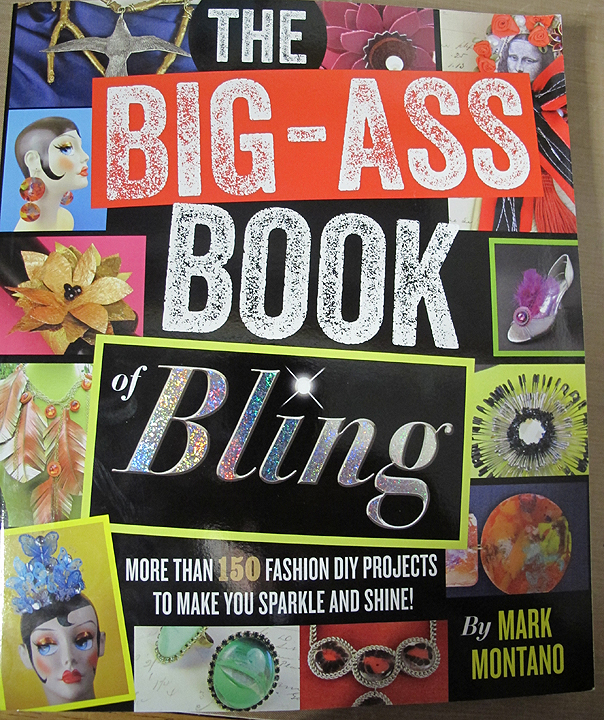
The booth was Electic Products and they are the makers of E6000 Craft Adhesive.  They are introducing a new spray version of E6000 that has no odor.  In their booth was author, designer and TV host Mark Montano signing and giving away copies of his newest book, The Big-Ass Book of Bling.  Of course hubby and I had to stand in line, and we both got an autographed copy.

Mark

Mark2

Book

It was funny because when Steve (hubby) first found out what we were standing in line for, he grumbled a tad.  But while we were in line, they handed out some sample tubes of E6000.  Steve started talking to the representatives about their various products and asked if they make any industrial adhesives.  He found they may have an adhesive that will work for his latest project at work.  Then he was a happy camper.

I went  back to Jinger Adams’ booth to get some more information on her Over-the-Door Armoire.  Her booth was pretty busy this morning.  I found out the retail price — it is going to be $250.

I also asked where it will be available for sale.  Kristy told me tthat the initial plans are to sell it first on HSN and then have it available in stores.  She said to keep an eye on Jinger’s Facebook page and blog because they will make an announcement when they know for sure.

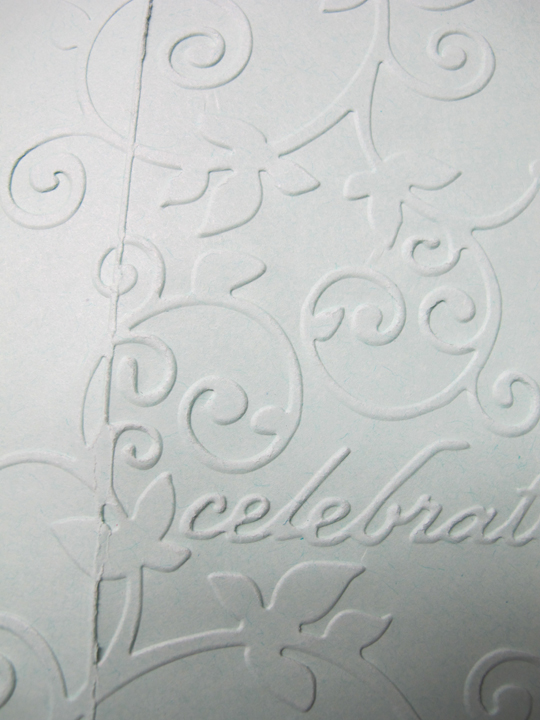
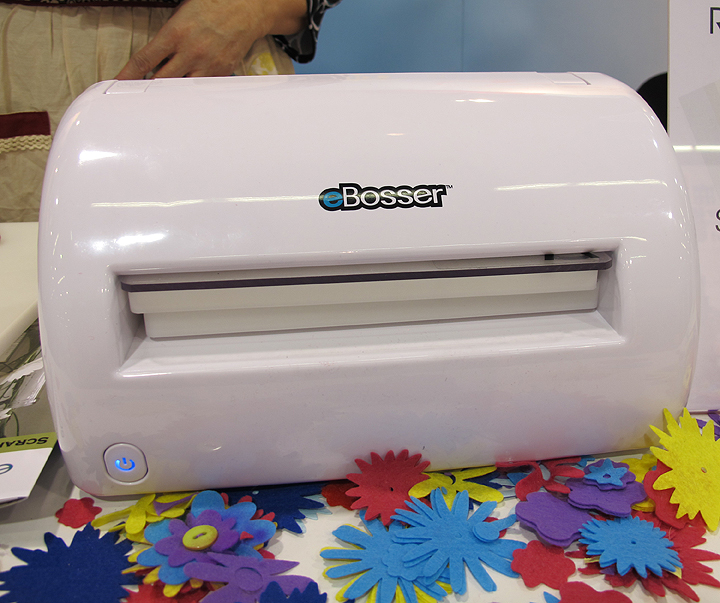
I found a couple of cool new tools today that I am excited about.  The first one I found at Craftwell’s booth.  I wanted to try their new eBosser machine and they had several out to demo.  The nice thing about the eBosser is that it is automatic — no handles to crank.  I got to run some cardstock through it with one of their embossing folders.  The machine makes a nice, deep impression.  Since the embossing folder I used makes a card, you can also see it makes the score line to fold it.

Card


Here’s a picture of the eBosser and some felt flowers that were cut with the machine using a die:

eBosser

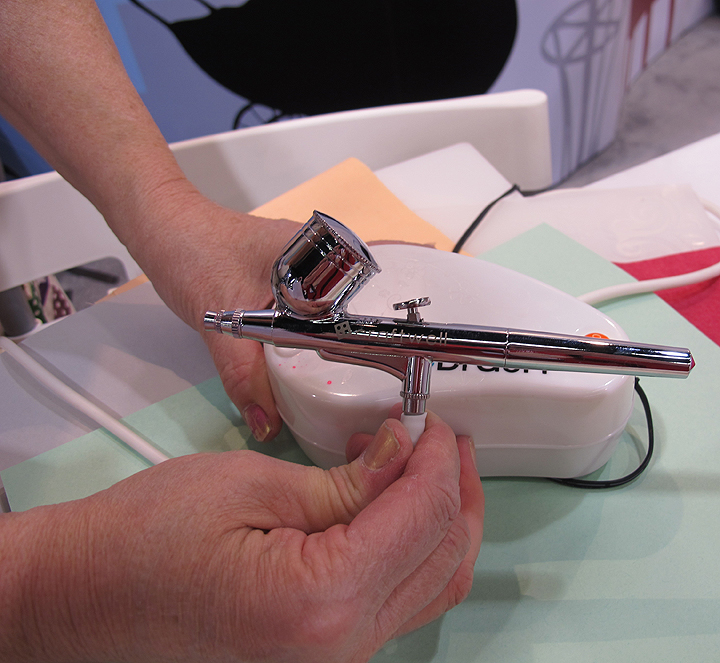
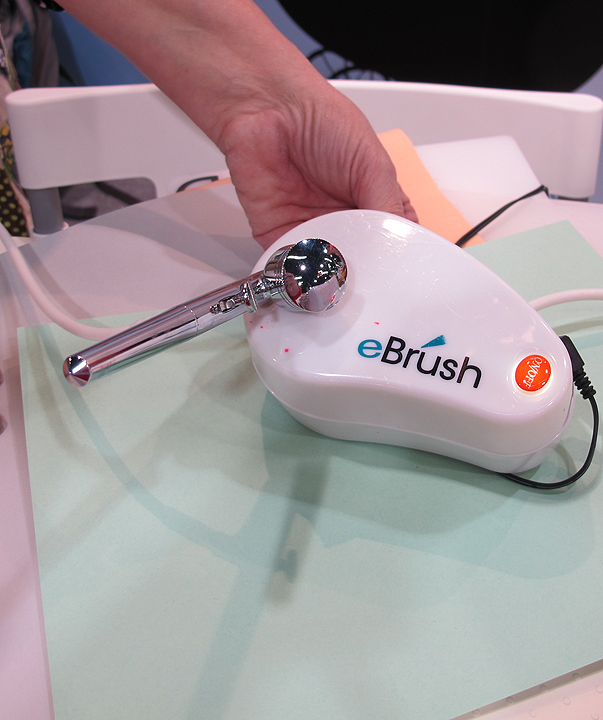
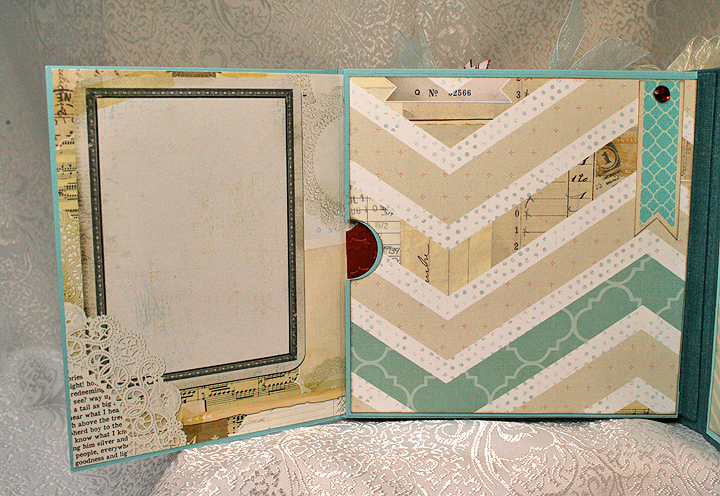
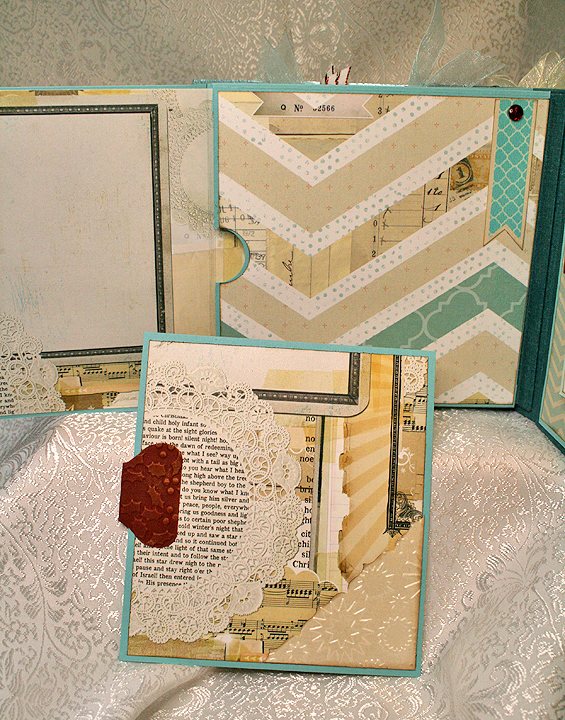
After I did the demo with the eBosser, the lady showed me a prototype of Craftwell’s latest goodie — it’s an airbrush system for crafters, the eBrush.  The nice thing about this is that the air compressor is the base of the unit — and it’s very compact.  There is a spot in the top to hold the airbrush.  It will take up little space on your work area.  She mentioned a fun use for it — using food-safe colors to decorate cakes.
AirBrush
AirBrush2

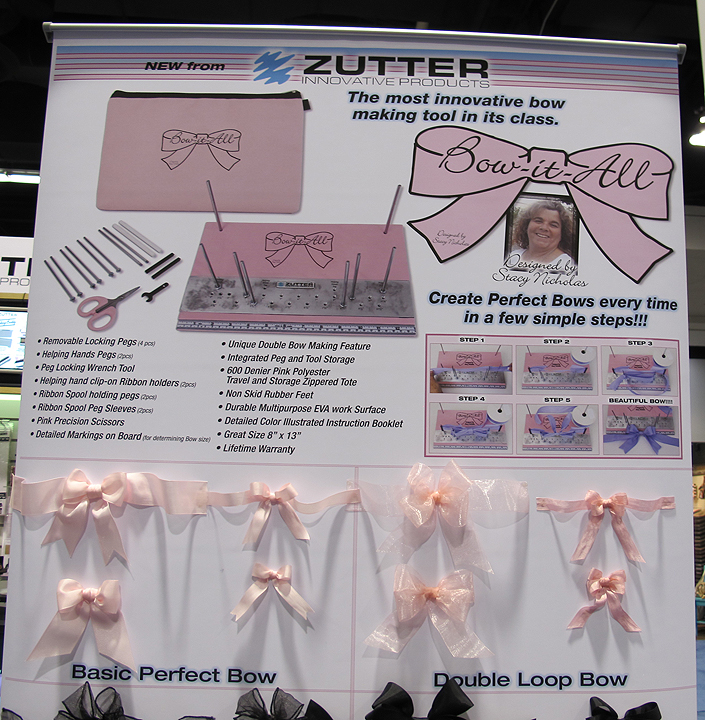
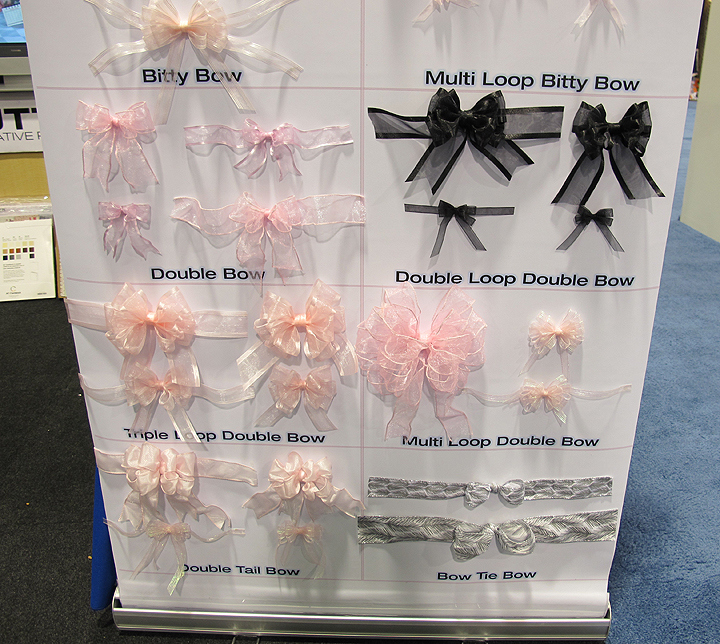
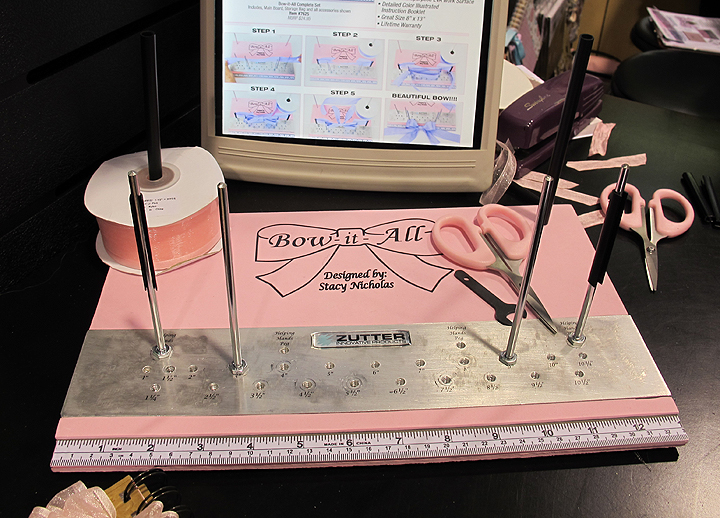
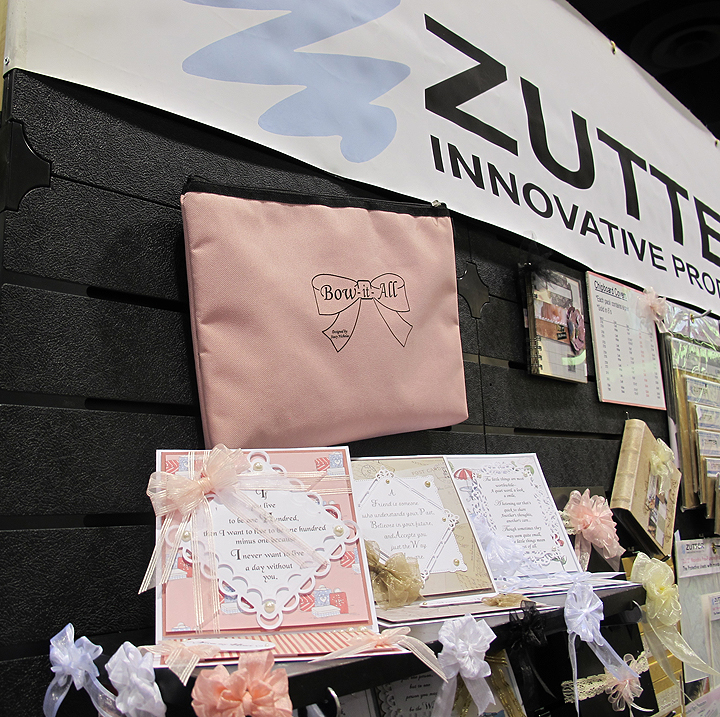
My second fun discovery was in the Zutter booth — they make the Bind-it-All, among many other products.  They are introducing the Bow-it-All, a nifty tool to make bows of many styles and sizes.   It is a board with metal pegs that you move around to make the sizes and shapes.  The extra pegs and tools store in the sides of the board and it comes in a pink bag.

Here are 3 photos of the large display showing the Bow-it-All and many of the bows it makes.

BowItAll

Board

Board2

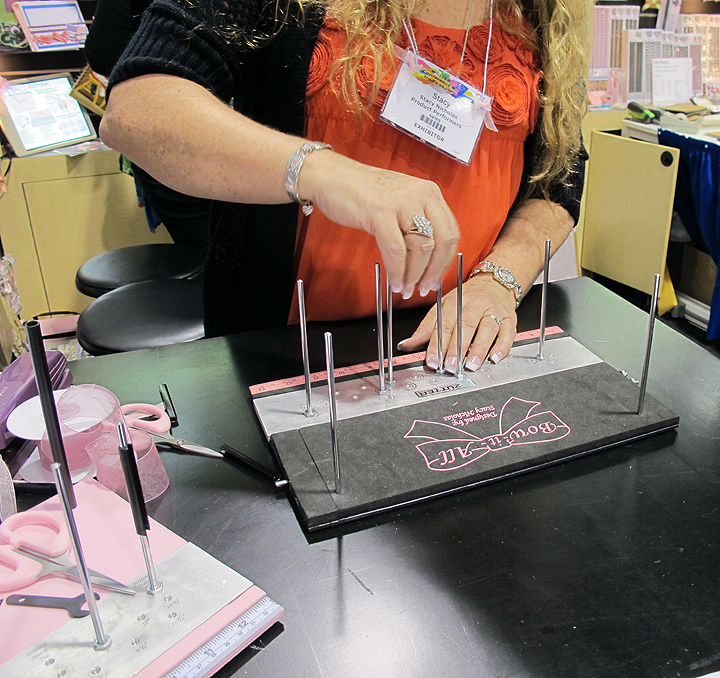
Stacy, the lady who did the demo, is also the designer of this neat tool and I’m sorry to say I didn’t get her face in the photo.  She is working with a black one —  the pink version is what is going to be for sale and it will come with a pink case.  The board measures 8″x 13″ and it comes with what she calls “helping hand” pegs.  They are for holding the piece of ribbon in the back, if you are going to wrap it around a card or scrapbook page.  There are little clips that go around the two “helping hand” pegs to secure the ribbon while you make your bow.

Oh, and the way you tie the bow off — Stacy said it forms a “C” shape in the back — ensures that the bow will not come untied.  You can tug on the tails and the bow stays tied.  That is a great feature.

Demo2

PinkBIA

BIACase

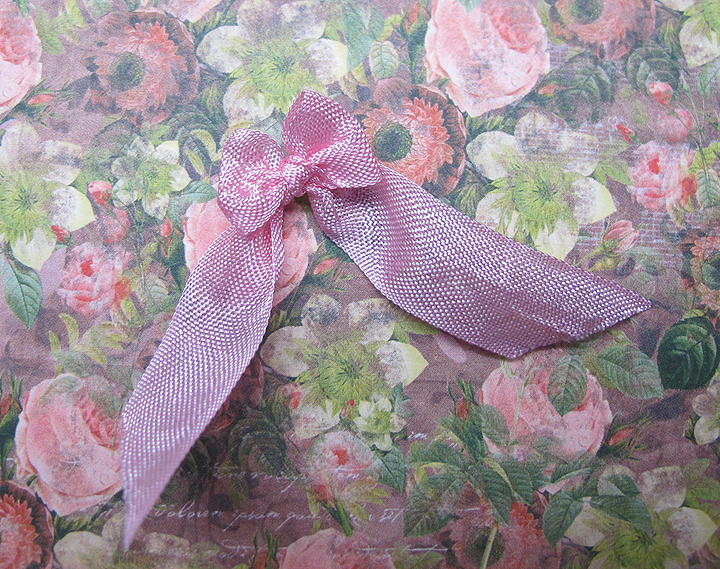
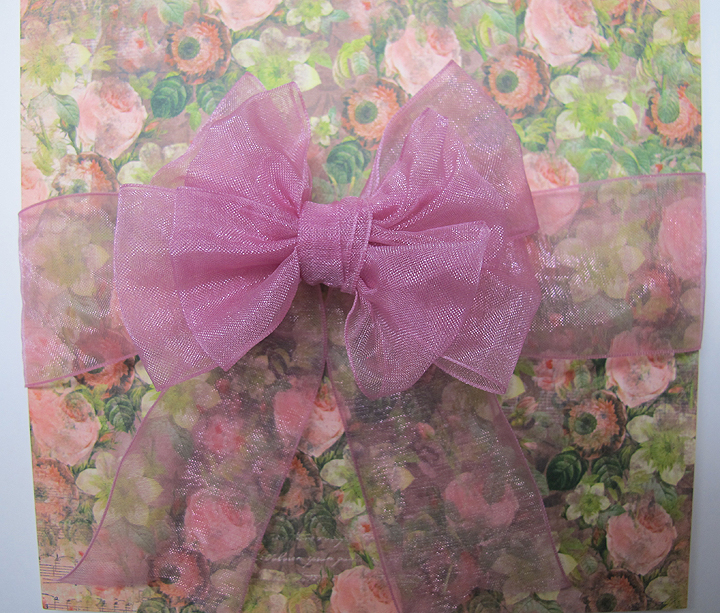
Stacy made two bows while I was there, a small one and a larger double loop one.  She made the small one with seam binding and it measures about 3/4″ — look at how pretty that tiny bow turned out.  She did not put the extra piece of ribbon in the back of this bow — you will notice on the larger bow that it has the extra piece to wrap around. The ribbon on the large bow is 1 1/2″ wide and the bow is about 3 1/4″ wide.  I got to bring both bows home with me so I photographed them on a piece of floral cardstock.

SmBow2

DoubleBow

The suggested price on the Bow-it-All is $24.95 and they will be available in the spring.  This is going to be another must-have tool for me.  I love pretty bows and while I think I do a decent job of tying a single bow, the ability to make such a variety really appeals to me.  And to be able to make such nice, tiny bows — that is exciting.  My arthritic hands won’t be struggling with tiny loops.

We ended our day back at Craftwell’s booth.  They were having drawing and were giving away an eBosser.  They started by giving away four embossing folders first.  These are large folders, 8 1/2″ x 11″.  The lady standing in front of me asked me what would a person do with the folder if they don’t have the machine and we both chuckled.  Then her name was called as a winner of a folder and my name was called next!  It must be a sign that I need to purchase an eBosser at some point.