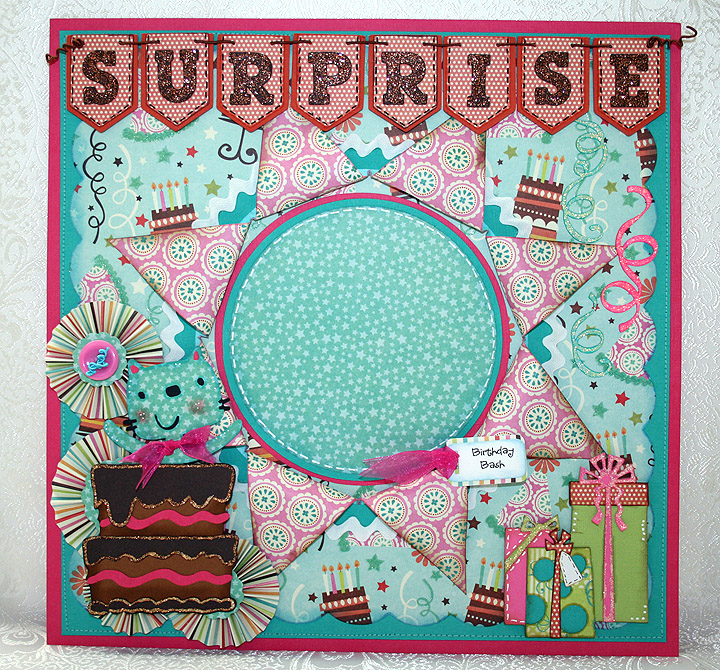
Surprise Birthday Layout — My First Layout


This is my first layout ever — and I really struggled with it.  Up to this point I have just made cards with my Cricut.  I have no trouble deciding and laying out what I want on my card fronts, but doing a 12″ x 12″ page proved to be a challenge. 

I wanted everything on my layout to flow and look like it was put there for a purpose.  I even went to the Cricut Circle Blog and watched their tutorial again on how to do a layout.  After watching the video I felt I had a better grasp of things, but once I started cutting I wasn’t so sure. 

The patterned paper is from SEI — their Happy Day collection.  Since I had the paper pad in my stash and knew I wanted to use it, that is the only thing I was certain about on this project.  Once I got my background paper laid out and the banner done, then the rest sort of came together.   I laid out everything in Design Studio before I started cutting anything. 

The large scallop square background is cut from the Cindy Loo cartridge.  The banner, the cat jumping out of the cake, and the gifts are all from Birthday Bash.  The streamers are from Celebrations and all the circles are from George. 

I think I cut the center circle at 7″.  Then I measured and found the center and started slicing the circle, but didn’t cut it all the way from edge to edge.  I left about 1/2″ intact at each edge of the circumference.  I glued it to the layout right-side down, so that when I pulled back the slices the pattern paper showed.  Before gluing each of the points down, I cut a ring of solid turquoise cardstock to cover the raw edges of my sliced circle.  I added some white rick rack to the ring.  Then I put adhesive on each of the points of the slices and adhered them to my layout. 

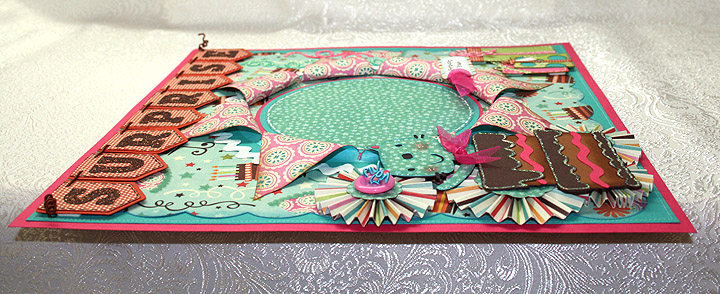
Side view so you can see the dimension of the layout

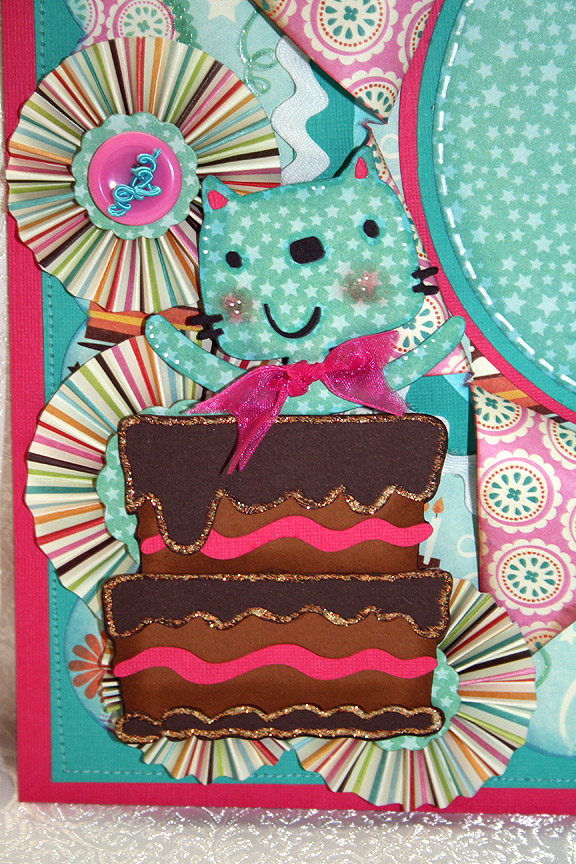
This was my first time making rosettes and I used my Martha Stewart scoreboard to make the pleats.  That was a lot of fun, except that making those score marks every 1/4″ is hard on arthritic hands. 

I used lots of Stickles — I coated all the letters in the banner.  I think the color I used was copper.  I added Stickles to the gifts, the cake, and all the streamers got coated in them.  I used DMC Memory Thread to string up my banner and for the center of the button on the rosette.  I love that stuff — it’s so easy to work with.

Close up of the title banner

Close up of the cat in the cake

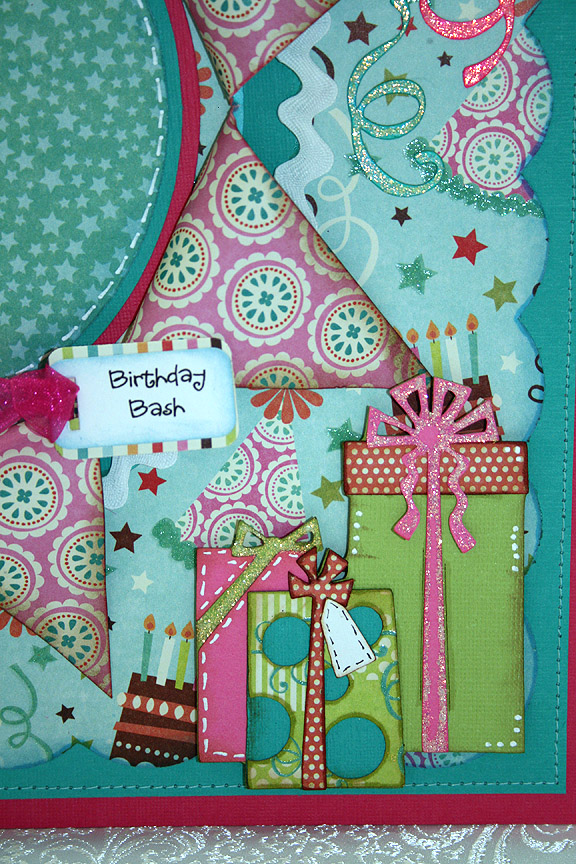
Close up of the gifts

The little “birthday bash” tag was cut with my Cuttlebug using the Tiny Tags die.  I did the sentiment on the computer.  Oh, also did lots of inking and doodling and stitched the turquoise cardstock to the pink cardstock with my sewing machine. 

  • SEI Happy Day paper
  • Cricut cartridges:  Birthday Bash, Celebrations, Cindy Loo, George & Basic Shapes
  • Cuttlebug — Tiny Tags die
  • Stickles
  • DMC Memory Thread

Cricut Circle Magazine Challenge for November – Little Deer Shaker Ornament


The first thing I have to say is how excited I am again — my penguin shaker ornament card was one of the winners at the Fantabulous Cricut Challeng Blog.  Thank you so much FCCB!!

Now on to the Cricut Circle magazine challenge, which I forgot all about when I made my penguin shaker ornament last week.  I posted my ornament card on the Cricut message board, and a fellow Circlet asked me if I was going to enter my card in the Circle magazine challenge.  She was even kind enough to give me the link.  I went to the website and reviewed the rules and saw that the project must be newly created, so I figured my penguin card would not qualify — especially since it had just won a challenge.  With time running out on the magazine challenge, I decided to create a new shaker ornament card especially for it. 

For this challenge, which is only open to Circle members, the project has to have at least four Cricut cuts and also use one other Provo Craft product — like the Cuttlebug, Yudu, etc. 

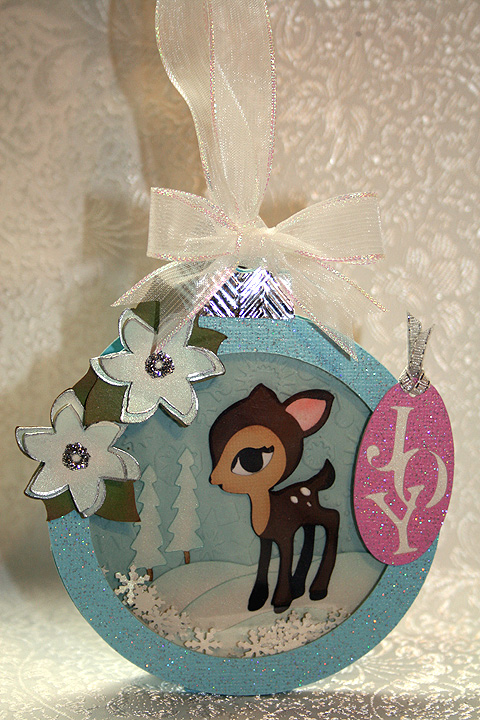
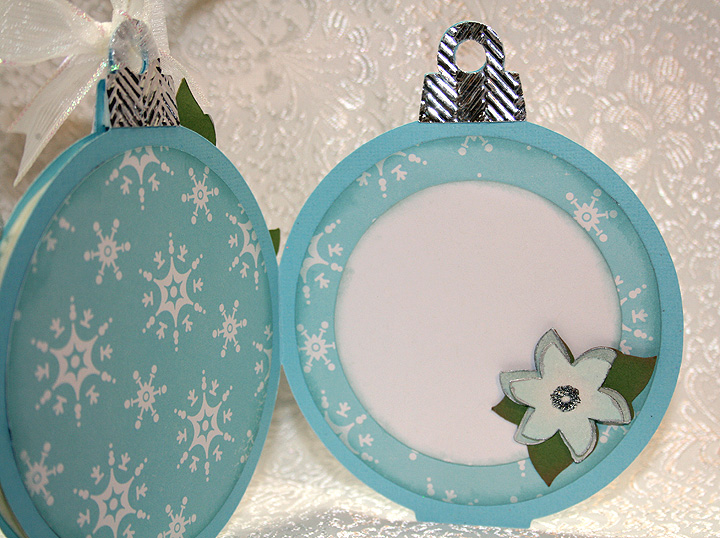
I made another shaker ornament card, only this time I put a deer inside.  I used Core’dinations Core Couture cardstock for the ornament — I like it’s glittery look.  I used the ornament from Joys of the Season cartridge.  I used Cricut Design Studio to weld two ornaments together to make the card.  I also welded a rectangle from George and Basic Shapes to the bottom so that the card can also stand alone if it is not hanging on the tree.

The deer is one of my favorite cuts and he is from the Cindy Loo cartridge.  The snowy hills are from Country Life, the trees from Christmas Cheer, the poinsettias from Winter Woodland, and the tag is from Very Merry Tags.  I cut the poinsettias from white cardstock and inked them blue.  I edged them using a Krylon Silver Leafing Pen and added silver Stickles to the centers.   

I used my Cuttlebug to emboss the background cardstock in the shaker using the Snowflakes embossing folder.  I also embossed the tops of the ornament, which I cut from silver metallic cardstock, using the Herringbone embossing folder. 

I used a Martha Stewart border punch to make the snowflakes that shake around in the card, using the negative cuts from the punch. 

As I did on the penguin ornament card, I put the silver tops on the insides and back of the card.

  • Core’dinations Core Couture cardstock
  • Cricut cartridges:  Christmas Cheer, Cindy Loo, Country Life, George and Basic Shapes Joys of the Season, Very Merry Tags and Winter Woodland
  • Cuttlebug embossing folders:  Herringbone and Snowflakes
  • Martha Stewart snowflake border punch
  • Silver Stickles
  • Krylon Silver Leafing Pen