Christmas Mini Album for Cricut Circle Stocking Stuffer Swap

I participated in the Cricut Circle Stocking Stuffer Swap for the first time in 2013.  I figure it’s about time I posted the mini album I made to send to my partner, Sherry (Octoberbeauty).  I’ll warn you — there are lots of pictures.

This is the second mini album I’ve made and I again used a tutorial from Cathy, whose etsy shop is called So Much Scrap.   For this album I used her All Hallow’s Eve tutorial.  I really like her tutorials because they are very detailed and easy to follow.

I did something a little different on this album than what the directions call for.  I made the spine and binding system using only chipboard and book binding cloth — I didn’t use any cardstock in the construction.  I am happy with the way it turned out — the binding system is very flexible.

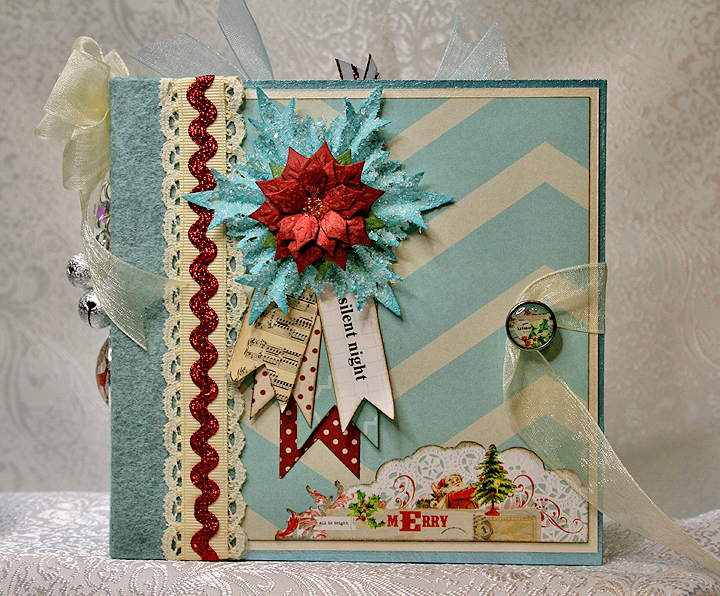
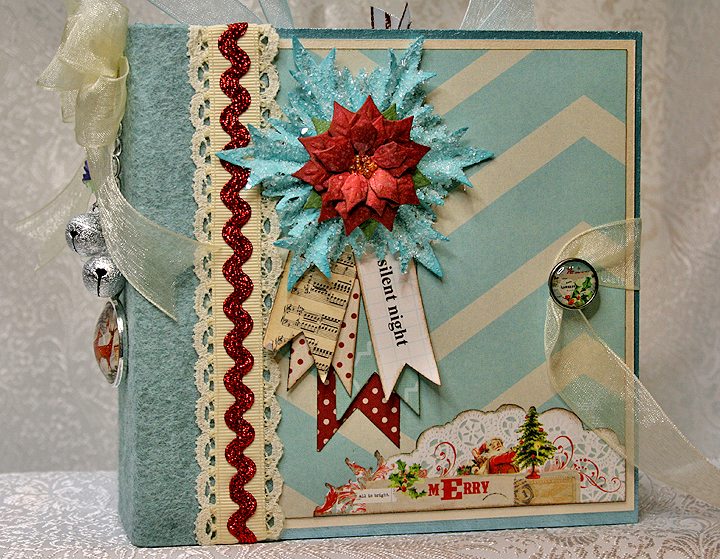
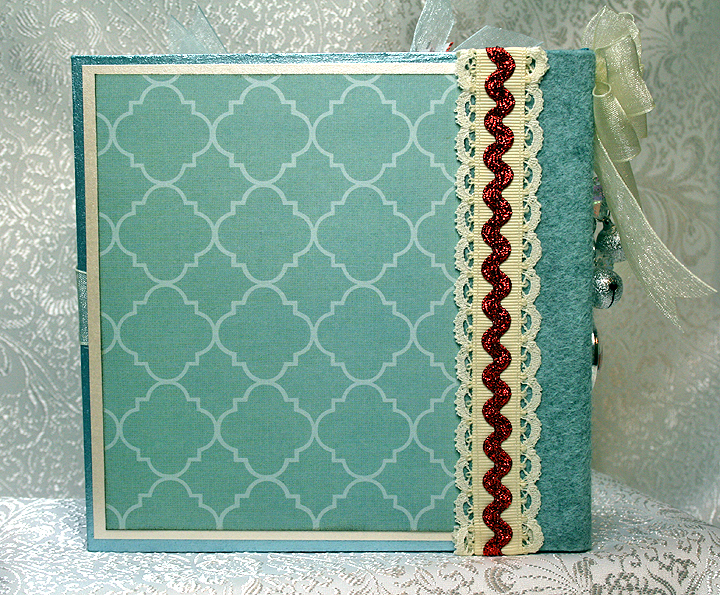
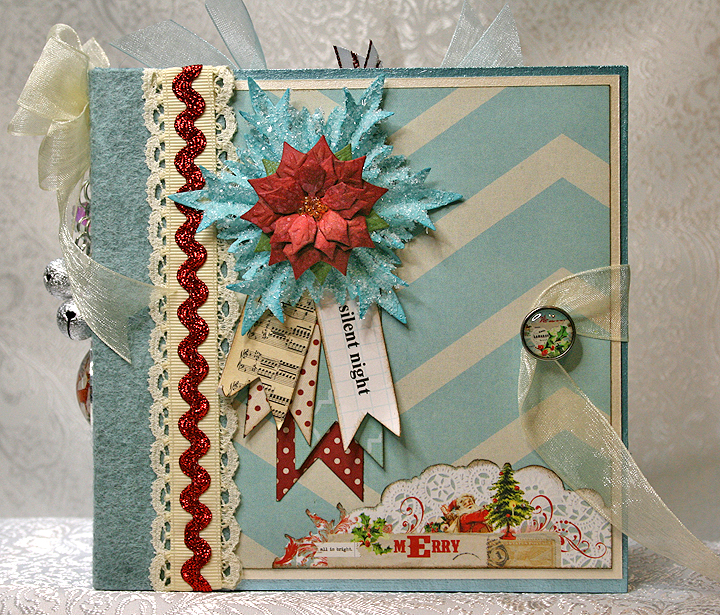
The patterned paper I used throughout the album is from My Mind’s Eye Merry & Bright collection.  The solid cardstock is all Basis 80#.  The edges of the chipboard are painted with Martha Stewart pearl paint.  I covered the outside of the spine in wool felt and added some ribbon, lace and metallic rick rack trim to the edges.

Front10B

Front12B

Back2

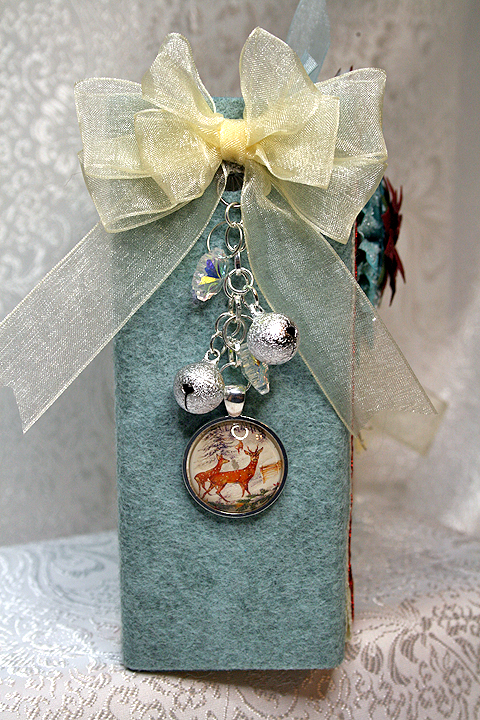
I made the charm on the spine using stardust jingle bells, crystal snowflake beads and a deer pendant I got from eBay. I made the bow using my Zutter Bow-It-All.  I’m really liking the bows I can make using this handy tool.

Charm

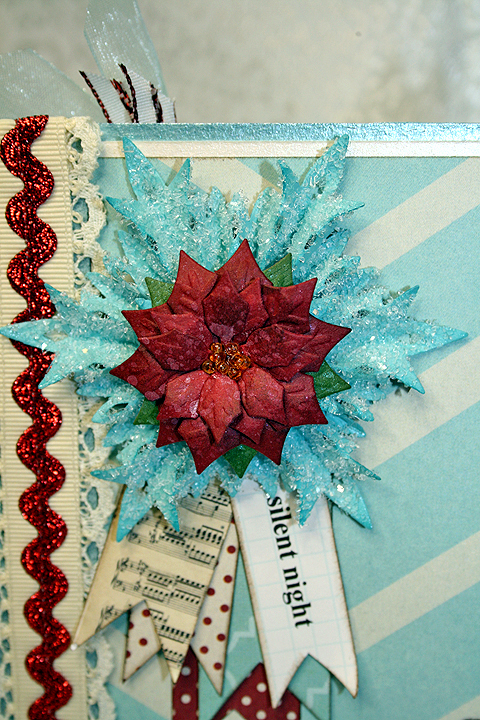
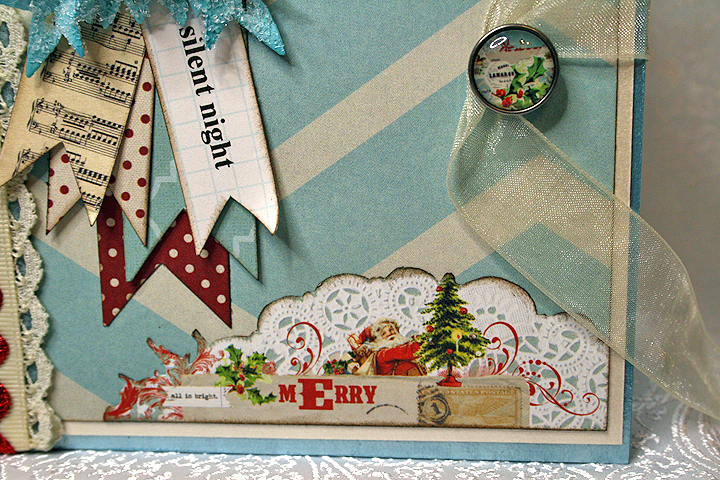
Here are some close-up details of the album front.  The poinsettia is made from the Layered Poinsettia die by Spellbinders, sprayed with Lindy’s Stamp Gang’s Starburst spray, and I added glass seed beads to the center.  The snowflake is from the Tim Holtz Snowflake Rosette die and is coated in coarse glitter.  The album closure is a ribbon that wraps around a brad on the front cover — another of Cathy’s wonderful ideas.

FrontPoinsettia

CoverDetail

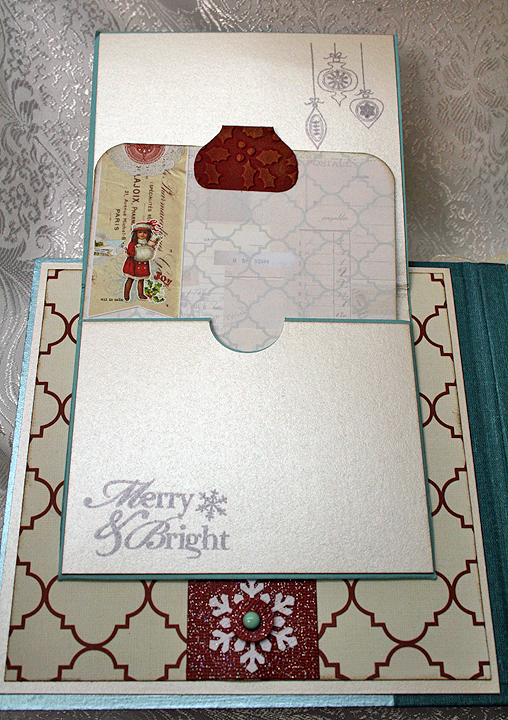
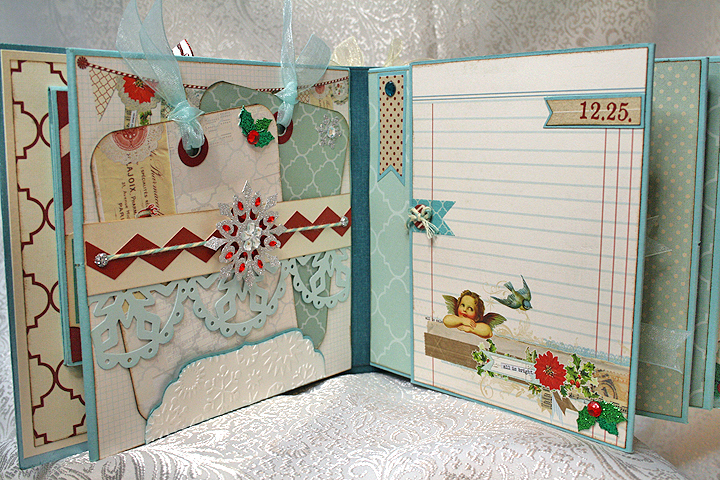
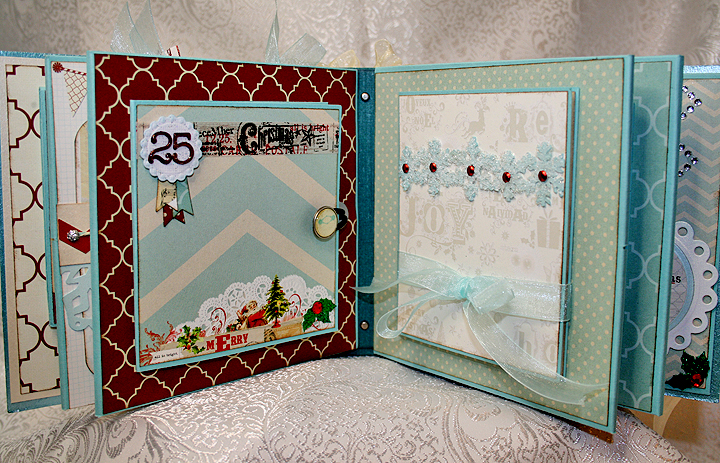
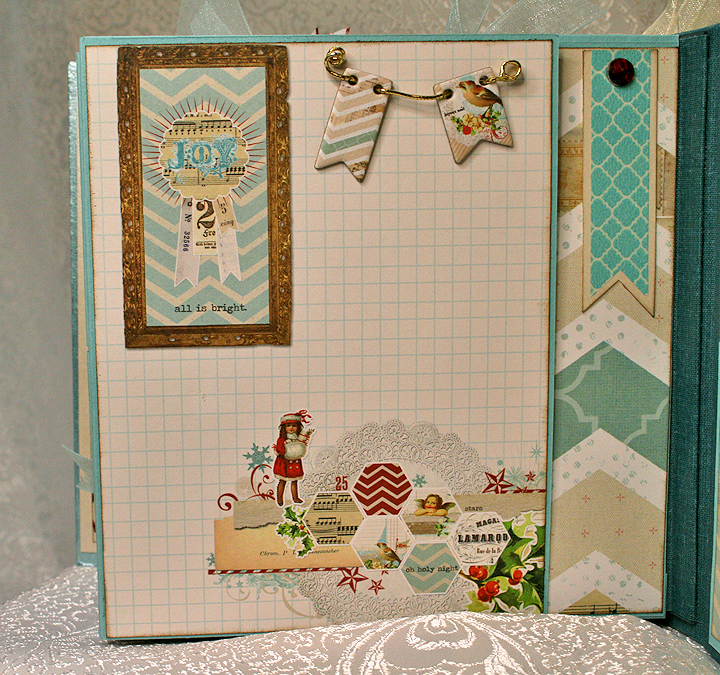
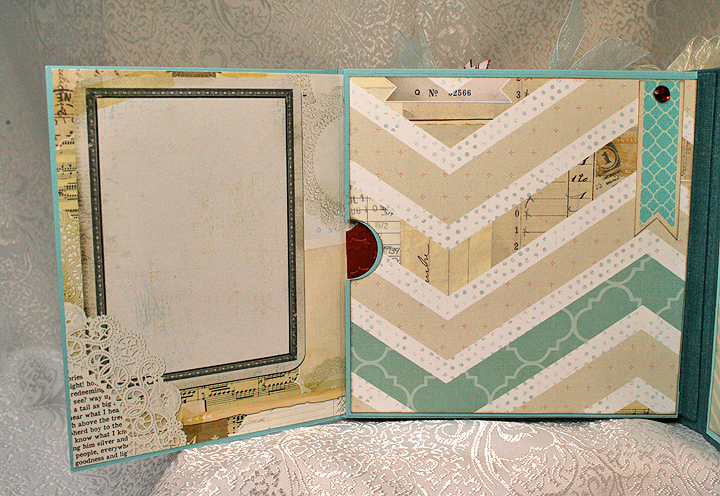
Pages 1 and 2:

P1-2

P1B

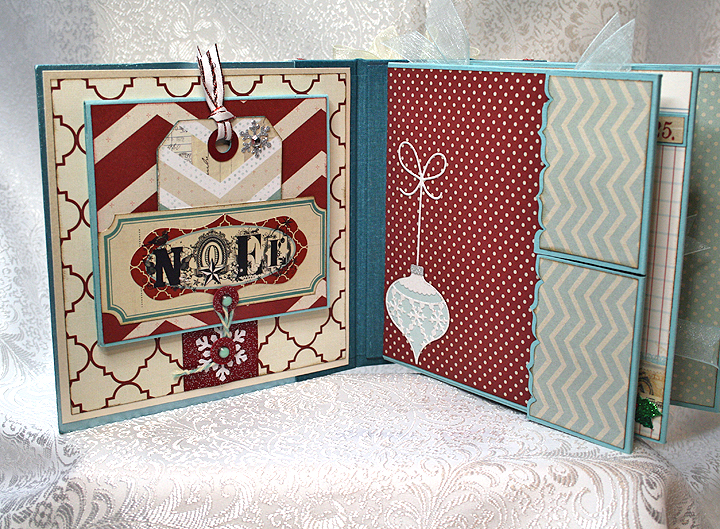
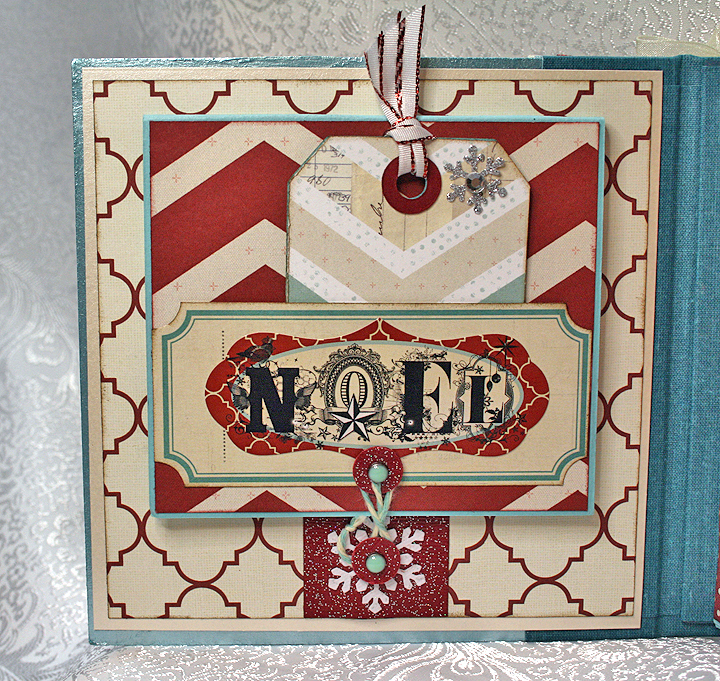
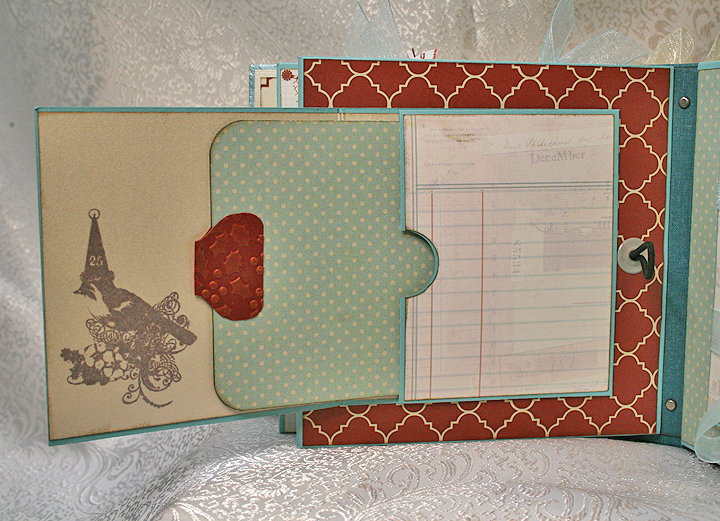
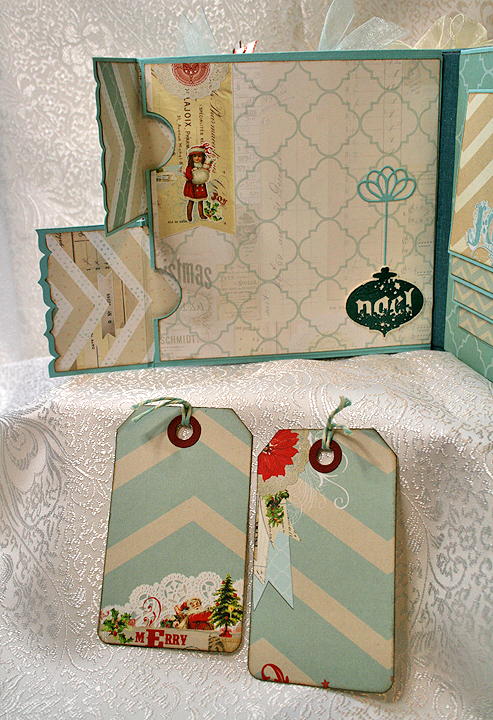
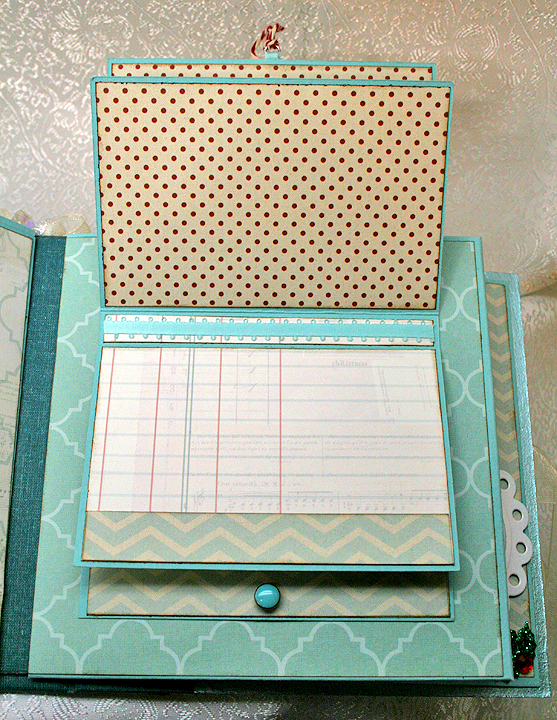
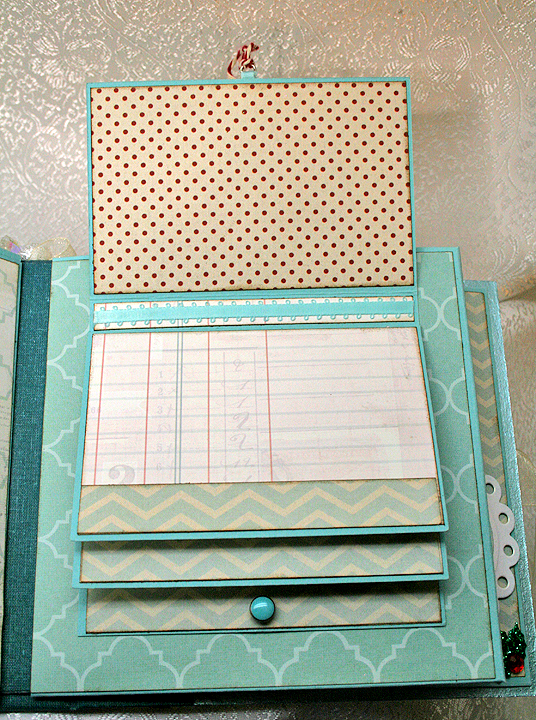
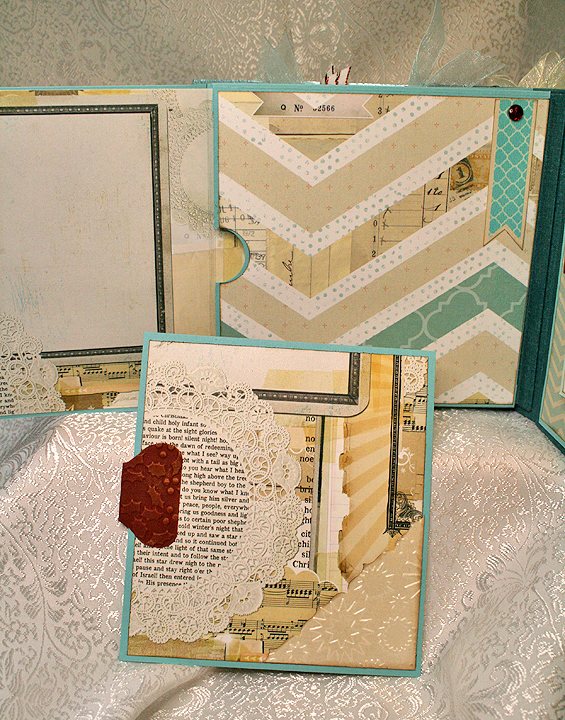
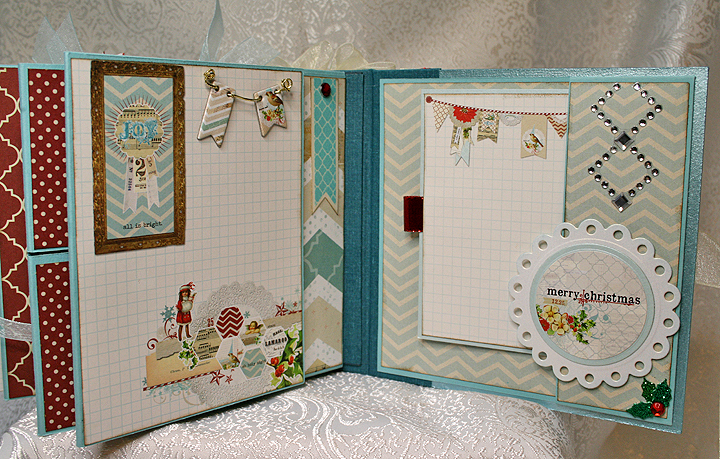
The pocket opens up to reveal a photo mat inside.  I made all the tabs for the photo mats using my We R Memory Keepers Envelope Punch Board and embossed the tabs with my Cuttlebug.

P1TagB

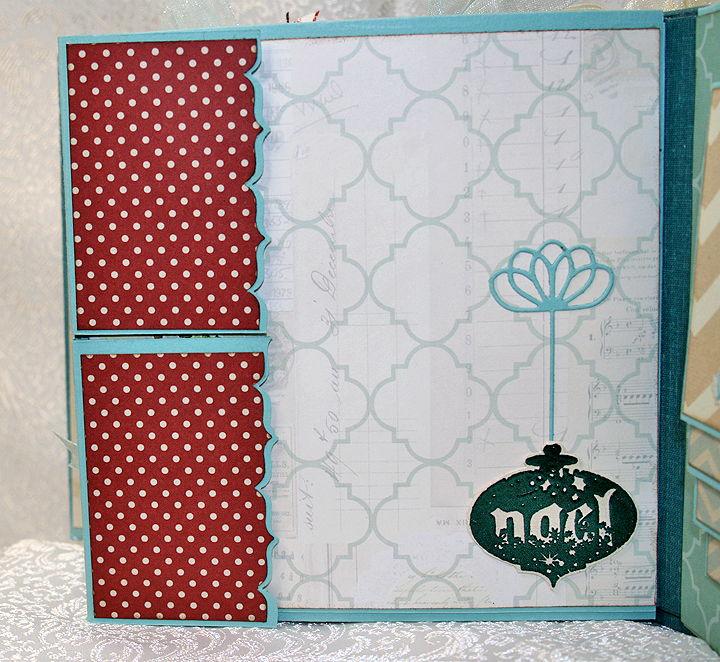
The ornament is cut from a Memory Box die.  The edges on the pocket flaps were done with a punch — I think it was an EK Success Bracket border punch.  The flaps close with a magnet — there are lots of magnetic closures used in this album.

P2

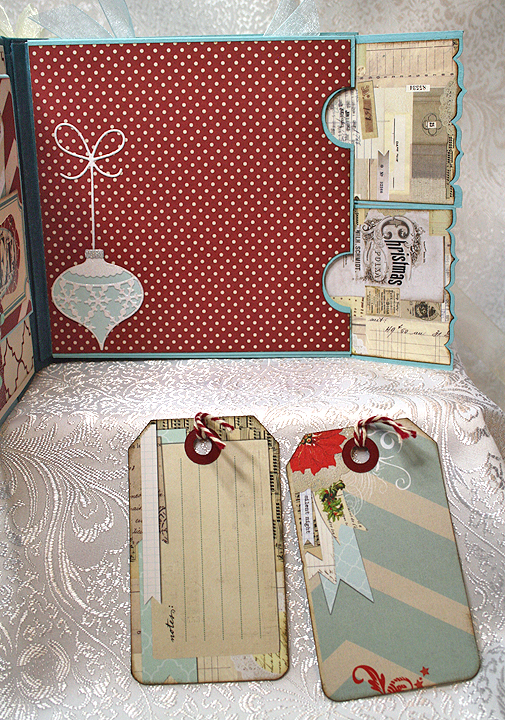
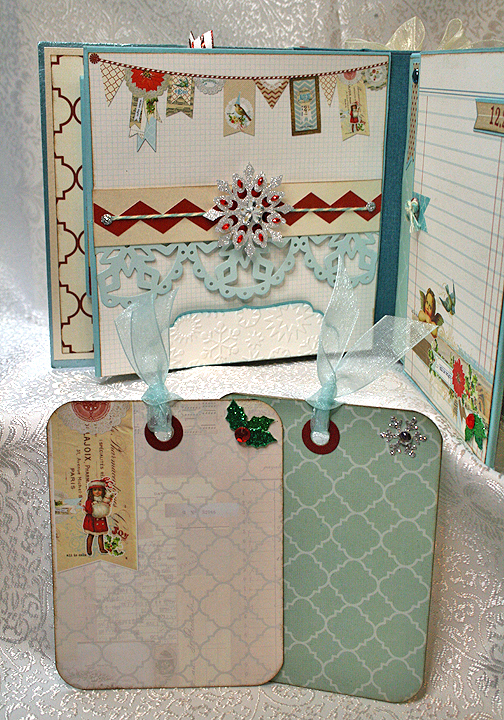
I made the small tags using Tim Holtz’s Tag & Tie die.

P2Tags

Pages 3-4:

P3-4

P3Tags

P4

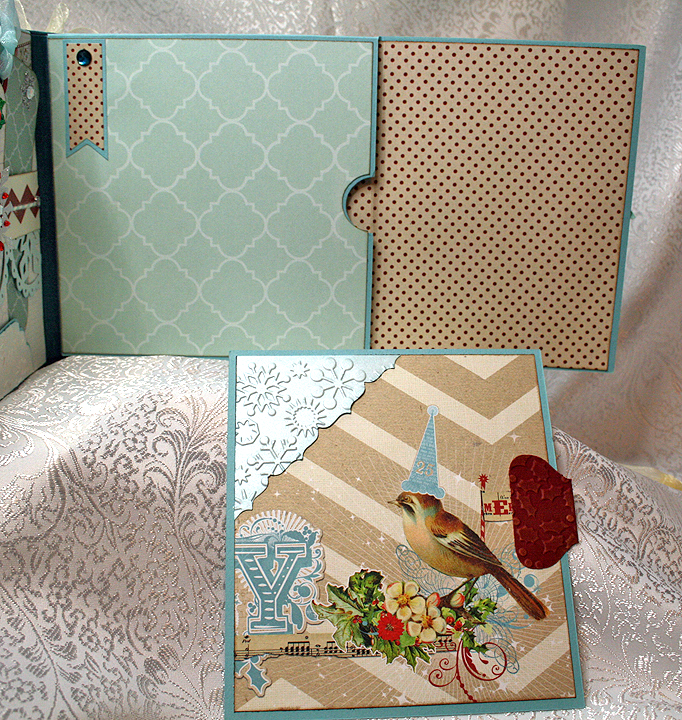
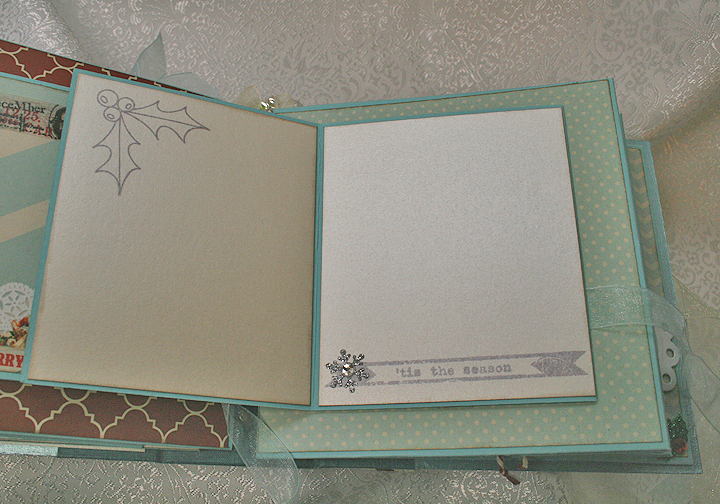
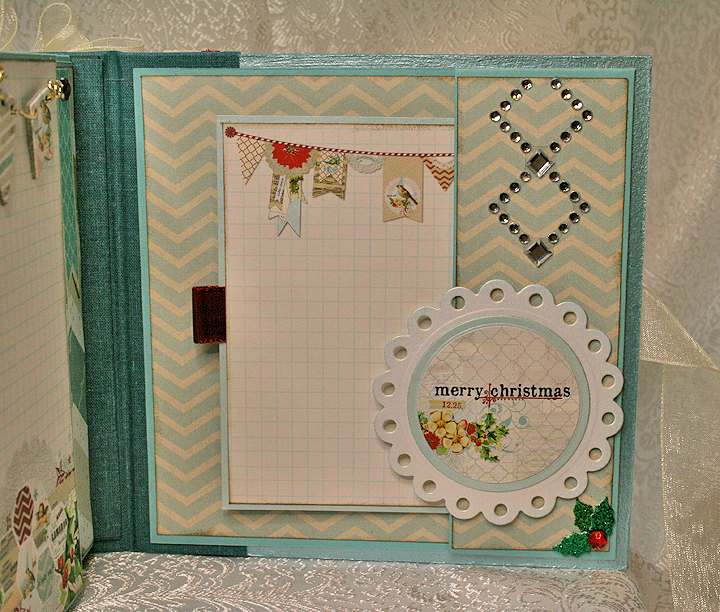
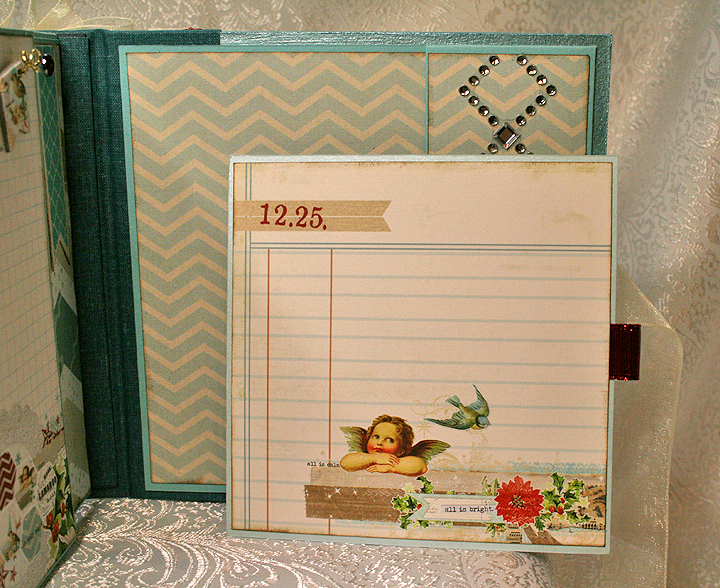
Page 4 opens and has a photo mat inside the pocket.

P4Open

P4Tag

Pages 5 and 6:

P5-6B

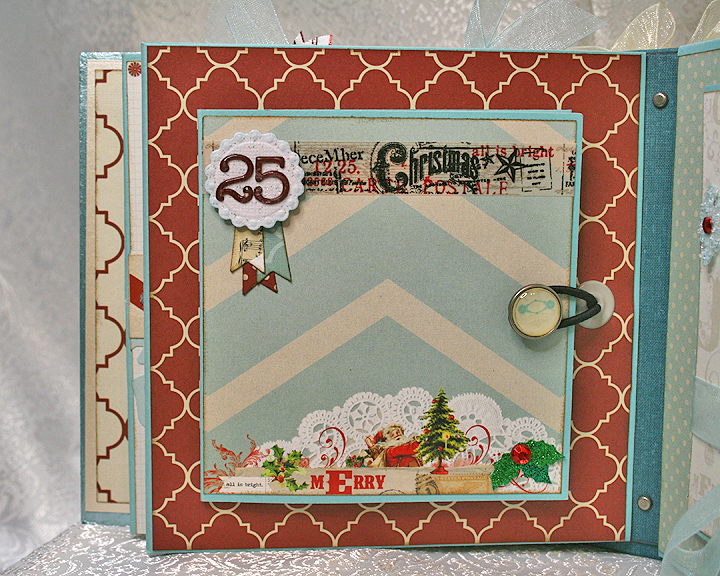
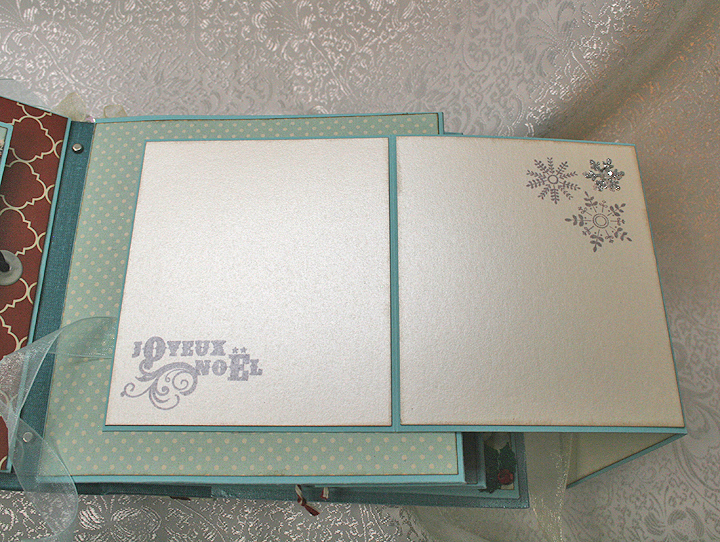
The pocket closes using an elastic hair band and a brad.

P5B

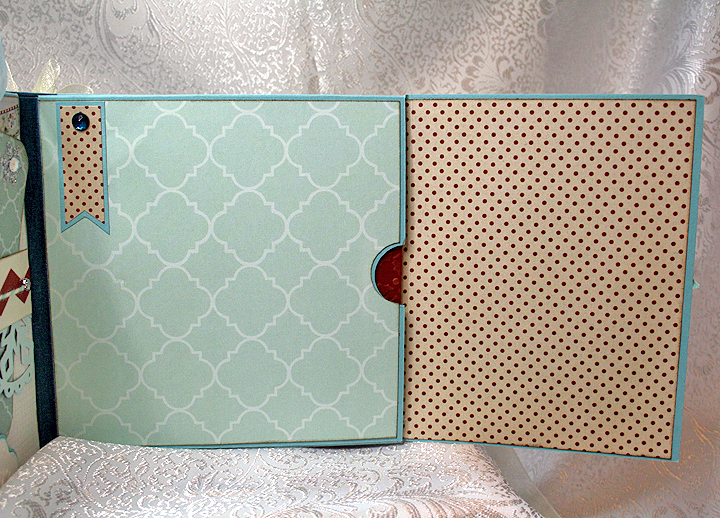
P5Open

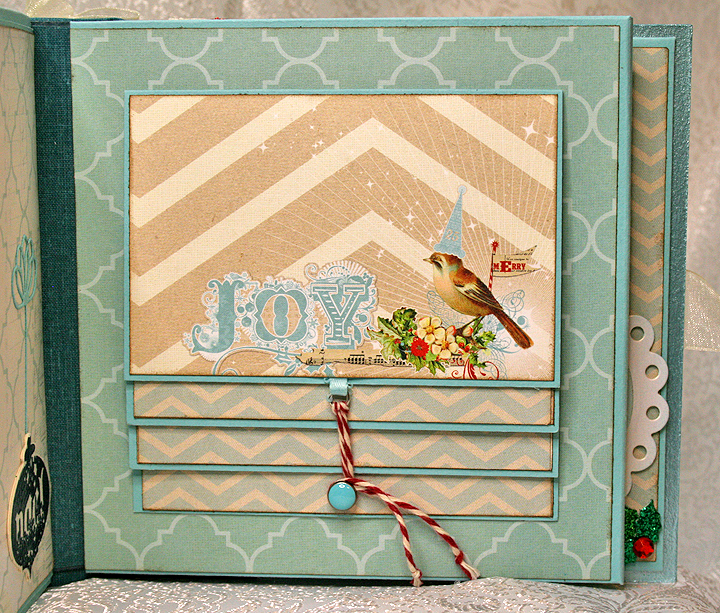
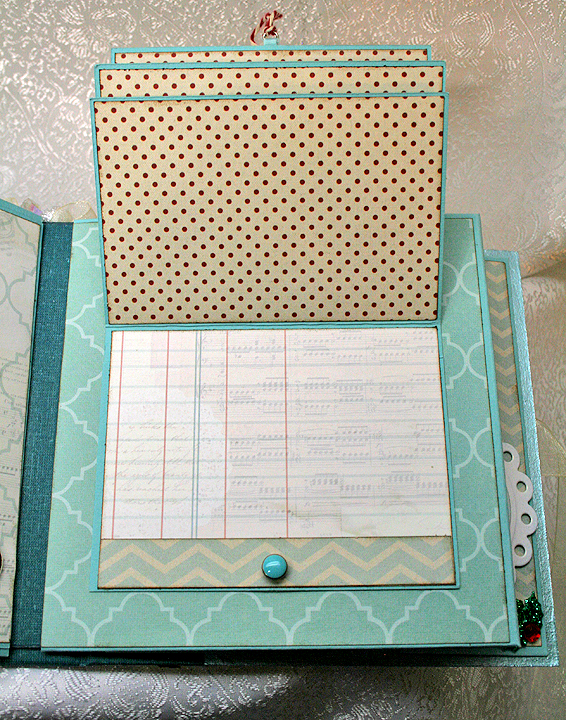
Page 6 has an accordion fold feature that folds up and is held closed with a ribbon.  The snowflake trim is from a Martha Stewart punch.

P6

P6Open

P6OpenB

Pages 7 and 8:

P7-8B

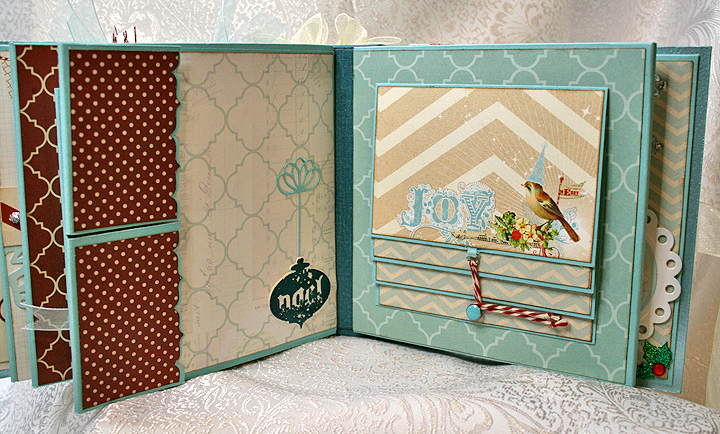
The ornament is embossed with Lindy’s Stamp Gang embossing powder.  I can’t remember what stamp I used for the ornament — that’s what I get for waiting so long to post this on our blog.  The ribbon hanger is a Memory Box die.

P7B

P7TagsB

Page 8 has a waterfall feature.

P8B

P8OpenC

P8OpenB

P8Open

Pages 9 and 10:

P9-10B

P9

P9OpenB

P9TagC

P10

P10WTag

Thanks for checking out my Christmas album.  I have a Valentine mini to post next — I hope it doesn’t take me two months to get it written up, like it did with this album.

Front6B

  • My Mind’s Eye Merry & Bright paper collection
  • Basis 80# cardstock
  • So Much Scrap (etsy shop), All Hallow’s Eve tutorial
  • Tim Holtz dies: Snowflake Rosette and Tag & Tie
  • Memory Box ornament and bow dies
  • Spellbinders Layered Poinsettia die
  • Lindy’s Stamp Gang embossing powder
  • EK Success Bracket edger punch
  • We R Memory Keeps Envelope Punch Board
  • Zutter Bow-It-All
  • Martha Stewart pearl paint
  • Cuttlebug
Graphic 45 A Ladies’ Diary Birthday Card


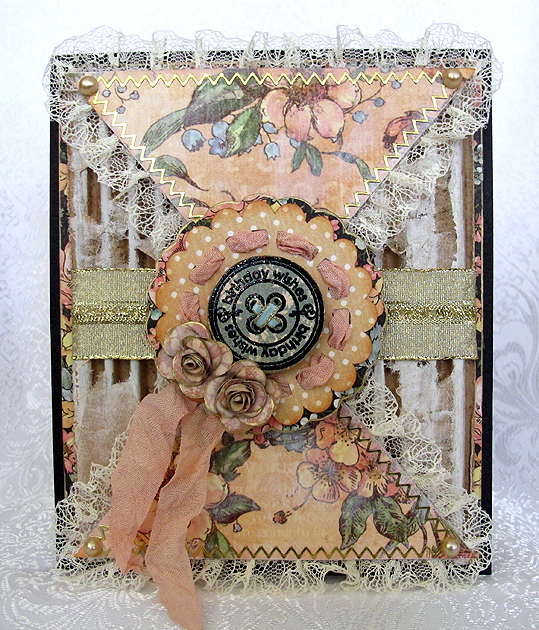
I wanted to make a special birthday card and only knew that I wanted to use some of my beautiful Graphic 45 paper (that I seem to be hoarding) to make it.  I went looking on the web for some inspiration and it didn’t take long for me to decide on my design.
I found a card sketch on Stuck On U Sketches that I liked and got out my paper.  All the printed paper is from A Ladies’ Diary collection.  The base of the card, the solid black cardstock, is from Bazzill.

Front6

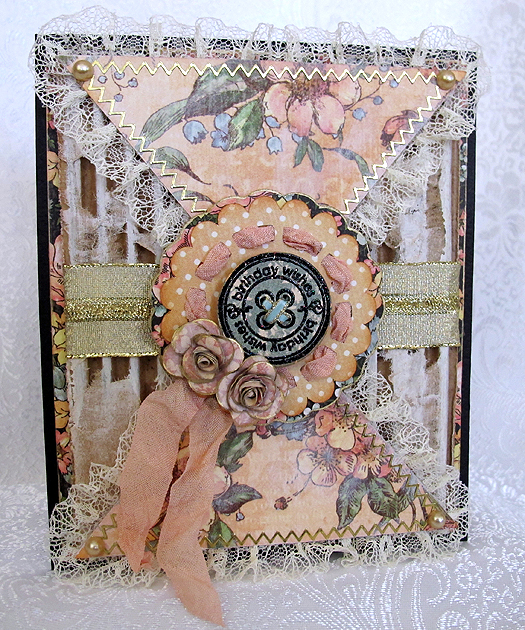
The background is a piece of corrugated cardboard — I removed one of the layers so you can see the ribs.  Then I took some gesso and dry brushed it on.  I wrapped a piece of gold ribbon from my stash around the middle.

I cut the triangle pieces in Cricut Craft Room using George & Basic Shapes.  I dry brushed some gesso on the triangles and glued lace trim around the edges using Farbri-Tac glue.  The gold trim around the edges is stickers.  I attached pearls at the corners.

Front5

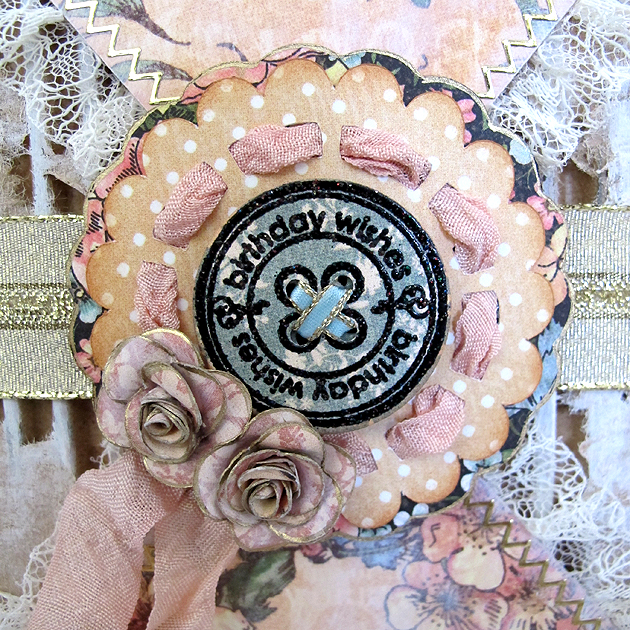
The scallop circle is from Cricut Alphabet, <Doily12>, and it is cut at 2.5″.  I used a Krylon 18kt. Gold Leafing pen to go around the edges of the shadow scallop.  I dyed some seam binding using Tattered Angels Glimmer Mist and threaded it through the holes in the doily, leaving the tails to hang down.

ScallopCircle

The birthday button in the center of the scallop is a new stamp and die set that I just got from Whimsy Stamps.  I heat embossed the sentiment using Stampendous Stardust embossing powder.

Button

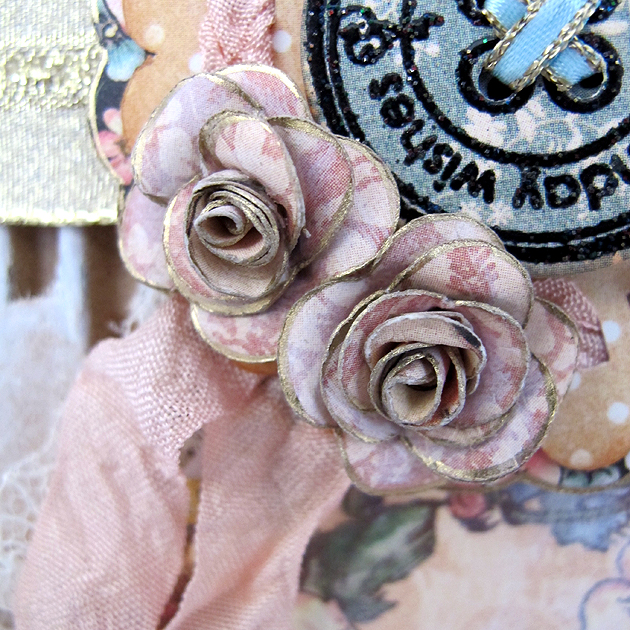
The two small roses were made following this tutorial, from Scraps of Life’s blog.  I used a flower shape from Paisley, Layer1 + <Shoes1>, cut at 4.5″.  I dry brushed the layers with gesso and used the gold leafing pen on the edges of the petals before I assembled the flowers.    I love how tiny they are — they are under 1″ across.

Roses

The scallop layer and the button are attached to the card using foam pop dots.

On the inside of the card, I edged the black floral layer with the gold leafing pen.  I still have to do my sentiment layer.  I think I will write it first before attaching it.  If I make a mistake, then I can just redo it rather than having my blunder permanently attached to the card.

Inside

  • Graphic 45 A Ladies’ Diary collection
  • Bazzill cardstock
  • Cricut Craft Room
  • Cricut cartridges:  Cricut Alphabet, George & Basic Shapes, Paisley
  • piece of corrugated cardboard
  • ribbon from my stash
  • seam binding
  • Tattered Angels Glimmer Mist
  • Stampendous Stardust embossing powder
  • gold border stickers
  • self-adhesive pearls
  • Gesso
  • Krylon 18kt Gold Leafing Pen
  • Whimsy Stamps — Everyday Button Sentiments and Button Die
  • Fabri-Tac adhesive


Eyelash Yarn and Tutorial on How to Make Your Own Using Grosgrain Ribbon


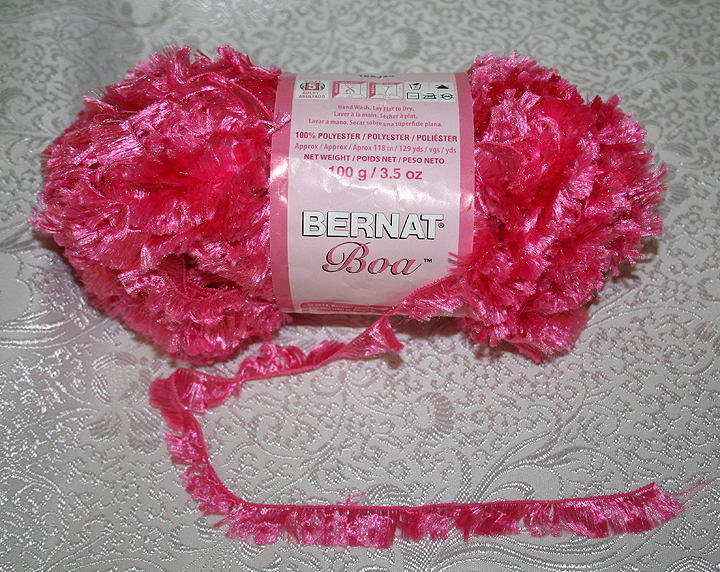
I received a couples on inquires on my Pig Card With Pinwheels asking what eyelash yarn is.  Eyelash yarn is a novelty yarn that has long strands (that resemble hair) coming out from the main thread.  It looks like a strand of eyelashes.  The yarn I used for the pink fringe dress on the pig is from Bernat and is called Boa.  I found it at my local Joann’s store.

Many years ago when I was into making dolls and teddy bears, I learned a technique to make something similar to eyelash yarn using grosgrain ribbon.  I used this technique using wide grosgrain ribbon to make eyelashes for some of my critters.  I simply glued the eyelash ribbon behind the eye buttons and had nice, long black lashes.

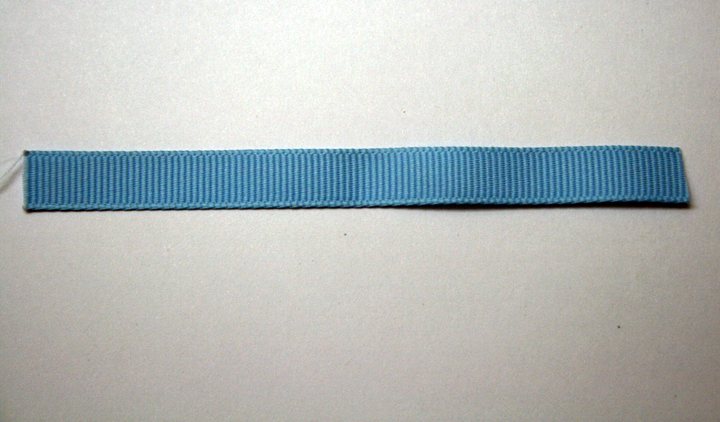
To make a fringe from grosgrain ribbon, cut a strip of ribbon.

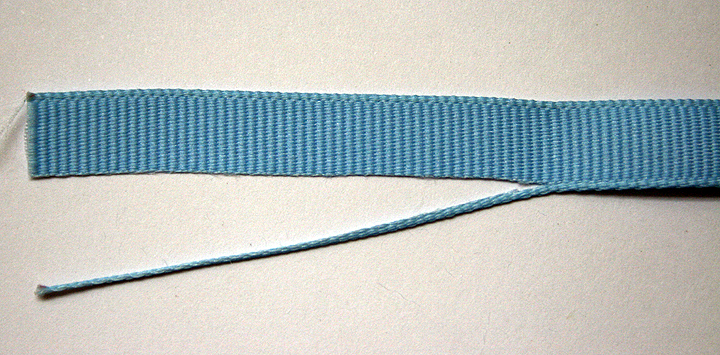
You will notice that the ribbon has a bound edge on both the upper and lower edges.  Take your scissors and trim one edge off the ribbon.  You want to do this on just the one edge.

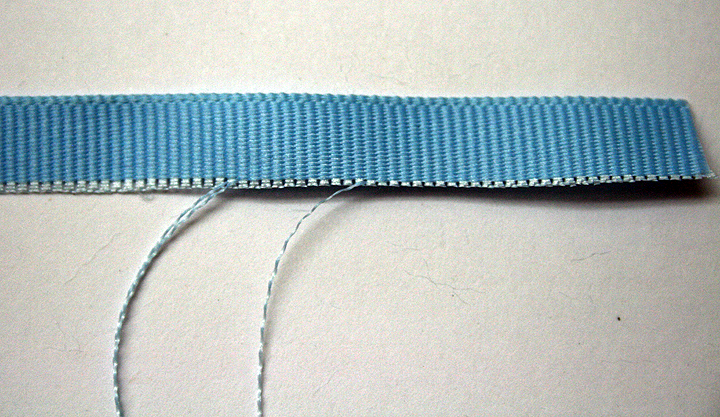
I then take a pin and start raveling out the threads that run the length of the piece of ribbon.  I usually do just a couple at a time, and then repeat until all the threads are pulled out.

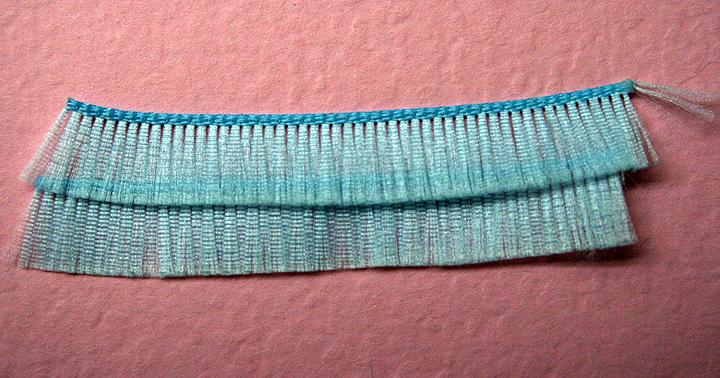
Once you have removed all the threads, your ribbon should look like this.  Notice that the color is not as bright as what you started out with.  The brighter color can be seen on the top strip of the ribbon.

Then you can cut your ribbon into pieces and lay them on top of each other to fill in your cut shape.

For the pig’s dress, I layered all my yarn on top of each other on the cut Cricut shape, glued it down and then turned the piece over and trimmed the yarn to the shape of the dress.