I made this card a while ago to send to a lovely lady on the Cricut Circle Message Board who was celebrating her 65th birthday. I wanted to create a special card for her and first set out to make one using a Bookatrix Board. I picked one up on eBay a long time ago and have yet to use it. It’s basically an embossing board and you emboss the edges of the pages for the book and then cut them out by hand.
As I sat reviewing videos on YouTube on how to use the Bookatrix Board, I couldn’t help but wonder why I couldn’t do something similar with my Cricut and not have to cut everything by hand. So this is my attempt at “Cricut-izing” a Bookatrix card. And I have to say I am very happy with how it turned out.
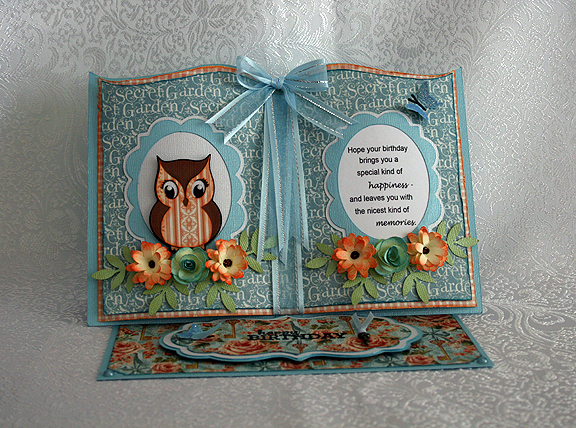
The solid cardstock is Bazzill and the printed papers are all from Graphic 45’s Secret Garden collection. And because I want to remember how I made this card, I am posting a little tutorial.

The book is from the Summer Celebrations Cricut cartridge and is the card feature. I put it on my mat in Cricut Craft Room (CCR) and made the measurements 8″ wide by 5.5″ high. I took two lower case “v”s from Cricut Craft Room Basics, turned them upside down and welded one into each upper corner to hide the notches that are in this particular cut. I also hid the score marks that are in the center of the book. This is layer one (the back layer on the card) — I guess you would call it the cover.
Next is the middle layer. I copied and pasted the first (cover) layer onto another mat and made it 7.75″ wide by 5.25″ high. I did the top (third) layer the same and it measures 7.5″ wide by 5″ high. I cut out all three of the layers.
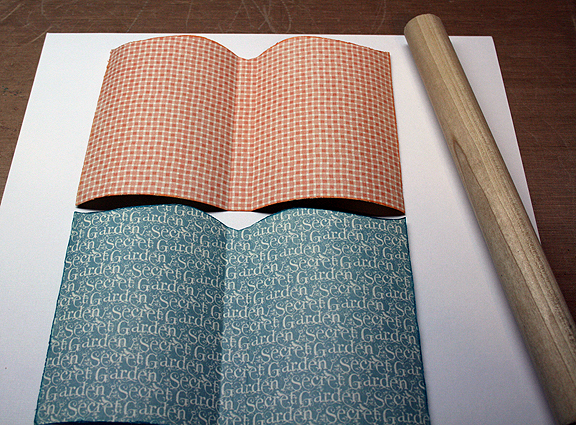
I laid the top and middle layers (the pages) on my scoreboard along the width and found the center. Then I scored a line 1/4″ on both the left and right side of center. This enables you to fold the pages up slightly and have them sit away from the cover. It is also the area that you will be gluing to attach the layers together. I distressed the edges of the pages only (the middle and top layer) and then inked them. I took a dowel about 1” in diameter (from Lowe’s) and curled the pages under, curling one layer at a time.
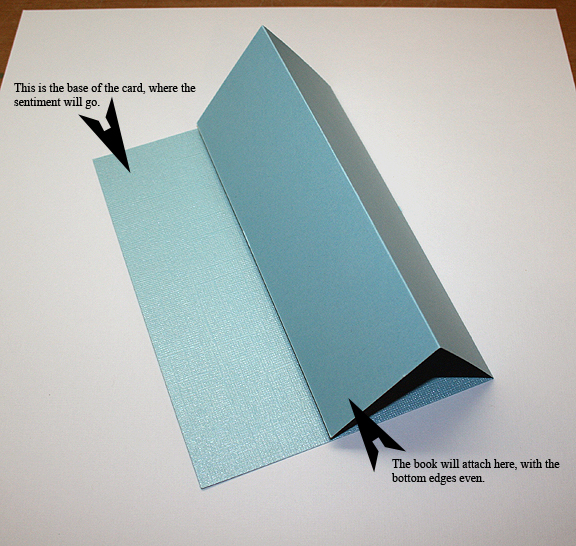
The base for the easel card is a piece of solid cardstock that measures 7″ wide by 10″ high. Lay the 10″ side on a scoreboard and score at 2 1/2″ and at 5″. It should look like this unfolded.

And here is how it looks folded.
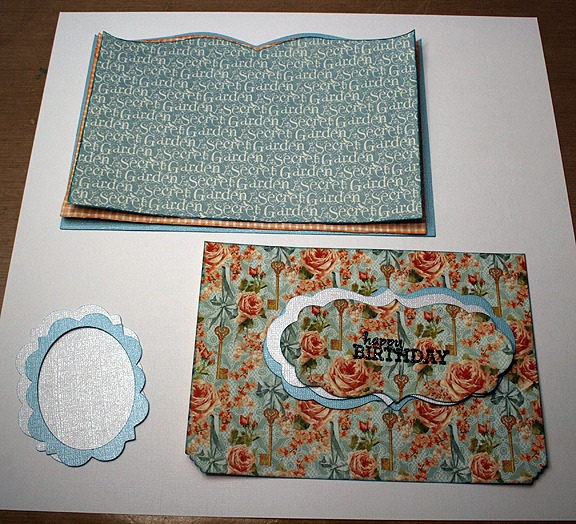
Cut the remaining pieces. The frames on the pages (for the owl and verse) are from Elegant Edges and cut at 3″. The label where I heat embossed “Happy Birthday” is from Cricut Craft Room Basics and I fiddled with the dimensions to get something that would fit in the area I had to work with on the base of the card. The bottom layer measures 5″ wide by 2.75″ high. The middle layer is 4.75″ wide by 2.5″ high. And the top layer is 4.5″ wide by 2.25″ high.
The mat for the easel card base is 6 3/4″ wide by 4 3/4″ wide. I used a corner punch on the front two edges. This is what your pieces should look like.
To assemble the card, I first attached the book cover (layer one) to the easel base. I centered it across the width and had the bottom edge of the book even with the edge of the base.
Adhere the middle and top layer together, putting the adhesive in the 1/2″ center area created by the two score marks. Before attaching the pages to the cover, lay ribbon down the middle and attach it on the back of the pages at the top and bottom. Adhere the pages to the book cover in the center only.
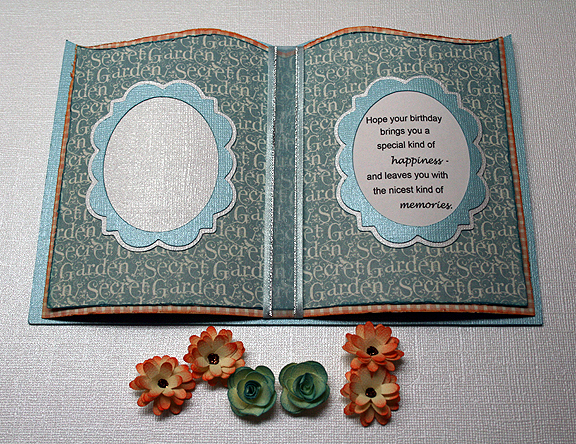
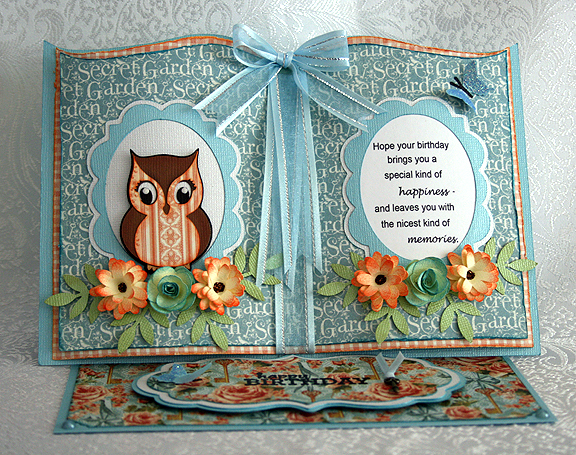
Assemble the frames, using whatever cuts/designs you wish in the middle. I used the dowel to curve the frames just a little so they would conform to the pages. The computer-printed verse is a layer of the frame. I adhered the frames to the pages before adding the owl. I used the owl from Disney’s Happily Ever After, cut at 2″, and attached it with foam dots.
The daisies are from the Flower Shoppe, cut at 1″. The roses are from the Paisley cartridge. I posted a card here where I give the measurements and a link to a tutorial on how to make the roses. Both are cut from cream-colored cardstock and I inked the edges with distress ink to add color. The center of the daisies are Stickles.
This is what it looks like up to this point, lying flat and minus the owl.
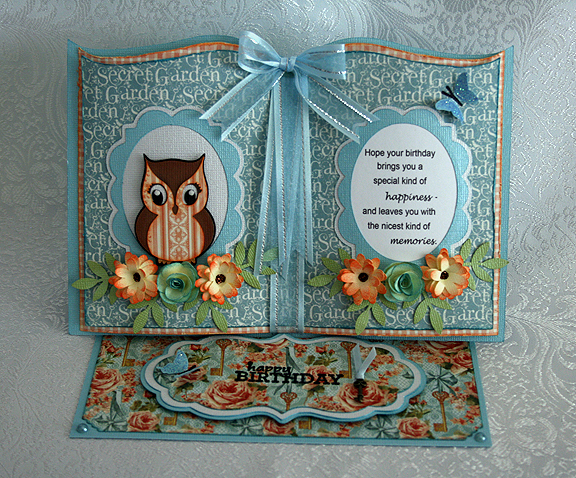
The “Happy Birthday” label is popped up on foam dots and is what holds the easel card up. I added a bow at the top of the ribbon in the center.
The greenery around the flowers is from a Martha Stewart punch, as are the butterflies. I attached a little gold key charm on the “Happy Birthday” label, which you can barely see in this picture. Oh, I also added a pearl to each corner in the front.
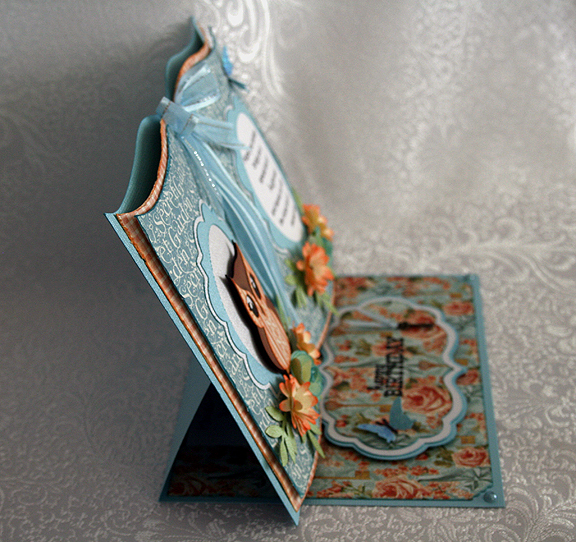
This is a side view of the card, so you can see how it stands.
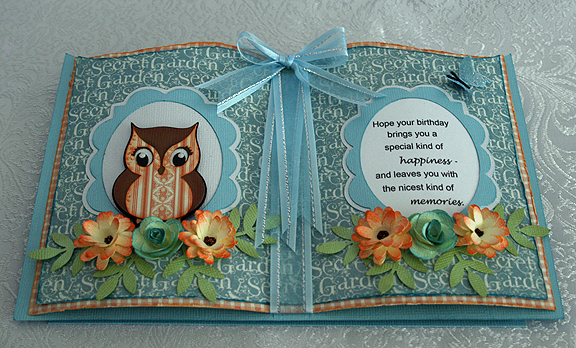
And this is what the completed card looked like folded flat.
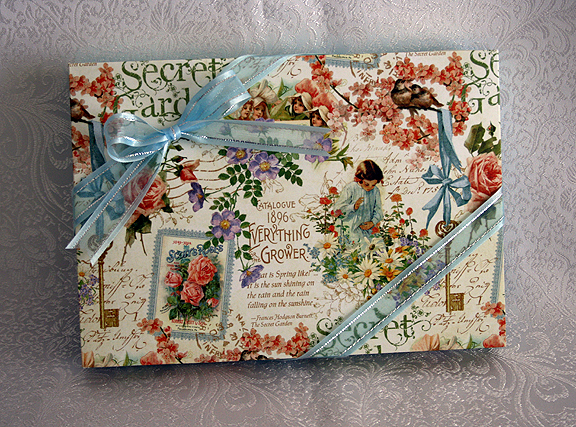
Because my card would not fit into a standard envelope, I made a little box for it to sit in.
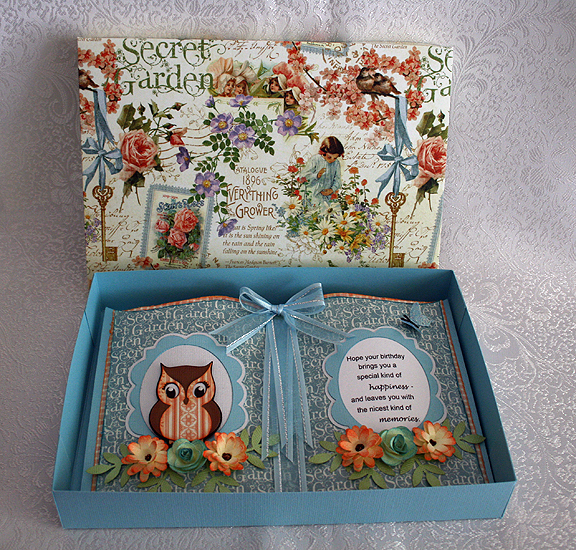
At some point I will probably post this in Cricut’s Project Center and will attach the file. In the meantime, I hope you enjoy this little tutorial.
- Cricut cartridges used: Cricut Craft Room Basics, Disney’s Happily Ever After, Elegant Edges, Flower Shoppe, Summer Celebrations
- Bazzill cardstock
- Graphic 45 Secret Garden collection
- Martha Stewart punches
- Ribbon
- Key charm
- Stickles


Recent Comments