I participated in the Cricut Circle Stocking Stuffer Swap for the first time in 2013. I figure it’s about time I posted the mini album I made to send to my partner, Sherry (Octoberbeauty). I’ll warn you — there are lots of pictures.
This is the second mini album I’ve made and I again used a tutorial from Cathy, whose etsy shop is called So Much Scrap. For this album I used her All Hallow’s Eve tutorial. I really like her tutorials because they are very detailed and easy to follow.
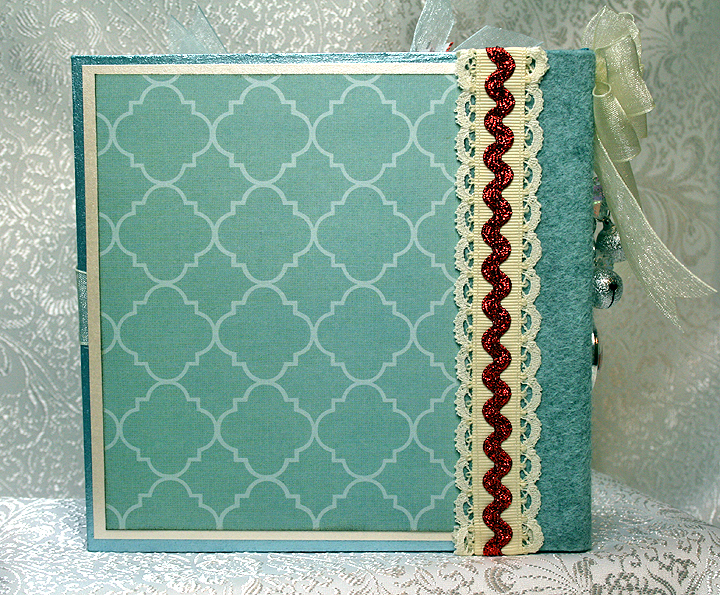
I did something a little different on this album than what the directions call for. I made the spine and binding system using only chipboard and book binding cloth — I didn’t use any cardstock in the construction. I am happy with the way it turned out — the binding system is very flexible.
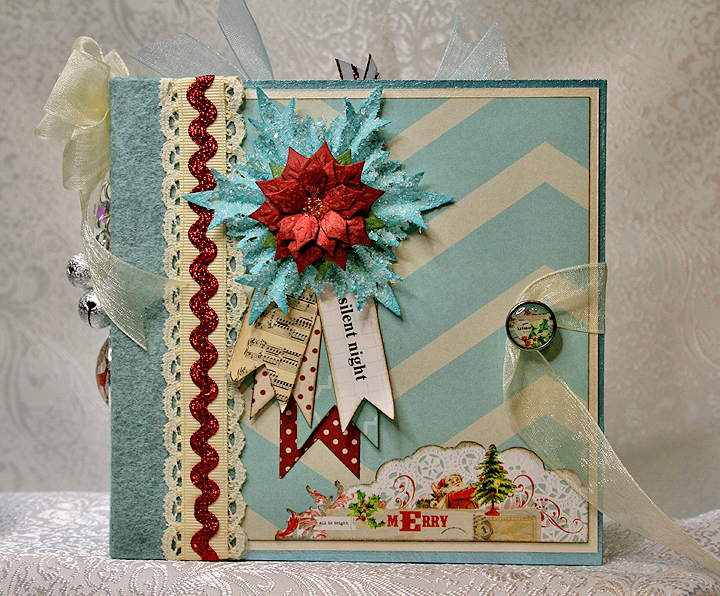
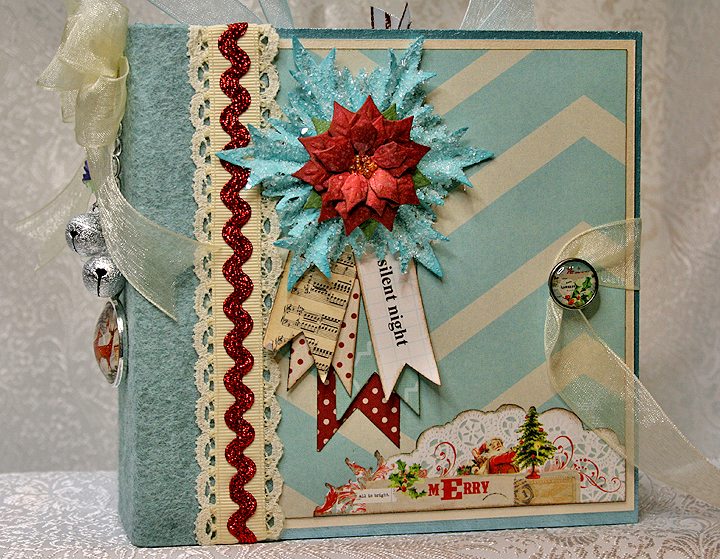
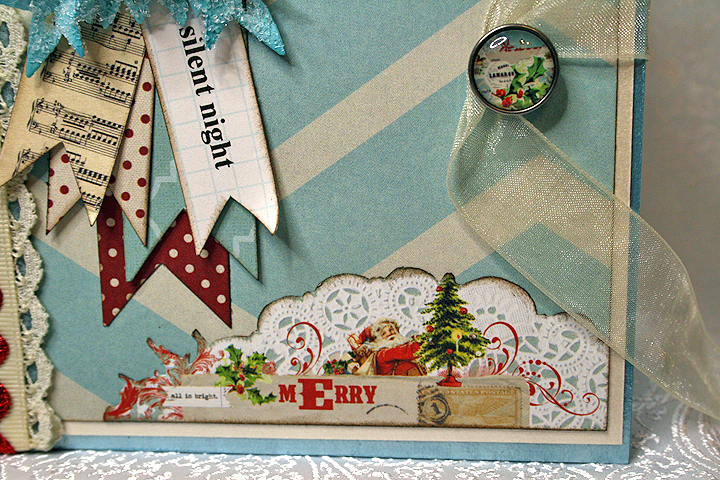
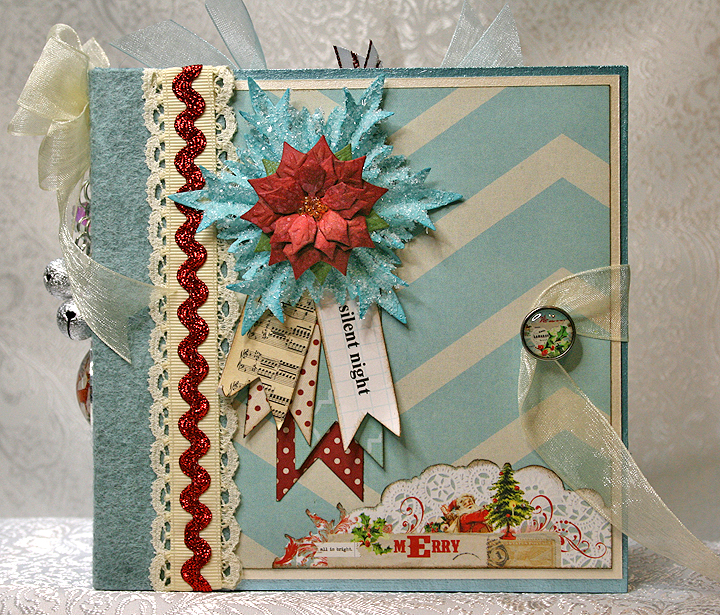
The patterned paper I used throughout the album is from My Mind’s Eye Merry & Bright collection. The solid cardstock is all Basis 80#. The edges of the chipboard are painted with Martha Stewart pearl paint. I covered the outside of the spine in wool felt and added some ribbon, lace and metallic rick rack trim to the edges.
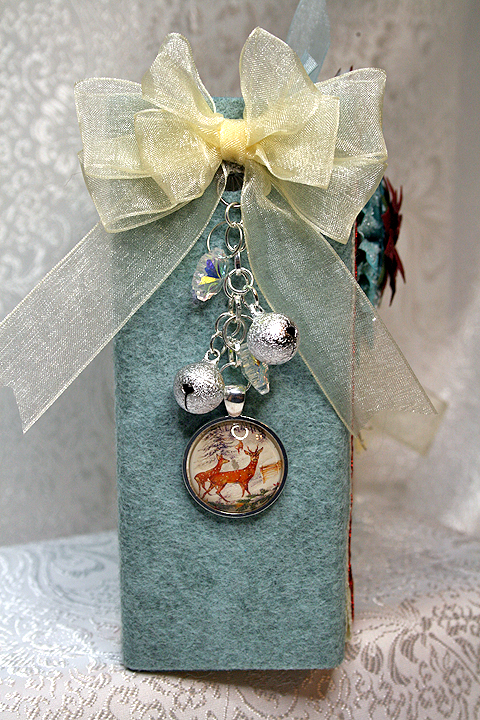
I made the charm on the spine using stardust jingle bells, crystal snowflake beads and a deer pendant I got from eBay. I made the bow using my Zutter Bow-It-All. I’m really liking the bows I can make using this handy tool.
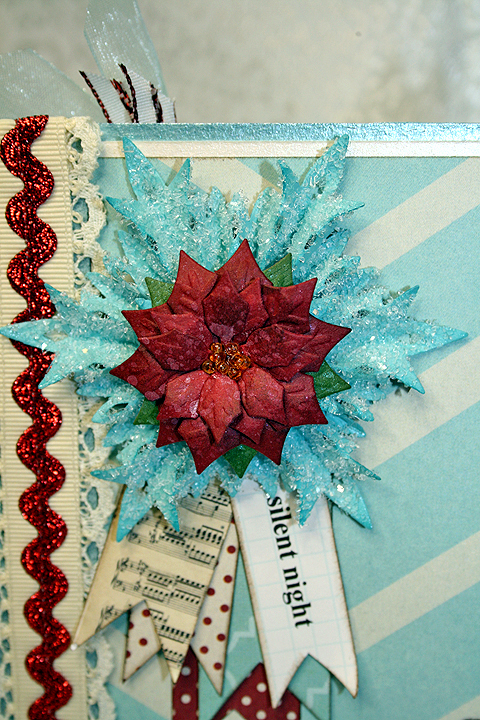
Here are some close-up details of the album front. The poinsettia is made from the Layered Poinsettia die by Spellbinders, sprayed with Lindy’s Stamp Gang’s Starburst spray, and I added glass seed beads to the center. The snowflake is from the Tim Holtz Snowflake Rosette die and is coated in coarse glitter. The album closure is a ribbon that wraps around a brad on the front cover — another of Cathy’s wonderful ideas.
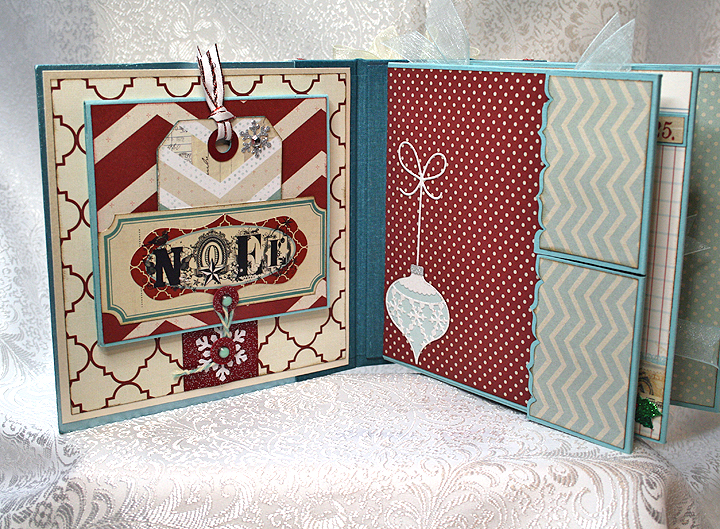
Pages 1 and 2:
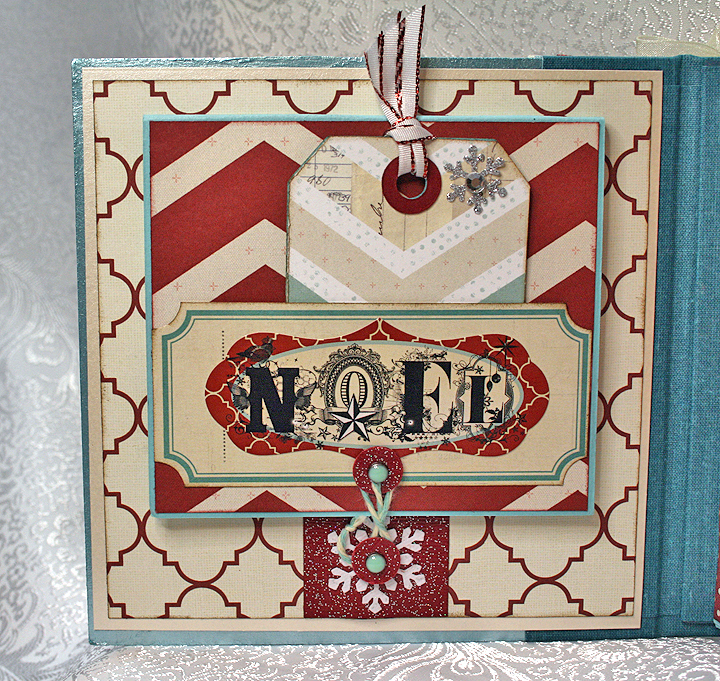
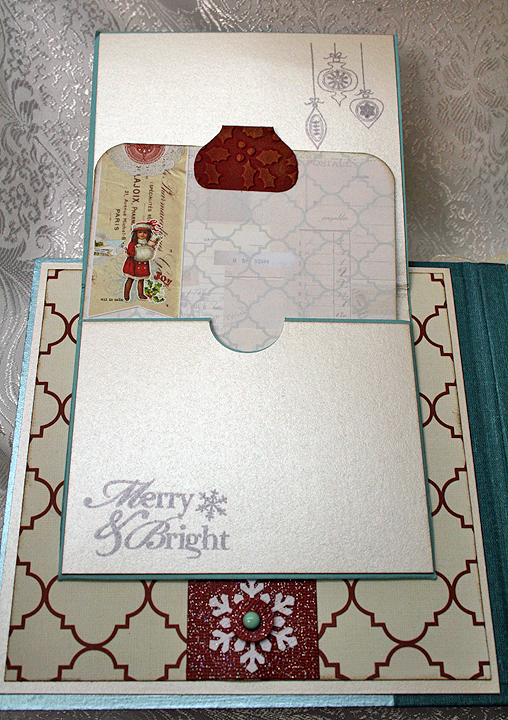
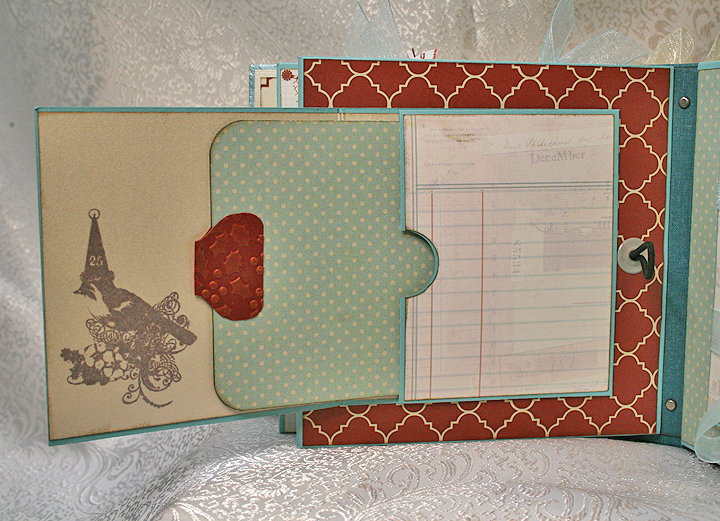
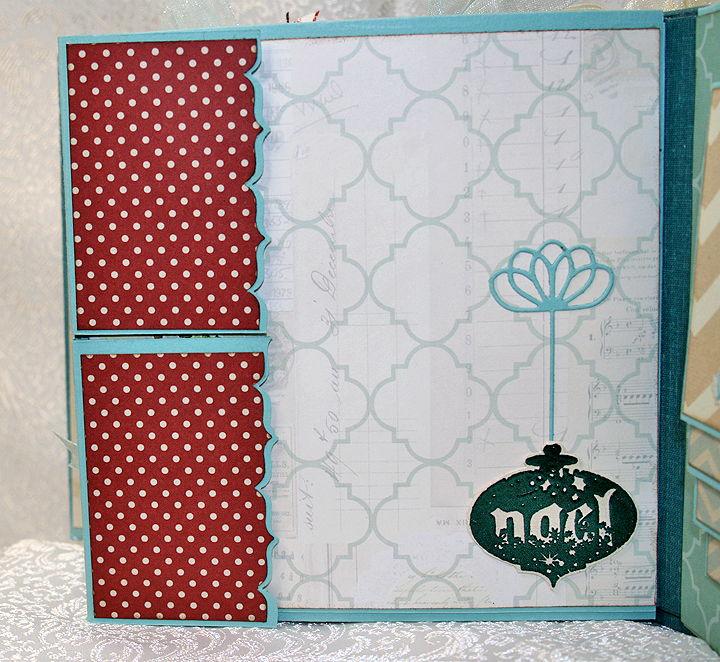
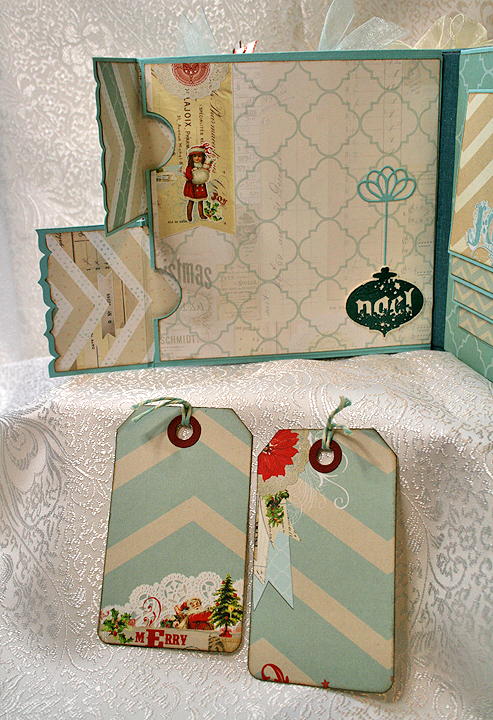
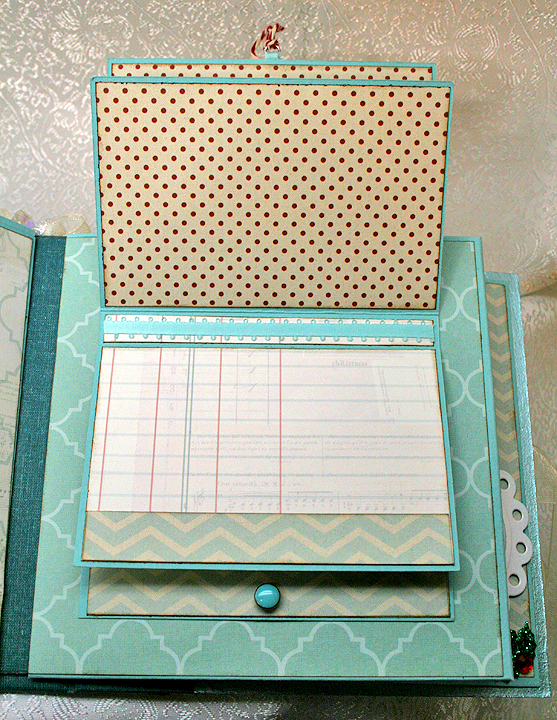
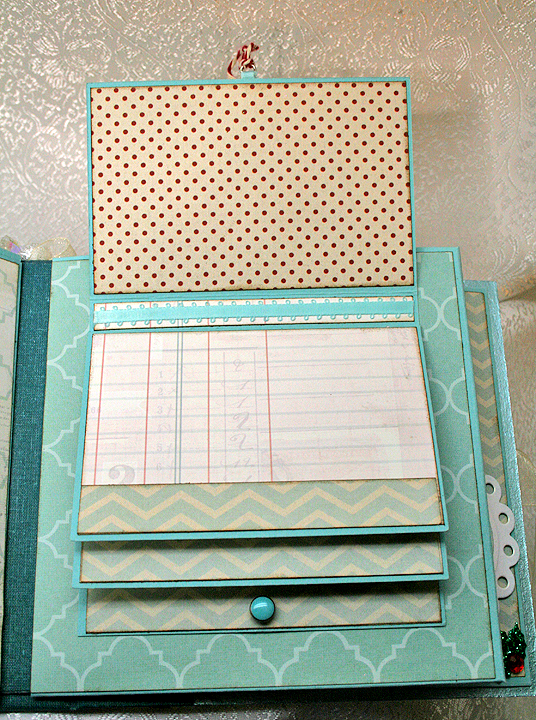
The pocket opens up to reveal a photo mat inside. I made all the tabs for the photo mats using my We R Memory Keepers Envelope Punch Board and embossed the tabs with my Cuttlebug.
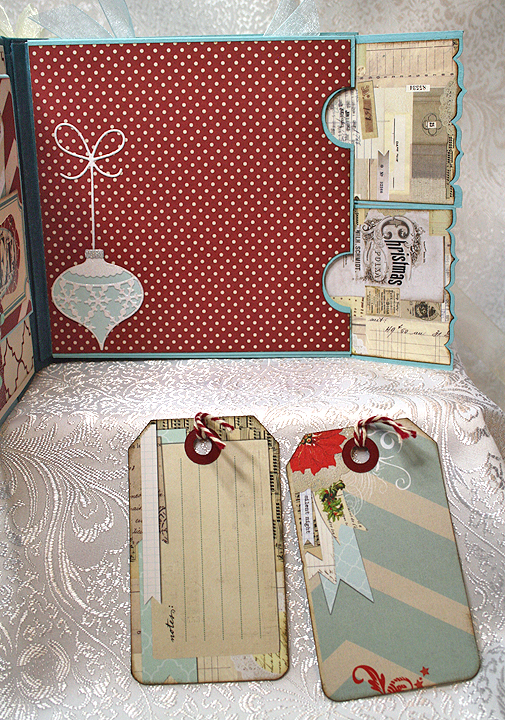
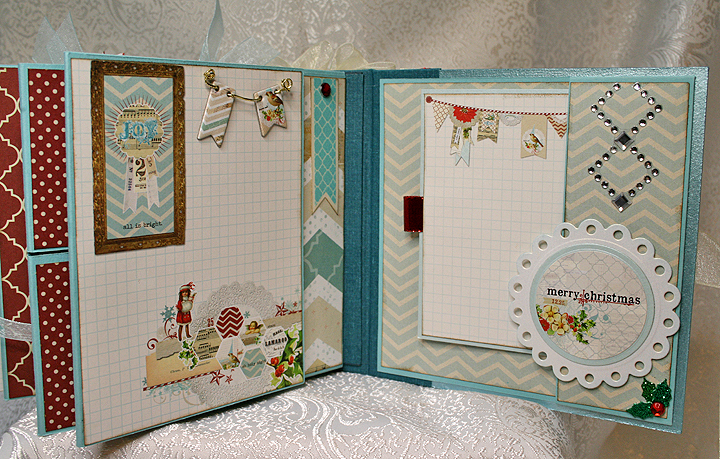
The ornament is cut from a Memory Box die. The edges on the pocket flaps were done with a punch — I think it was an EK Success Bracket border punch. The flaps close with a magnet — there are lots of magnetic closures used in this album.
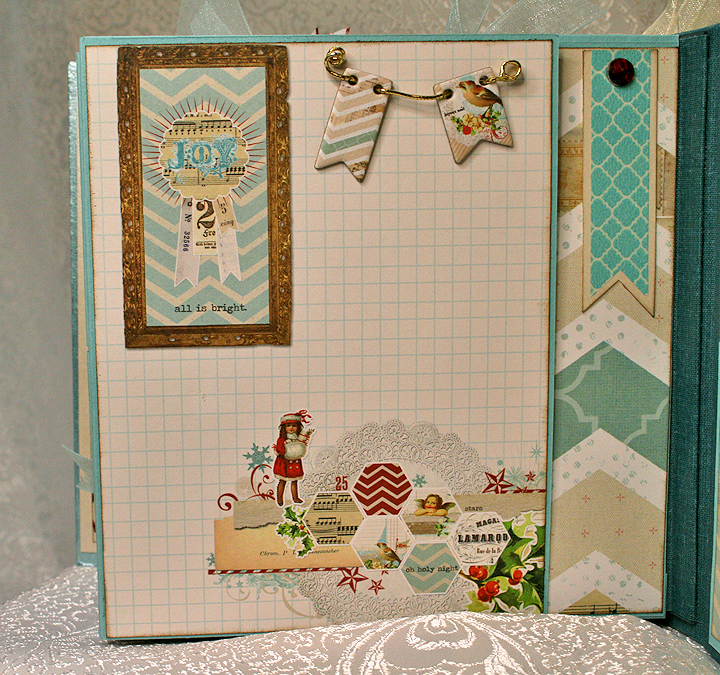
I made the small tags using Tim Holtz’s Tag & Tie die.
Pages 3-4:
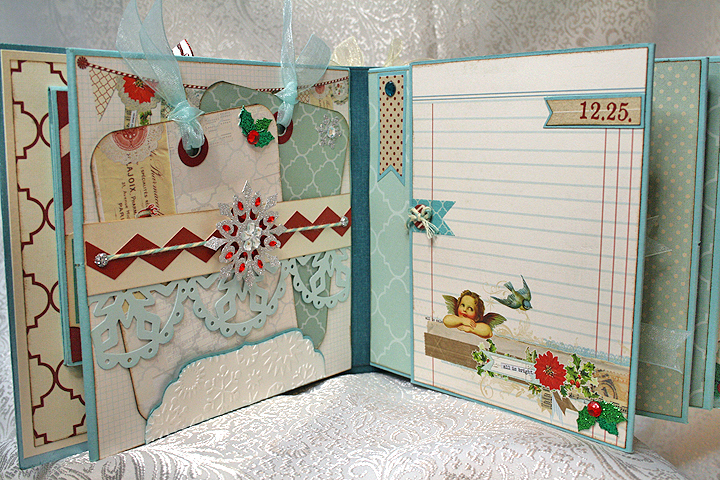
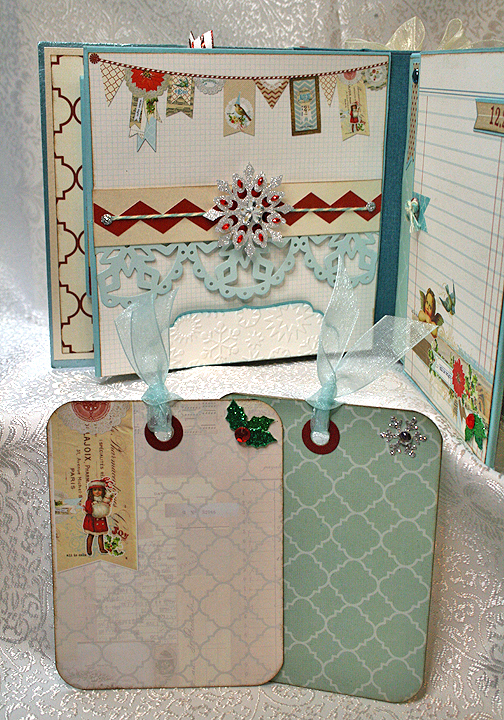
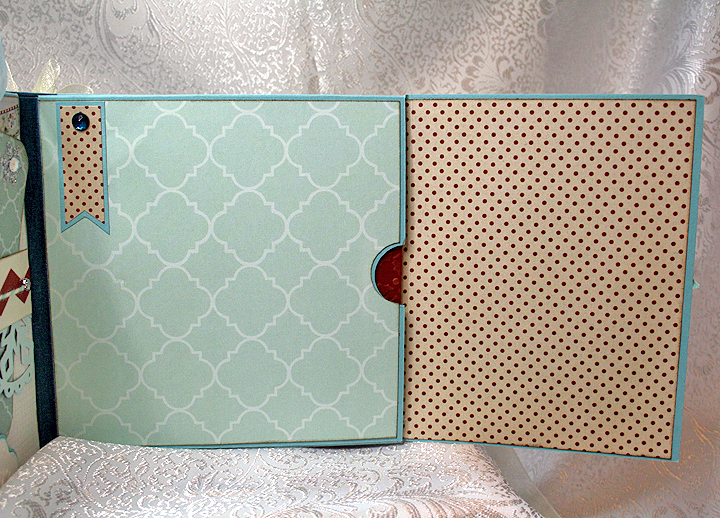
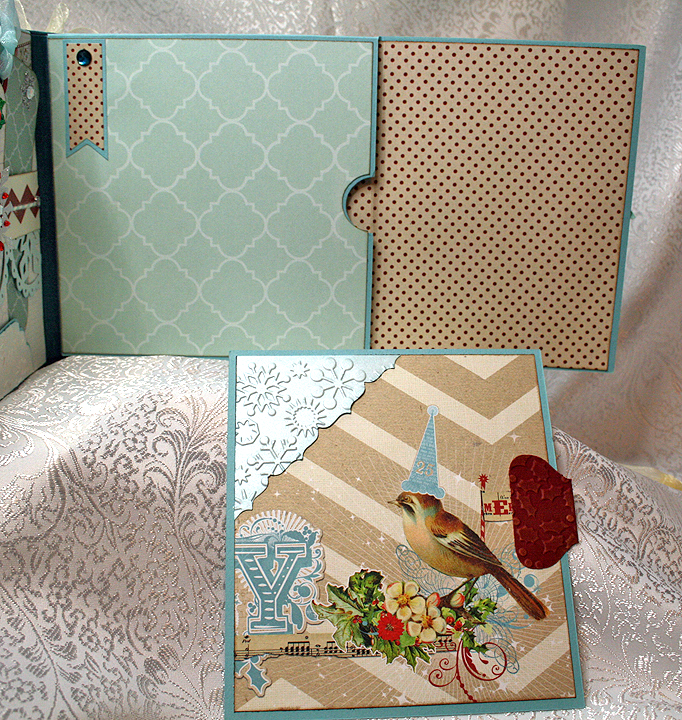
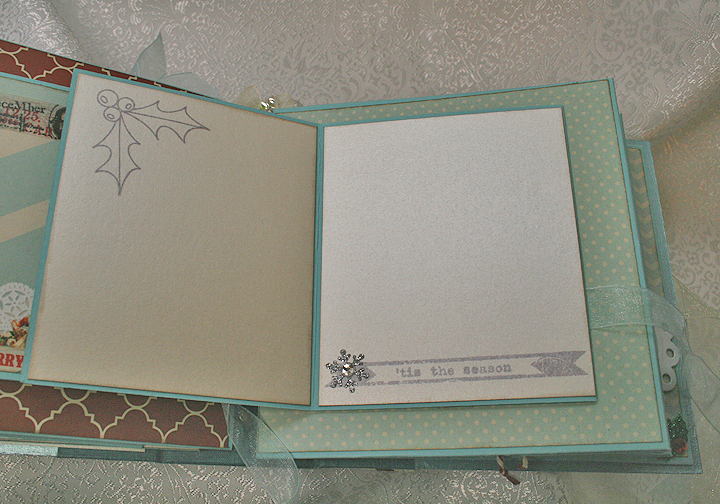
Page 4 opens and has a photo mat inside the pocket.
Pages 5 and 6:
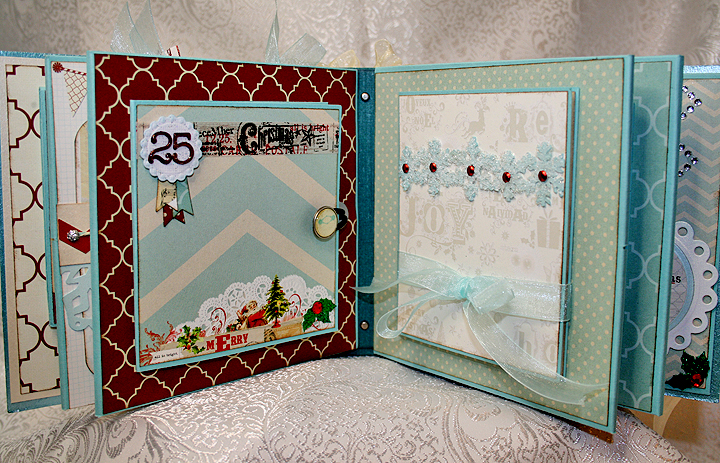
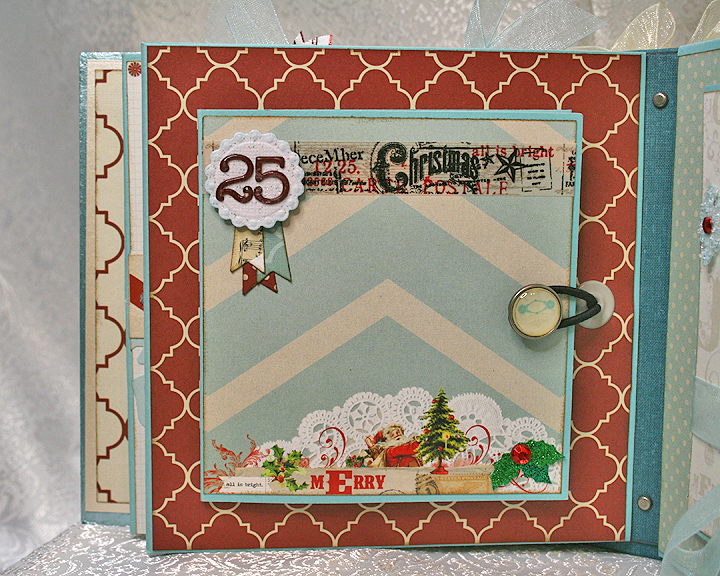
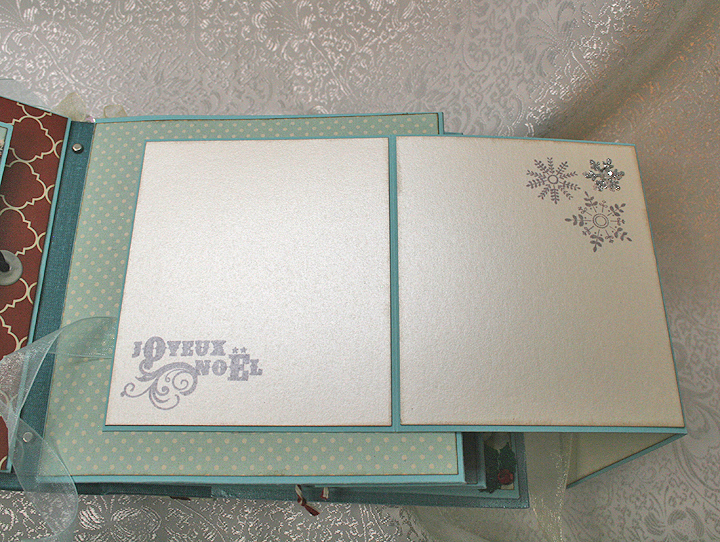
The pocket closes using an elastic hair band and a brad.
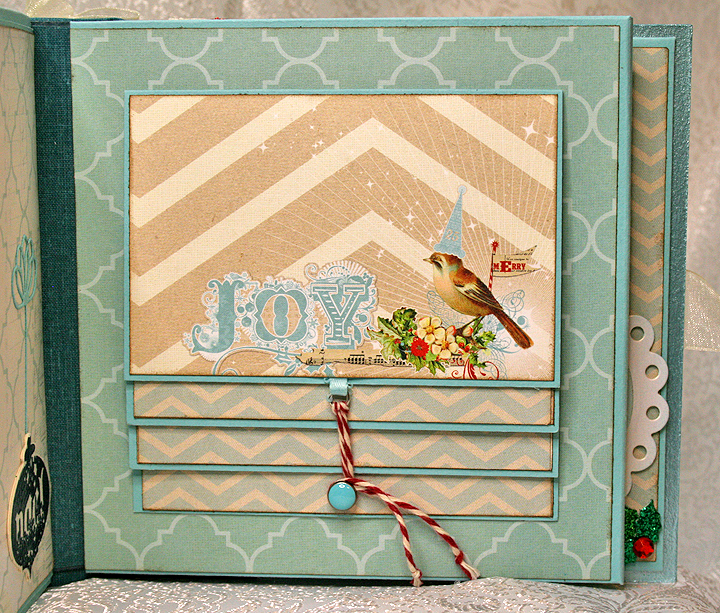
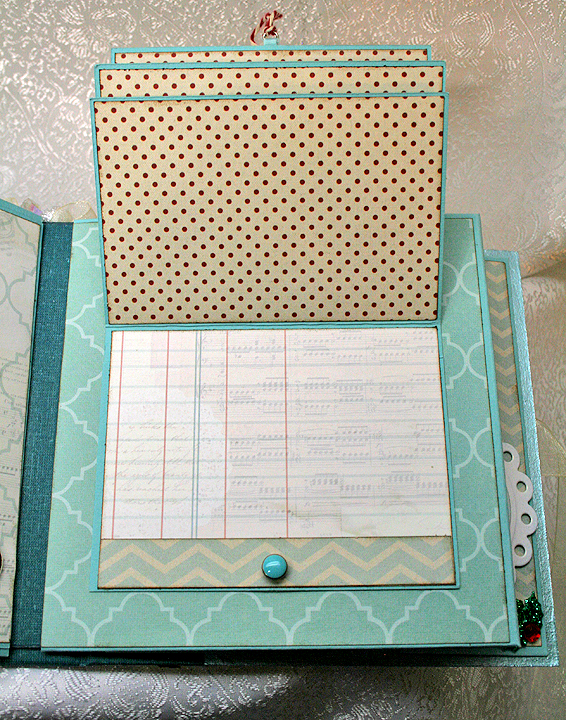
Page 6 has an accordion fold feature that folds up and is held closed with a ribbon. The snowflake trim is from a Martha Stewart punch.
Pages 7 and 8:
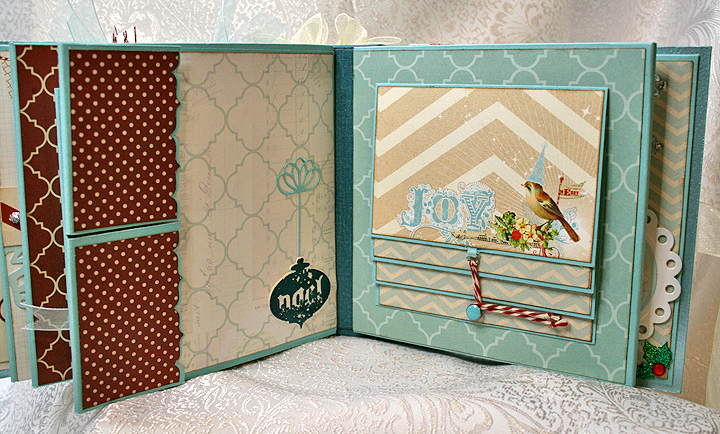
The ornament is embossed with Lindy’s Stamp Gang embossing powder. I can’t remember what stamp I used for the ornament — that’s what I get for waiting so long to post this on our blog. The ribbon hanger is a Memory Box die.
Page 8 has a waterfall feature.
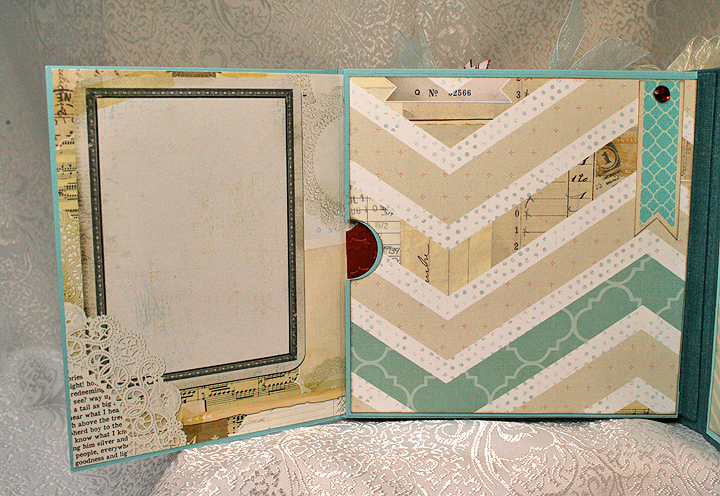
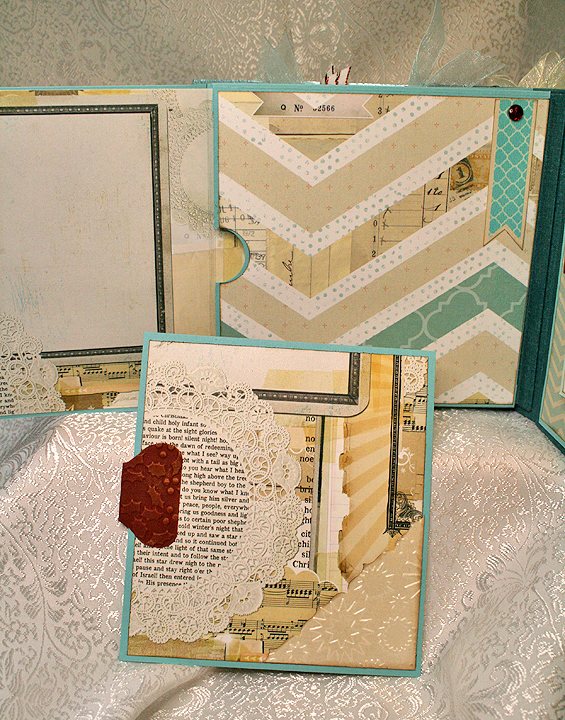
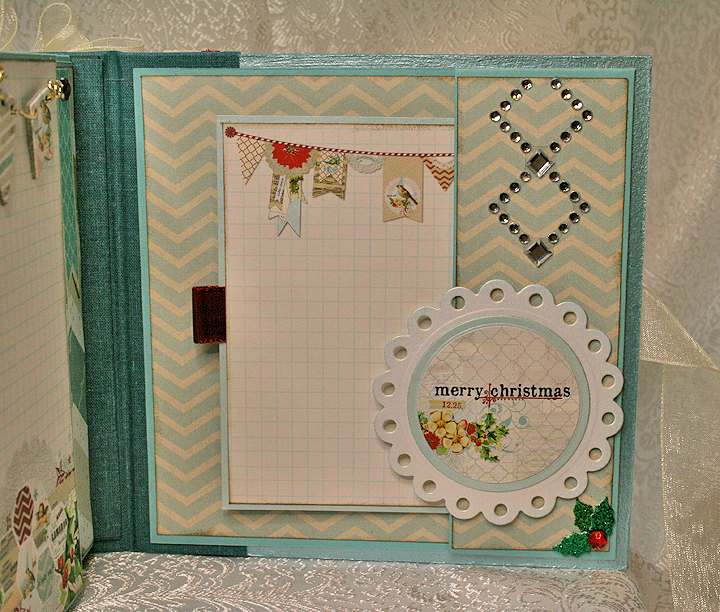
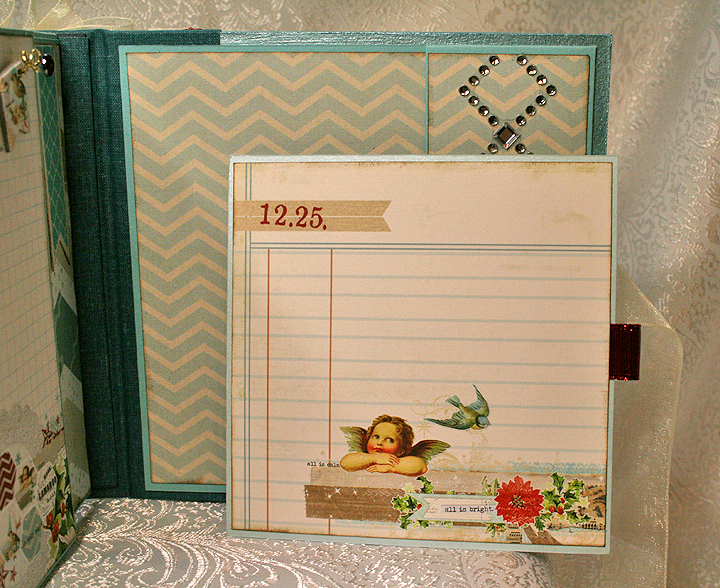
Pages 9 and 10:
Thanks for checking out my Christmas album. I have a Valentine mini to post next — I hope it doesn’t take me two months to get it written up, like it did with this album.
- My Mind’s Eye Merry & Bright paper collection
- Basis 80# cardstock
- So Much Scrap (etsy shop), All Hallow’s Eve tutorial
- Tim Holtz dies: Snowflake Rosette and Tag & Tie
- Memory Box ornament and bow dies
- Spellbinders Layered Poinsettia die
- Lindy’s Stamp Gang embossing powder
- EK Success Bracket edger punch
- We R Memory Keeps Envelope Punch Board
- Zutter Bow-It-All
- Martha Stewart pearl paint
- Cuttlebug





Your album is stunning.