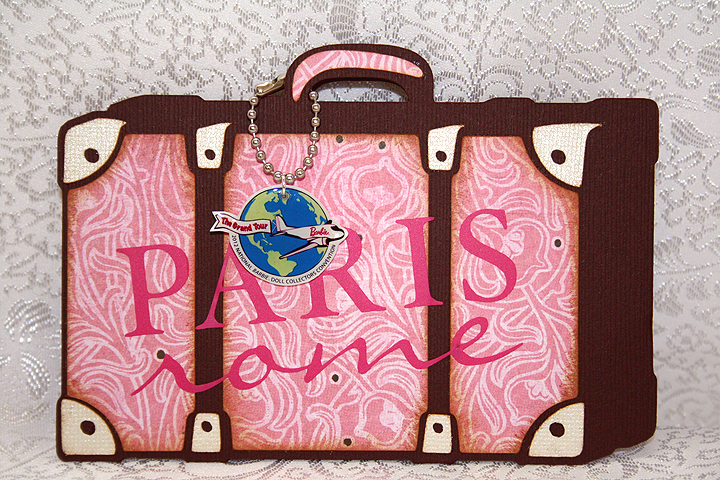
I had a lot of fun with this project. I was asked to make ten gift card holders that were to be handed out at the 2012 National Barbie Doll Collectors Convention this week in Garden Grove, CA. They were originally going to hold gift cards, but then it was decided that they would contain raffle tickets. I guess there are some fabulous prizes in the Raffle Room. The theme of this year’s convention is The Grand Tour.
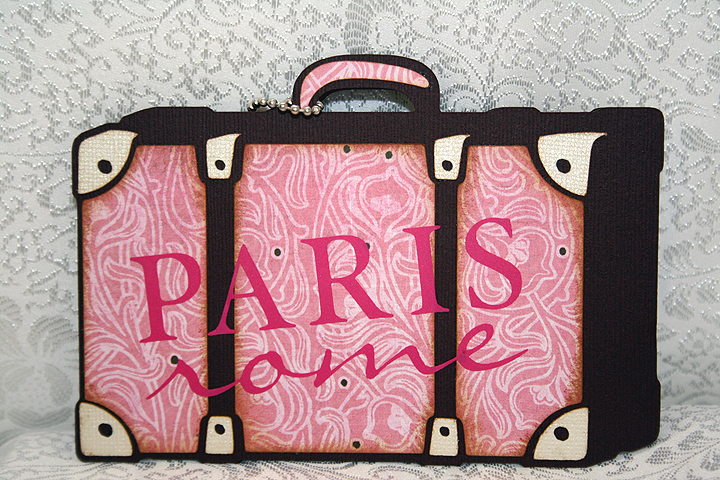
My first thought was to make the card shaped like a suitcase, as a rectangular shape would work well with a gift card. I searched through suitcase cuts on mycutsearch.com and decided to use the one on the Summer Celebrations cartridge, since it looked sort of vintage.
I welded two shapes together at the bottom in Cricut Design Studio. I cut the base of the card from chocolate Bazzill cardstock. All the solid cardstock is Bazzill and the prints are from Basic Grey. I chose a pink print for the front of the suitcase, using a neutral color for the hardware. Since Paris and Rome are on the itinerary of the Convention, I cut those words from pink vinyl using the Word Collage cartridge. Here is a picture of the vinyl lettering.
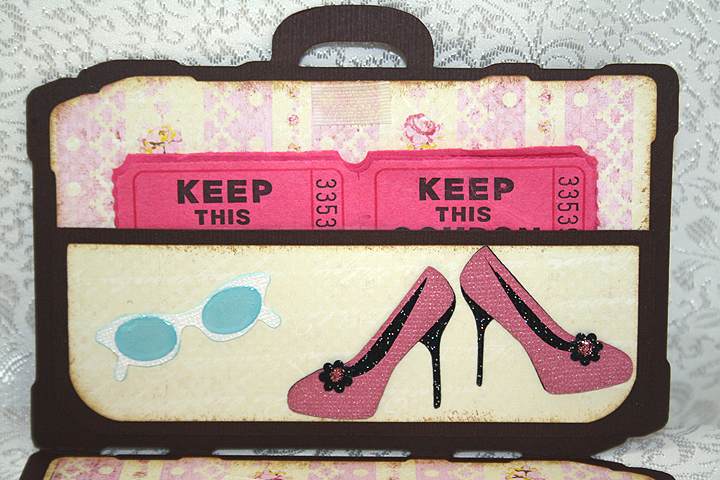
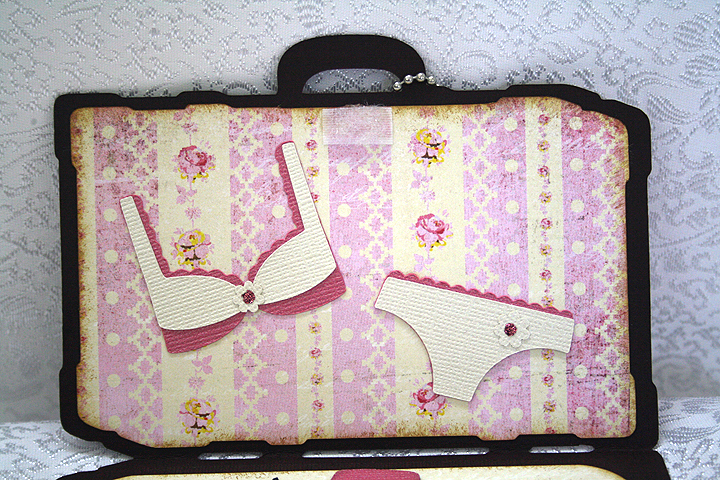
I chose a vintage stripe print for the lining of the suitcase. I used a rectangle from George & Basic Shapes to create the pocket on the inside, using a punch to round the bottom corners. Velcro at the top holds the suitcase together when closed.
The shoes, sunglasses and bra and panties are all cut from Forever Young. I used a black glitter cardstock from Core’dinations for the shoes. I applied Glossy Accents to the lenses on the sunglasses.
For the small flower embellishments on the shoes and bra and panties, I used the negative cuts from a Martha Stewart punch called Flower Shower. It makes the tiniest of flowers. I added Stickles to the centers of the flowers.
Now comes the most fun part — making the charms. This was my first time using Ink Jet Shrinky Dinks to make charms. I followed a great tutorial from the talented Nadia to make my charms. Here are her step-by-step instructions.
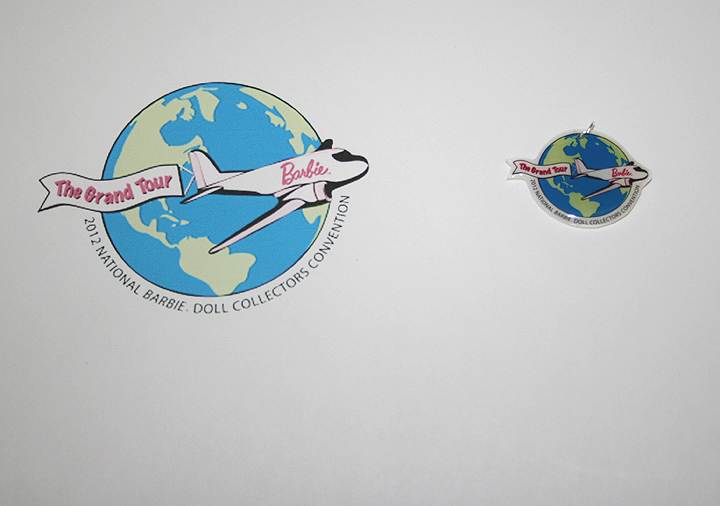
I did not use my Imagine to make the charms as I used a jpg of the Convention logo. I printed the design on the Shrinky Dink material using my ink jet printer. So instead of having a Cricut to do my cutting, I hand cut around the charms. I am not the greatest when it comes to cutting around objects — I got a little wobbly in places. But the great thing about the Shrinky Dinks is that you don’t really see my wonky cuts. Here is a photo showing the size of the print I started out with and what it looked like after shrinking. I also lightened the jpg in Photoshop before printing, as the colors get intense with baking.
Following Nadia’s instructions, after the Shrinky Dinks baked and were flat, I applied some Ultra Thick Embossing Enamel (UTEE) to them. I then popped them back in the oven and waited for the UTEE to melt.
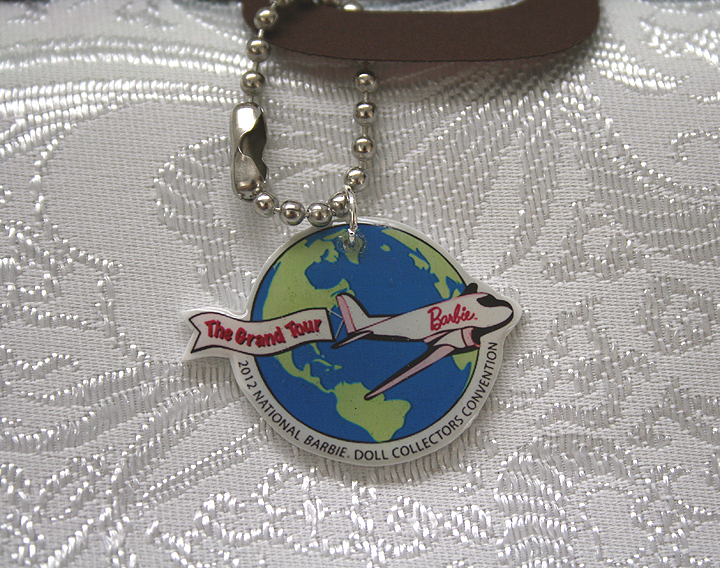
I was so happy with the way they turned out — even my hubby thought they were neat. The circle part of the charm is not quite an inch across — and look how well you can read the tiny lettering.
I attached jump rings in the holes and hung the charms from key chains that I shortened to fit on the suitcases.
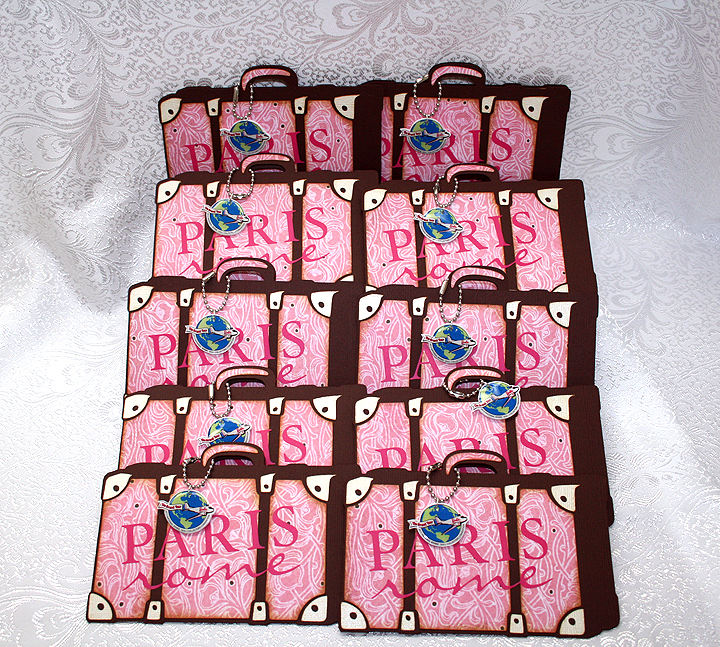
Here are all ten suitcases.
- Cricut Cartridges – Forever Young, George & Basic Shapes, Summer Celebrations, Word Collage
- Bazzil cardstock
- Basic Grey designer paper
- Vinyl
- Martha Stewart Flower Shower punch
- Stickles
- Glossy Accents by Ranger
- Ink Jet Shrinky Dinks



Recent Comments