Circleville NSD 2013 – Did-I-Mension? Challenge


Here is my project for the Circleville Did-I-Mension challenge hosted by Renee.  Be sure and check out her blog and see the beautiful boxes she made for this challenge.

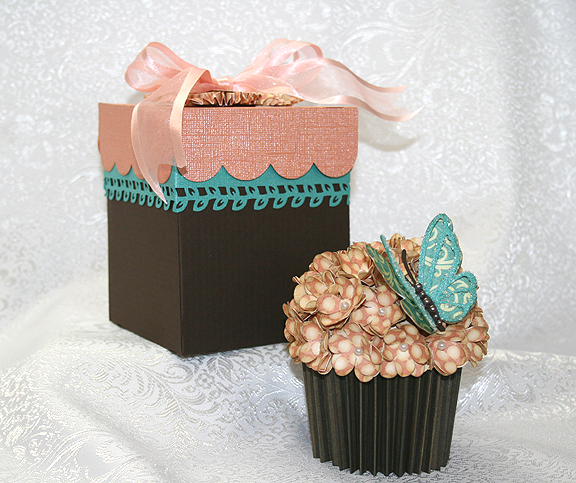
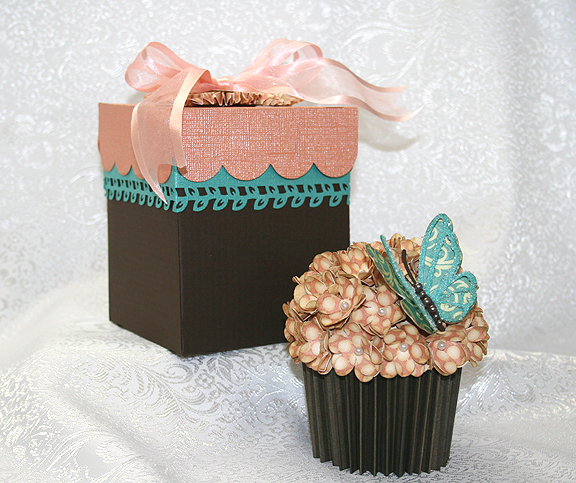
Renee challenged us to created a 3D box, bag or some other project.  Since I had just finished making my cupcake for the previous challenge, I thought a box to put the cupcake in would be the ideal project to make.  I used Sweet Tooth Boxes to cut my box, using the Cube Box cut at 11.5″.  All the cardstock used to construct the box is from Bazzill.

Set8

It didn’t take too long until I realized I was faced with a challenge.  I could only make a box that would fit on a 12″ x 12″ piece of paper.  I needed a square box and I could get the size I need (barely) for the cupcake to go inside, but I couldn’t get  it tall enough.  I spent a good two hours going back and forth on what to do.  I was looking at making something completely different for my project, but I kept coming back to the cupcake because I really needed a box.

Box3

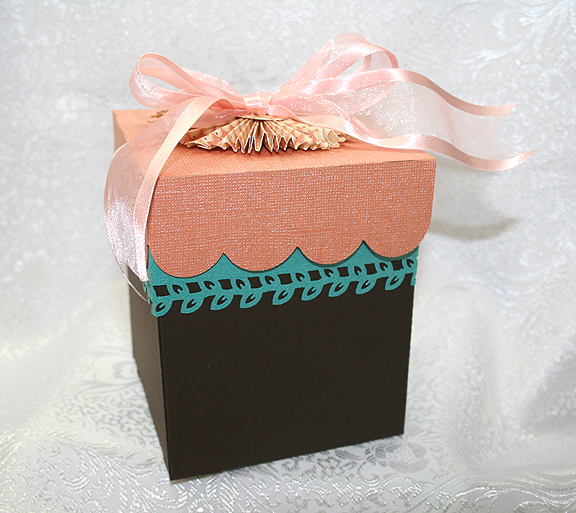
I finally decided to see if I could add a separate piece of cardstock to the top of the box without it looking too funky.  I cut 2″ strips and had to piece them together to get four 4″ sides.  I used a Martha Stewart punch on the bottom edge.  I think it is called Laurel Leaf.   This is what the box looks like without the lid.

Box

The added piece gave me the height I needed, but I’m not too sure on the overall appearance.  I think it looks OK.  I made a rosette to put on the lid, using the Graphic 45 paper from the cupcake.  I then added a bow to the rosette.

Set8

  • Cricut Cartridge – Sweet Tooth Boxes
  • Bazzill cardstock
  • Martha Stewart Laurel Leaf punch
  • Ribbon

Cricut Candy Corn Box and Totes


My goal this weekend was to make a candy corn box, but then I had an idea and soon had candy corn boxes all over my craft room.  I wanted to participate in two challenges, the 3D Halloween Treat Container challenge at Bitten by the Bug 2, and the 3D Treats challenge at Cooking with Cricut.

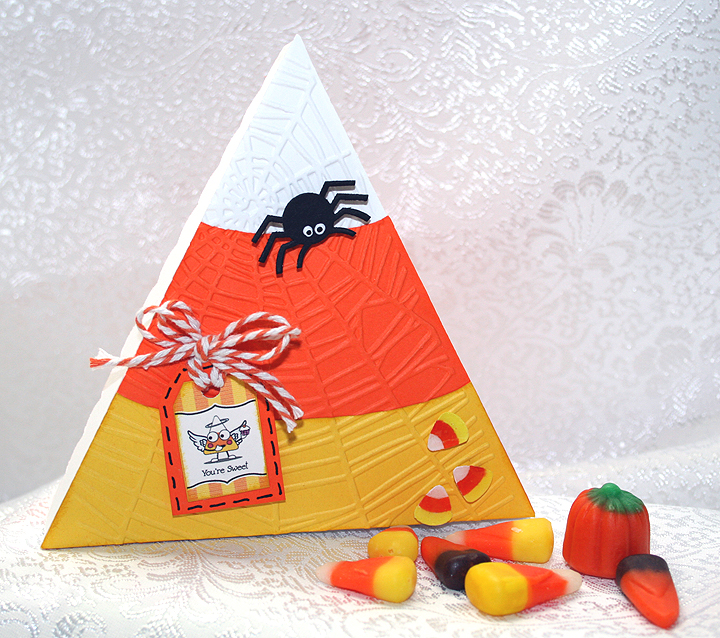
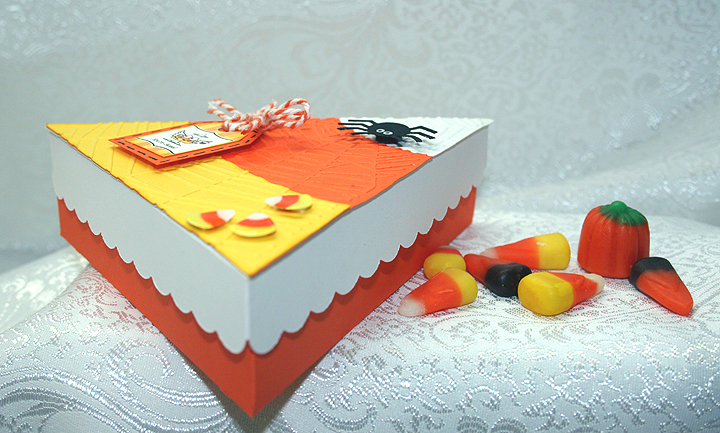
I have seen several versions of Cricut candy corn boxes using a cake box cut on the internet.  Using Cricut Craft Room, I chose the triangle box cut from Sweet Tooths cartridge.  I liked that it is a 2-piece box, with a separate top and bottom.  The paper is Michael’s Recollection brand.

I cut the bottom at 6″, from orange cardstock and cut the top from white cardstock.  Using George and Basic Shapes, I put a triangle on my mat and sized it to match the triangle on the top of the box.  I then cut that from white cardstock.

I laid out two more triangles in CCR, one in yellow and one in orange.  Using ovals from George and Basic Shapes to intersect the triangles, I got the shapes I wanted for the corresponding pieces.  I then glued the orange and yellow layers onto the white triangle.

Using my Cuttlebug and the spider web folder, I embossed the entire front piece after it was glued together.  I then adhered the piece onto the top of my box.

I sometimes forget about all the dies I have for my Cuttlebug, opting to cut with my Cricut instead.  But this time I remembered I had some cute Halloween dies and that is what I used for my spider and the tiny candy corns on the front of the box.  I used the 3″x3″ Cuttlebug Halloween die.

I painted the eyes on the spider and colored the candy corns using Copics.  Then then applied Glossy Accents on the candy corn to give them some shine.  I added pop-dots to the spider and candy corns and attached them on the top of the box.

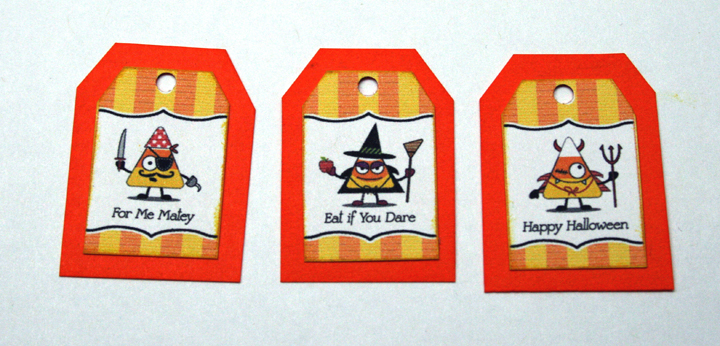
The tags I used on all my candy corn boxes is a free printable I found on a website called HelloCuteness.com.  The printable is from their old website, but you can get to their new site with the link I am sharing.

I hand cut around the tags, glued them onto some orange cardstock and again hand cut around the orange cardstock. For the cake box candy corn, I tied some twine through the hole on the tag and pop-dotted it onto the top.

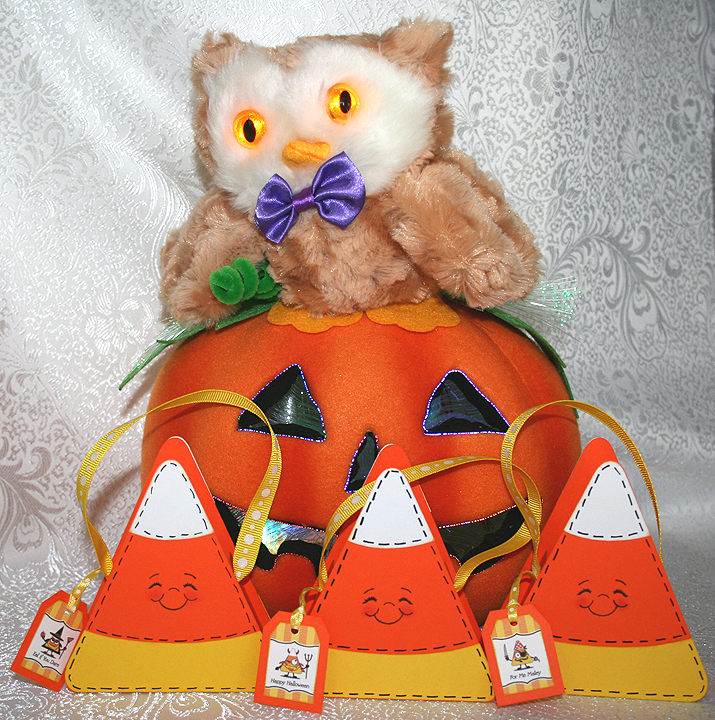
While I was working on the cake box version, I got an idea to create a different type of candy corn box —  one that is more like a tote.  Using CCR and George and Basic Shapes, I started laying out triangles and rectangles to get what I wanted.  It took a little time and several attempts, but I finally got it worked out.

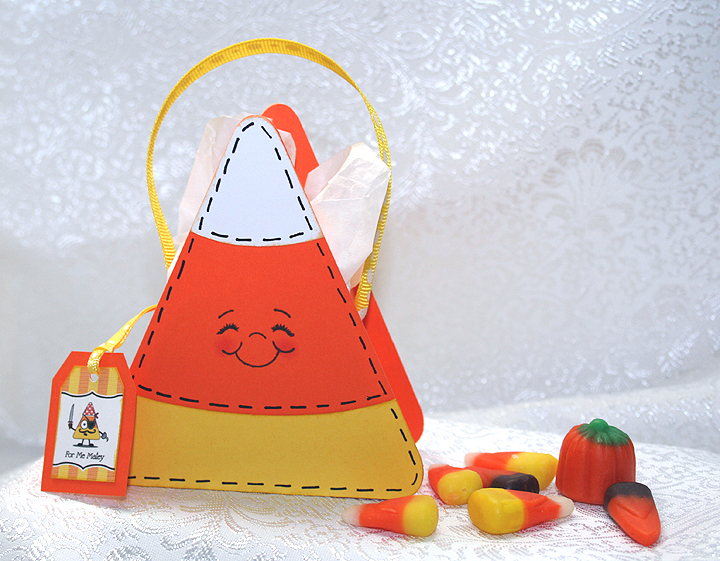
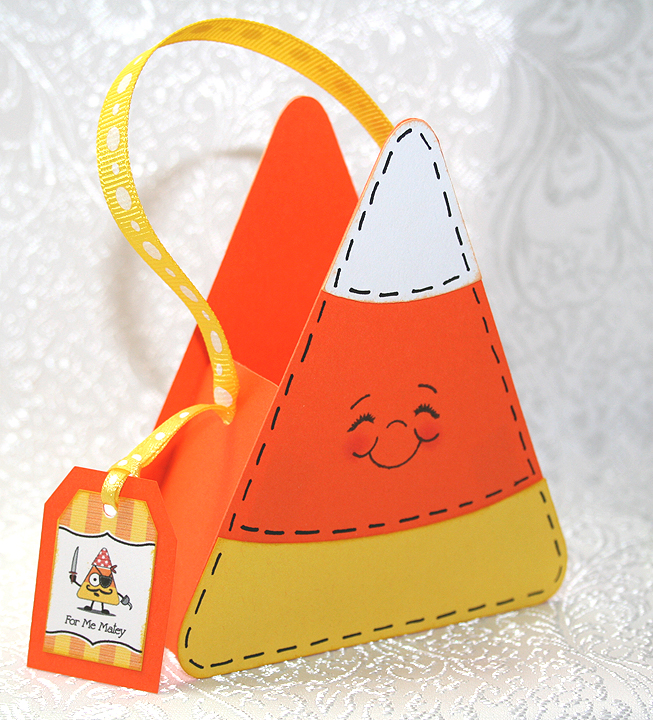
Here is my final version, along with two of my better attempts.  They look pretty much the same — the main difference is in the tabs where they attach together and how I assembled them.  The base shape is cut from orange cardstock and then there is a yellow and white piece that attaches to the front and back.

I used a Peachy Keen face stamp, stamping just one side.  I thought about stamping both sides of the tote but decided I didn’t want any two-faced candy corns!  I used a black pen to add the stitch marks to the fronts and backs.

For the first tote, I put it all together and then realized it would be much easier to attach the white & yellow pieces, stamp the face, and punch the holes for the ribbon handle if the tote was still flat.  The next two totes were done flat and it was a lot easier.  I used Terrifically Tacky Tape to assemble the totes.

I used a Crop-A-Dile to punch the holes in the side and 12″ of ribbon for the handle.  After threading the ribbon through the hole, I tied a knot and used some hot glue to glue the ends down inside.  The tags are hung using 1/8″ ribbon and I threaded it through the same hole as the handle before using the hot glue.  Again, I did this on the first tote after it was assembled.  For the next totes I added the ribbon before assembling the them.

  • Cricut Craft Room
  • Cricut cartrideges:  George and Basic Shapes, Sweet Tooth Boxes
  • Copics
  • Glossy Accents
  • Ribbon

Wild About You Onesie Gift Set Using Cricut Create a Critter 2


One of the more popular Cricut cartridges surely must be Create a Critter.  Provo Craft is giving users of Cricut Craft Room a sneak peak of one of their newest cartridges by making five cuts from Create a Critter 2 available for free. There is also a contest, which ends on September 5,  where you can enter your projects using these latest designs through the Cricut Project Center.

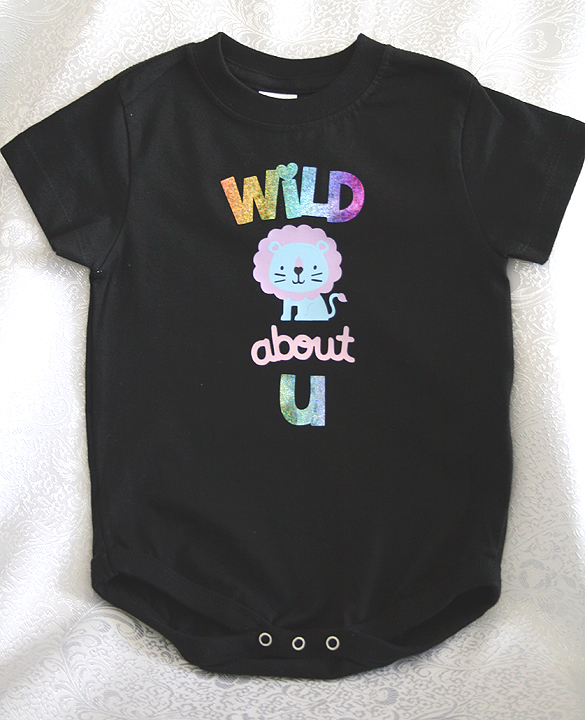
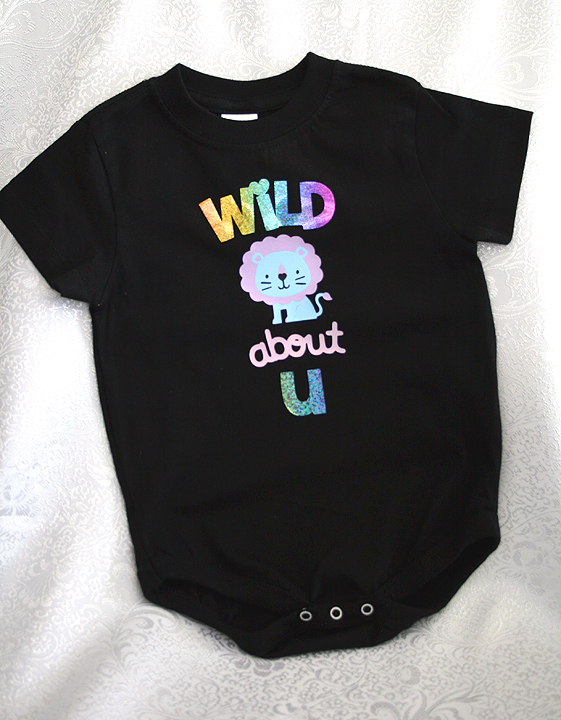
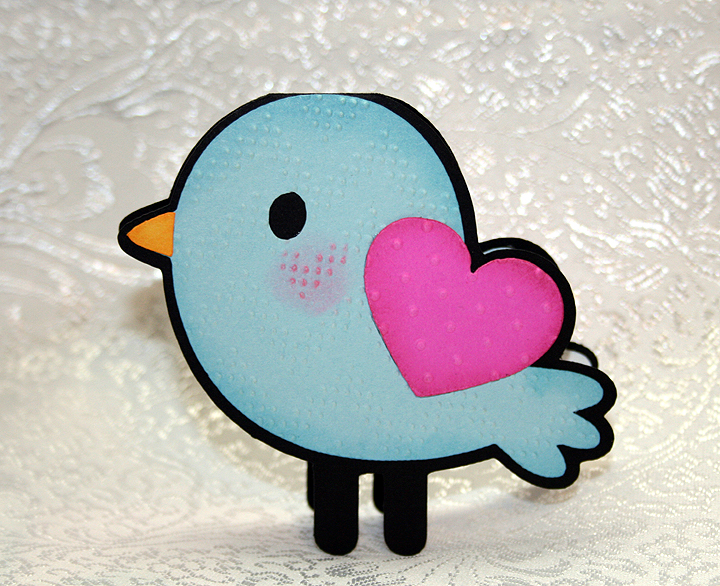
My project is a onesie gift set that includes a black onesie decorated with the lion and phrase designs from Create a Critter 2.  All were cut from heat transfer vinyl.  I constructed a box from Sweet Tooth Boxes and made a small gift card using the bird that is on the Icon tab of the lion feature on Create a Critter 2.

When using heat transfer vinyl, it is important to remember that you must mirror (flip) your images in Craft Room because you are cutting the back of the vinyl.  Then when you iron it on your garment everything is facing the correct way and you can read your phrases.

“Wild about U”  is cut from a holographic vinyl that I picked up years ago at a trade show — long before I knew what a Cricut was.   I fell in love with the sparkly rainbow colors and brought a roll home with me.  Unfortunately the vinyl did not come with application instructions, so I did some test runs before applying it on the onesie.  My first attempt at ironing it on produced negative results as I was getting it too hot.  I didn’t realize it and started increasing the time I was pressing, getting even worse results.  I finally dialed back on the heat and the time to get proper application.

The lion is cut from a vinyl that can be peeled hot or cold.  Because he has four layers, I applied him first.  I put down the first layer and pressed for only 4 seconds, immediately peeling off the backing.  I let that layer cool and then added the next.  Again, I pressed for 4 seconds and peeled.  I did this until all four layers were down.

When doing layers, you have to remember to cover up the vinyl that has already been applied and is no longer protected by the clear film.  I use a teflon sheet to cover my design before pressing each layer.

After the lion and the “about” from the phrase were in place, I then added the holographic phrase and applied it.

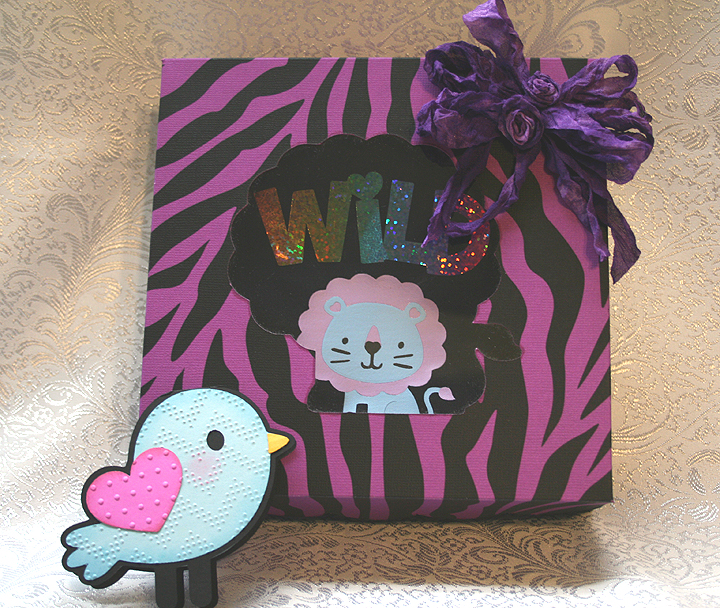
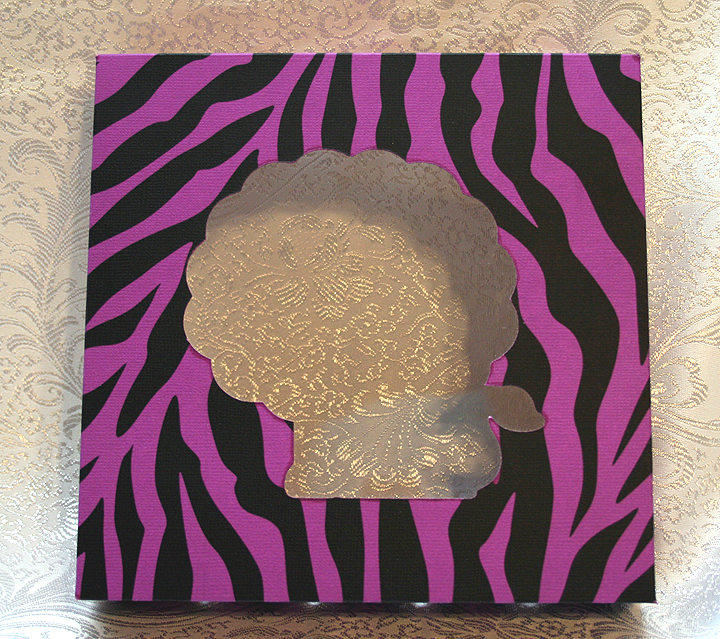
The gift box is from Sweet Tooth Boxes.  I cut the box that begins on page 10 of the handbook, using just the bottom and lid.  I hid the cut-out area in the lid and then added the shadow feature of the lion — so my box has a lion window to tie in with the theme of the onesie.

I printed the zebra paper for the box lid using my Imagine.  I used a bright purplish cardstock and printed the stripes using the Teresa Collin’s Black & White cartridge.  This put a lot of black ink on the paper, so I used a blow dryer on it and then I let it dry for over an hour.  When I rubbed my fingers on it, the black was still smudging, so I gave it a coat of clear matte spray.

Because Cricut Craft Room does not work with the Imagine, I used my Imagine only to print the paper.  I then transferred the paper to my Expression and cut the lid.  I scored all the lines on the box and lid and assembled them, adding a layer of clear acrylic to form the window of the box.

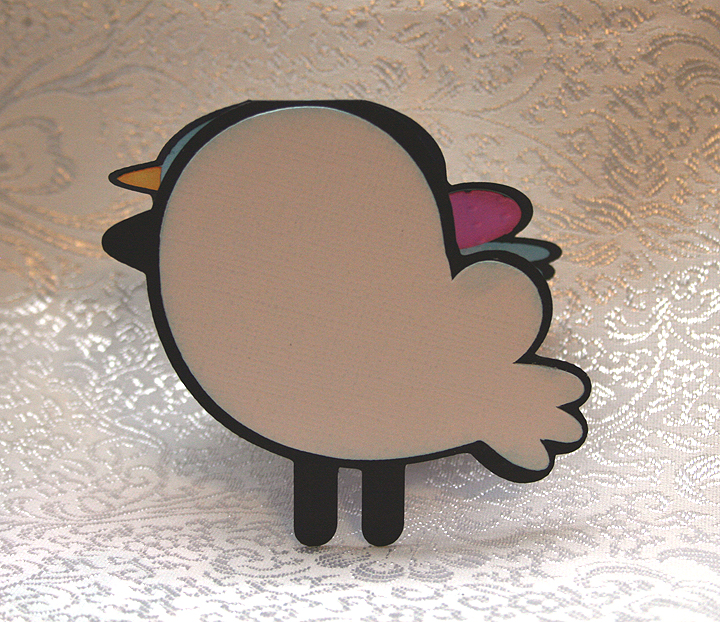
A gift card was created using the shadow feature and welding two shapes together at the top of the head.  I used two Cuttlebug folders on the bird, Charles (a chevron design) and Swiss Dots.   I did the layers on both the front and back of the card, as I wasn’t sure which way I wanted him facing.

I added a white layer to the inside of the card so there would be a place to write a message.

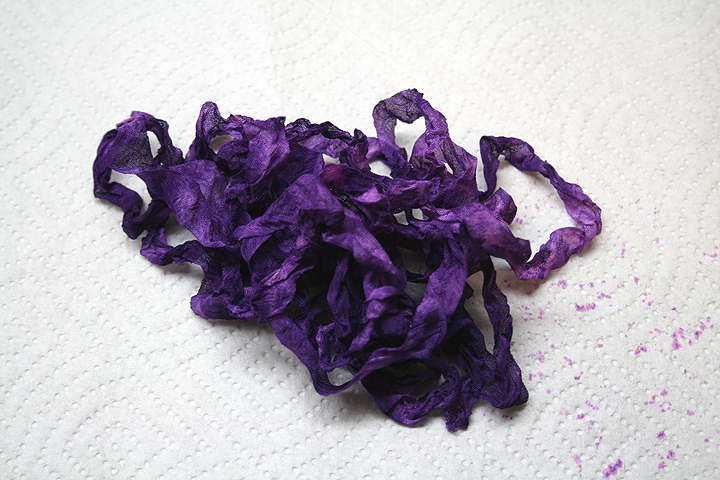
To finish off the box, I dyed some seam binding using Tattered Angels Glimmer Mist and Adirondak Color Wash.  I scrunched it up while it was wet and let it dry.  Then I tied a bow and made a couple of ribbon roses to add in the middle.

  • Cricut Craft Room:  Create a Critter 2, Sweet Tooth Boxes
  • Cricut Imagine:  Teresa Collin’s Black & White cartridge
  • Cricut Expression
  • Cuttlebug:  Charles and Swiss Dots
  • Tattered Angels Glimmer Mist
  • Adirondak Color Wash