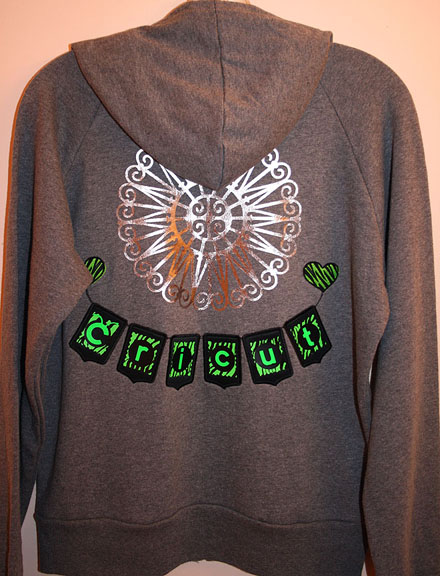
The second banner that I made for the HSN design challenge does not use any paper or cardstock — I decided to create a banner using heat transfer vinyl and applique. I “hung” my banner on a gray Bella sweatshirt. This was my first time cutting heat transfer vinyl and fabric with the Cricut and I was so impressed with the results.
This was a last-minute entry. I had been working on the layout and design for a couple of days, but it got down the the weekend before the challenge ended before I was able to start cutting. I stayed up all night to finish the sweatshirt so I could get it to the post office in time to meet the deadline. I wish I had better pictures of it.
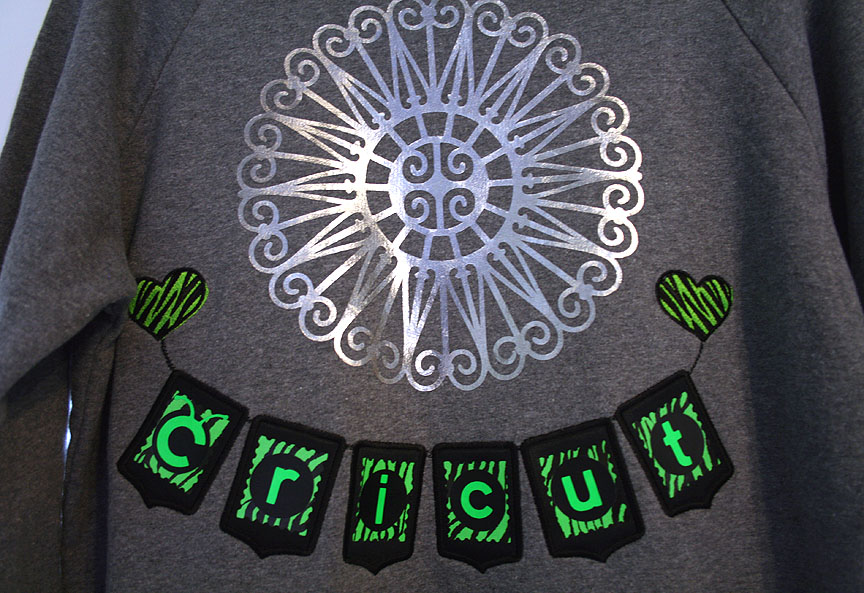
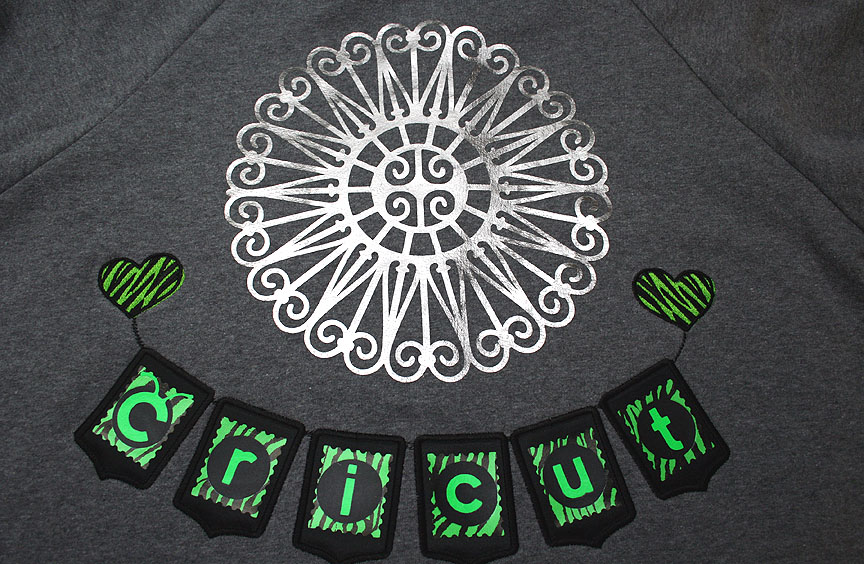
The banner is cut from black twill using the B is for Boy cartridge. And, yes, I cut it on my Cricut! I then cut the banner pieces from heat transfer vinyl (love the lime zebra print) and applied the pieces on my black banner base. The Cricut lettering is from the Cricut Everyday cartridge. From there I embroidered two hearts and some strings on my sweatshirt and then appliqued the banner pieces onto the heartstrings using a heavy satin stitch.
I also cut a large sunburst design from Ornamental Iron 2 to apply above the banner. I used two semi-circles and welded them together in Design Studio. I cut this design from a metallic heat transfer vinyl. Here are two close-up pictures of the back.
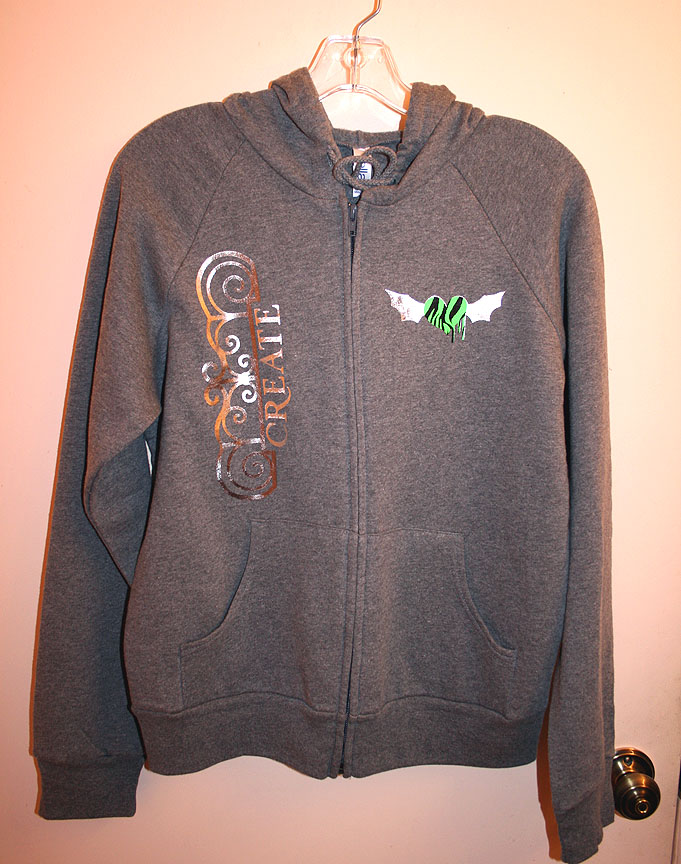
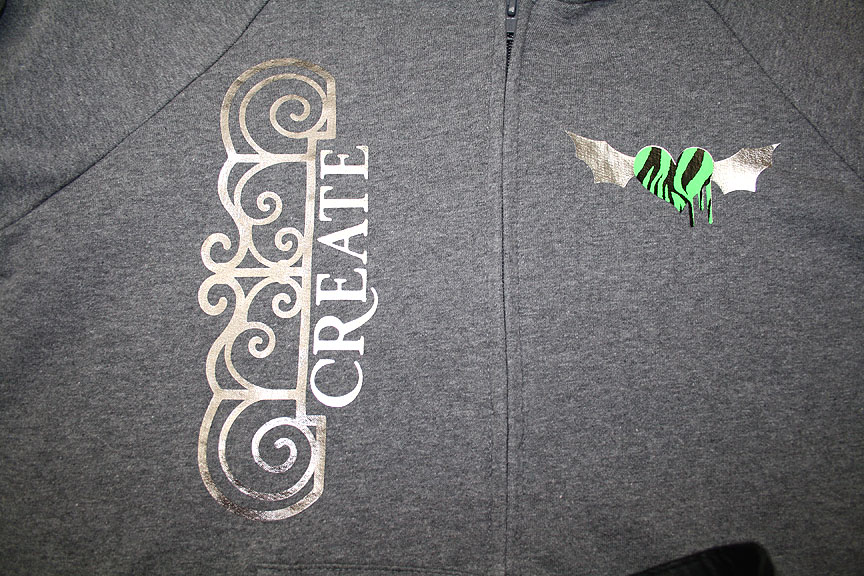
To decorate the front of the sweatshirt I again used Ornamental Iron 2. I cut a scroll design for the right front and added the word “Create” using Paper Lace II. They are cut from two different shades of metallic heat transfer vinyl but both look silver in the picture — probably from the flash. I cut a winged heart design for the left front using the Rock Princess cartridge and the lime zebra print and silver metallic vinyls.
- Cricut cartridges: B is for Boy, Cricut Everyday, Ornamental Iron 2, Paper Lace II, Rock Princess
- Heat transfer vinyl
- Black twill



Recent Comments