Wee Wee Wee!! Pig With Pinwheels Shaped Card

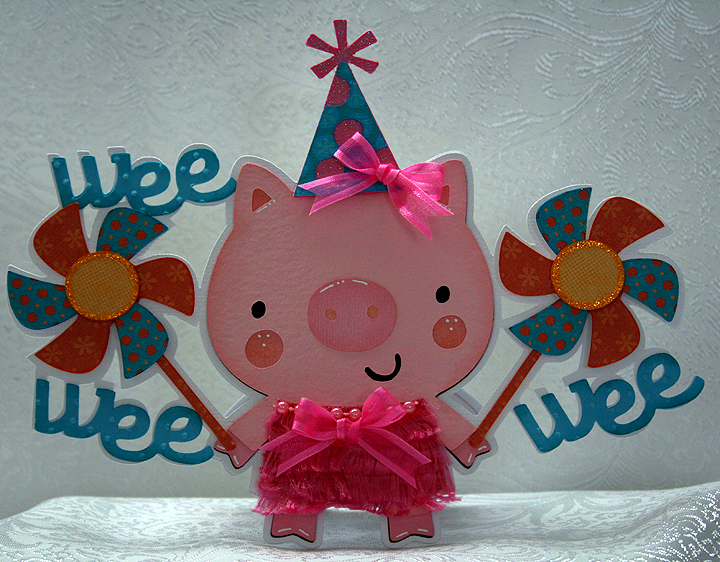
I wanted to make a birthday card for my sister-in-law and I wanted to create one that was very whimsical — and I hope I succeeded.  I enjoy making shaped cards and when I found the All Shaped Up Challenge on Bitten by the Bug 2, the idea for my card was hatched.

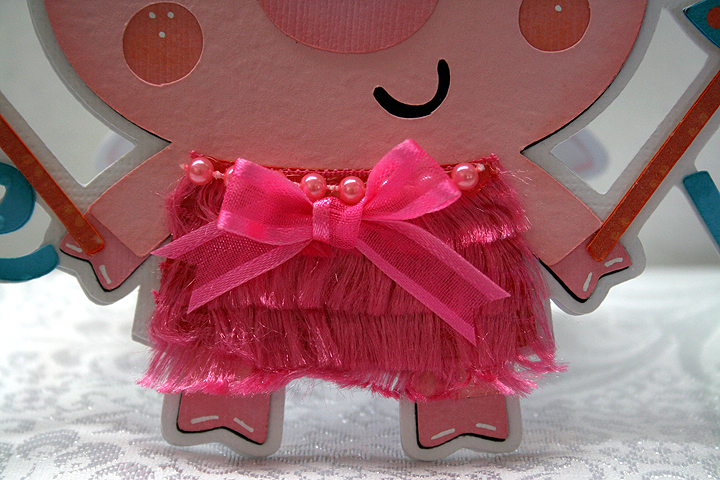
I love the pig with the pinwheels in the Geico commercials.  You can’t help but smile when one comes on TV, and I have been wanting to do something along those lines for while now.   I decided to make my pig a girly girl and give her a fancy party dress, complete with a birthday party hat.

I started laying out my design in Cricut Craft Room.  Unfortunately, the program still has issues and I ran into some of them while creating this card — and ended up wasting time.  I find CCR so frustrating at times that bad words will just start popping out of my mouth.

When I got ready to cut my card, Cricut Craft Room was down and I could not log in.  I kept getting a message that the program couldn’t connect to the internet.   I kept trying and after an hour or so, I was able to log in and cut my layers.

All the solid color cardstock is from Bazzill, except for the glitter cardstock on the hat — that is from Core’dinations. The patterned paper I printed on the Imagine using the Blast Off cartridge.

I used Create a Critter for the pig and pinwheels and B is for Boy, a Lite cartridge, for the “wee” words.  I welded them all together to form the base of the card.  I used the Swiss Dots folder and my Cuttlebug to emboss the words.  I found some eyelash-type yarn at Joann’s that I used for her dress, layering it so it looks like a fringe dress — reminds me of a flapper dress.  I added some pearls at the neckline and a bow on both the dress and hat.  I used Stickles on the center of the pinwheels.

The inside of the card features a computer-generated sentiment.

I hope this little piggy card brings a smile to my sister-in-law’s face.  I need to make an envelope so I can get it in the mail.  Since it is a over-sized card, I will probably send it in a padded envelope.

I am also entering this card into the following challenges:

Cricut Chirp Challenge #6 – Create a Critter Craft:  use any animal Cricut cut on your project

Scrappy Moms Stamps – Terrific Tuesday Challenge – Shape Up:  create a shape project

  • Cricut cartridges:   B is for Boy Lite, Blast Off (Imagine), Create a Critter
  • Cuttlebug:  Swiss Dots embossing folder
  • Bazzill cardstock
  • Stickles
  • Yarn, pearls, ribbon

Wild About You Onesie Gift Set Using Cricut Create a Critter 2


One of the more popular Cricut cartridges surely must be Create a Critter.  Provo Craft is giving users of Cricut Craft Room a sneak peak of one of their newest cartridges by making five cuts from Create a Critter 2 available for free. There is also a contest, which ends on September 5,  where you can enter your projects using these latest designs through the Cricut Project Center.

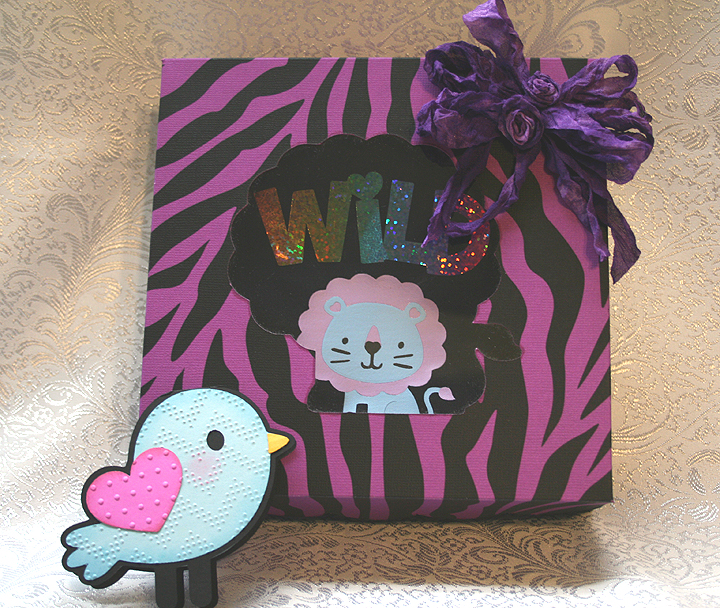
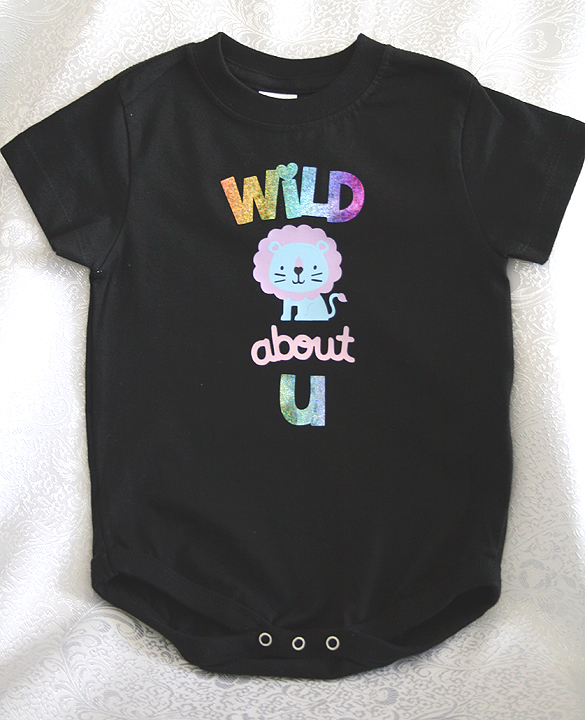
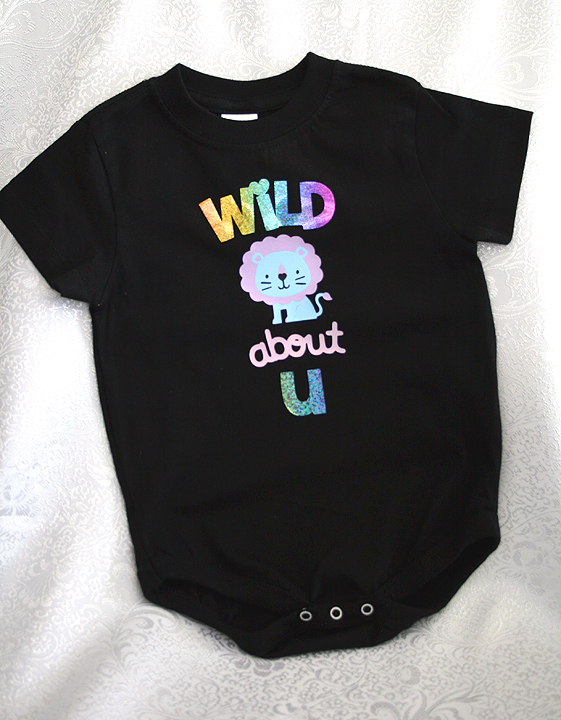
My project is a onesie gift set that includes a black onesie decorated with the lion and phrase designs from Create a Critter 2.  All were cut from heat transfer vinyl.  I constructed a box from Sweet Tooth Boxes and made a small gift card using the bird that is on the Icon tab of the lion feature on Create a Critter 2.

When using heat transfer vinyl, it is important to remember that you must mirror (flip) your images in Craft Room because you are cutting the back of the vinyl.  Then when you iron it on your garment everything is facing the correct way and you can read your phrases.

“Wild about U”  is cut from a holographic vinyl that I picked up years ago at a trade show — long before I knew what a Cricut was.   I fell in love with the sparkly rainbow colors and brought a roll home with me.  Unfortunately the vinyl did not come with application instructions, so I did some test runs before applying it on the onesie.  My first attempt at ironing it on produced negative results as I was getting it too hot.  I didn’t realize it and started increasing the time I was pressing, getting even worse results.  I finally dialed back on the heat and the time to get proper application.

The lion is cut from a vinyl that can be peeled hot or cold.  Because he has four layers, I applied him first.  I put down the first layer and pressed for only 4 seconds, immediately peeling off the backing.  I let that layer cool and then added the next.  Again, I pressed for 4 seconds and peeled.  I did this until all four layers were down.

When doing layers, you have to remember to cover up the vinyl that has already been applied and is no longer protected by the clear film.  I use a teflon sheet to cover my design before pressing each layer.

After the lion and the “about” from the phrase were in place, I then added the holographic phrase and applied it.

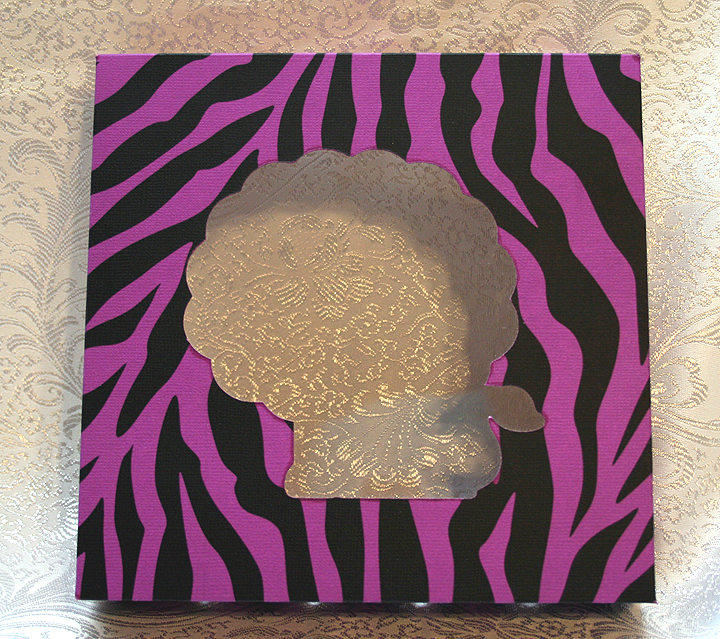
The gift box is from Sweet Tooth Boxes.  I cut the box that begins on page 10 of the handbook, using just the bottom and lid.  I hid the cut-out area in the lid and then added the shadow feature of the lion — so my box has a lion window to tie in with the theme of the onesie.

I printed the zebra paper for the box lid using my Imagine.  I used a bright purplish cardstock and printed the stripes using the Teresa Collin’s Black & White cartridge.  This put a lot of black ink on the paper, so I used a blow dryer on it and then I let it dry for over an hour.  When I rubbed my fingers on it, the black was still smudging, so I gave it a coat of clear matte spray.

Because Cricut Craft Room does not work with the Imagine, I used my Imagine only to print the paper.  I then transferred the paper to my Expression and cut the lid.  I scored all the lines on the box and lid and assembled them, adding a layer of clear acrylic to form the window of the box.

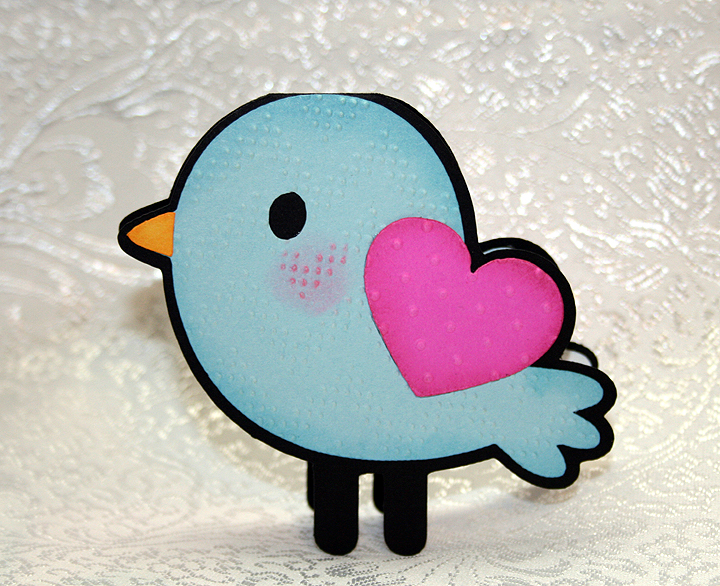
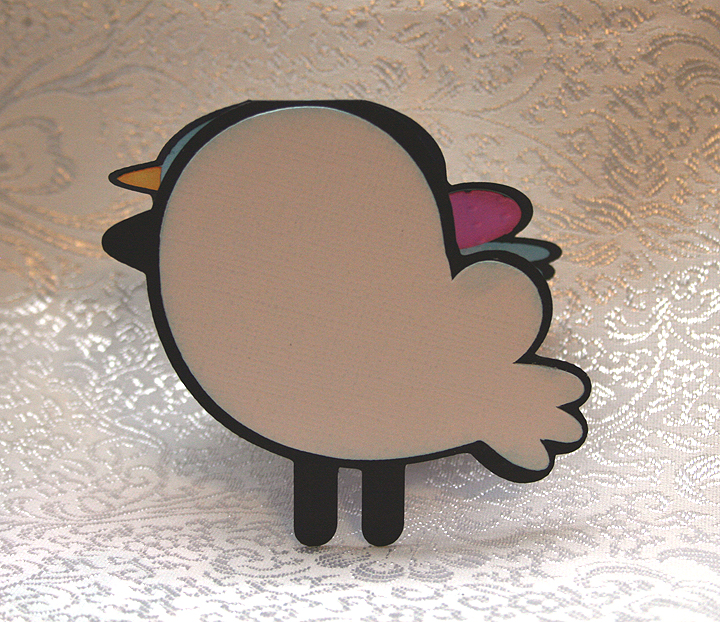
A gift card was created using the shadow feature and welding two shapes together at the top of the head.  I used two Cuttlebug folders on the bird, Charles (a chevron design) and Swiss Dots.   I did the layers on both the front and back of the card, as I wasn’t sure which way I wanted him facing.

I added a white layer to the inside of the card so there would be a place to write a message.

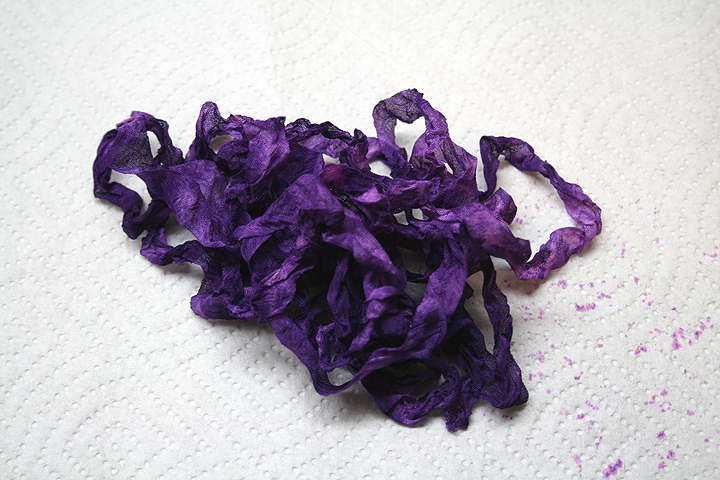
To finish off the box, I dyed some seam binding using Tattered Angels Glimmer Mist and Adirondak Color Wash.  I scrunched it up while it was wet and let it dry.  Then I tied a bow and made a couple of ribbon roses to add in the middle.

  • Cricut Craft Room:  Create a Critter 2, Sweet Tooth Boxes
  • Cricut Imagine:  Teresa Collin’s Black & White cartridge
  • Cricut Expression
  • Cuttlebug:  Charles and Swiss Dots
  • Tattered Angels Glimmer Mist
  • Adirondak Color Wash

Showering Thanks Elephant Card


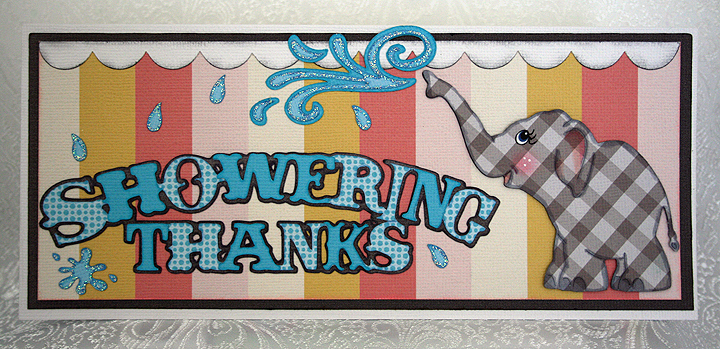
This week I was able to make a card to enter into two challenges.  The first is over at Bitten by the Bug 2 for their Elephantly Speaking challenge. The requirement is to use an elephant from any Cricut cartridge — we can chose any theme we want.

The second challenge is at Cooking With Cricut, and this week it’s pretty special because they are celebrating their 100th challenge.  They are doing a surprise thank you for their leader, Melin, and ask that you submit a thank you card to enter the challenge.

My card is approximately 4″ x 9″, made to fit inside a #10 envelope.  All the paper and images for this card were printed and cut on the Imagine, using the Hey Diddle Diddle cartridge.  The only piece I did not cut on the Imagine is the scalloped border across the top, which I cut on my Expression.  I laid that piece out in Design Studio, welding together three scalloped pieces from Accent Essentials to form the border.

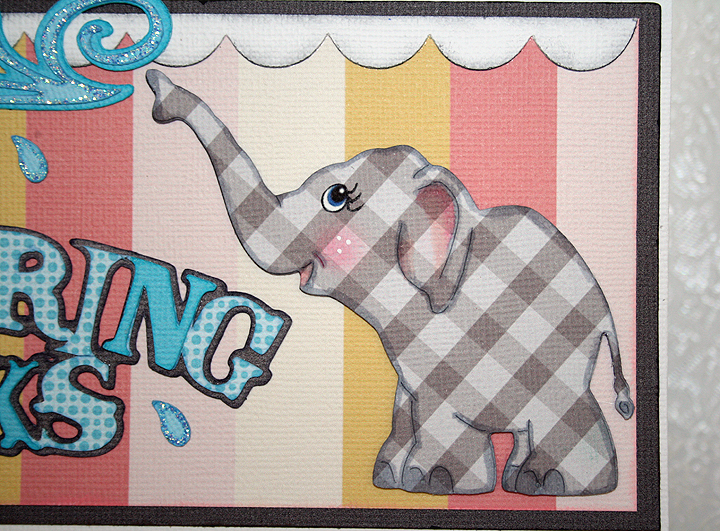
My card features an elephant from Everyday Paper Dolls cartridge.  I colored all the detail on my elephant with Copics. The eye is actually printed and then I hand cut it out.  I got the free file for the eyes from My Scrap Chick and was able to resize it small enough to fit.

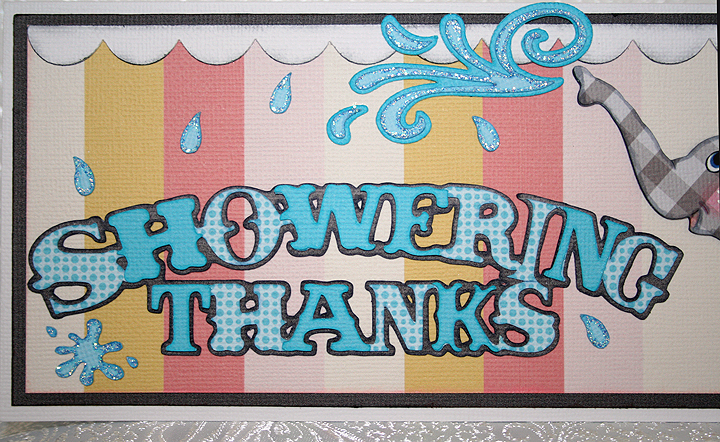
The title is what lead to the inspiration for this card.  I found it on the Everyday Pop-Up cartridge and when I saw it, I thought of an elephant spraying water.  The style of the lettering reminded me of a circus-type font, so I thought it went well with my little pachyderm.

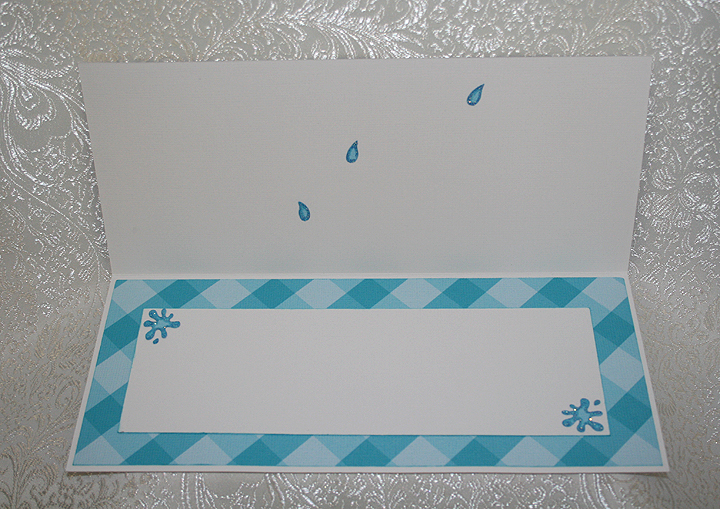
The spray of water is from the Cake Basics cartridge and the individual drops of water and the water splat are from Everyday Paper Dolls.  I added some Stickles to the water.  I kept the inside of the card simple, using some more water for accents.

  • Cricut cartridges:  Accent Essentials, Cake Basics, Everyday Paper Dolls, Everyday Pop-Up
  • Cricut Imagine:  Hey Diddle Diddle
  • Copics
  • Stickles