Embroidered Easter Towels and Easter Egg Baskets

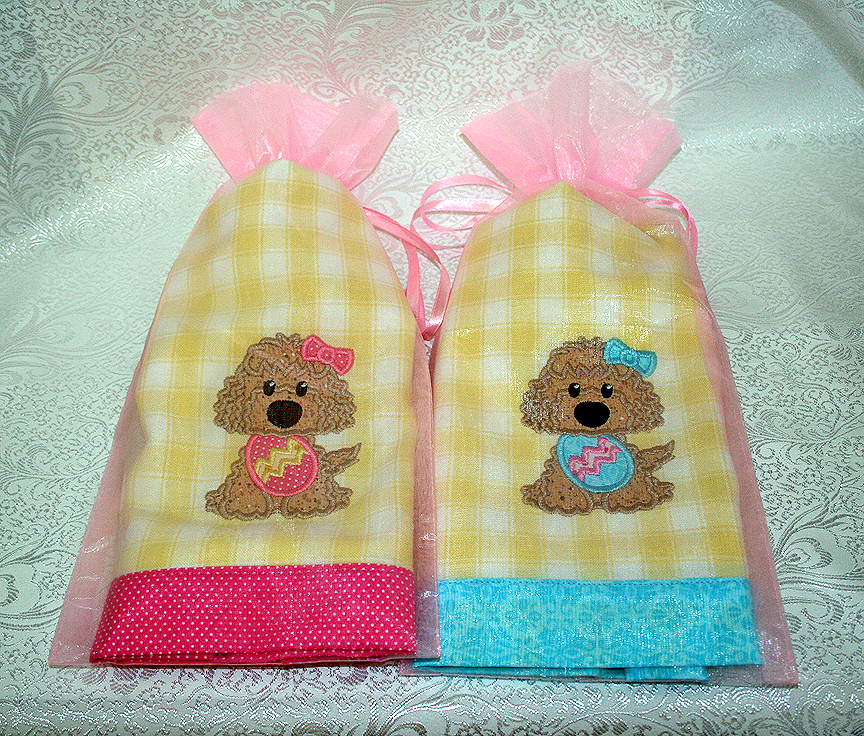
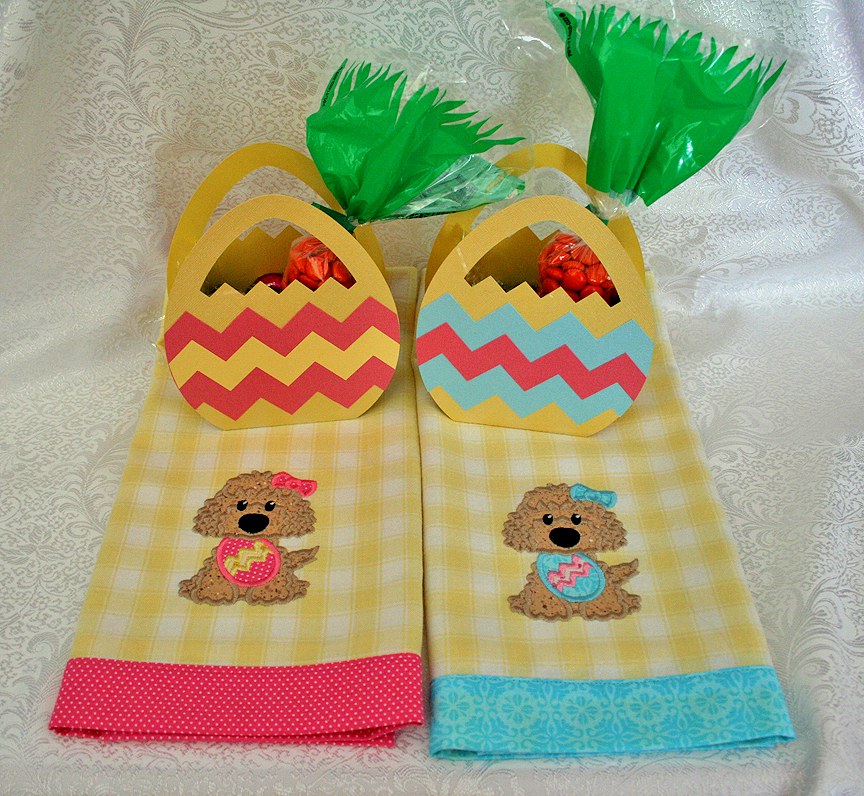
I managed to make a couple of gifts for Easter this year.  I embroidered towels and made a matching Easter egg basket to go with them.

The egg basket is a cut file from svgcuts.com.  It went together very quickly.  I put names on the back side of the baskets, but I forgot to take a picture of the back.  I used vinyl for the names.  The baskets were a great size to hold some candy.

Towels&EggBaskets

Since the towels were for our dog groomer and her assistant, I thought the design was perfect.  I got the embroidery file from digistitches.com and it stitched out beautifully.  I trimmed each towel with the contrast fabric I used on the egg appliques.

Towels3

The towels were too large to fit inside the baskets, so I put them in some pink organza bags that I had on hand.
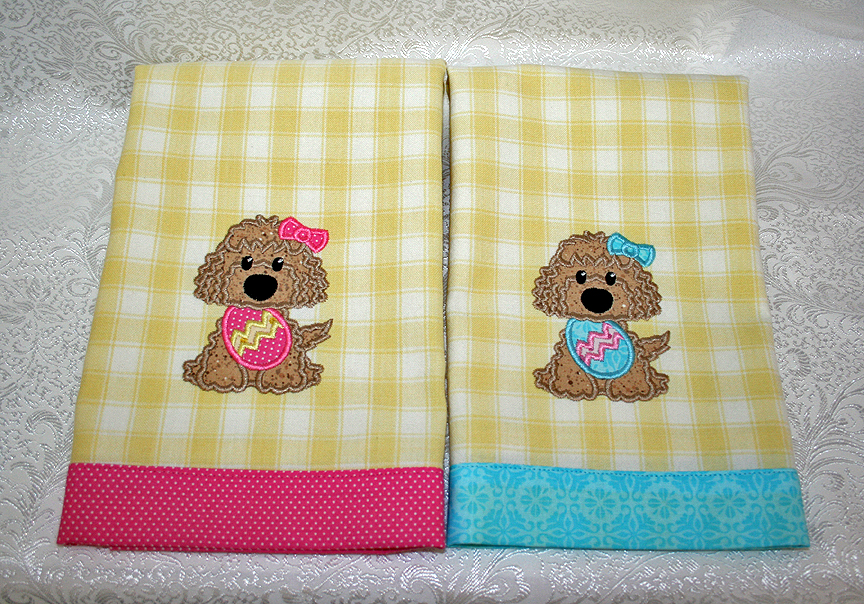
TowelsBag


Stick Pins and Stick Pin Book

I made 10 stick pins for the swap on the Cricut Circle Message Board.  It was my first time altering a paper mache box and also my first time making stick pins.  I wanted my pins to fit inside the book, so I went searching on the web for some type of pin holder.  I found some tutorials on vintage needle books, small books that hold sewing needles.  I figured one of these books would hold my stick pins just fine.

1

These are very easy to make, requiring very little sewing.  Most everything is glued together.  This is the tutorial that I followed to make my book.

The fabric, wool felt, and lace are all from my stash.  The pearl trim and small roses are from Wild Orchid Crafts.   I used Fabri-Tac by Beacon Adhesives to hold everything together.

I machine embroidered my partner’s initials on a piece of wool felt and cut the design out with a Tim Holtz bottle cap die.  I added some Stickles around the edges. The book closes with seam binding ribbon.

3

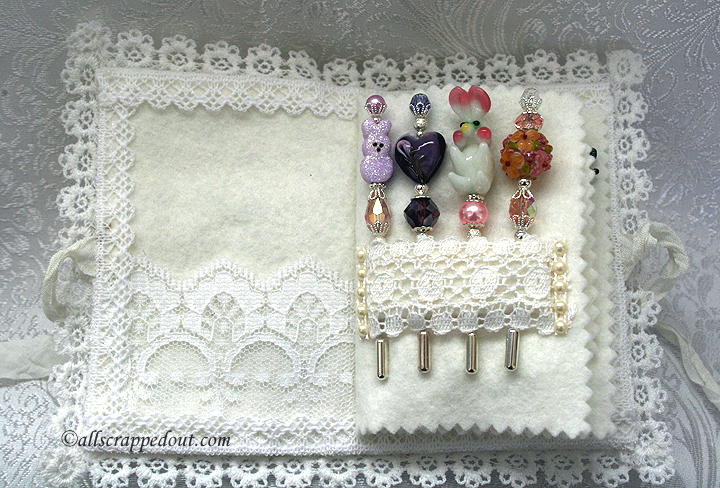
This is inside, showing the first of the stick pins.

P1-2

Page 3 of the book:  You can see there is a piece of felt that separates page 3 and 4.

P3

Page 4 shows a close-up of the pins.  Those are eggs hanging from the chicken and rooster pins 🙂

P4

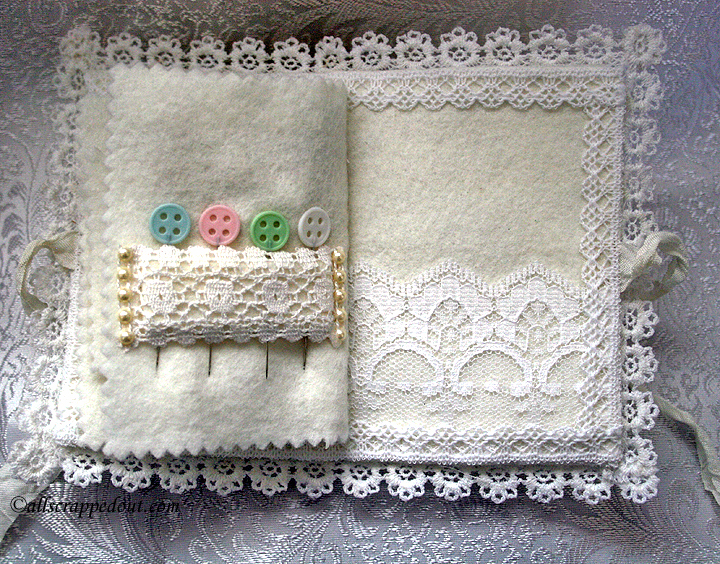
And the last two pages:

P5-6

Because my pins are so chunky, I couldn’t add any more to the book and have it fit inside the altered paper mache box.  So I just added some sewing pins to the final page.  Those are lace pockets at the very front of the book and the very back of it.

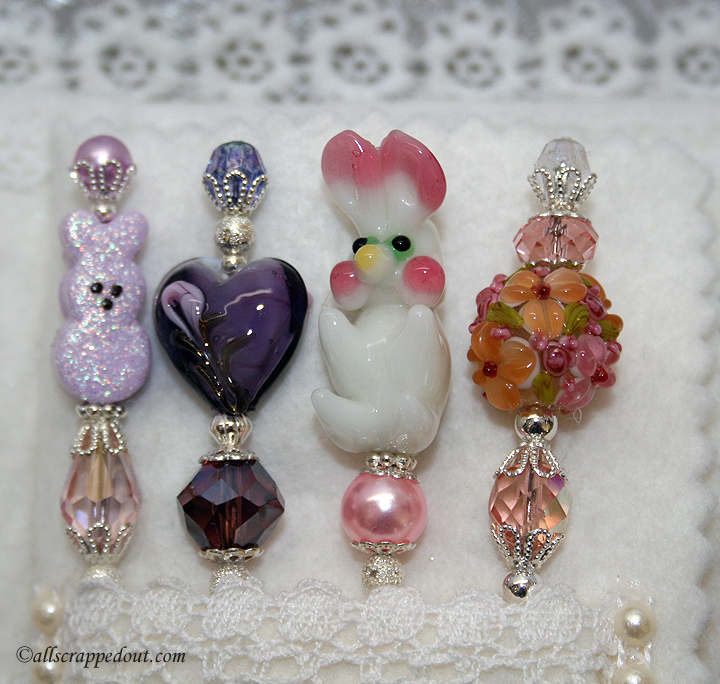
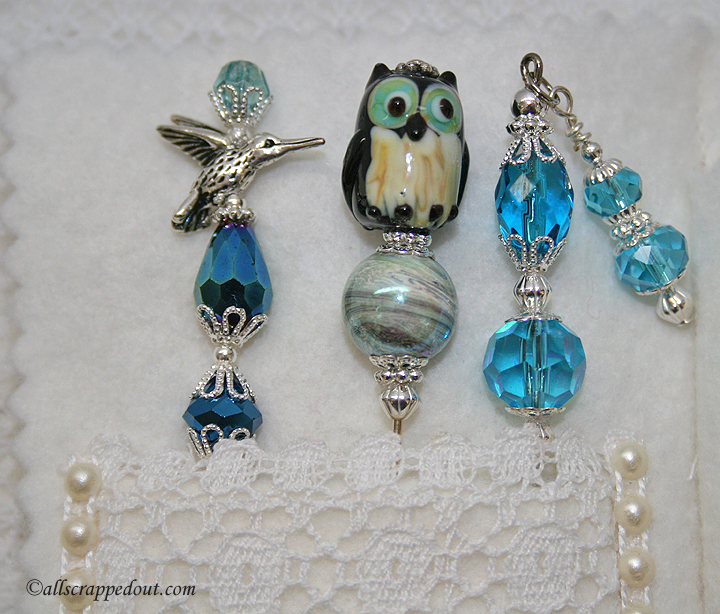
Here are some close-up pictures of the rest of the stick pins.

StickPins

StickPins2

The beads are from Michaels, Joann, and some vendors I found on etsy and eBay. The peeps bunny is from a shop on etsy called TreasuresInClay.  She did a special order for me where she drilled the holes in the bunnies vertically instead of horizontally.

  • Fabri-Tac adhesive
  • Wild Orchid Crafts – roses and pearl trim
  • Wool felt
  • Scraps of lace, ribbon, and trim


Valentine Mini Album and Card

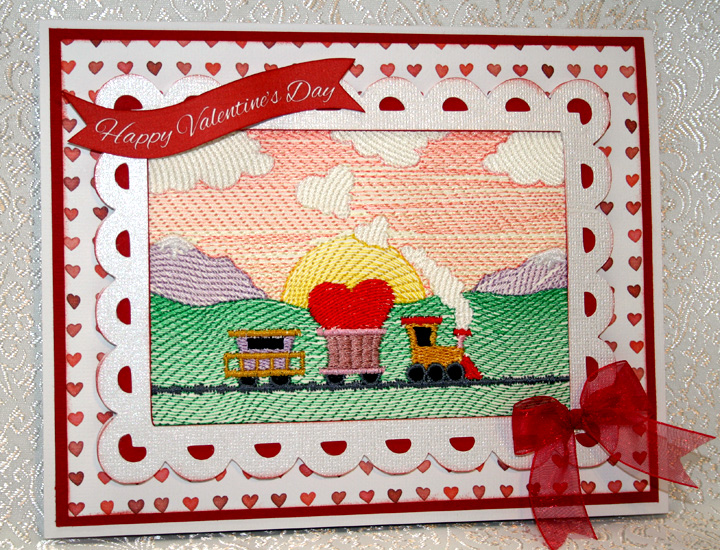
I’m finally getting around to posting pictures of the Valentine mini album and card I made for a swap I participated in on the Cricut Circle Message Board.  The card features an embroidery design I purchased from Embroidery Library that is made for cardstock.  The scalloped frame was cut with my Cricut using the Elegant Edges cartridge.

Card

I found a mini album on Graphic 45’s blog that I really liked.  It is made by Gloria Stengel and she calls it a flip album.  And lucky for me, there is a tutorial on how to make it.  I loved the papers she used, and since I had many of them on hand, my album is almost exactly like hers.  I had to change a few of the dimensions on the album because mine was turning out to be a bit too chunky.

Front

All the patterned papers are from Graphic 45, most from the Place in Time collection.  The pretty red print on the cover is from the Bird Song collection.  I love how you can combine their collections and they coordinate so well.

The roses were light pink and I sprayed them with Starburst spray from Lindy’s Stamp Gang to get the colors I wanted.  The shimmer shows up pretty well in the pictures.

1

The album has an organza ribbon closure.

2

The dark red lace doily was cut from a Spellbinders heart die.  

3

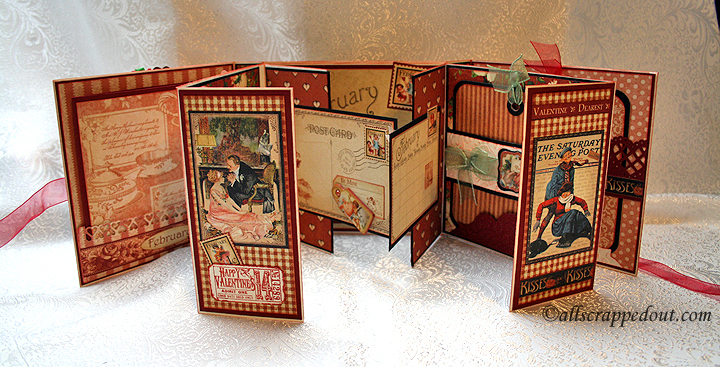
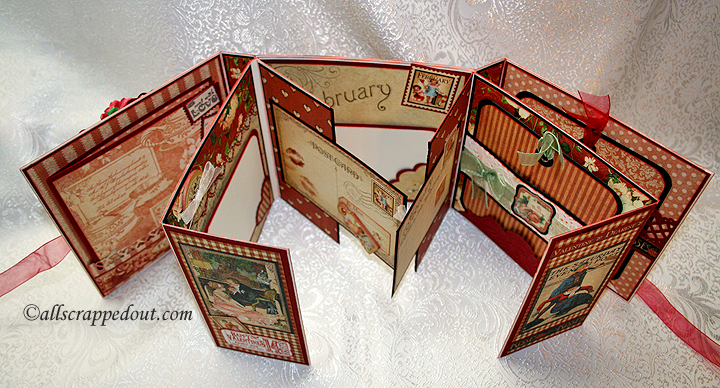
Here are two pictures that show an overview of the album.  It is an interesting album, with all its interactive pages.

Open

Open2

This is what it looks like when it is first opened.  The frame on the right is made with a Martha Stewart punch-around-the-page combo set.  I think it is called Cherish.  

5

The front pocket holds a photo mat.

6

This is with the first page flipped out.  The wings are from a Cuttlebug Embossing Plus die called Vintage Collage.  The heart borders are from Martha Stewart punches.  The scalloped frame under the wings is from a Spellbinders die.  

7

This is after you flip open the page with the wings.  Another scalloped frame from Spellbinders, the heart is from a Martha Stewart die and the key is from Graphic 45.  I think the “love” is also a Martha Stewart punch.  

8

And another flip:

9

Here is a gate fold that opens to the back of the album.

10

 And this what it looks like with the left gate open.

11

And here we are at the back of the album, with a photo mat held in place with a corner embellishment.

12

This was a fun album to assemble.


  • Graphic 45 paper and Ornate Metal Key
  • Cricut cartridge:  Elegant Edges
  • Spellbinders dies
  • Martha Stewart punches
  • Cuttlebug embossing folders and Vintage Collage die