The Cuttlebug Spot Challenge: Christmas in July

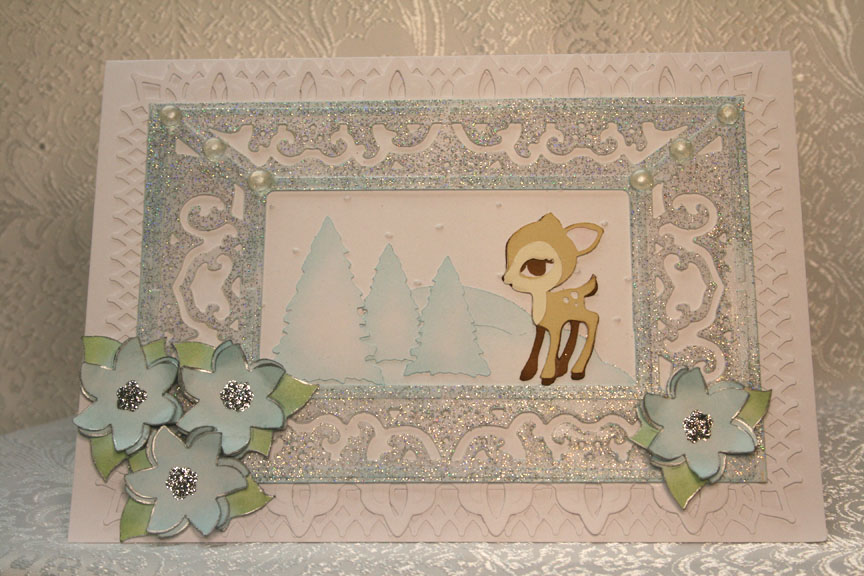
This is a card I did for a challenge on The Cuttlebug Spot.  The only requirements were to make a Christmas card and use the Cuttlebug to emboss it.

Front of the Deer Card for Christmas in July Challenge

I recently received one of the new Cuttlebug Embossing Plus folders which cuts and embosses at the same time.  I thought this would be a good time to try it out.  The one I have is called Lace Door, and I used it as a frame.

After cutting out the Lace Door, I inked the edges and heat embossed it using some sparkly embossing powder.  Behind the cut I used a Martha Stewart Punch Around the Page set called Gothic Arches.  On the top and bottom of the frame I added a border using one of Spellbinders Borderabilities, Fleur de Lis.

Inside the frame, I used a Cuttlebug embossing folder for the snow and added some cuts using my Cricut.  I cut the little deer from Cindy Loo and the trees and poinsettias are from Winter Woodland.

Everything except the deer is cut from plain white cardstock and the color is inked on.   I edged the flowers using a silver leafing pen and added Stickles for the centers.  I also added some Skittles as accents on the top corners of the frame.

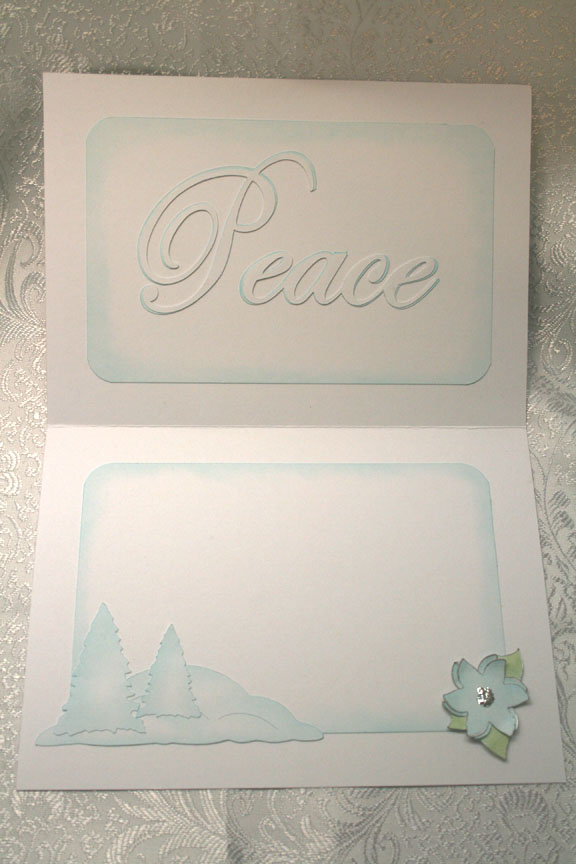
The inside sentiment is cut with my Cricut using Cindy Loo.  Again, lots of inking on the inside.

Inside of the deer card

–Posted by Linda

Cricut and Disney Accordion File Folder Card for MB Autism Challenge

I made this card for a special challenge on the Cricut Message Board.  April is Autism Awareness month and the challenge was to make a project using the Cricut and a puzzle piece, which has come to represent autism awareness.

My card seemed to take on a life of its own.  At first I did not have a clue what I was going to make, and finally decided to do something Disney.  With that decision made, I remembered that a few years ago Disney had puzzle piece pins at Disneyland, for the pin trading craze. I started searching and was able to get a few.

Then I had to decide how to incorporate the pins in the card.  I looked on the web and found instructions to make a card out of a manila file folder, so I went with that design. It has 4 pockets inside, one for each pin.  Instructions for the card can be found here:  http://www.splitcoaststampers.com/resources/tutorials/accordionfilefolder/

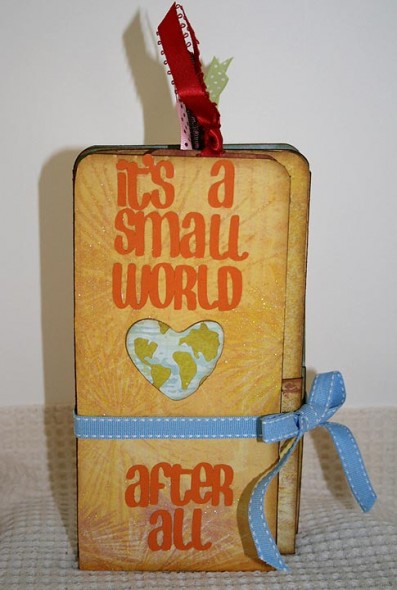
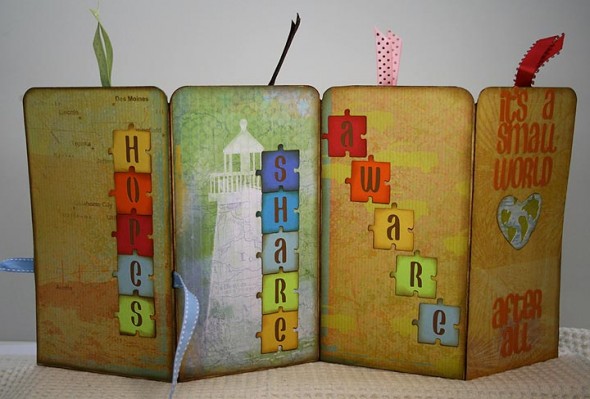
Since so many people from all over are contributing to this challenge, I went with “It’s a Small World” for the outside of the card.  I chose three words from the lryics and used them on the card, cut in the shape of puzzle pieces.

On the inside I used a phrase or word unique to the particular character and attached the matching pin.  Here is my card:

Front of the Autism card

Back of the card

Inside of the card, showing each of the tags

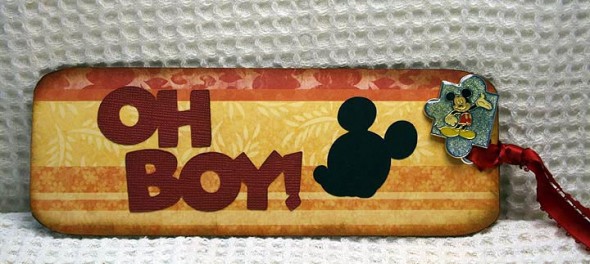
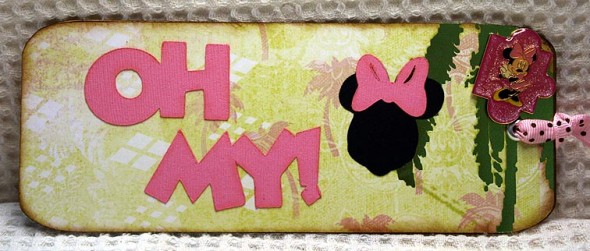
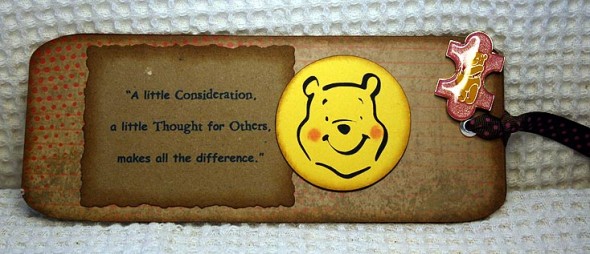
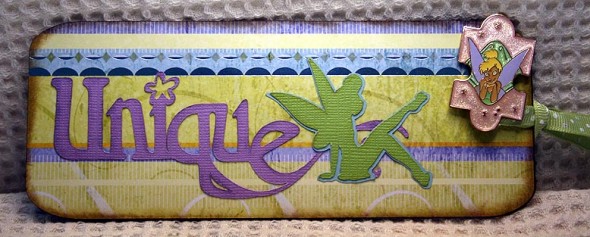
And here are the individual tags with their pins attached in the corner:

– Posted by Linda

My Second Cricut Card: Frog Anniversary Card from Paisley

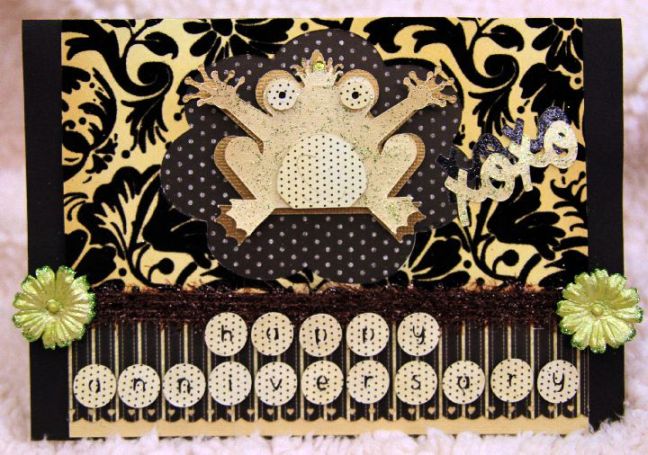
In keeping with the Paisley challenge theme for the week, I decided to make a second card with the Paisley cartridge – this time as an anniversary card for my husband to celebrate our first wedding anniversary!

  • DCWV La Creme stacks
  • MS border punch
  • Stickles
  • Misc ribbon from Michaels
  • Prima Flowers
  • Pop dots

The exterior of the card features all cuts from Paisley, except for the Happy Anniversary, which was cut from Simply Sweet. The frog is layered and up on pop dots.  Each of the letters on the Happy Anniversary were lined with small pieces of black paper and then put up on pop dots.  The solid color on the frog’s body and the cream “xoxo”  are patted with green Stickles.

Exterior of the Happy Anniversary Paisley Frog Card

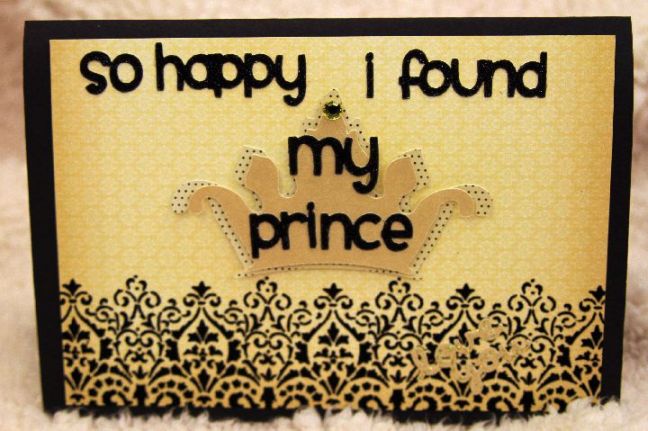
The inside of the card features all Paisley cuts, except for the words, which were again cut from Simply Sweet.

Inside of the Anniversary Card Made from Paisley

– Posted by Erin

My First Cricut Card: Zebra from Paisley

I’ve had my Cricut and accompanying scrapbook supplies for quite some time, but in between moving to Taiwan last year, traveling extensively, and then moving apartments here in the city, everything has been in boxes, simply collecting dust.  My Mom has been encouraging me to participate in one of the challenges posted on the Cricut Community Message Boards for months, so when I saw the cartridge exploration challenge for Paisley, I figured this was as good of time as any to dig in!

Although I still have quite a bit to learn about papercrafting, the features of each Cricut cartridge, not to mention learning Design Studio- I think my first attempt was not as disastrous as I expected it to be.

The object of Cynthia’s cartridge exploration challenges is to make a card with the particular cartridge, using it for all the cuts, except for any necessary font.  It is a way to get people to learn the elements of each cartridge, while challenging themselves to make something within its offerings.  I opted to go with the zebra in the car after purchasing an adorable stuffed Winnie the Pooh dressed as a Zebra earlier that weekend – he felt he should serve as the inspiration for my first card attempt!

Here are the supplies I used to make this card

  • Die Cuts With a View – All Dressed Up paper
  • Martha Stewart Punch Around the Page
  • Fuzzy zebra ribbon from Michaels Craft Stores
  • Black Martha Stewart Flock
  • Silver and Pink Martha Stewart Glitter
  • Miscellaneous beads, loose paper, flower embellishment from Michaels
  • Cuddlebug Paisley Embossing Folder
  • Prisma colored pencils
  • Stickles

To make the puff of smoke behind the car, I used one of the paisley cuts and changed the shape slightly in Design Studio.  On the burgundy shape behind the car, I embossed card stock with the Cuddlebug and then took a nail file to rub off some of the color.  The black areas of the zebra are flocked with the MS flock and the car has both pink and silver MS glitter.  The word bubble is from Paisley as well.   The pink shading around the puff of smoke was done with colored pencils.

The background paper on the inside was loose paper from Michaels.  Both shapes are cut from Paisley and the one embossed with a CB folder.  The words are cut from Lyrical Letters and dabbed with Stickles.

I still have a long way to go in learning how to do some of the amazing techniques I have seen from design teams and talented artists, but this was a pretty decent first attempt!  Hope you enjoy!

– Posted by Erin