Jitterbuggin’ Sketch 12 Challenge: Oh Baby!

This is my first time participating in Jitterbuggin’s weekly sketch challenge.  The challenge this week is to follow the sketch, make a baby card and add some ribbon.  Be sure and check out Jitterbuggin to see some fabulous cards.

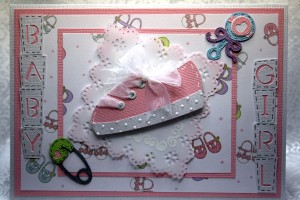
This card is 5″ x 7″ and all the solid cardstock is from Core’dinations.  The white cardstock is from their Gemstones collection.  The baby shoe print paper is from me & my BIG ideas that was purchased at Joann’s. 

I used several Cricut cartridges to get all the cuts.  The lettering in the blocks came from Simply Sweet.  I did some faux stitching around the blocks with a black pen to make them stand out.  The rattles and the safety pins came from the new Sugar & Spice Cricut Lite cartidge (available only at Wal-Mart) and each are made of several layers.

I used My Community for the baby shoe.  I cut it out several times, glued two pieces together and added three white eyelets.  Then I threaded the ribbon through the eyelets and added two more layers.  I ran the contrast piece at the bottom of the shoe through my Provo Craft Cuttlebug, using the Swiss Dots embossing folder.  The shoe is mounted on the card using 3D Pop Dots. 

For the lacy square under the shoe, I used a Martha Stewart Punch-Around-the-Page Combo.  I made two layers, the top layer being vellum.  For a little added interest, I stamped a swirly design in white ink on the wrong side of the vellum

Baby Girl Card for Jitterbuggin's Sketch 12 Challenge

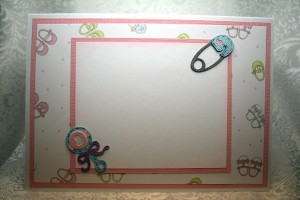
Inside of Card

The inside of the card is decorated to match the outside, again using the rattle and safety pin cuts from Sugar & Spice.

  • Core’dinations cardstock
  • me & my BIG ideas print paper
  • White vellum
  • Cricut cartridges:  Simply Sweet, My Community, and Sugar & Spice
  • Cuttlebug embossing folder, Swiss Dots
  • Martha Stewart Punch-Around-The-Page Combo
  • Eyelets, ink and black & white pens
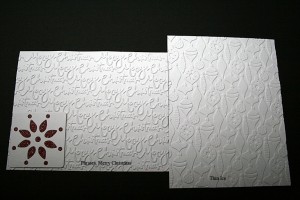
New Basic Grey Embossing Folder Sets

Just wanted to share  my newest find– embossing folder sets designed by Basic Grey and made by Sizzix.  I bought 4 of the sets at Joann’s.  They come packaged with two embossing folders per set –and you get a free die with each one too.  I used the folders and dies in my Provo Craft Cuttlebug and love the way they came out.  

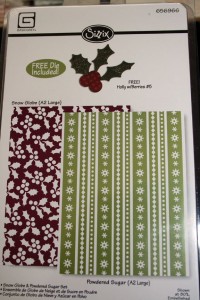
This is how the folders come packaged.

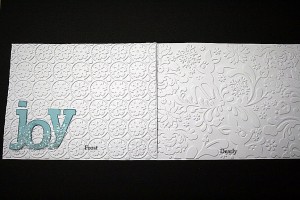
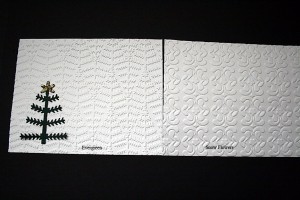
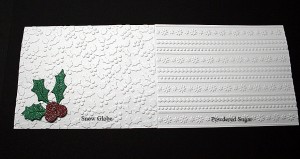
   I ran some scrap paper through my Cuttlebug and made samples of the folders and the dies.

Thin Ice & Phrases, Merry Christmas Set

Dearly & Frost Set

Evergreen & Snow Flowers Set

Snow Globe & Powdered Sugar Set

The Joann’s I visited had about 8 different sets of the embossing folders.  They also carry individual dies (larger than the free dies that come with the sets) that coordinate with the folders.  I’m looking forward to putting these new folders to work.

Um Buggin’s Cricut Cuts & Stamps: Challenge #2 – Beyond Birthdays

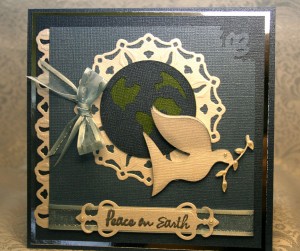
I made this card for a challenge on Um Buggin’s Cricut Cuts & Stamps.  Lillie challenged us to use the bird cut from the Beyond Birthdays cartridge and to also include a stamped image or sentiment.

Front of Card for Um Buggin's Cricut Cuts & Stamp Challenge #2


When I looked at the bird cut, it reminded me of a dove and I thought it would make a great Christmas card.  I used Bazzill cardstock throughout, with a border of silver mirror cardstock.

I cut the white pendant and border using my Cuttlebug and the Spellbinders Kaleidoscope dies.  The world in the center of the pendant was cut using my Cricut and the Going Places cartridges.  I cut three layers of the bird and inked around the edges.  To add some dimension, I did not glue the wing down on the top layer of the bird.  I mounted the bird on the card using 3-D pop dots. 

I used a Martha Stewart corner punch on the top right corner of the card.  I heat embossed the sentiment using a clear stamp and silver embossing powder.  The tag is from Spellbinders, cut using my Cuttlebug.  I used some Liquid Pearls on the leaves of the branch.

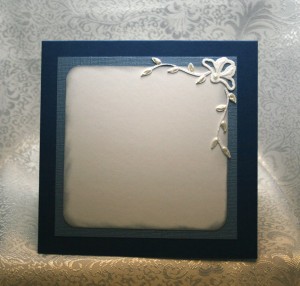
Inside of Card

For the inside of the card, I cut four of the branches that the bird is carrying.  I layered them and added Liquid Pearls for the leaves.  The corner piece is from Spellbinders Kaleidoscope pendant die.  I also inked the inside edges.

The Cuttlebug Spot Challenge: Christmas in July

This is a card I did for a challenge on The Cuttlebug Spot.  The only requirements were to make a Christmas card and use the Cuttlebug to emboss it.

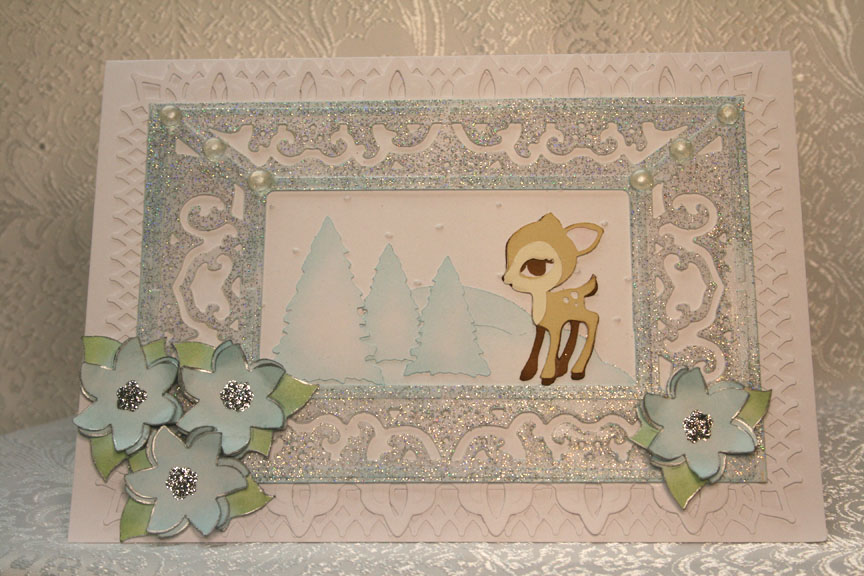
Front of the Deer Card for Christmas in July Challenge

I recently received one of the new Cuttlebug Embossing Plus folders which cuts and embosses at the same time.  I thought this would be a good time to try it out.  The one I have is called Lace Door, and I used it as a frame.

After cutting out the Lace Door, I inked the edges and heat embossed it using some sparkly embossing powder.  Behind the cut I used a Martha Stewart Punch Around the Page set called Gothic Arches.  On the top and bottom of the frame I added a border using one of Spellbinders Borderabilities, Fleur de Lis.

Inside the frame, I used a Cuttlebug embossing folder for the snow and added some cuts using my Cricut.  I cut the little deer from Cindy Loo and the trees and poinsettias are from Winter Woodland.

Everything except the deer is cut from plain white cardstock and the color is inked on.   I edged the flowers using a silver leafing pen and added Stickles for the centers.  I also added some Skittles as accents on the top corners of the frame.

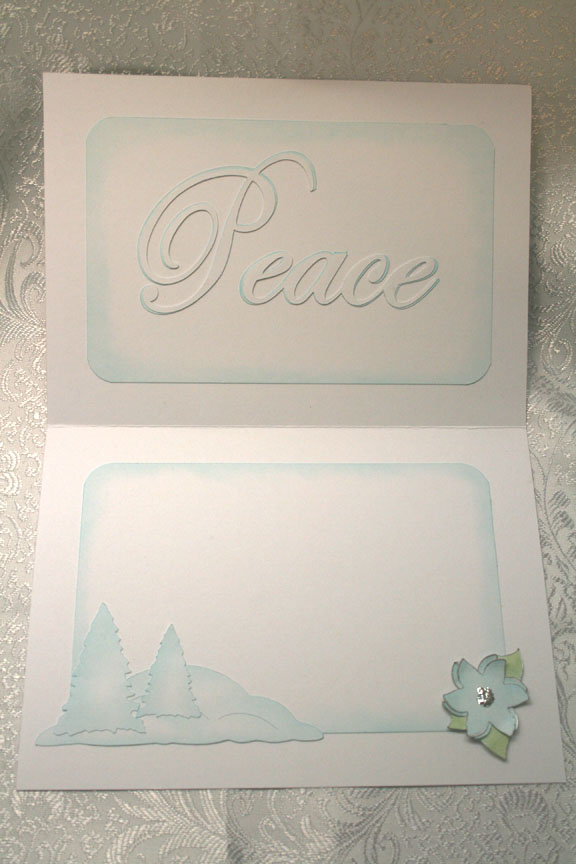
The inside sentiment is cut with my Cricut using Cindy Loo.  Again, lots of inking on the inside.

Inside of the deer card

–Posted by Linda

Cricut and Disney Accordion File Folder Card for MB Autism Challenge

I made this card for a special challenge on the Cricut Message Board.  April is Autism Awareness month and the challenge was to make a project using the Cricut and a puzzle piece, which has come to represent autism awareness.

My card seemed to take on a life of its own.  At first I did not have a clue what I was going to make, and finally decided to do something Disney.  With that decision made, I remembered that a few years ago Disney had puzzle piece pins at Disneyland, for the pin trading craze. I started searching and was able to get a few.

Then I had to decide how to incorporate the pins in the card.  I looked on the web and found instructions to make a card out of a manila file folder, so I went with that design. It has 4 pockets inside, one for each pin.  Instructions for the card can be found here:  http://www.splitcoaststampers.com/resources/tutorials/accordionfilefolder/

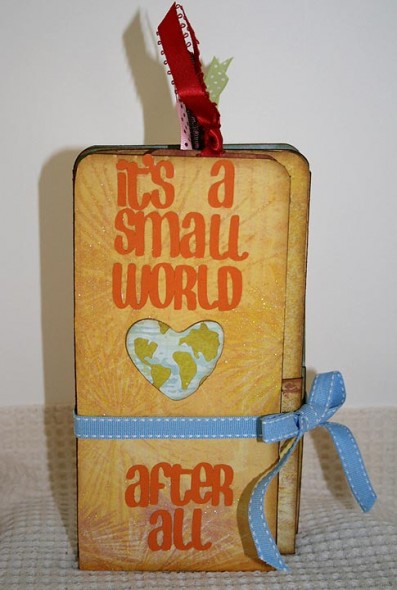
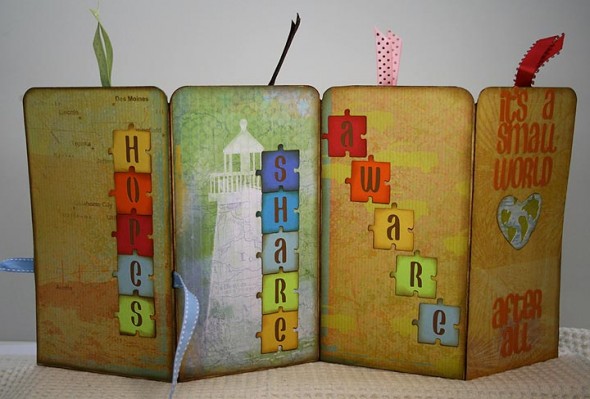
Since so many people from all over are contributing to this challenge, I went with “It’s a Small World” for the outside of the card.  I chose three words from the lryics and used them on the card, cut in the shape of puzzle pieces.

On the inside I used a phrase or word unique to the particular character and attached the matching pin.  Here is my card:

Front of the Autism card

Back of the card

Inside of the card, showing each of the tags

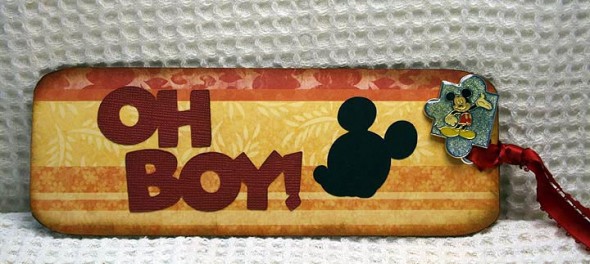
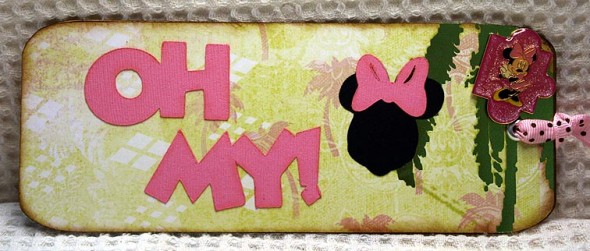
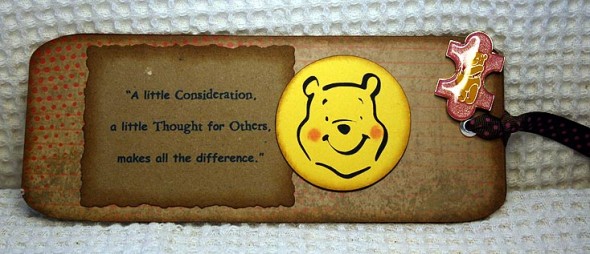
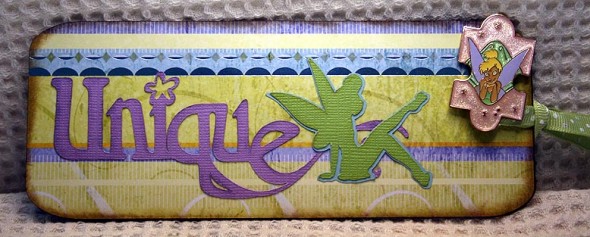
And here are the individual tags with their pins attached in the corner:

– Posted by Linda