One of the more popular Cricut cartridges surely must be Create a Critter. Provo Craft is giving users of Cricut Craft Room a sneak peak of one of their newest cartridges by making five cuts from Create a Critter 2 available for free. There is also a contest, which ends on September 5, where you can enter your projects using these latest designs through the Cricut Project Center.
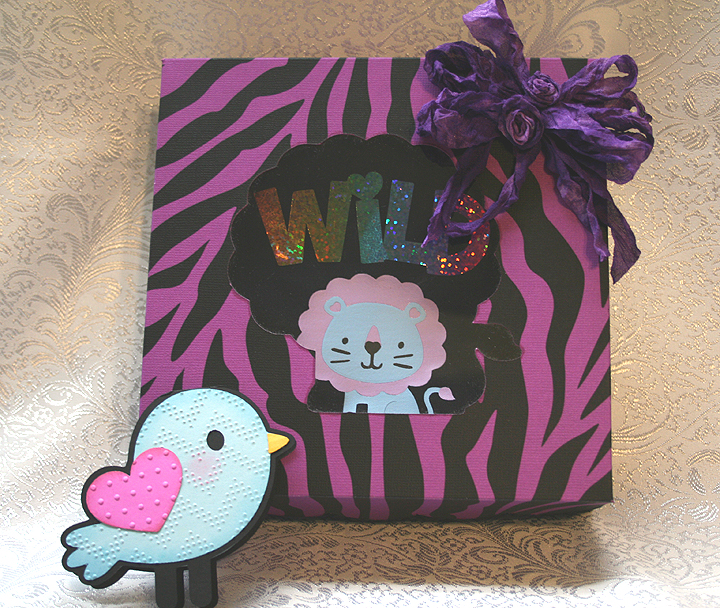
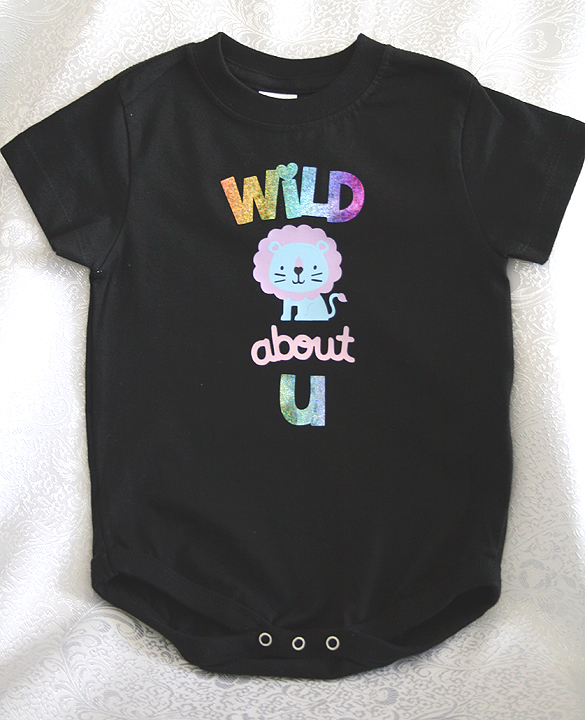
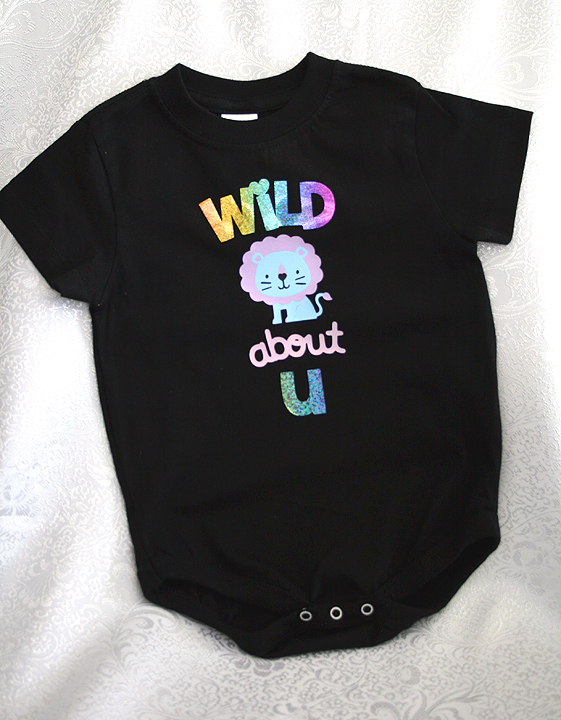
My project is a onesie gift set that includes a black onesie decorated with the lion and phrase designs from Create a Critter 2. All were cut from heat transfer vinyl. I constructed a box from Sweet Tooth Boxes and made a small gift card using the bird that is on the Icon tab of the lion feature on Create a Critter 2.
When using heat transfer vinyl, it is important to remember that you must mirror (flip) your images in Craft Room because you are cutting the back of the vinyl. Then when you iron it on your garment everything is facing the correct way and you can read your phrases.
“Wild about U” is cut from a holographic vinyl that I picked up years ago at a trade show — long before I knew what a Cricut was. I fell in love with the sparkly rainbow colors and brought a roll home with me. Unfortunately the vinyl did not come with application instructions, so I did some test runs before applying it on the onesie. My first attempt at ironing it on produced negative results as I was getting it too hot. I didn’t realize it and started increasing the time I was pressing, getting even worse results. I finally dialed back on the heat and the time to get proper application.
The lion is cut from a vinyl that can be peeled hot or cold. Because he has four layers, I applied him first. I put down the first layer and pressed for only 4 seconds, immediately peeling off the backing. I let that layer cool and then added the next. Again, I pressed for 4 seconds and peeled. I did this until all four layers were down.
When doing layers, you have to remember to cover up the vinyl that has already been applied and is no longer protected by the clear film. I use a teflon sheet to cover my design before pressing each layer.
After the lion and the “about” from the phrase were in place, I then added the holographic phrase and applied it.
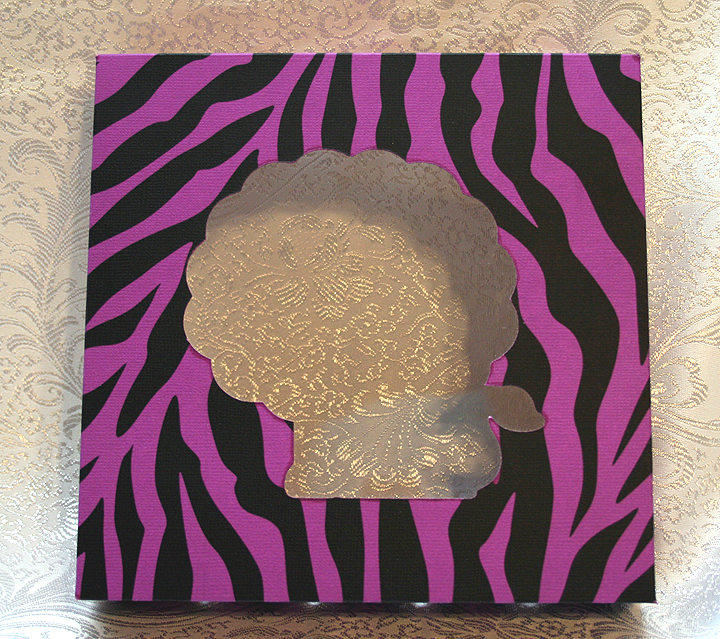
The gift box is from Sweet Tooth Boxes. I cut the box that begins on page 10 of the handbook, using just the bottom and lid. I hid the cut-out area in the lid and then added the shadow feature of the lion — so my box has a lion window to tie in with the theme of the onesie.
I printed the zebra paper for the box lid using my Imagine. I used a bright purplish cardstock and printed the stripes using the Teresa Collin’s Black & White cartridge. This put a lot of black ink on the paper, so I used a blow dryer on it and then I let it dry for over an hour. When I rubbed my fingers on it, the black was still smudging, so I gave it a coat of clear matte spray.
Because Cricut Craft Room does not work with the Imagine, I used my Imagine only to print the paper. I then transferred the paper to my Expression and cut the lid. I scored all the lines on the box and lid and assembled them, adding a layer of clear acrylic to form the window of the box.
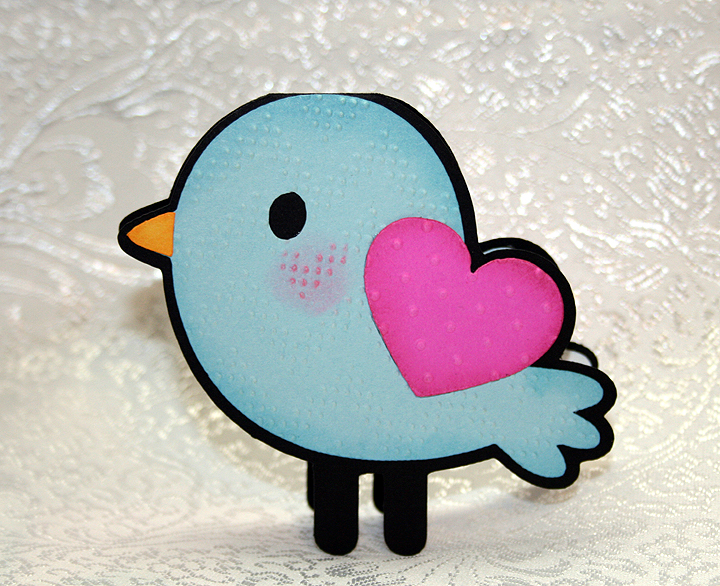
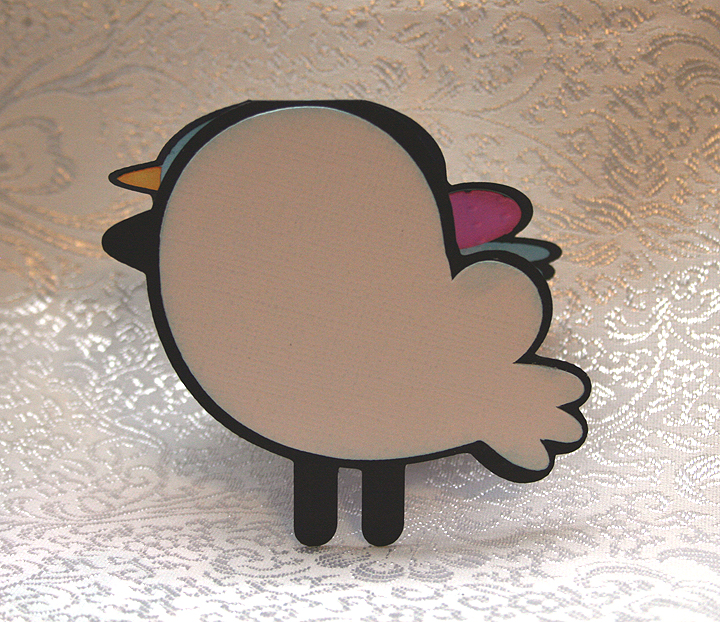
A gift card was created using the shadow feature and welding two shapes together at the top of the head. I used two Cuttlebug folders on the bird, Charles (a chevron design) and Swiss Dots. I did the layers on both the front and back of the card, as I wasn’t sure which way I wanted him facing.
I added a white layer to the inside of the card so there would be a place to write a message.
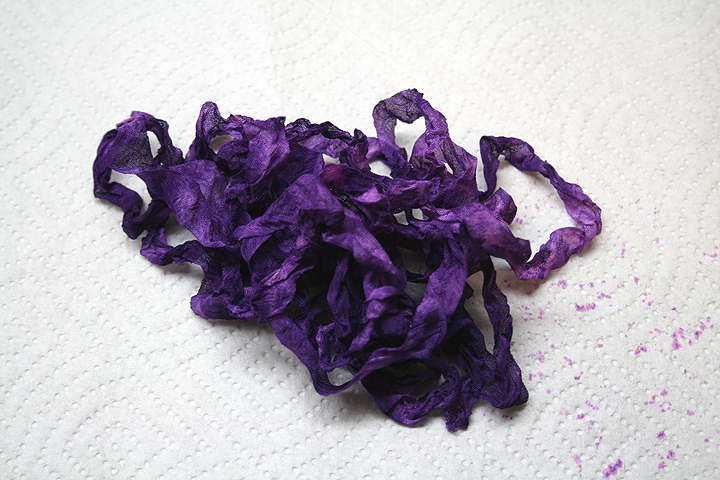
To finish off the box, I dyed some seam binding using Tattered Angels Glimmer Mist and Adirondak Color Wash. I scrunched it up while it was wet and let it dry. Then I tied a bow and made a couple of ribbon roses to add in the middle.
- Cricut Craft Room: Create a Critter 2, Sweet Tooth Boxes
- Cricut Imagine: Teresa Collin’s Black & White cartridge
- Cricut Expression
- Cuttlebug: Charles and Swiss Dots
- Tattered Angels Glimmer Mist
- Adirondak Color Wash




I just saw this on the Project Center and had to come over here to check it out! I don’t know what I like better, the onesie or the way you packaged it! This is clever, cute, and totally fun!!! I love the holographic vinyl, the pink zebra on the box, the way you used a critter silhouette for the box, all of it! This is one of those boutique kind of gifts!! Just perfect– and I so badly want to scraplift it for my sister-in-law who is due to have her first baby in the spring.
This is the cutest little onesie gift set! Like Nadia, love the holographic vinyl. the pink zebra box, and the wonderful bird card that perfectly echoed the design colors. I might have to scraplift it too! Just darling.
I know this may be a crazy question but how do you get the black nose and whiskers for the onesie, I have a grand on the way and I want to make him one of these.
Hi Emily — I made one of the layers with black vinyl to get the black eyes and nose. If you look at the handbook for Create a Critter 2, I cut the from blue vinyl (2 cuts, the body and face). I cut the mane and tail tip from lavender vinyl and the last cut is Layer, which I cut in the black. To assemble, I put down the whole body blue layer first, added the lavender mane and tail tip, then added the black face portion and the last piece I laid down was the blue face. I hope this helps — if you have any more question, don’t hesitate to ask.
Linda