Graphic 45 A Ladies’ Diary Birthday Card


I wanted to make a special birthday card and only knew that I wanted to use some of my beautiful Graphic 45 paper (that I seem to be hoarding) to make it.  I went looking on the web for some inspiration and it didn’t take long for me to decide on my design.

I found a card sketch on Stuck On U Sketches that I liked and got out my paper.  All the printed paper is from A Ladies’ Diary collection.  The base of the card, the solid black cardstock, is from Bazzill.

Front6

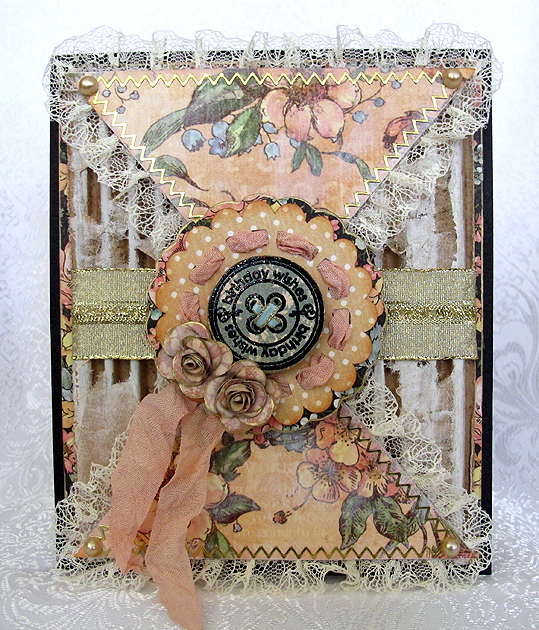
The background is a piece of corrugated cardboard — I removed one of the layers so you can see the ribs.  Then I took some gesso and dry brushed it on.  I wrapped a piece of gold ribbon from my stash around the middle.

I cut the triangle pieces in Cricut Craft Room using George & Basic Shapes.  I dry brushed some gesso on the triangles and glued lace trim around the edges using Farbri-Tac glue.  The gold trim around the edges is stickers.  I attached pearls at the corners.

Front5

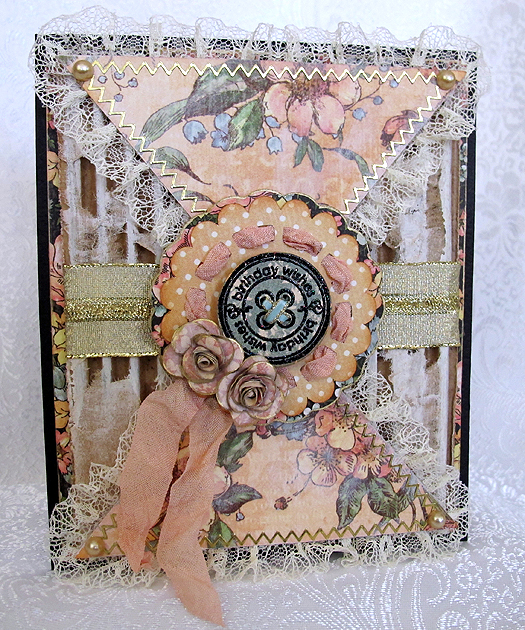
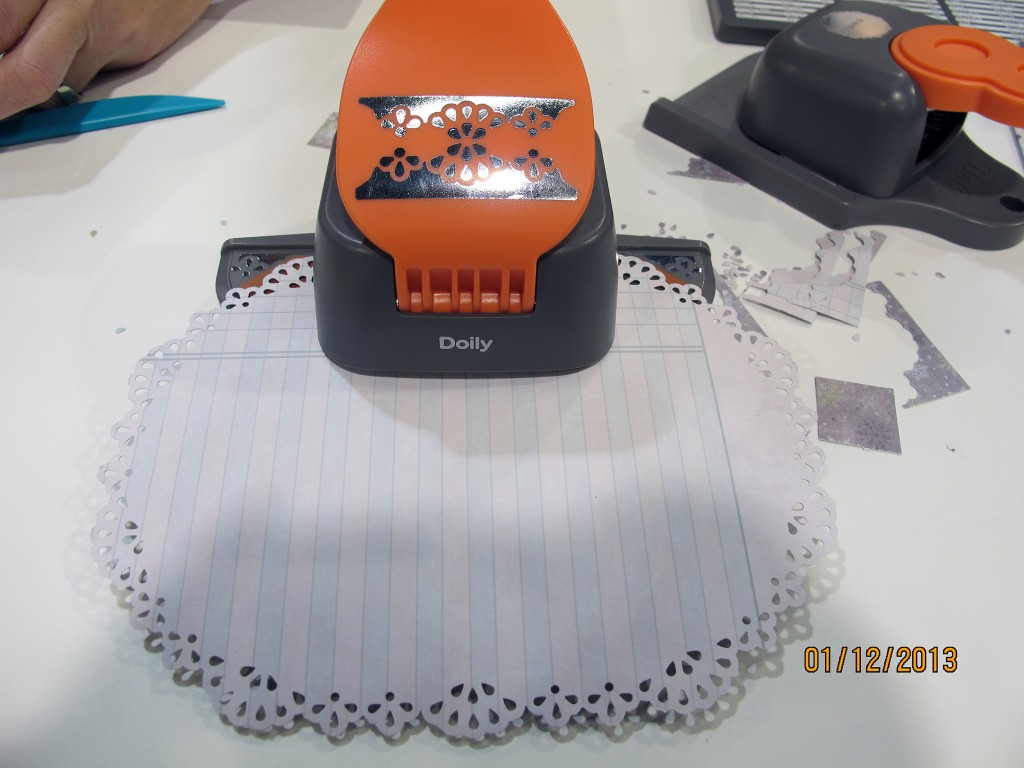
The scallop circle is from Cricut Alphabet, <Doily12>, and it is cut at 2.5″.  I used a Krylon 18kt. Gold Leafing pen to go around the edges of the shadow scallop.  I dyed some seam binding using Tattered Angels Glimmer Mist and threaded it through the holes in the doily, leaving the tails to hang down.

ScallopCircle

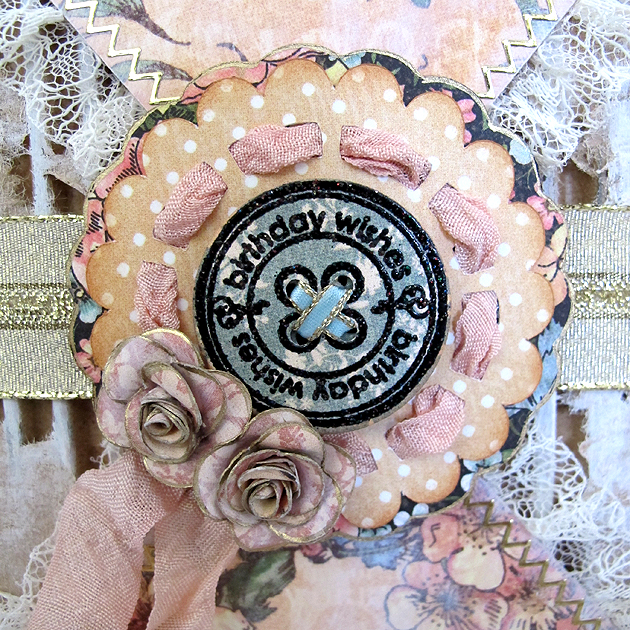
The birthday button in the center of the scallop is a new stamp and die set that I just got from Whimsy Stamps.  I heat embossed the sentiment using Stampendous Stardust embossing powder.

Button

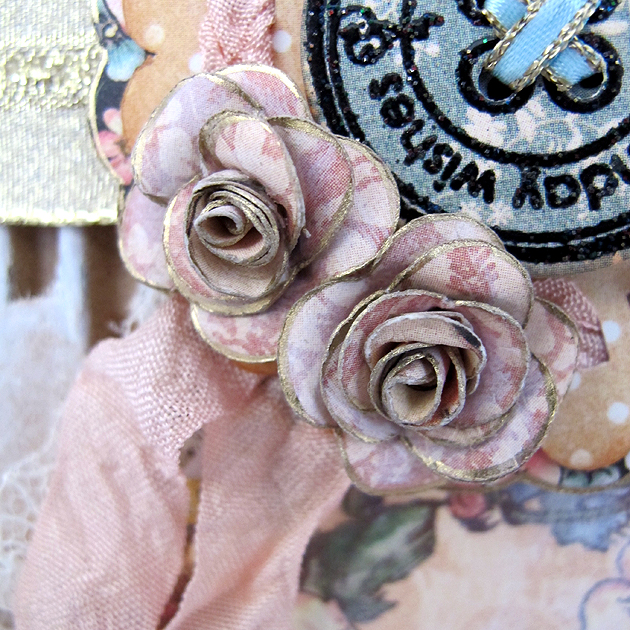
The two small roses were made following this tutorial, from Scraps of Life’s blog.  I used a flower shape from Paisley, Layer1 + <Shoes1>, cut at 4.5″.  I dry brushed the layers with gesso and used the gold leafing pen on the edges of the petals before I assembled the flowers.    I love how tiny they are — they are under 1″ across.

Roses

The scallop layer and the button are attached to the card using foam pop dots.

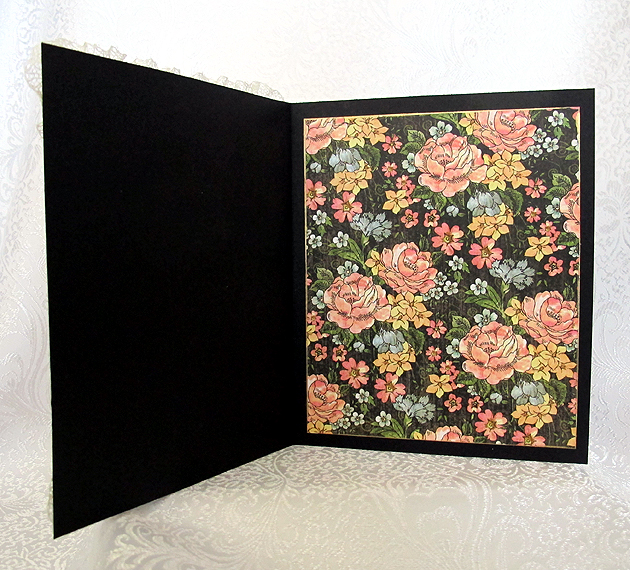
On the inside of the card, I edged the black floral layer with the gold leafing pen.  I still have to do my sentiment layer.  I think I will write it first before attaching it.  If I make a mistake, then I can just redo it rather than having my blunder permanently attached to the card.

Inside

  • Graphic 45 A Ladies’ Diary collection
  • Bazzill cardstock
  • Cricut Craft Room
  • Cricut cartridges:  Cricut Alphabet, George & Basic Shapes, Paisley
  • piece of corrugated cardboard
  • ribbon from my stash
  • seam binding
  • Tattered Angels Glimmer Mist
  • Stampendous Stardust embossing powder
  • gold border stickers
  • self-adhesive pearls
  • Gesso
  • Krylon 18kt Gold Leafing Pen
  • Whimsy Stamps — Everyday Button Sentiments and Button Die
  • Fabri-Tac adhesive


Winter CHA 2013 – First Day of Exhibition


Today, CHA’s winter exhibition opened in Anaheim, California.  I do not believe the show is as large as previous years, but there is still so much to see and do.  I took a lot of pictures so I can share some of the excitement.

First up, I will show you Die Cut With a View’s booth.  They always have an outstanding booth — I can’t believe their display this year.  To sum it up, you certainly can’t ignore the elephant in this room:

Elephant

Elephant2

 I found out they made the elephant by using a topiary frame.  They covered that with newspapers and then added their own paper on top.  The blanket is gorgeous — it’s made of what looks like a turquoise quilted lame fabric and the embellishments are all done with beads.

Blanket

Beading

Beading2

I had to take a pic of the tail too:

ElephantTail

They also have a cobra in their booth — made of jewelry findings and chain.  He is just amazing.

Cobra

Here are some of the stacks that are featured:

Stacks2

And finally, some framed art on the outside of their booth:

Butterflies

Our next stop will be Jinger Adams’ booth.  She is in the new exhibitor’s section and it was good to see both her and Kristy today.

JingerBooth

JingerKristy

Display

And here is Jinger’s over-the-door Craft Armoire that is getting a lot of attention.  The first picture shows it closed and the second one shows it open.

Armoire

ArmoireOpen

As usual, Graphic 45 has a stunning booth:

G45Booth

One of their new collections, French Country:

FCCabinet

FCTop

FCMiddle

FCBottom

FCPapers

Another new collection, Secret Garden:

SGCabinet

SGTop

SGMiddle

SGBottom

SGPapers

I made it a point to stop at We R Memory Keepers’ booth to check out their new Envelope Punch Board.  I watched a demo of it and was even able to make one myself, along with a card.  This is a really neat tool and after using it, I will definitely be purchasing one.

Booth

This is what the Envelope Punch Board looks like:

EnvelopePunchBoard

Measurements for envelopes are listed right on the board and it tells you what size paper to cut and where to place your paper on the board.  There is a punch at the top that cuts out the little areas where the score lines meet.  It is so much easier than trying to snip that little piece out with a pair of scissors.  Once you score and snip it all the way around, you then fold and assemble your envelope.

FoldingEnvelope

ApplyAdhesive

It also has a corner rounder punch on the back of the board so you can round the corner on your flap.

CornerRounder

CompletedEnvelope

For the card, I got to use one of their Lucky 8 punches.   I used it in conjunction with a doily border punch and ended up with a fancy oval to attach to my card.  Sorry about the blurred hand in the background.

Lucky8Punch

DoilyBorderPunch

Doily

I folded the doily in half and added it, along with some embellishments, to my card.  I think it turned out cute.

Card

In the new exhibitor section I found another neat tool — it’s called a Laser Square.  It has a mat that is magnetic and you place your paper on it.  The paper is held in place by magnets.  They are strong magnets and can hold several layers of paper, so if you do a lot of matting your page will stay in place.  The laser is powered by a 9 v. battery and it enables you to line up all your work on your page.  They said it helps line up your paper for stamping too.  I think it will also work great with cards.

The company is called Kellycraft and the man said his wife came up with the idea at 2 in the morning — I guess she woke him up to share her idea.  They also make Laser Skins so you can customize your Laser Square.

LaserSquare

LaserSkins

The Copic booth and some of the cards on display:

CopicBooth

Card1

Card2

Card3

Card4

The Prima booth:

Booth

One of their new lines, Hello Pastel.

HelloPastel

HPDisplay

Another new collection, Sunrise Sunset:

SunriseSunset

Some layouts on display:

Display

Layout

Layout2

And look at this gorgeous work of art:

MixedMedia

Prima and Leeza Gibbons have teamed up and she has a collection called Wishes & Dreams.

LeezePoster

Wishes&Dreams

WDDisplay

WDDisplay2

WDDisplay3

WDLayout

Leeza was in Prima’s booth today.

Leeza

Another new exhibitor is Farm House Paper Co.  They have a great display and a nice product line.

FHBooth

Layout1

Layout2

Layout3

Layout4

BoBunny’s booth was very busy when we walked by.

BoothFront

This is the back of their booth, with close-ups of their displays:

BoothBack

Display

Display2

Display3

I spent a little time watching the demo in Purple Cow’s booth.  The lady was showing how to use their craft iron and encaustic wax paints.  She cut a piece from an old silk necktie and was coating it in wax on a piece of paper.

PCDemo

PCBegin

PCEncausticWax

PCTie3

PCDisplay

PCDisplay2

Here are a couple of finished pieces that were on display:

PCCover

PCCover2

This picture shows a napkin with a picture of Queen Elizabeth on it and how the lady incorporated it into her cover:

PCQECover

I plan on going back to Purple Cow’s booth so I can learn more about this technique.

I haven’t knitted in years, but this display using Bernat yarn caught my eye.  The afghan was so soft.

BunnyBear

Bernat

I have a lot more pictures to post, but for some reason it is taking forever to upload them onto my blog.  I have been working for several hours now just to get these up.  Since I want to be back at the show when they open in the morning, it’s time to call it a night.

My final picture will be of my one purchase today.  I hadn’t planned on buying this, just knew that I was going to at some point.  I had my dear hubby at the show with me today, and when we stopped in the booth to look at Klic-n-Kut’s Zing die cutting machine, he must have noticed me drooling because he said to go ahead and buy it.  The lady said they brought a machine with them and it is at their hotel.  She is bringing the machine to the show tomorrow and I can bring it home with me.  I am very excited!  It will be a week or two before I can play with it though — I have several embroidery orders I have to get out first.

Zing

Cricut Circle National Scrapbook Day Crop Color Challenge: Beach Pail Gift Card Holder


To celebrate National Scrapbooking Day ( May 5), the Cricut Circle blog hosted a two-day online event.  There were challenges, tutorials, games, question-and-answers sessions — all kinds of fun.   Unfortunately I was not able to “attend” much of the live portion, but I did manage to make a project for one of the challenges.

When the Circle blog event was posted, I had just finished making eight beach pail gift card holders for a Kelly doll convention (Kelly is Barbie’s younger sister).  So I decided to make another one for the Color Challenge.  The challenge was to create a project using the color inspiration that they provided, which is shown below.  You had to use at least two Cricut image cuts on your project.

This is the picture the Circle blog provided for the color inspiration:

I made this card so that the sand section pulls out of the pail, similar to the flower pot cards where the flowers pull out.  I laid out the entire design in Design Studio.  I used Life is a Beach cartridge for the pail and shovel.  I glued around the outside edges only, leaving the oval section at the top open so the pocket holding the gift card would slide in.  I welded a rectangle from George & Basic Shapes to the sand to form the holder.

All the solid cardstock is from Bazzill and the printed pattern paper is from Graphic 45’s Tropical Travelogue collection — such beautiful paper!  I made the trim on the rim of the bucket using the patterned paper and cut the handle from a darker shade of cardstock.  The sand is cut from some glittered cardstock I bought at my local Joann’s.

Here is a picture showing the sand pulled out of the pail — holding the gift card.

And another picture, showing  a close up of the gift card holder.

I decided to add a small tag to the card, so there would be a place for some writing.  I welded two shell shapes from Picturesque together to form the tag.  The top detail piece on the shell is cut from a piece of off-white glitter cardstock.  The shell flips open and there is a space on the top and bottom for some writing.

  • Cricut Cartridges:  Life is a Beach, Picturesque, George & Basic Shapes
  • Graphic 45 Tropical Travelogue paper
  • Bazzill solid color cardstock
  • Glitter cardstock