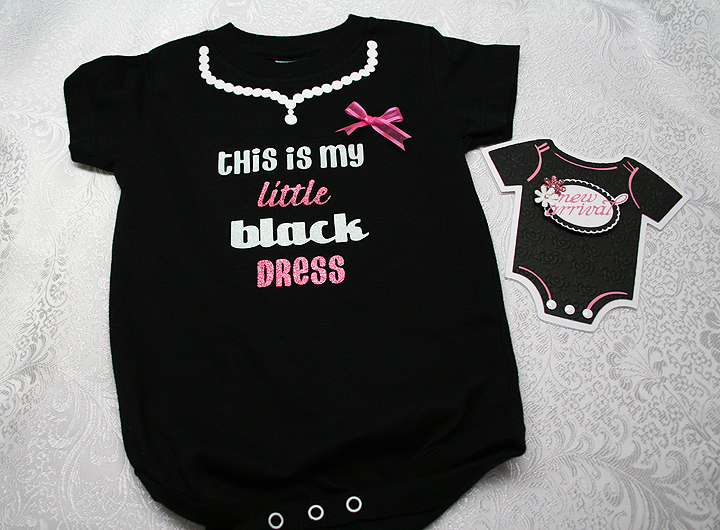
Several months ago I bought some black onesies so I could decorate them using heat transfer vinyl. I went on to other things and the onesies just sat — until Bitten by the Bug 2 posted their Fashion Challenge. That was the push I needed to get the onesies done. And when I finished with the onesies (I made a 6 mos size and a 12 mos size), I made a matching card. Now I have a couple of gift sets ready when I need them.
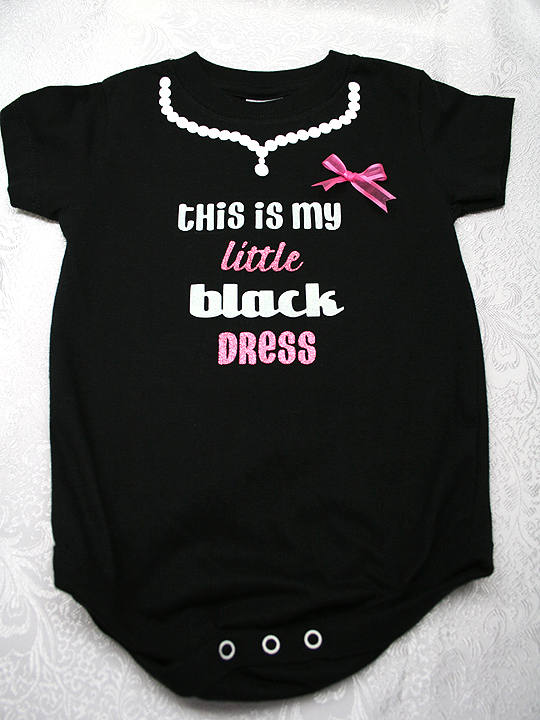
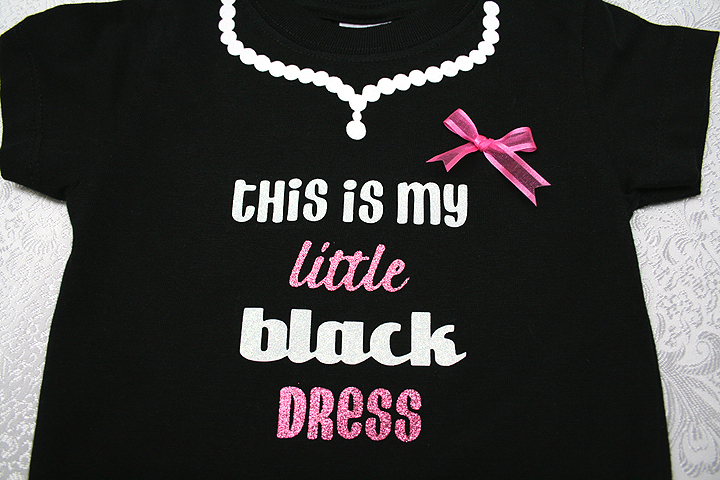
I saw this phrase on a onesie on the Internet a long time ago and always thought it would be fun to do. I cut all the vinyl with my Cricut, using Design Studio to lay out everything. For the necklace, I brought a cut from the Paper Doll Dress Up cartridge into Design Studio to use as a guide. I enlarged the design until it fit the neck of the onesie. I then took circles from George and laid them along the contour of the necklace, making sure they touched so I could weld them. Once I had circles completely covering the necklace shape, I deleted the necklace so that all was left was a string of pearls. I cut this from white flock vinyl, so it has a fuzzy feel to it.
I used a variety of cartridges for the letters — sort of felt like I was putting together a ransom note. I used Don Juan for the “this is my” and “dress” cuts. I used Forever Young for “black” and Graphically Speaking for “little”. I cut these out of white and pink glitter vinyl.
When cutting heat transfer vinyl, you have to remember to mirror the images. I had no problem mirroring the words “little” and “black” — just had to check the “flip shapes” button in Design Studio. But because I was putting the other words together myself using individual letters, I was having issues getting the words to mirror. I finally figured out if I typed the words in backwards and then checked the “flip shapes” button that it worked.
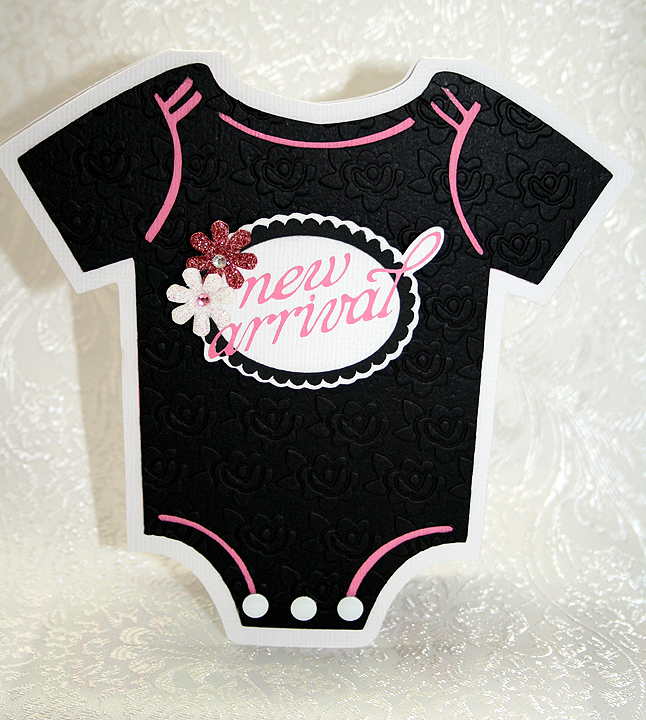
I used Life’s a Party for the onesie card. I welded two of the shadow bases together at the shoulders. I embossed the black layer using my Cuttlebug and a 5″ x 7″ folder from the Once Upon a Princess Companion Set that has little roses all over.
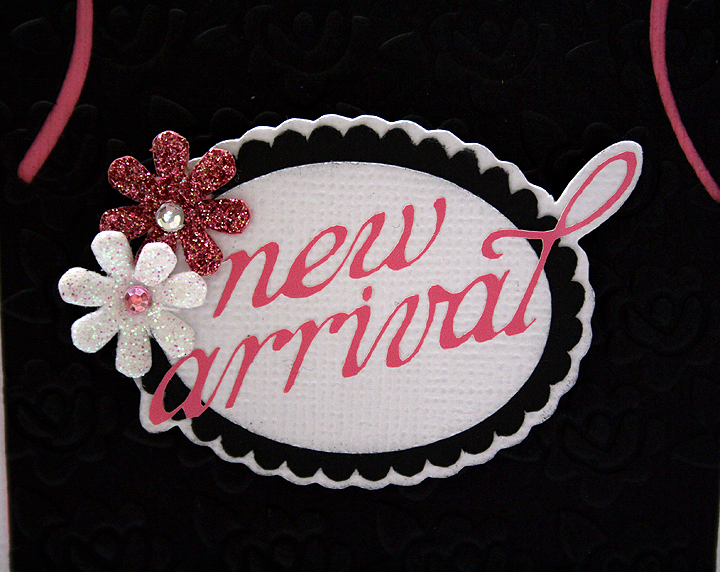
The label on the front of the onesie is from the Phrases cartridge. Because the lettering is so thin, I cut it from pink vinyl and used transfer tape to put it on the scalloped ovals. I added a couple of glittery flowers that I picked up at a Tuesday Morning store a while ago. I used 3 white dot embellishments that I got in one of Joann’s $1 bins for the snaps on the onesie.
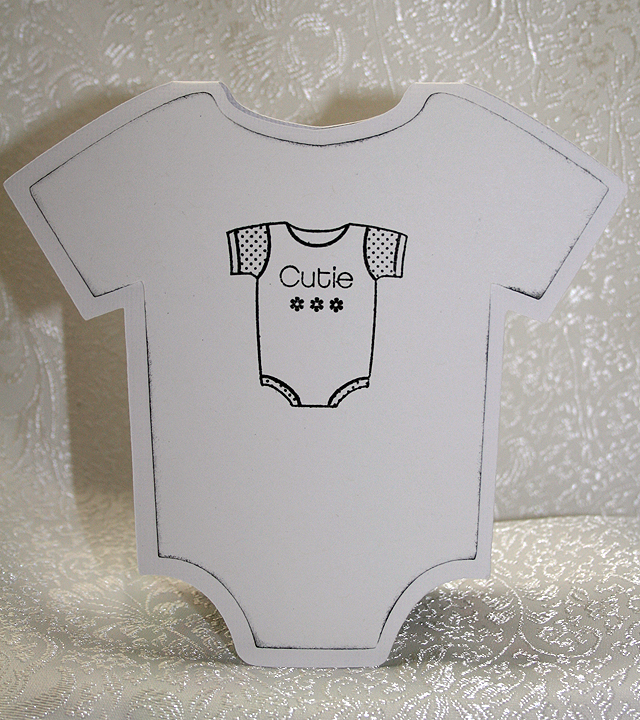
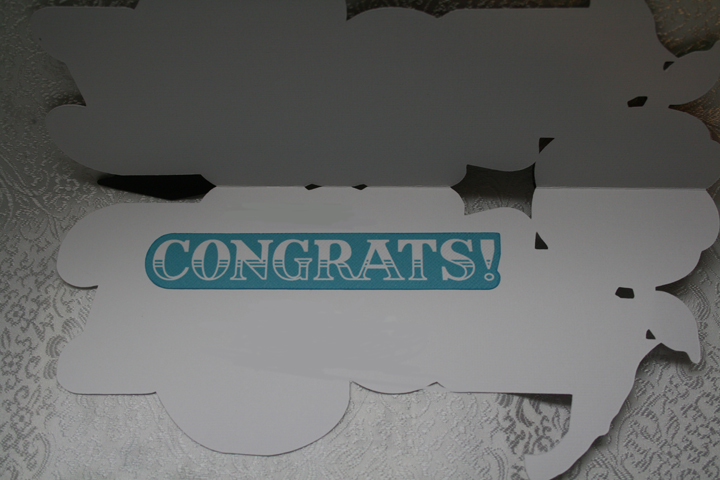
For the inside of the card, I cut a white layer and inked the edges and then I stamped an image from a stamp I have in my stash.
- Cricut cartridges – Don Juan, Forever Young, George & Basic Shapes, Graphically Speaking, Life’s a Party, Phrases
- Cuttlebug – Once Upon a Princess Companion Set
- Heat transfer vinyl
- Assorted embellishments


Recent Comments