Graphic 45 A Ladies’ Diary Birthday Card


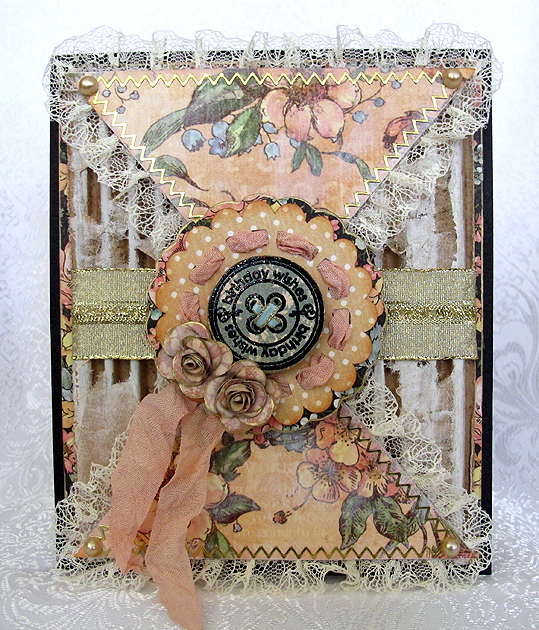
I wanted to make a special birthday card and only knew that I wanted to use some of my beautiful Graphic 45 paper (that I seem to be hoarding) to make it.  I went looking on the web for some inspiration and it didn’t take long for me to decide on my design.

I found a card sketch on Stuck On U Sketches that I liked and got out my paper.  All the printed paper is from A Ladies’ Diary collection.  The base of the card, the solid black cardstock, is from Bazzill.

Front6

The background is a piece of corrugated cardboard — I removed one of the layers so you can see the ribs.  Then I took some gesso and dry brushed it on.  I wrapped a piece of gold ribbon from my stash around the middle.

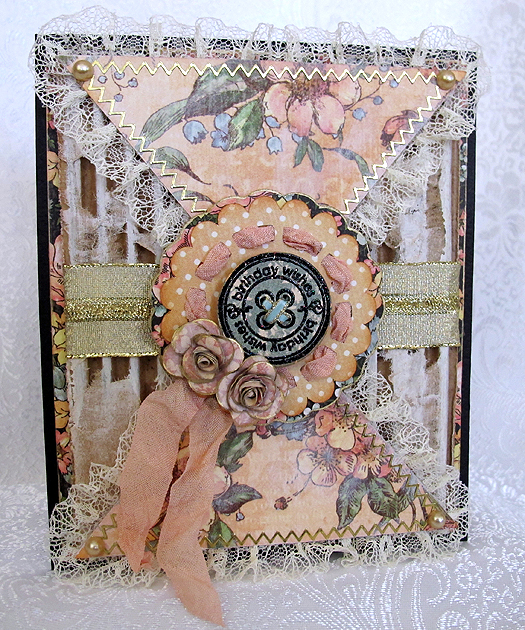
I cut the triangle pieces in Cricut Craft Room using George & Basic Shapes.  I dry brushed some gesso on the triangles and glued lace trim around the edges using Farbri-Tac glue.  The gold trim around the edges is stickers.  I attached pearls at the corners.

Front5

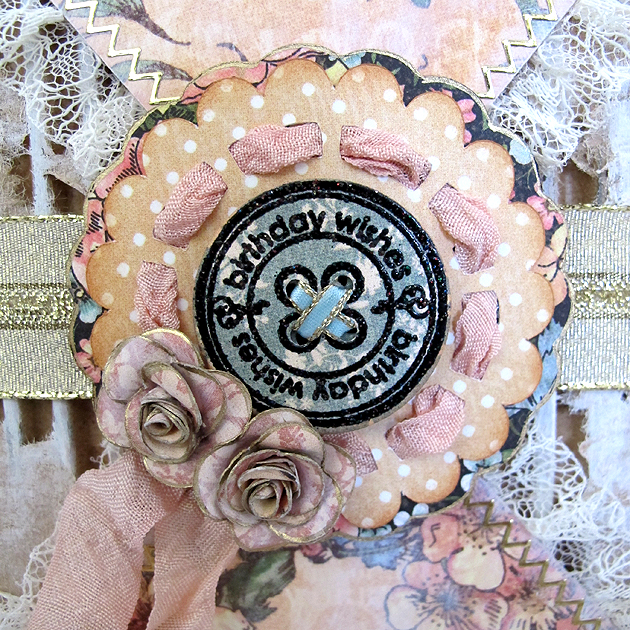
The scallop circle is from Cricut Alphabet, <Doily12>, and it is cut at 2.5″.  I used a Krylon 18kt. Gold Leafing pen to go around the edges of the shadow scallop.  I dyed some seam binding using Tattered Angels Glimmer Mist and threaded it through the holes in the doily, leaving the tails to hang down.

ScallopCircle

The birthday button in the center of the scallop is a new stamp and die set that I just got from Whimsy Stamps.  I heat embossed the sentiment using Stampendous Stardust embossing powder.

Button

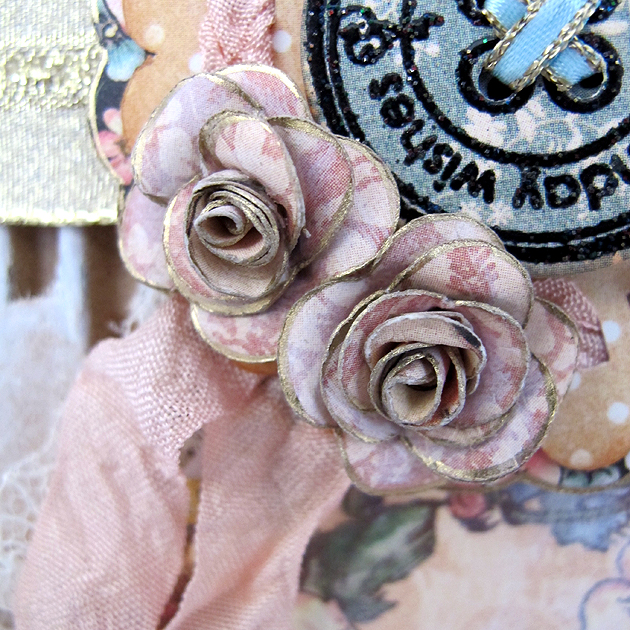
The two small roses were made following this tutorial, from Scraps of Life’s blog.  I used a flower shape from Paisley, Layer1 + <Shoes1>, cut at 4.5″.  I dry brushed the layers with gesso and used the gold leafing pen on the edges of the petals before I assembled the flowers.    I love how tiny they are — they are under 1″ across.

Roses

The scallop layer and the button are attached to the card using foam pop dots.

On the inside of the card, I edged the black floral layer with the gold leafing pen.  I still have to do my sentiment layer.  I think I will write it first before attaching it.  If I make a mistake, then I can just redo it rather than having my blunder permanently attached to the card.

Inside

  • Graphic 45 A Ladies’ Diary collection
  • Bazzill cardstock
  • Cricut Craft Room
  • Cricut cartridges:  Cricut Alphabet, George & Basic Shapes, Paisley
  • piece of corrugated cardboard
  • ribbon from my stash
  • seam binding
  • Tattered Angels Glimmer Mist
  • Stampendous Stardust embossing powder
  • gold border stickers
  • self-adhesive pearls
  • Gesso
  • Krylon 18kt Gold Leafing Pen
  • Whimsy Stamps — Everyday Button Sentiments and Button Die
  • Fabri-Tac adhesive


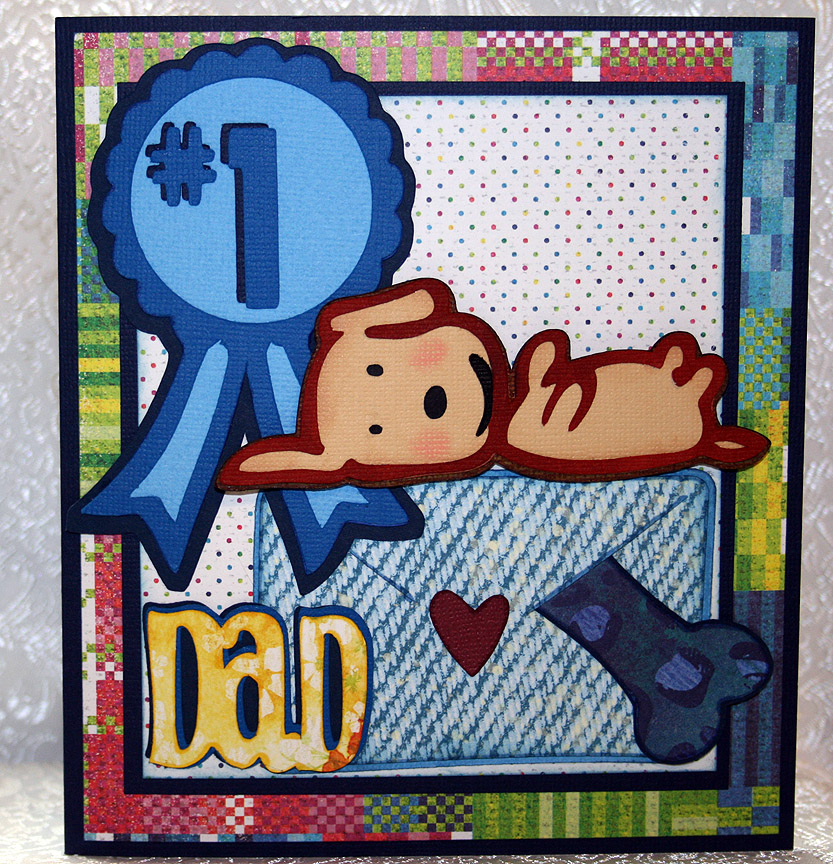
Father’s Day Card From The Smoochy Poochy


I decided to make my dear hubby a Father’s Day card from our dog.  Her name is Fifi and she is a rescue dog — part Pomeranian and part Chihuahua.  She is such a daddy’s girl that I figured he would enjoy it.

I call her our Smoochy Poochy because she loves to give kisses.  She also loves toys — her favorites are the fake fur bones with squeakers inside.  She has an assortment of them in all different types of prints — from giraffe to leopard prints. 

I made this card to enter into two challenges.  The weekly challenge at the Cricut Circle Blog is a sketch challenge, so I followed that for the layout of my card. 

The latest challenge at Cooking With Cricut is a Father’s Day related project that includes a Cricut cut.  I used several Cricut cuts on this card.

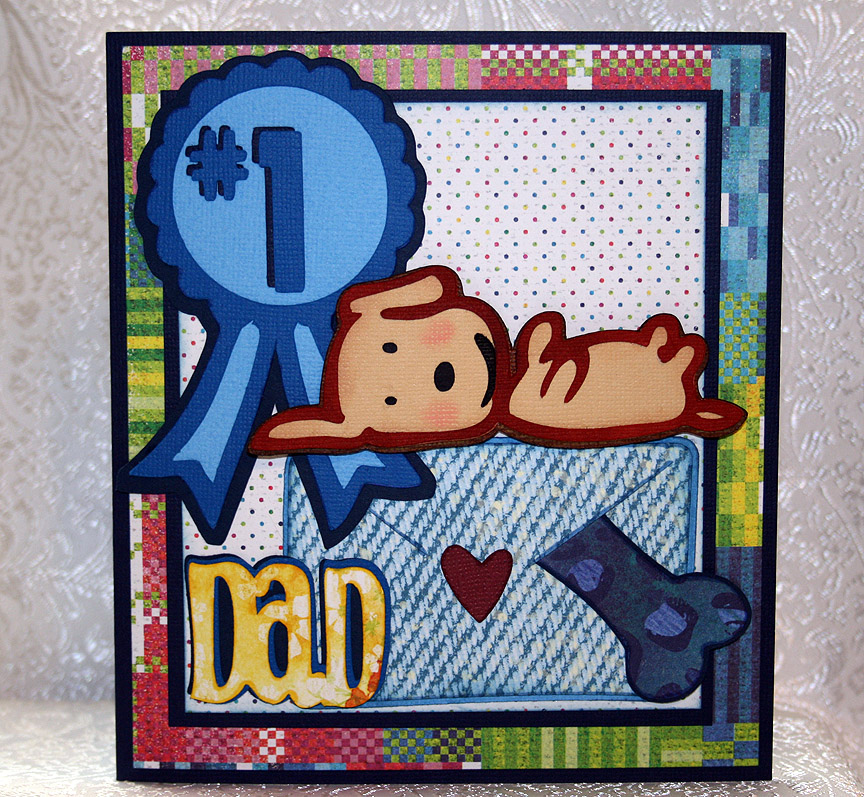
I couldn’t find a dog that looked like Fifi, so I opted for this cutie on the Paper Pups cartridge.  I chose this one because the dog is on its back and Fifi has a tendency to go “belly up” while she is sleeping.  The dog is lying on an envelope that she has so thoughtfully placed one of her squeaky bones inside for Dad.  The ribbon and bones are from Paper Pups also.

I used Doodlecharms for the envelope, Beyond Birthdays for “Dad” and Sans Serif for “#1”. 

The solid cardstock is Bazzill and the printed paper is all from Basic Grey — their Lauderdale collection.

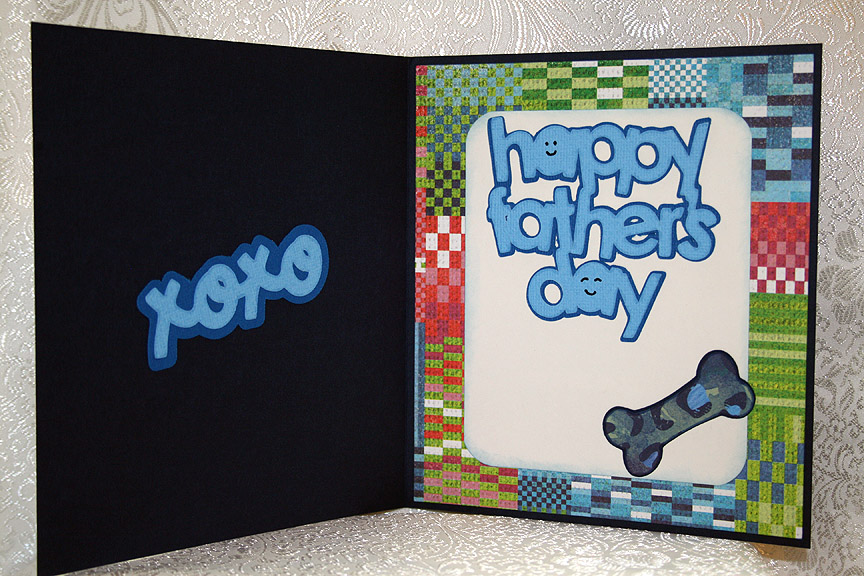
For the inside of the card, I used Paisley for the “xoxo” and Simply Charmed for the “Happy Father’s Day” sentiment.  I added another bone inside.

  • Cricut cartridges used:  Beyond Birthdays, Doodlecharms, Paisley, Paper Pups, Sans Serif, Simply Charmed
  • Bazzill cardstock
  • Basic Grey — Lauderdale collection

My Second Cricut Card: Frog Anniversary Card from Paisley

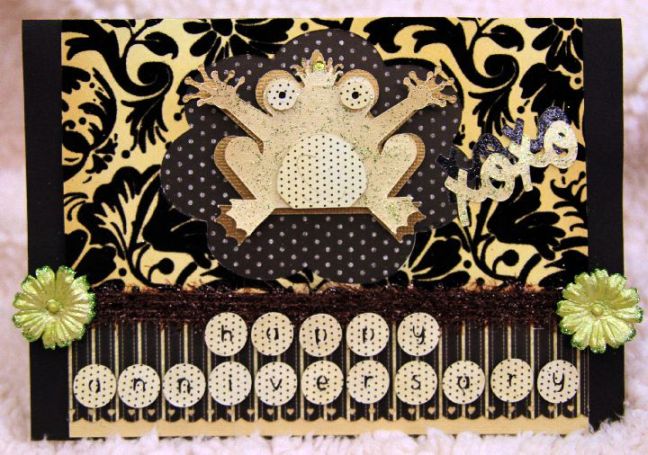
In keeping with the Paisley challenge theme for the week, I decided to make a second card with the Paisley cartridge – this time as an anniversary card for my husband to celebrate our first wedding anniversary!

  • DCWV La Creme stacks
  • MS border punch
  • Stickles
  • Misc ribbon from Michaels
  • Prima Flowers
  • Pop dots

The exterior of the card features all cuts from Paisley, except for the Happy Anniversary, which was cut from Simply Sweet. The frog is layered and up on pop dots.  Each of the letters on the Happy Anniversary were lined with small pieces of black paper and then put up on pop dots.  The solid color on the frog’s body and the cream “xoxo”  are patted with green Stickles.

Exterior of the Happy Anniversary Paisley Frog Card

The inside of the card features all Paisley cuts, except for the words, which were again cut from Simply Sweet.

Inside of the Anniversary Card Made from Paisley

– Posted by Erin

My First Cricut Card: Zebra from Paisley

I’ve had my Cricut and accompanying scrapbook supplies for quite some time, but in between moving to Taiwan last year, traveling extensively, and then moving apartments here in the city, everything has been in boxes, simply collecting dust.  My Mom has been encouraging me to participate in one of the challenges posted on the Cricut Community Message Boards for months, so when I saw the cartridge exploration challenge for Paisley, I figured this was as good of time as any to dig in!

Although I still have quite a bit to learn about papercrafting, the features of each Cricut cartridge, not to mention learning Design Studio- I think my first attempt was not as disastrous as I expected it to be.

The object of Cynthia’s cartridge exploration challenges is to make a card with the particular cartridge, using it for all the cuts, except for any necessary font.  It is a way to get people to learn the elements of each cartridge, while challenging themselves to make something within its offerings.  I opted to go with the zebra in the car after purchasing an adorable stuffed Winnie the Pooh dressed as a Zebra earlier that weekend – he felt he should serve as the inspiration for my first card attempt!

Here are the supplies I used to make this card

  • Die Cuts With a View – All Dressed Up paper
  • Martha Stewart Punch Around the Page
  • Fuzzy zebra ribbon from Michaels Craft Stores
  • Black Martha Stewart Flock
  • Silver and Pink Martha Stewart Glitter
  • Miscellaneous beads, loose paper, flower embellishment from Michaels
  • Cuddlebug Paisley Embossing Folder
  • Prisma colored pencils
  • Stickles

To make the puff of smoke behind the car, I used one of the paisley cuts and changed the shape slightly in Design Studio.  On the burgundy shape behind the car, I embossed card stock with the Cuddlebug and then took a nail file to rub off some of the color.  The black areas of the zebra are flocked with the MS flock and the car has both pink and silver MS glitter.  The word bubble is from Paisley as well.   The pink shading around the puff of smoke was done with colored pencils.

The background paper on the inside was loose paper from Michaels.  Both shapes are cut from Paisley and the one embossed with a CB folder.  The words are cut from Lyrical Letters and dabbed with Stickles.

I still have a long way to go in learning how to do some of the amazing techniques I have seen from design teams and talented artists, but this was a pretty decent first attempt!  Hope you enjoy!

– Posted by Erin