I spent most of this weekend creating this card in Cricut Craft Room. I found a cute paper piecing card from Treasure Box Designs and fell in love with it. When I saw the card, I wondered if I could create it in Cricut Craft Room. I thought the cute bee on the Create a Critter cartridge would be perfect for it.
When a challenge was posted on the Cricut Circle message board to create a project in conjunction with Circle Mania that was going on in Atlanta, I decided to get cutting. I was so happy that my design for the base of the card worked the first time I cut it. I’m not sure how to describe this card, maybe a gate-fold card with a pocket for a tag in the back.


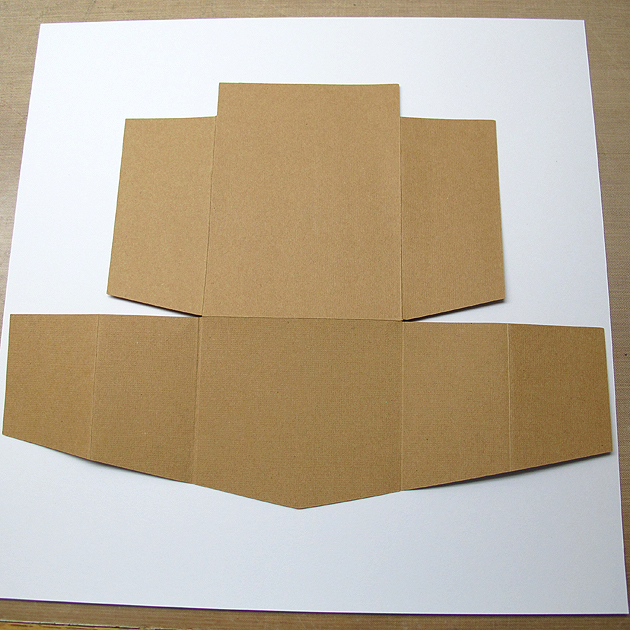
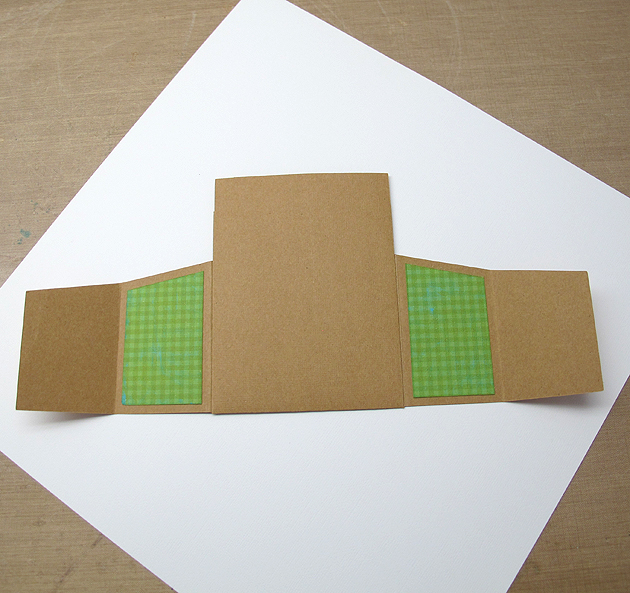
I cut the card base from kraft cardstock. This is what the piece looked like after cutting and scoring. And maybe you can see why it took me so long to design this card — I was doing a lot of figuring! I used George and Basic Shapes and Cricut Craft Room Basics to design the card base.
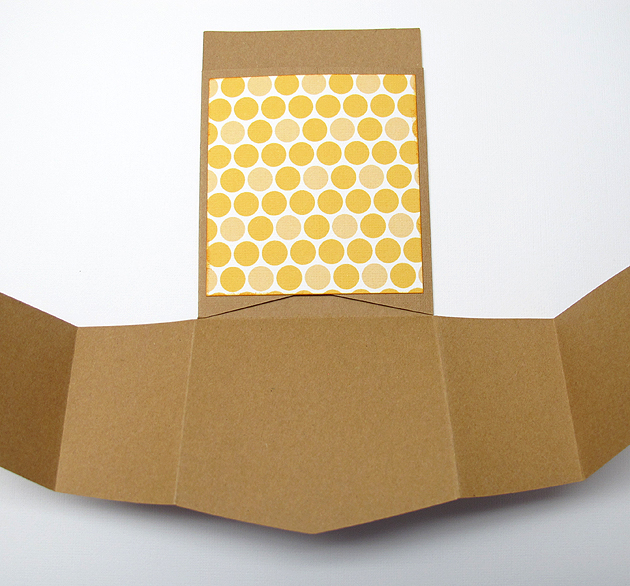
After scoring, the first step was folding the edges of the pocket towards the center.

I printed all the patterned paper for this card on my Imagine. I love that I can print the exact paper that I want when creating a project. I used three cartridges for the paper, Bubble Gum Stripes for the gold circles, Blast Off for the green checks, and Hopscotch for the gold print on the tag.
I adhered the piece over the pocket, being careful to not glue the bottom. I applied glue to the top and side edges only.
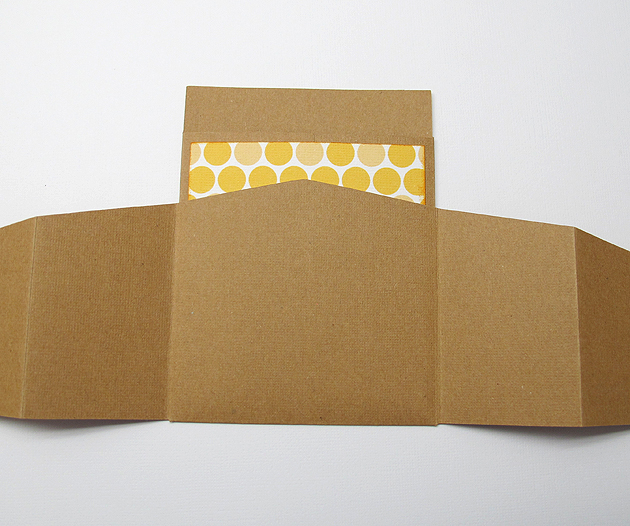
Next I folded the bottom piece up towards the top. I glued the center section of the bottom piece and attached it to the pocket. Again, I only glued three sides — the top and two sides. I did not glue the bottom.
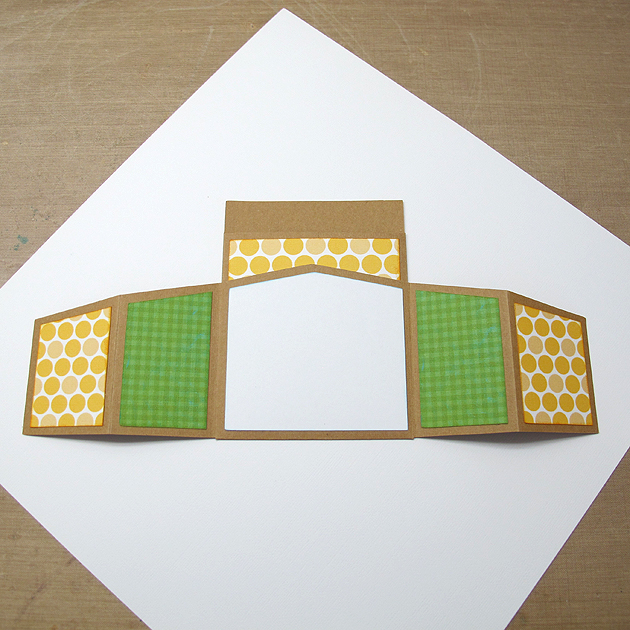
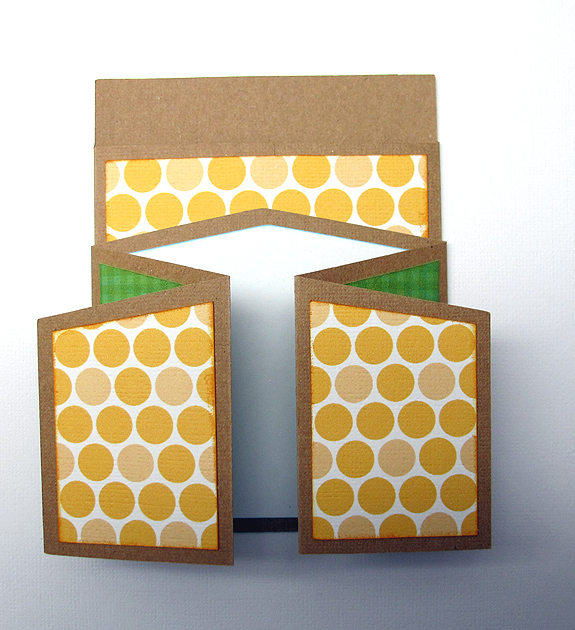
The next step was attaching the patterned paper to the panels on the card. I cut two of the gold circles for the very front pieces and four of the green checked paper. I attached a white piece of paper to the center panel. It then looked like this.
I adhered two green checked pieces to the back of the panels, as they show on the front when the card is folded. This is a view of the back of the card, showing the two panels.
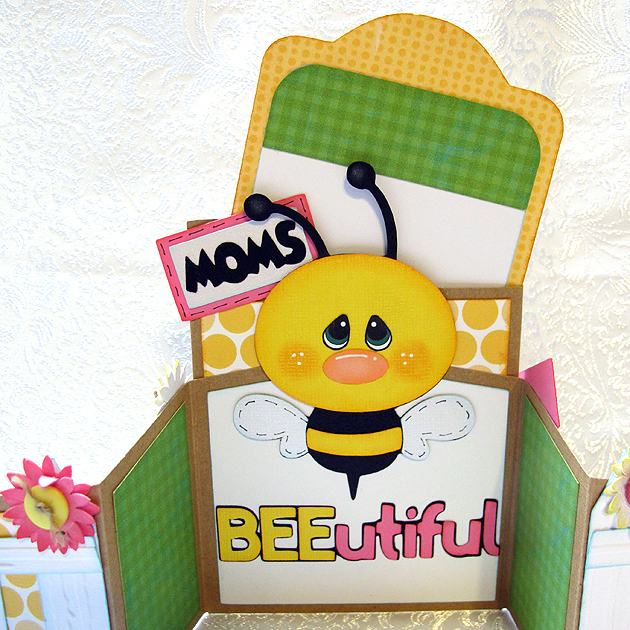
And here is what it looks like from the front, with the panels folded up.
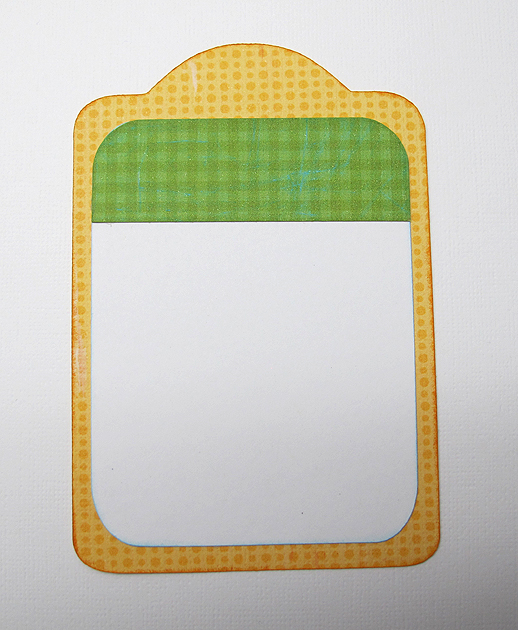
The tag was cut from Tags, Bags, Boxes & More. The dimensions of the tag are roughly 3 3/8″ x 5 3/8″. I adhered the white panel to the tag. I also cut a piece of green checked paper for the top and rounded the upper corners with a punch. I adhered that to the white panel on the tag, so the white didn’t show when the tag is in the pocket.
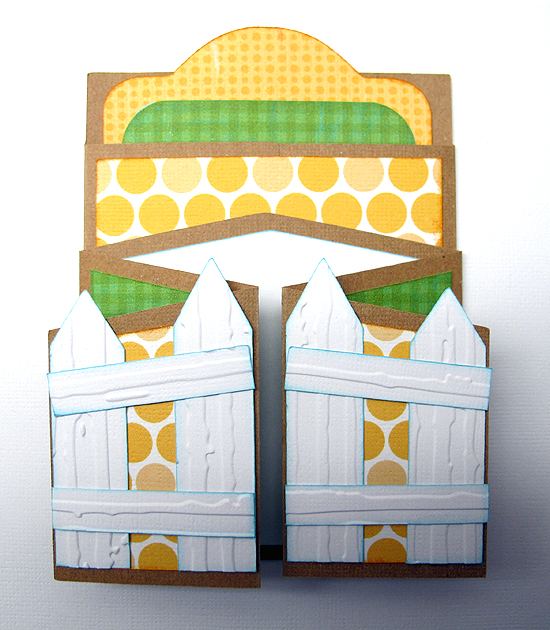
The fence posts are also from Tags, Bags, Boxes & More. They are the pointed tag, just made skinny and with the hole hidden. I cut four of the posts, with two of them being slightly taller. Those I adhered to the center front of the card. I ran the fence posts through the Cuttlebug using the Distressed Stripes folder before gluing them down.
Next, I assembled the bee, flowers and letters. The flowers were cut at 1″ using Flower Shoppe, using two layers for each flower. I inked the edges and curled up the petals on the top layers. I ran some twine through buttons and glued them to the center of the flowers.
The bee was cut at 4″ using Create a Critter. I hid the facial features and used an oval that I made using Cricut Craft Room Basics (I squashed a circle until I got the shape I wanted) for his nose. For his eyes, I printed out a free cut file I got at The Beary Scrap. I don’t quite feel confident enough to try and paint my own eyes. I did think about adding eyelashes but decided not to because I cut the bee’s face from textured cardstock. I know my pen marks would have been all over heck and I would not have been happy.
The lettering was done using Craft Room Basics and Mickey Font.

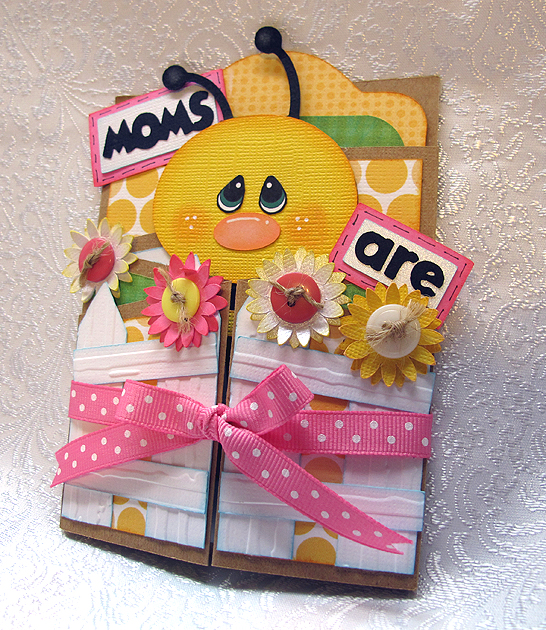
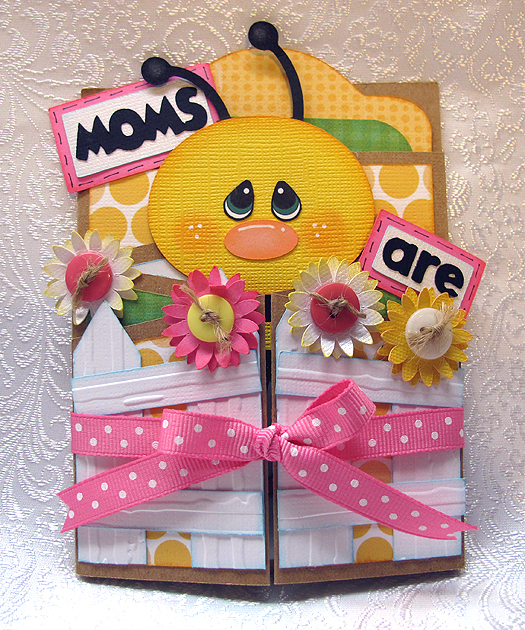
All that was left was to adhere these pieces to the card. I attached the bee first. After he was adhered to the card, I glued the sentiment on and then the flowers. My card looked like this.

To keep the front of the card closed, I tied a ribbon around it.
I’ll add a few more pictures, showing the card open and the tag part way out. I am very happy with how it turned out — made me feel all the work was worth it. I will cut this card base again — I can picture many uses for it. And I will also make the bee again, but with a different sentiment. My mom is no longer living and this is the first Mother’s Day card I have made since she passed away. I will probably give it to a friend or relative.

-
Cricut Craft Room
- Cricut cartridges used: Cricut Craft Room Basics, George and Basic Shapes, Create a Critter, Flower Shoppe, Mickey Font, Tags, Bags, Boxes & More
- Cricut Imagine cartridges used: Blast Off, Bubblegum Stripes, Hopscotch
- Cuttlebug — Distressed Stripes folder
- Ink
- Chalk
- Buttons
- Ribbon
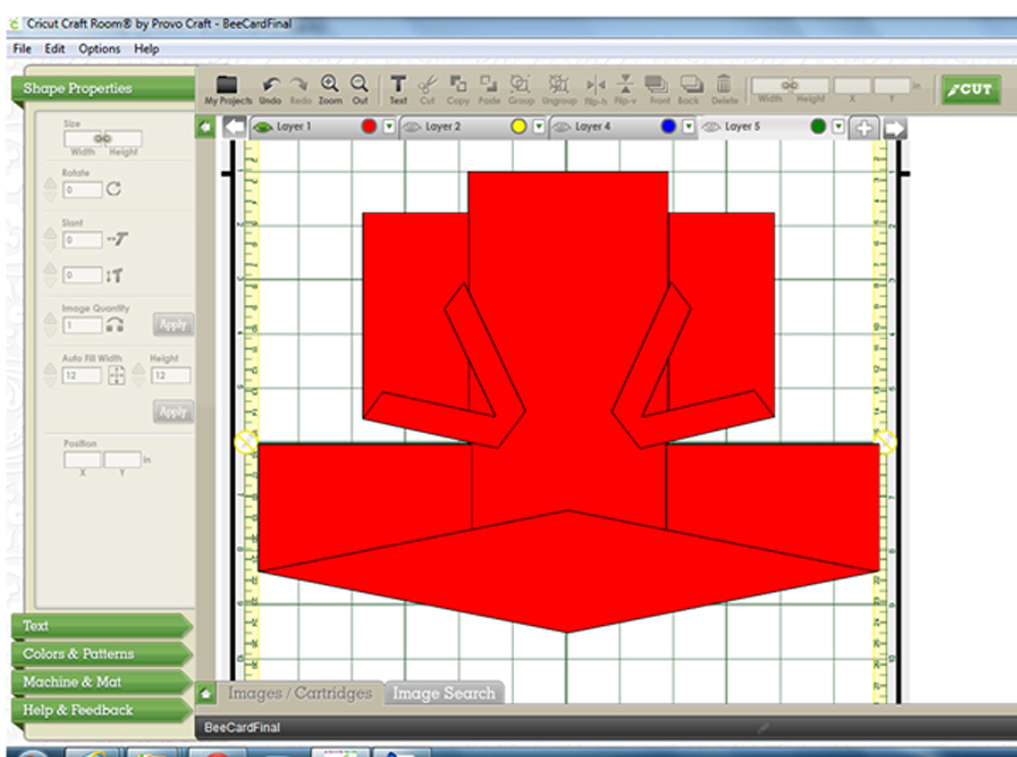
I’m going to add one last phot photo, which is a screen shot of my CCR file, to show what shapes I used to create the card base. I hope this will help others wanting to re-create it.


Recent Comments