Speedy Turtle – Fantabulous Cricut Challenge Blog – Challenge #36 Achoo!

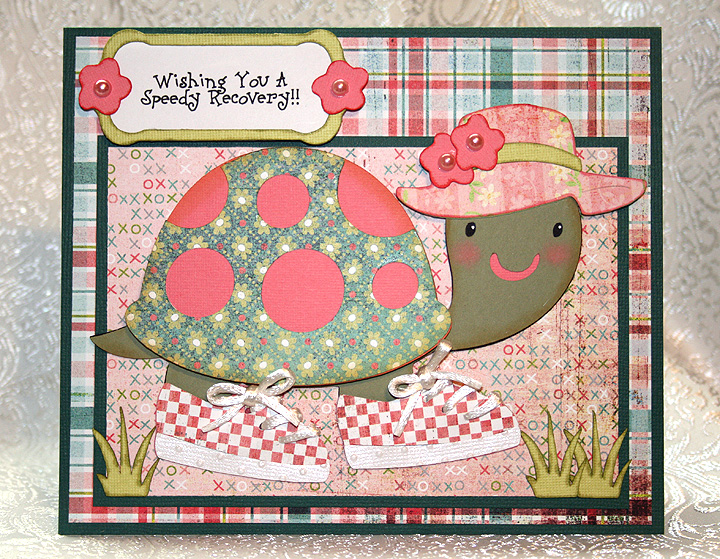
Here is my card for the current challenge at the Fantabulous Cricut Challenge Blog, which is to make a project that has something to do with being sick.  I don’t know why, but this challenge stumped me.  I couldn’t think of anything exciting that I wanted to make.  I started several different projects before the light bulb finally went off and I had a clear vision of what I wanted to make.

The card base is Bazzill cardstock, the patterned paper is Basic Grey, and the solid that the turtle is cut from is Stampin’ Up.  I cut the turtle using my Cricut and the Create a Critter cartridge.  Since I am wishing the recipient a speedy recovery, I figured I needed to give my turtle some running shoes so she could speed things up a bit.  I cut the shoes from My Community and laced them up with some white cording that I found in my stash.  I used the Cuttlebug embossing folder Swiss Dots to emboss the bottom edge of her shoes.  I also gave her a hat, which I cut from Paper Doll Dress Up.  The label that the sentiment is printed on is from a Lite cartridge, Lacy Labels.  I used Create a Critter for the flowers and the tufts of grass.  I added pearls to the centers of the  flowers. 

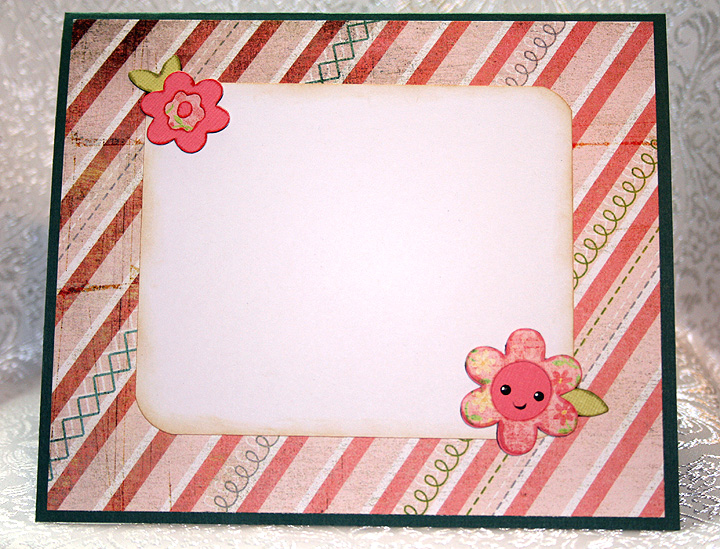
The flowers on the inside of the card are also from Create a Critter. 

  • Bazzill cardstock
  • Stampin’ Up cardstock
  • Basic Grey designer paper
  • Cricut cartridges:  Create a Critter, Lacy Labels (Lite), My Community, Paper Doll Dress Up
  • Cuttlebug Swiss Dots embossing folder
  • Pearls
  • Cording from my stash
Cricut Circle Magazine Challenge for November – Little Deer Shaker Ornament


The first thing I have to say is how excited I am again — my penguin shaker ornament card was one of the winners at the Fantabulous Cricut Challeng Blog.  Thank you so much FCCB!!

Now on to the Cricut Circle magazine challenge, which I forgot all about when I made my penguin shaker ornament last week.  I posted my ornament card on the Cricut message board, and a fellow Circlet asked me if I was going to enter my card in the Circle magazine challenge.  She was even kind enough to give me the link.  I went to the website and reviewed the rules and saw that the project must be newly created, so I figured my penguin card would not qualify — especially since it had just won a challenge.  With time running out on the magazine challenge, I decided to create a new shaker ornament card especially for it. 

For this challenge, which is only open to Circle members, the project has to have at least four Cricut cuts and also use one other Provo Craft product — like the Cuttlebug, Yudu, etc. 

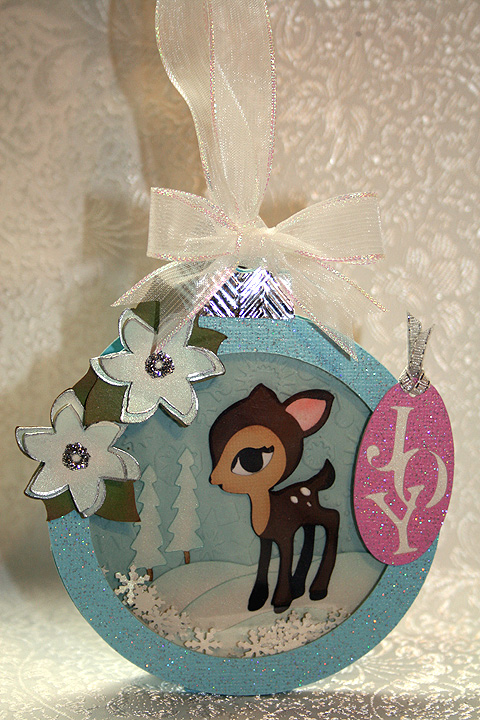
I made another shaker ornament card, only this time I put a deer inside.  I used Core’dinations Core Couture cardstock for the ornament — I like it’s glittery look.  I used the ornament from Joys of the Season cartridge.  I used Cricut Design Studio to weld two ornaments together to make the card.  I also welded a rectangle from George and Basic Shapes to the bottom so that the card can also stand alone if it is not hanging on the tree.

The deer is one of my favorite cuts and he is from the Cindy Loo cartridge.  The snowy hills are from Country Life, the trees from Christmas Cheer, the poinsettias from Winter Woodland, and the tag is from Very Merry Tags.  I cut the poinsettias from white cardstock and inked them blue.  I edged them using a Krylon Silver Leafing Pen and added silver Stickles to the centers.   

I used my Cuttlebug to emboss the background cardstock in the shaker using the Snowflakes embossing folder.  I also embossed the tops of the ornament, which I cut from silver metallic cardstock, using the Herringbone embossing folder. 

I used a Martha Stewart border punch to make the snowflakes that shake around in the card, using the negative cuts from the punch. 

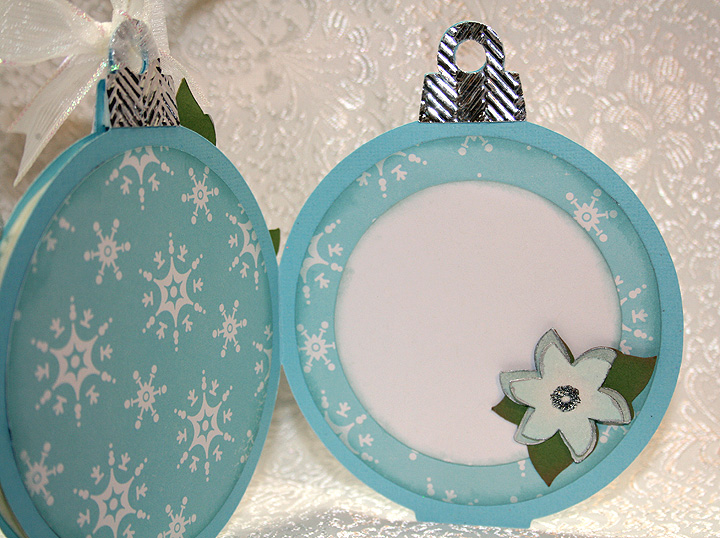
As I did on the penguin ornament card, I put the silver tops on the insides and back of the card.

  • Core’dinations Core Couture cardstock
  • Cricut cartridges:  Christmas Cheer, Cindy Loo, Country Life, George and Basic Shapes Joys of the Season, Very Merry Tags and Winter Woodland
  • Cuttlebug embossing folders:  Herringbone and Snowflakes
  • Martha Stewart snowflake border punch
  • Silver Stickles
  • Krylon Silver Leafing Pen

Grateful Turkey – Jitterbuggin Challenge Sketch 24: Let’s Talk Turkey!

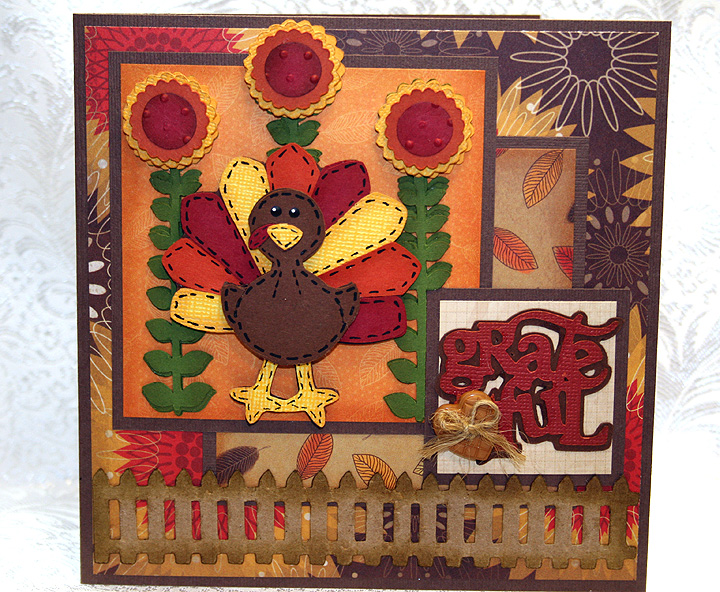
This latest challenge at Jitterbuggin’ asks that you follow the sketch, include a Cricut turkey and add one or more buttons.  I used patterned paper from the Amber Autumn Stack from DCWV.

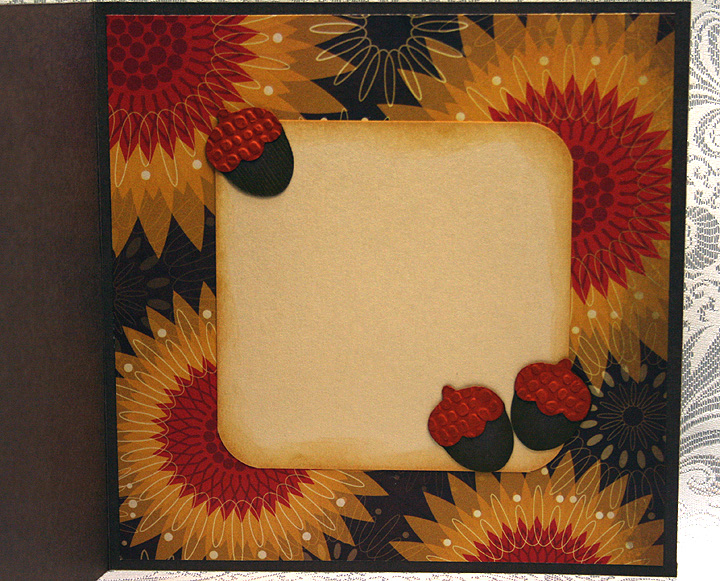
I laid out my card in Design Studio and used the turkey from the Paper Doll Dress Up cartridge.  I decided to have him hiding among some sunflowers, which I cut from “Just Because” Cards.  I used the Swiss Dots Cuttlebug embossing folder on the centers of the flowers.  I cut several layers for the flowers and pop-dotted them on top of each other and then pop-dotted the turkey on top of the flowers.  The fence is from My World and the acorns inside the card are from Create a Critter.  I found the heart-shaped button in my collection and tied a piece of twine through the holes.

I cut the sentiment from Gypsy Wanderings, and this was my first time using my Gypsy to cut something with the Cricut.  I was so pleased when everything went smoothly.

I used the Mesh (#1151) Cuttlebug embossing folder on the tops of the acorns inside the card.

  • Cricut cartridges:  Create a Critter, Gypsy Wanderings, “Just Because” Cards, My World and Paper Doll Dress Up
  • Cuttlebug embossing folders:  Swiss Dots and Mesh
  • DCWV Amber Autumn Stack
  • Button from stash

Penguin Ornament Shaker Card ~ Fantabulous Cricut Challenge Me Monday #35

I was so excited when I found out my Snow Owl card was a winner last week at the Fantabulous Cricut Challenge Blog.  Thank you so much FCCB!

I wanted to be sure and make a card for this week’s challenge, which is a color and shape challenge.  You have to use the color green and a circle — and, of course, a Cricut cut.  If you want to be inspired, be sure and check out all the entries this week at the FCCB.

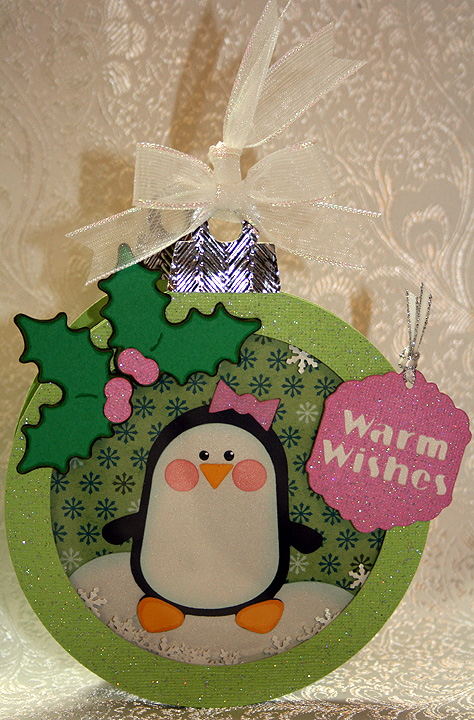
I decided to make a shaker card and this was my first time making one.  The sparkly lime green and pink cardstock is from Core’dinations Core Couture line.  The patterned paper is from the Holiday Stack by DCWV.

I used the ornament from the Joys of the Season cartridge.  I welded two together in Design Studio and also welded a small square at the bottom of each circle piece so that the card could stand on its own.  The little girl penguin is from Simply Charmed, the snowy slopes behind her from Country Life, the holly from Winter Woodland, and the Warm Wishes tag is from Very Merry Tags.

I cut the hanger part of the ornament from silver metallic cardstock and then embossed it in my Cuttlebug using the Herringbone folder.  I cut the snowflakes that shake around from a Martha Stewart border punch.

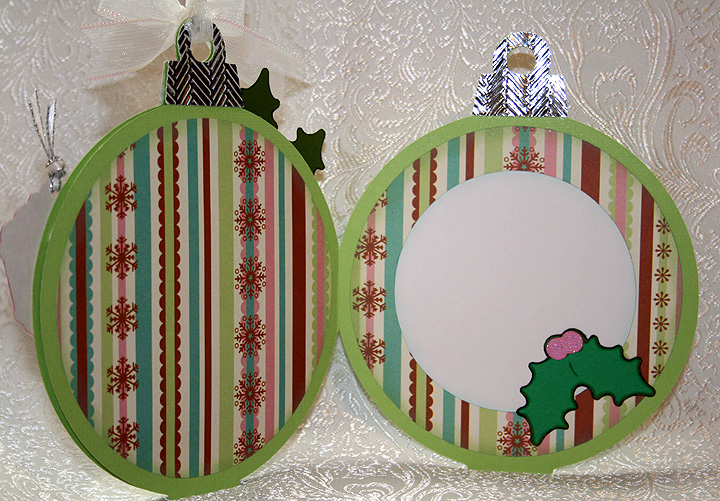
I put the silver ornament tops on the inside of the card too, along with another sprig of holly.

  • Core’dinations Core Couture cardstock
  • Winter Stack by DCWV
  • Cricut cartridges:  Joys of the Season, Simply Charmed, Country Life, Winter Woodland, Very Merry Tags
  • Cuttlebug embossing folder:  Herringbone
  • Martha Stewart snowflake border punch

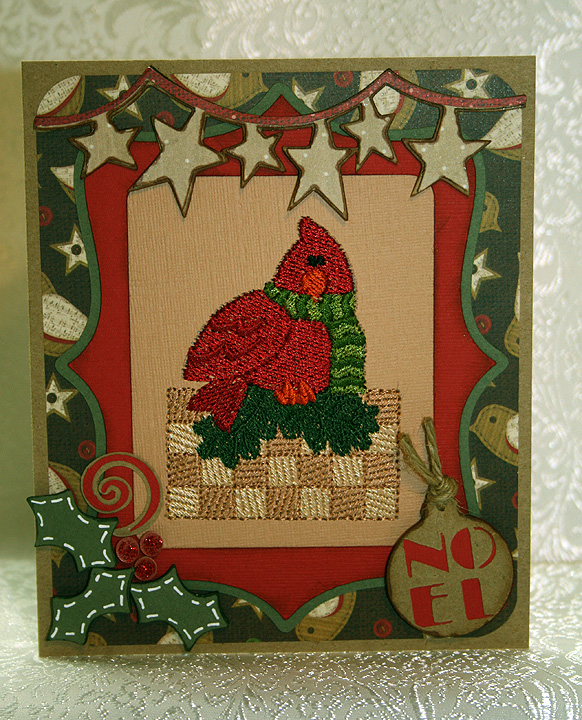
Embroidered Cardinal ~ Cricut Circle Weekly Challenge #6: Feathered Friends

I made this card for the Cricut Circle’s weekly challenge.  We had to create a project with a minimum of two different Cricut cuts, include a bird, and use some stitching, either hand or machine.  Since I have the embroidery business, it only seemed right to include an embroidered piece as my stitching.

I embroidered a little cardinal wearing a warm winter scarf and I stitched him directly onto a piece of Stampin’ Up cardstock.  The patterned paper is from Die Cuts With a View — from their Christmas Combo Stack.  I wanted a homespun look and there is a lot of paper in this stack fits the bill.

The frame around the bird is from the Stamping cartridge.  The star garland is from Joys of the Season, the holly from Christmas Cheer, and the tag ornament is from the Very Merry Tags seasonal cartridge.  I put some twine through the hole of the ornament and added some Stickles to the holly berries.

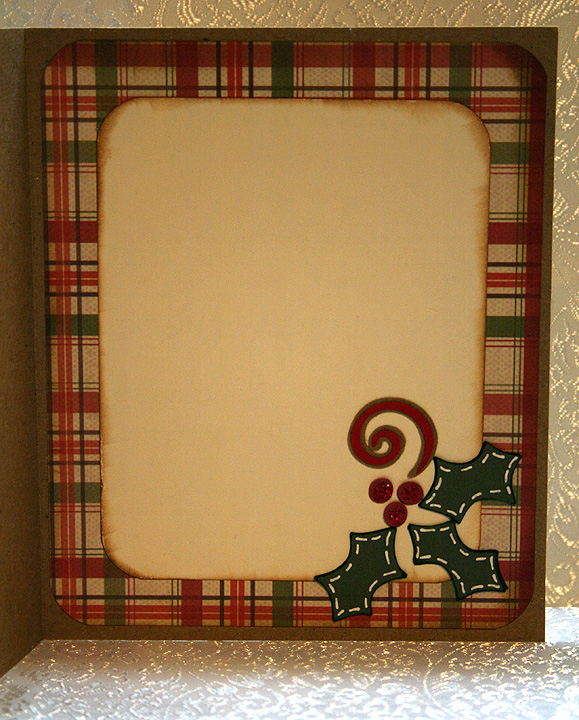
I added some more holly on the inside of the card.

  • Die Cuts With a View — Christmas Combo stack
  • Cricut cartridges:  Christmas Cheer, Joys of the Season, Stamping, and Very Merry Tags
  • Stickles – Christmas red

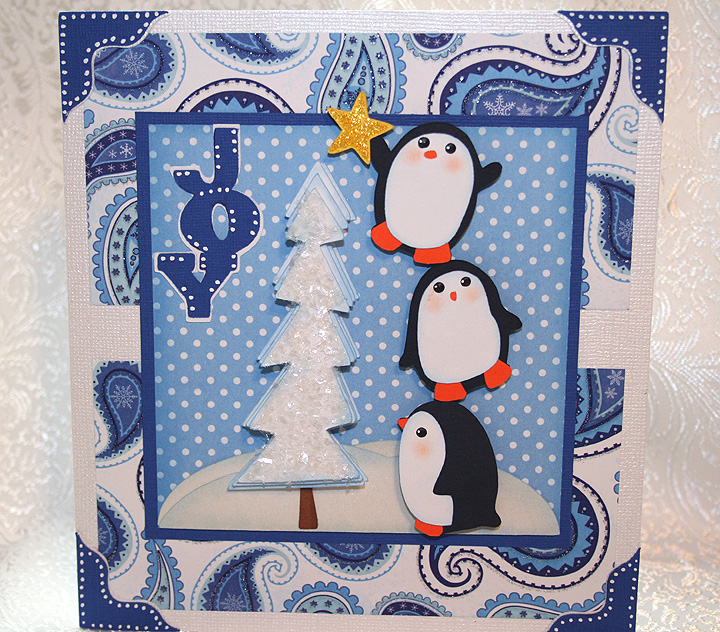
Joyful Penguins ~ Jitterbuggin’ Challenge ~ Up A Tree!

This is my entry for this week’s Jitterbuggin’ challenge.  We were to follow the sketch, use a tree, and add something yellow.

The patterned paper is from DCWV’s Winter Wonder Stack and the solid cardstock is Bazzill and Stampin’ Up.  I used my Cricut for all the cuts.  The tree and star are cut multiple times and layered using the Christmas Cheer cartride.  The little penguins, who are so busily decorating the tree, are from Zooballoo and they are also cut multiple times and pop-dotted on the front.  The snowy slopes in the background are from Country Life, the corners from Jasmine, and the sentiment is from Don Juan.  I welded the letters together using Design Studio.  I used Martha Stewart snowy glitter on the tree and yellow Stickles on the star.

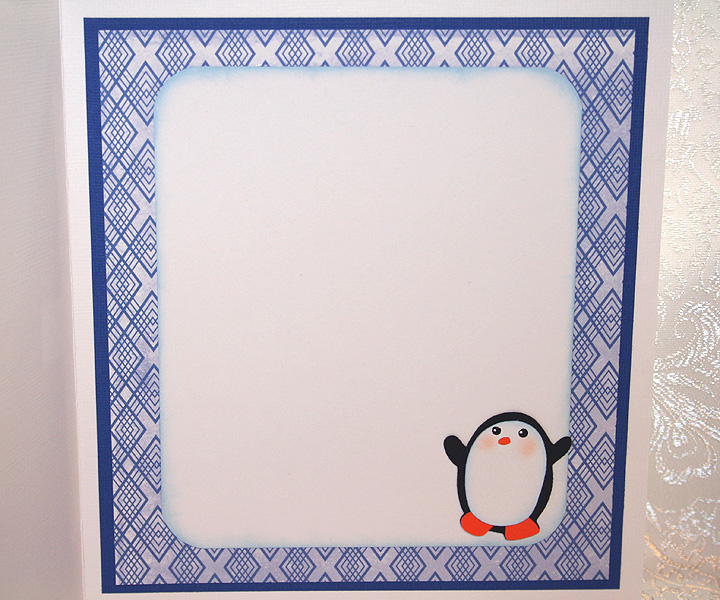
For the inside of the card, I added one more of the little penguins.

  • Cricut cartridges:  Christmas Cheer, Country Life, Don Juan, Jasmine, Zooballoo
  • DCWV Winter Wonder Stack
  • Martha Stewart snow glitter
  • Yellow Stickles

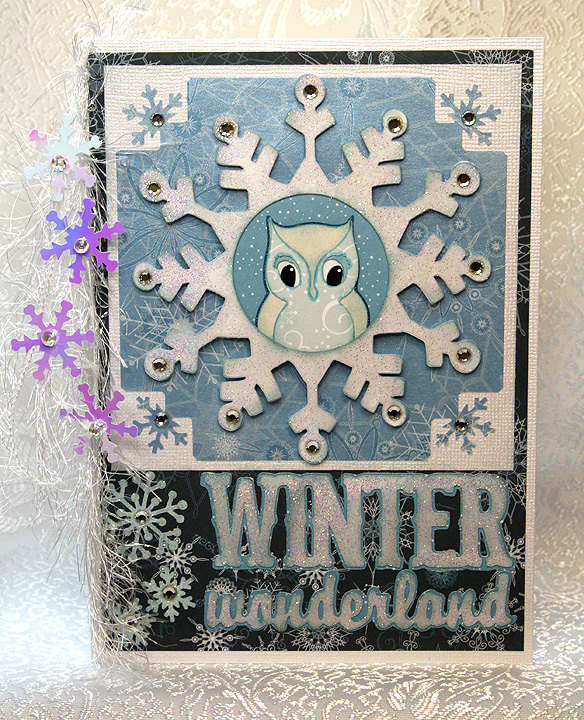
Snow Owl ~ Winter Wonderland

It has been quite a while since I made a card.  Erin, my darling daughter and the other half of this blog, came out to visit from Taiwan for a month.  We spent a lot of time at Disneyland and had lots of fun.  And we did a lot of shopping.  We went to Michaels so many times — even hit three different stores in one day.  On one of our last shopping trips, we both bought a Cricut Gypsy.  Thanks to so many online tutorials, I am slowly learning how to use it. 

For this card I used my favorite Cricut owl cut, which is from the Disney Happily Ever After cartridge.  I decided to make him a snow owl and wanted the card to be all sparkly and pretty.  The solid cardstock for the card base is Bazzill Bling and the patterned paper is from Heidi Grace, the Frost Blvd collection.   

I cut a snowflake from When It’s Cold Outside and cut a circle in the middle of it so the little owl can look out.  The sentiment is cut from Winter Woodland.  I heat embossed both cuts all over using a Versamark Dazzle stamp pad and Ranger holographic embossing powder. 

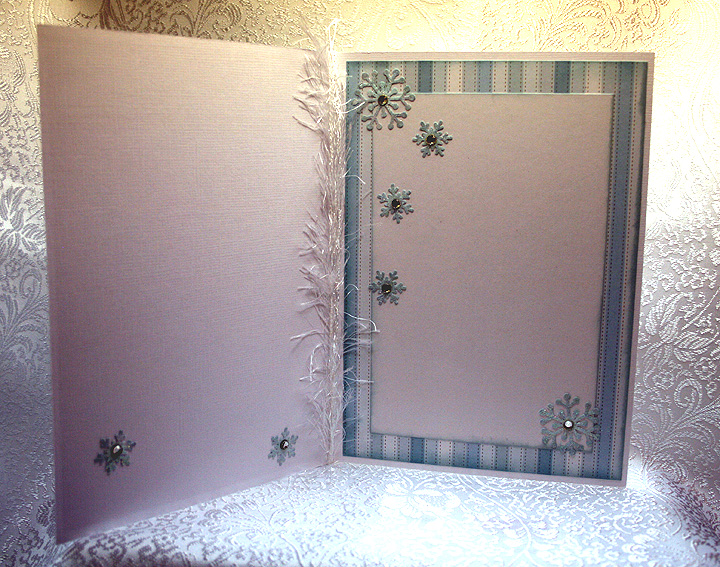
I used a Martha Stewart corner punch from the Snowfall Punch Around the Page combo for the snowflakes on the corners of the light blue square.  I used two other Martha Stewart snowflake punches to add some extra snowflakes by the sentiment and on the inside of the card.  And I added a lot of rhinestones.

The final embellishment I did was to wrap some yarn around the fold of the card.  I love mini albums and the ribbon and charms that hang from the binding, so I attempted to duplicate that look.   After wrapping the yarn around the card, I threaded some snowflake sequins and beads on thread and attached the thread to the yarn. 

For the inside of the card, I sprinkled snowflakes on both sides and added more rhinestones.

I am going to enter this card in two challenges.  The first is Jitterbuggin’s Wise Guys challenge and this week the sketch is optional.  The only requirements are to use a circle and a square, include an owl and a Cricut cut.

The second challenge is Fantabulous Cricut’s Challenge Me Monday #34, Bird Bonanza.  For this challenge you have to create a project that has something to do with a bird. 

  • Bazzill Bling cardstock
  • Heidi Grace patterned paper, Frost Blvd collection
  • Cricut cartridges:  When It’s Cold Outside, Happily Ever After and Winter Woodland
  • Versamark Dazzle stamp pad
  • Ranger holographic embossing powder
  • Rhinestones, snowflake sequins and yarn from my stash

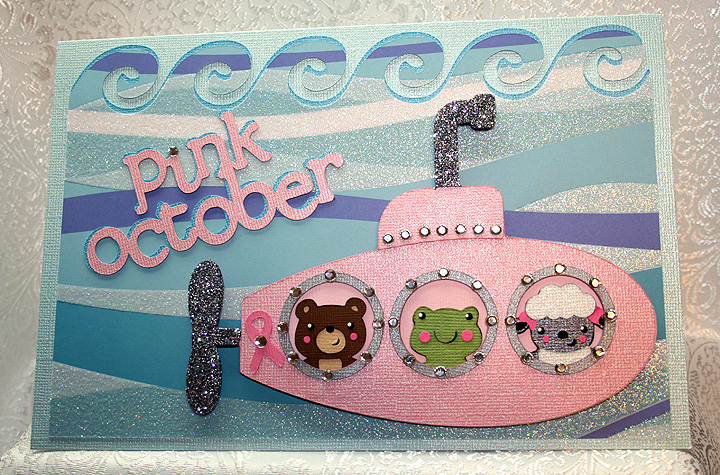
Pink October – Hunt For The Cure – Cricut Circle Blog Weekly Challenge #2: THINK PINK!

The challenge this week for Cricut Circle Members is to make a project using at least two Cricut cuts and use pink, ruffles, scallops, flourishes, glitter and jewels (have to use any 3 on your project).  My project is a card and I got the idea from the movie, The Hunt for Red October.

The solid cardstock is from Bazzill and the pattern paper is from me and my Big ideas.  I welded the wave border from the Life is a Beach Cricut cartridge on a rectangle from George and Basic Shapes.  The submarine is also from Life is a Beach, the letters from Lyrical Letters, the critters from Create a Critter, and the awareness ribbons from Stand and Salute.

I used Martha Stewart graphite glitter on the propeller and the periscope and used lots of rhinestones on the card.

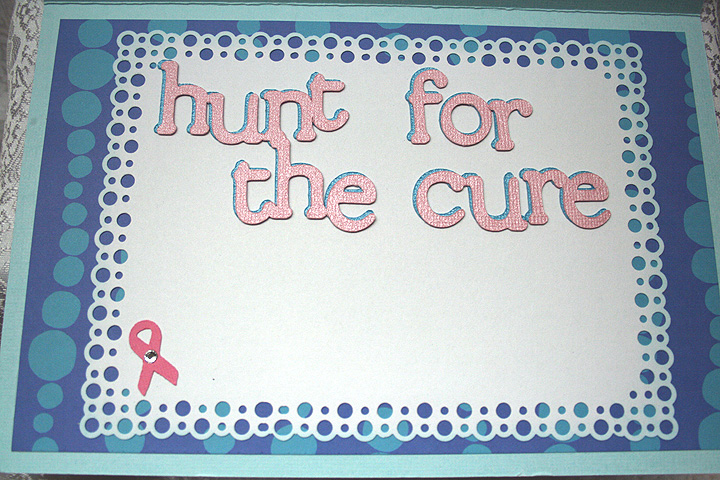
On the inside of the card I used a Martha Stewart Punch Around the Page set called Bubble Bath.

  • Cardstock:  Bazzill and me and my Big ideas
  • Cricut cartridges:  George and Basic Shapes, Life is a Beach, Lyrical Letters, Create a Critter, Stand and Salute
  • Martha Stewart glitter (graphite)
  • Martha Stewart Punch Around The Page set, Bubble Bath
  • Rhinestones

Challenge Friday: Eerie – Weekly Challenge #1 at the Cricut Circle Blog

I am a member of the Cricut Circle, a select community of Provo Craft Cricut enthusiasts.  The new Circle blog was launched on October 1 and will be open to the public for the first ten days.  After that it will be available to Circle members only.

The blog is featuring weekly challenges and the first one began the day the blog launched.  This challenge is open to Circle members and requires you to use two cuts from the French Manor cartridge, an exclusive members-only cartridge.   You also had to use pearls or jewels on your project.

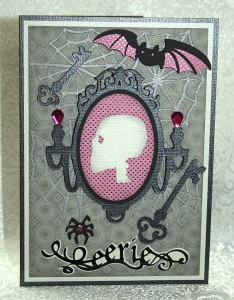
I created a Halloween card using DCWV’s Black Currant cardstock stack.  The solid color cardstock is from Bazzill.  I used French Manor for the mirror and the keys.  The bat, skull, spider and “eerie” sentiment are from the Happy Hauntings cartridge.  The spider webs are from Wild Card.  I used Stickles on the bodies of the spiders and added some teardrop-shaped jewels above the sconces on the mirror.  I bought the jewels at Joann’s (in the $1 bin) the night I did the card, not knowing at the time that they would work so well with the design. 

A few days ago, a Circle member (Capadia) posted a helpful tip for cutting small letters.  She suggested cutting them from vinyl.  You can find her post on her blog here.  I cut the “eerie” letters using vinyl and it worked perfectly, right down to the tiny dot for the “i”. 

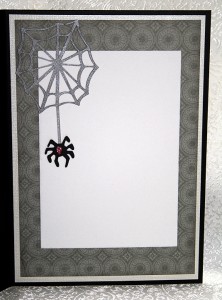
On the inside of the card, I layered some cardstock and added another spider and web.

  • DCWV Black Currant stack
  • Bazzill Bling cardstock
  • Black vinyl (scrap) for sentiment
  • Cricut cartridges:  French Manor, Happy Hauntings, and Wild Card
  • Jewels from Joann’s ($1 bin)
  • Ranger Stickles – pink

How Sweet It Is – Caramel Apple

The challenge at Jitterbuggin this week is to follow the sketch, use red, green and yellow, use an apple, include something black and, of course, use the Cricut.  I am also entering this card in My Sheri Crafts Challenge #23 – Autumn. 

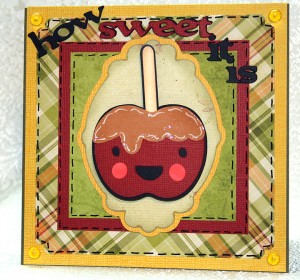
My card is titled “how sweet it is” and I used the Hannah Montana cartridge for the font, which I cut in black.  I then cut “sweet” out in red and glued over the black.   The oval frame is cut from Lacy Labels, a Lite cartridge from Walmart.   The apple is from Create A Critter and I caramelized it by using a dripping scoop of ice cream from the Sweet Treats cartridge.  I used Design Studio to tweak the ice cream to conform to the top of the apple.  I cut the stem and leaves of the apple off and added a stick to complete it.  I coated the caramel with Glossy Accents to give it a sheen.  I used a Marvy corner punch on all four corners of the plaid background and added a yellow skittle to each corner.  The doodling was done with black and white Sharpie Poster-Paint markers.

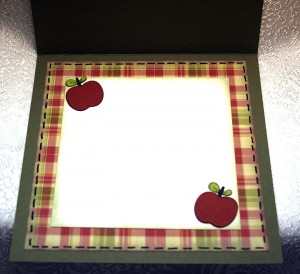
For the inside of the card, I used the same apple (cut without the facial features) and left the stem and leaves on. 

  • Cricut Design Studio
  • Cricut cartridges:  Create A Critter, Hannah Montana, Lacy Labels Lite, and Sweet Treats
  • Ranger Glossy Accents
  • Marvy corner punch
  • Sharpie Poster-Paint markers
  • Skittles