Thank you for stopping by my blog. To celebrate National Scrapbook Day, some of the crafty members of the Cricut Circle are posting projects and activities on the message board all weekend long.
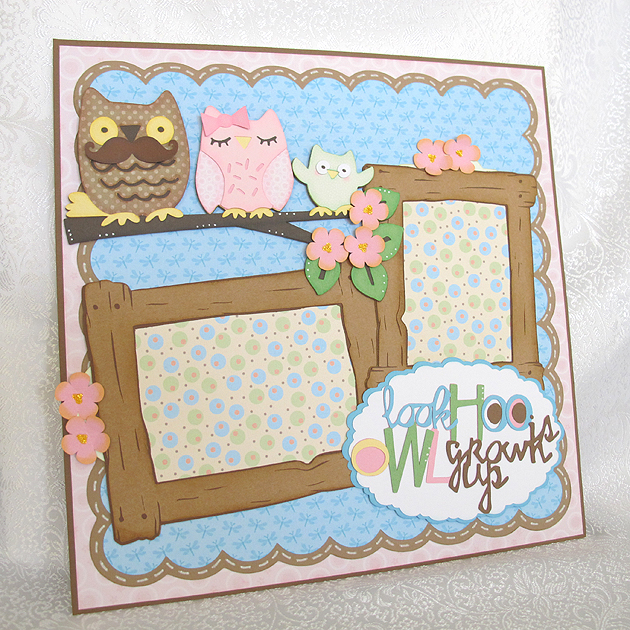
I created a challenge for my project and would like to share it with you. My theme is owls — and the challenge is pretty simple, just create a project with an owl on it. I made a layout using a cute owl family from Hoot ‘n’ Holler.
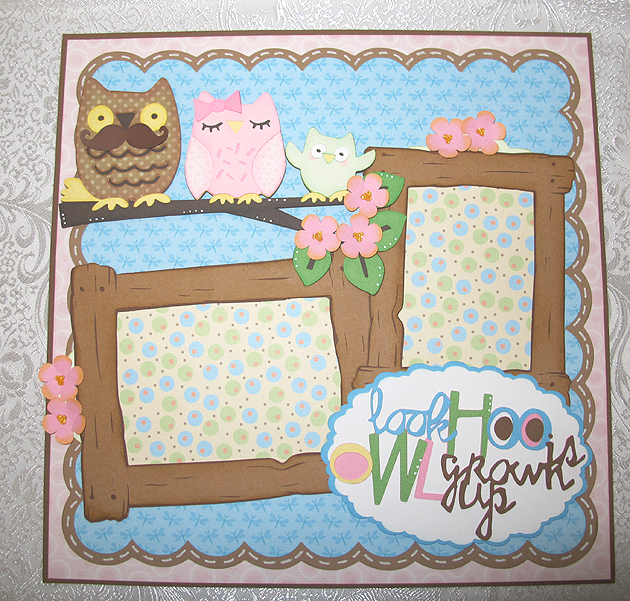
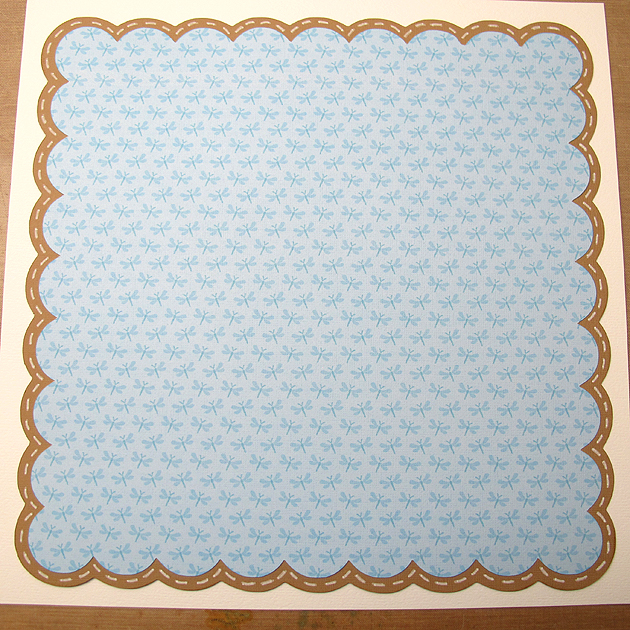
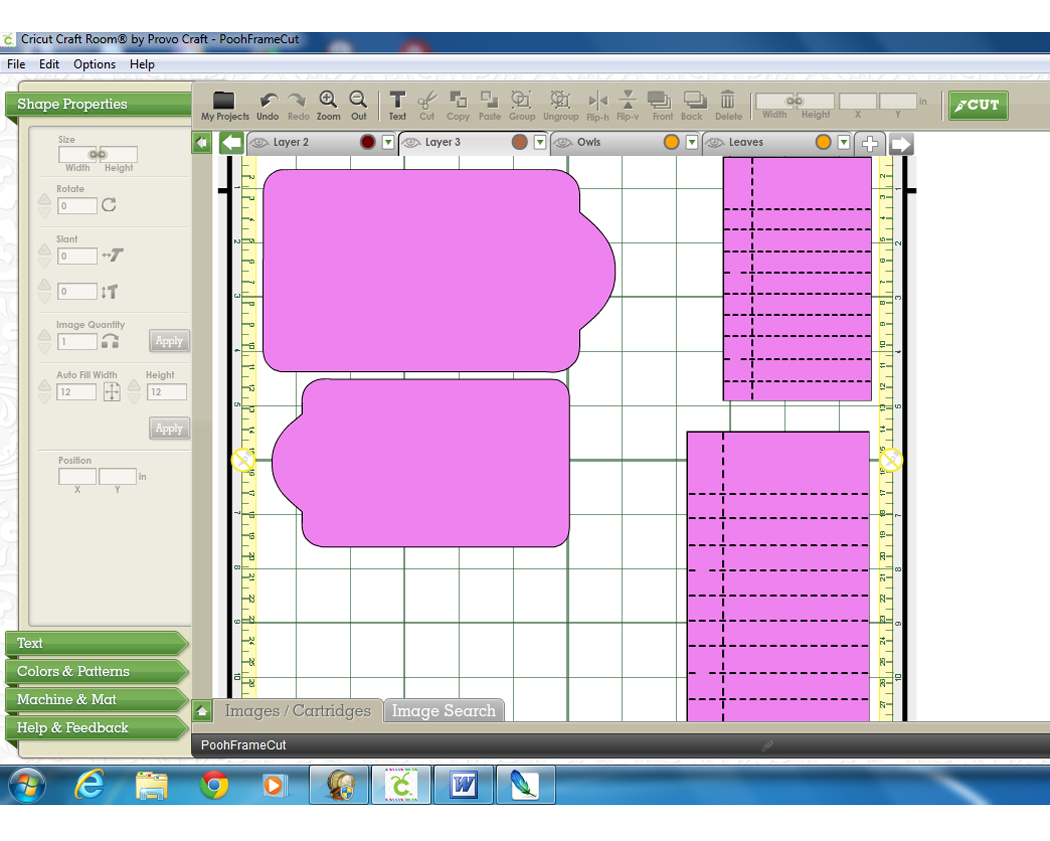
I laid out my design in Cricut Craft Room. The patterned paper is printed on my Imagine using the Nursery Tails cartridge. The solid cardstock is from Bazzill. I began with Elegant Edges for the scalloped square in the background, cut at 10.5″, using <sclop2-s> and the shadow feature. I used a white Sharpie poster paint marker to make the “stitch” lines around the square.
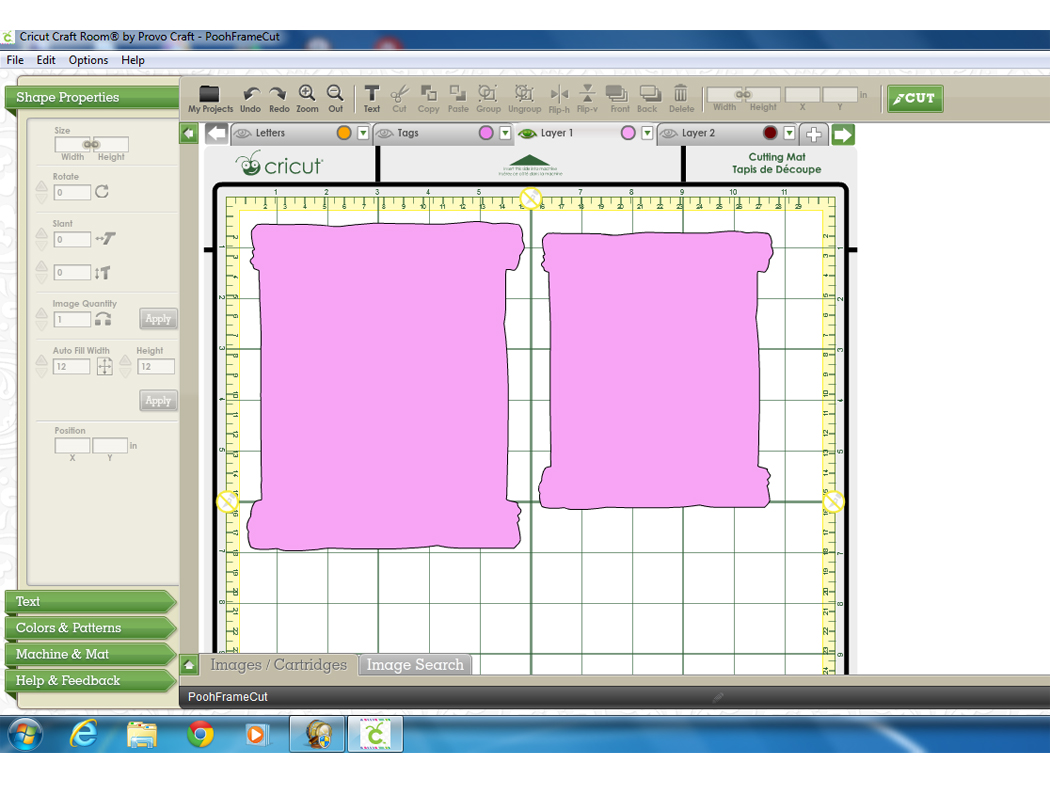
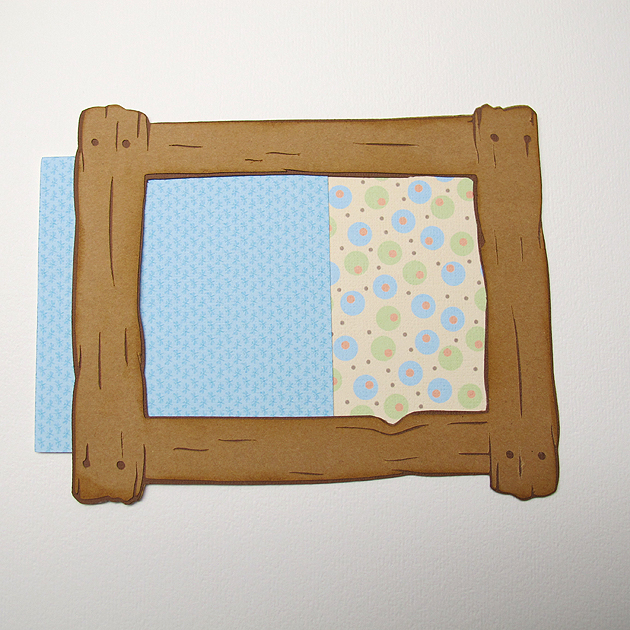
Next I cut the two wood frames from Pooh & Friends at 5.5″ and 6.5″. The frames are three layers — the basic feature and then two on the blackout feature. For the piece cut using the printed paper, I hid the inside cut lines in CCR, so the piece was solid — it did not look like a frame. Here is a picture of what it looks like in CCR.
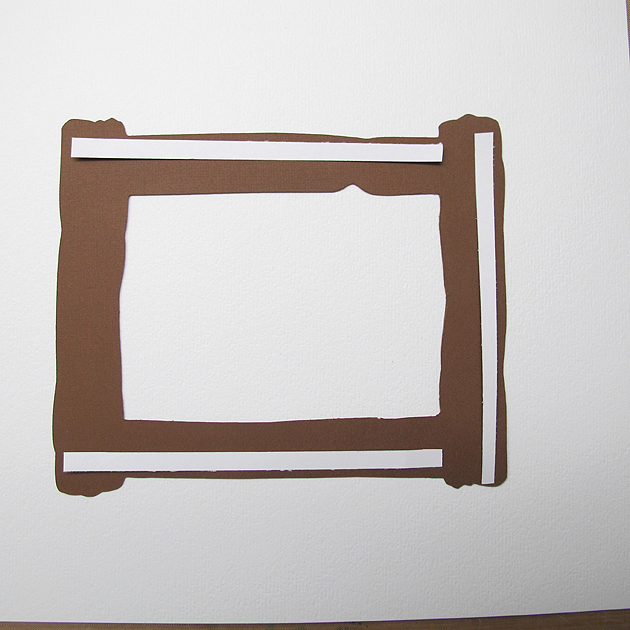
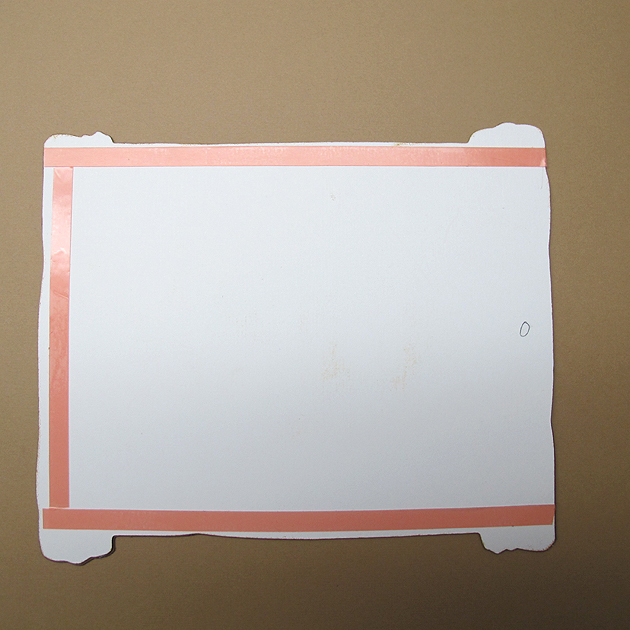
I first assembled the basic cut and the blackout frame feature, adhering them together. Then I prepared to glue the frame to the printed frame piece. I wanted to leave an edge open so the picture could slide inside, so after deciding which end I wanted to leave open, I glued the frame to the mat on three sides only. I used a liquid glue, but for the photo I laid some papers on the frame to show you were I put the glue. I did this to both frames.
You can see in this photo how the pictures will slide into the frames. I used a piece of scrap cardstock for demonstration purposes.
Next was adhering the frames to the layout. Since I wanted to hide tags behind the frames, I put the adhesive on the back of the frame the same way — gluing only 3 sides. I marked the back of my frame to indicate which side was open for the photo, so I could be sure and leave the same end open for the tag. I used the red sticky tape to adhere the frames to the layout.
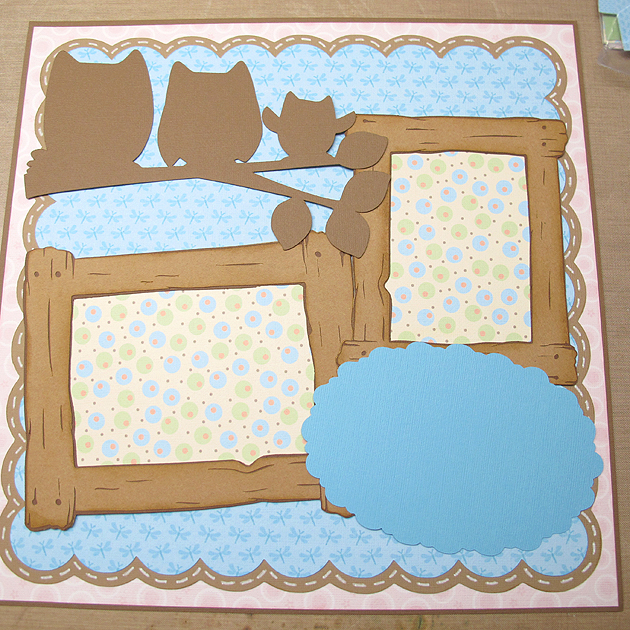
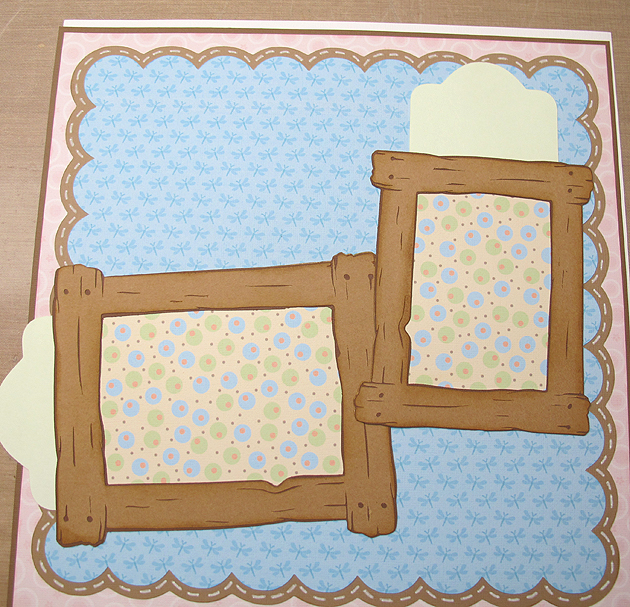
Before attaching the frames to my background, I laid the cut pieces on it to get an idea where I wanted to place the frames. I made light pencil marks on the background to guide me in the placement.
I then checked to make sure the tags slid into the pockets behind the frames.
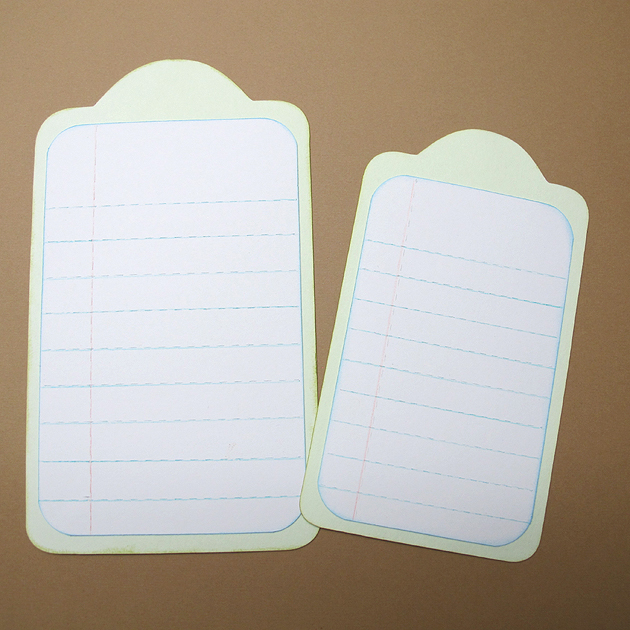
I made the tags to fit behind the frames, adjusting them in CCR to get the proper fit. I used Tags, Bags, Boxes & More and the cut is <rndtop2>. The large tag is 6.5″ x 3.75″ and the small one is 5.5″ x 3.125″. The lined notebook paper is from Simply Charmed, cut at 2.75″ x 4.5″ and 3.375″ x 5.375″, with the facial features and holes hidden. This is a screenshot of the CCR file for the tags.
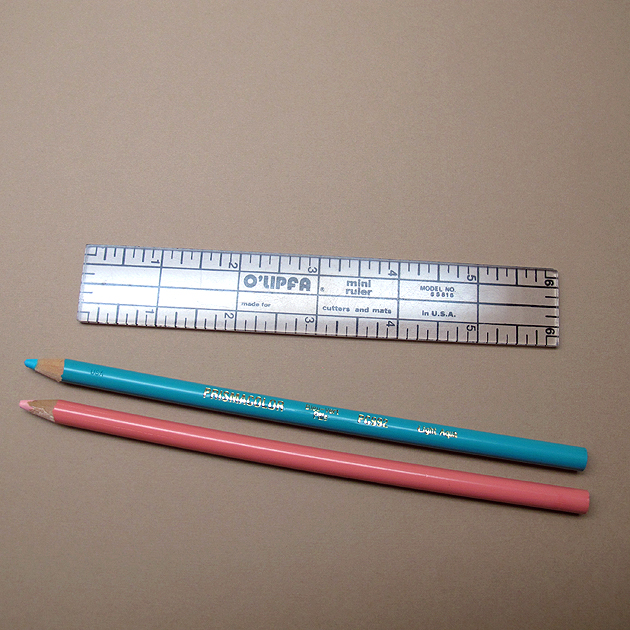
I used a punch to round the corners and a ruler and colored pencils to go over the score marks on the paper to make it look like actual notebook paper. I just lightly held the pencils to the paper.
I adhered the notebook paper to the tags.
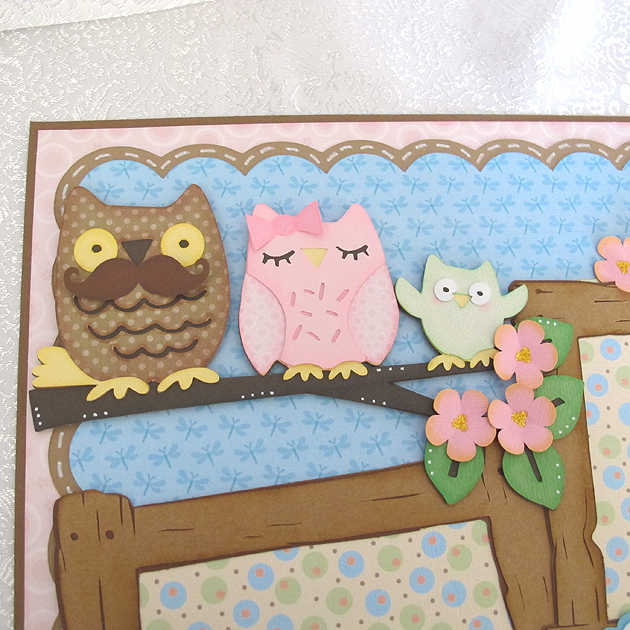
Next up was the owl family. They were cut at 5″ using Hoot ‘n’ Holler. After I cut all the pieces, I used chalk and ink to shade them. I went over all the edges with chalk first, using a pom pom and chalk applicator. Then I inked the edges using Distress Ink.

I assembled each owl first and then glued them onto the branch. I bought a mustache punch a couple of weeks ago, so I had to try it out on Papa owl. I think he looks pretty dapper with it. The bow on Momma owl’s head is from Simply Charmed. I attached the leaves next.
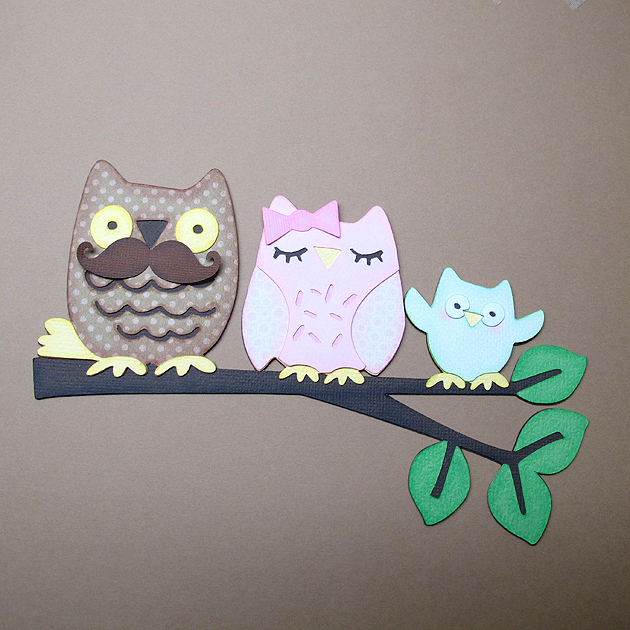
After adhering all the owls and leaves onto the branch, I attached the branch to my layout. The owl cut did not include the flowers. I used Cricut Essentials, cutting Flower 4 at 1″. I cut three for the branch and four for the tags. I used Distress Ink (Squeezed Lemonade) to ink the edges of the flowers and Stickles for the centers.
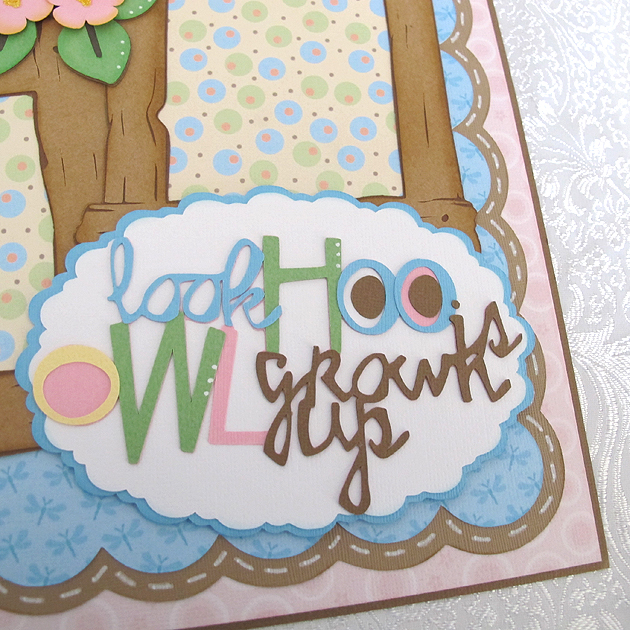
The title is from Hoot ‘n’ Holler, cut at 3″. The scallop oval is from Francy Frames and the cut is <fram13lr>. I hid the inside cut so I ended up with a solid piece. I resized the oval to fit the title and it measures roughly 5.625″ x 3.75″.
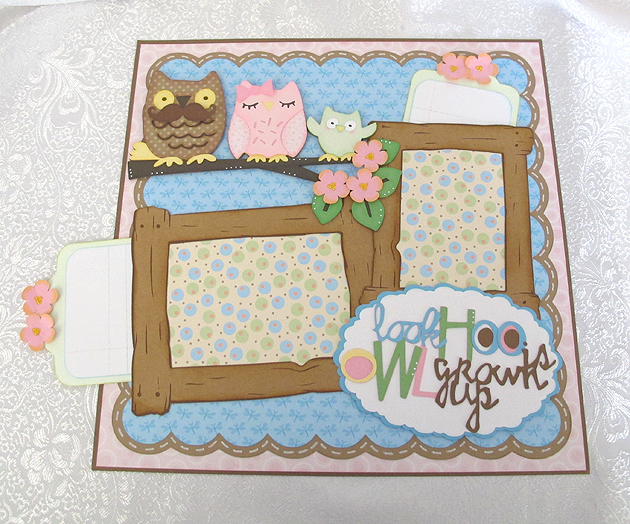
Here is a picture of the completed layout with the tags pulled partially out. Hiding journaling tags behind your photo mats is easy to do.
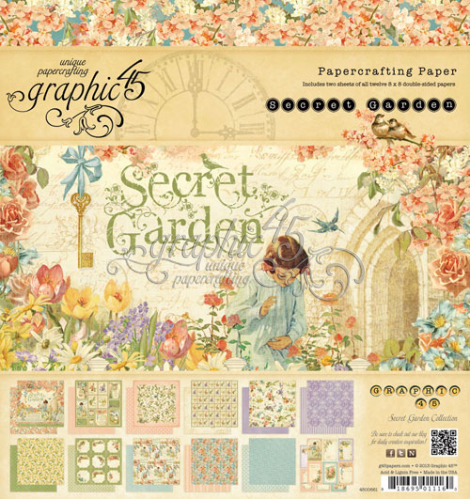
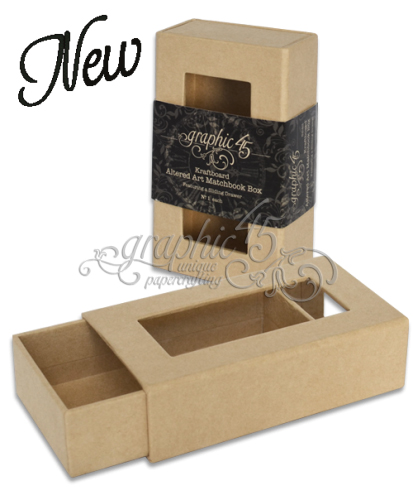
To top off the fun, I am offering a prize for comments here on my blog. All you have to do is leave a comment, but only one per person will go into the drawing. I will leave it open for a week, until May 12 at 8 p.m. (EDT), when I will randomly draw a name. I am giving away some Graphic 45 goodies — an 8″ x 8″ Secret Garden paper pad and a small matchbook box.
I am sharing a list of some of the talented members of Circleville who have joined together for the weekend festivities and invite you to visit their blogs and see their wonderful projects:
-
With Glittering Eyes – 8AM EDT Saturday, May 4, 2013 “It’s All About Perspective” Tutorial and Blog Prize – $20 Hobby Lobby Gift Card!
-
Around the Block with Scrapalette – 11AM EDT Saturday, May 4, 2013 “Tic Tac Toe Challenge and Blog Prize!
-
Col’s Creative Corner – 1PM EDT Saturday, May 4, 2013 “Ease on Down the Road” Blog Prize- $15 Michael’s Crafts Gift Card!
-
Paper, Craft and Scissors – 3PM Saturday, May 4, 2013 “On Pins” theme and Blog Prize – $25 Simon Say Stamp Gift Card!
-
Stamp, Cut, Create! blog – 4PM EDT Saturday, May 4, 2013. “Tin Is In” theme and Blog Prize!
-
The Non-Crafty Crafter – 8PM EDT Saturday, May 4, 2013 “Let’s Split- CCR Tutorial” (Learn to create a split letter monogram) and Blog Prize!
-
Scrappin With The Bug blog – 10PM EDT Saturday, May 4, 2013 “The Crazy Bs Challenge” and Blog Prize!
-
Sara W. Andrews blog – 9AM EDT Sunday, May 5, 2013 “Go Big or Go Home Challenge” and Blog Prize – $20 Hobby Lobby Gift Card!
-
Scrappin With the Bug blog – 11AM EDT Sunday, May 5, 2013 “Tropical Sunset Color Challenge” and Blog Prize!
- I Came, I Saw, I Created blog – 6:30PM EDT Sunday, May 5, 2013 “Did-I-MENSION???” Challenge and Blog Prize!
Cricut cartridges used: Elegant Edges, Fancy Frames, Hoot ‘n’ Holler, Nursery Tails (Imagine), Pooh and Friends, Simply Charmed, Tags, Bags, Boxes & More
-
Bazzill cardstock
- Distress Ink
- Chalk
- Stickles


Beautiful layout. I love the mustache on the papa owl!
Love the layout! Thanks for walking us through how you did it step by step. It definitely helps those of us who are not so talented!
O M G! I absolutely LOVE LOVE LOVE this layout (surprised? probably not because everyone knows I have an Owlsession! LOL
Your LO is soooooooo cute and love mustache on the owl.Thank you for the tutorial.
After seeing your project on the Circle messageboard you inspired me to dig out my cartridges and find an owl. I have my project done and will share later once I take a picture. Your layout is soooo cute. Love the hidden journaling spots.
Great layout & challenge for our Circleville NSD celebrations!!!
Carrie – I thought of you when I saw all these duded-up owls…I knew you’d love it!
I adore this layout! Can those owls be any cuter? Thank you for the great tutorial. Owl be seeing you in the Circle!
Colleen
I absolutely love this layout! The mustache on the papa owl is way to funny and cute!
Your layout is adorable! I also love the prize you are offering and appreciate the chance to win!
I LOOOOOVVVVEEE your layout. Super cute! You gave a lot of information on how you combined and altered cuts to create such a wonderful page. Thank you for taking the time to share.
CUTE! CUTE! CUTE! I LOVE your layout! As luck would have it I have all of the carts you used for your project. I love how you altered the cuts. I want to try the notebook paper for sure. It would make a cute board outside my classroom to put my name on. those owls would be adorable on it, too. TFS!
D- dmcardmaker (AOL)
http://designsbydragonfly.blogspot.com
Dragonfly50 (Cricut MB)
It is a very cute layout! .is so neat and clean too. Thanks for the contest.
Diane AKA Scraplifter1
This is so cute. All the elements just fit together. The flowers and mustache where great touches. Thanks for sharing and a chance to win.
beauiful layout. thank you for reminding me to use my chalk sometimes. i looks wonderful
Great layout! The mustache make me giggle.
Too, too cute!!!! I love that you put a mustache on the owl!!! What a hoot! hahaha This was a great challenge — thank you for doing it!
So cute…..love the family of owls! I am new to scrapbooking and love visiting everyone’s blogs for ideas! Thanks for sharing!
What a darling page! Love these colors together.
Super cute layout! I like the mustache on the owl 🙂
Love, love, love this layout! The mustache on the owl is perfect and love the papers you used and the hidden tags. This challenge made me use another cart I hadn’t yet touched. Thank you! Thank you! Fabulous project!
I love owls, and your use of them in the layout is sooo cute….esp the way you defined them (ie, the mustache). And the color mix is fantastic, too!
mj
I love your project. The owls are so cute and have great personalities.