Archives for April 2013

Cricut Circle Weekend Challenge Card


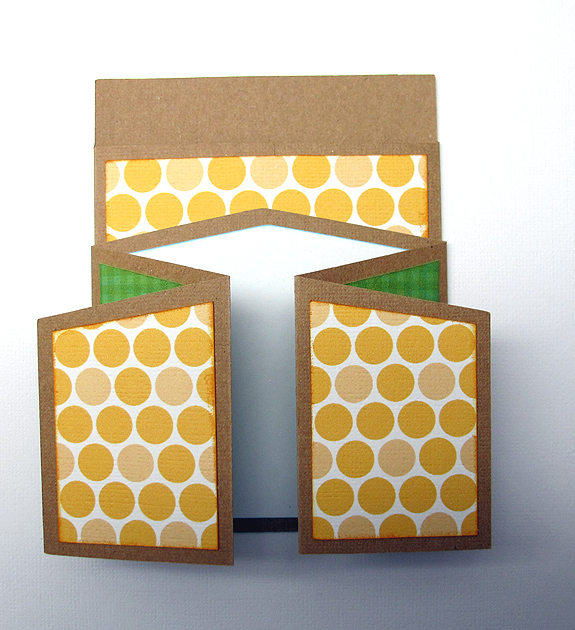
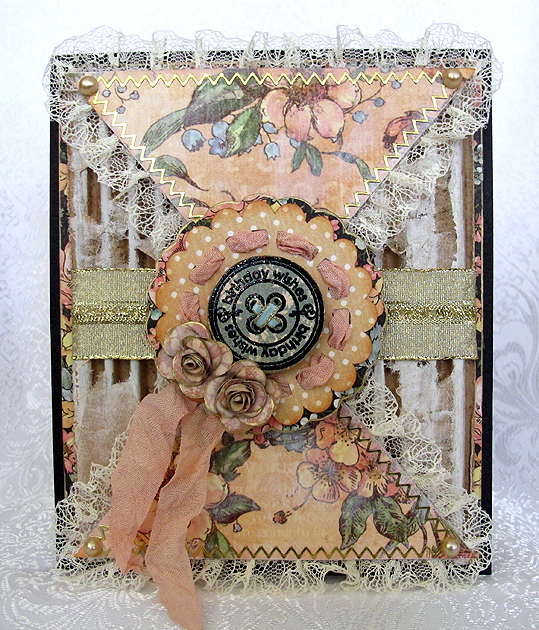
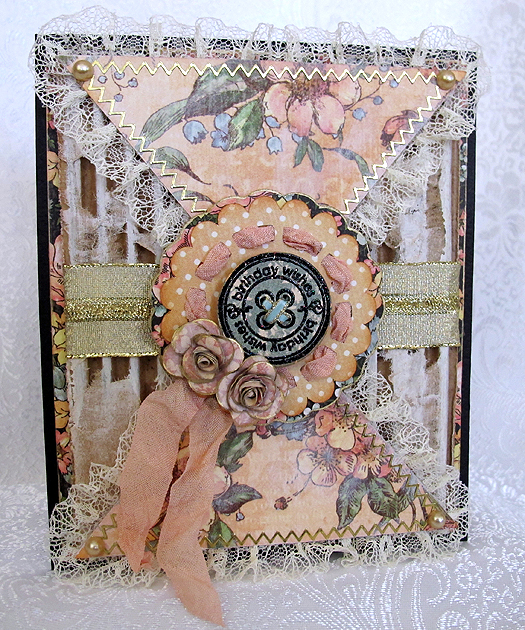
This is a quick card I did for a weekend challenge on the Cricut Circle message board.  Di challenged us to create a project using several tones of the same color.

I decided to go the easy route and went to my Imagine library for my papers, since it would have taken me hours to dig through my paper collection trying to decide what I wanted to use.  I used the Hey Diddle Diddle cartridge and printed out several different pink prints.

Front

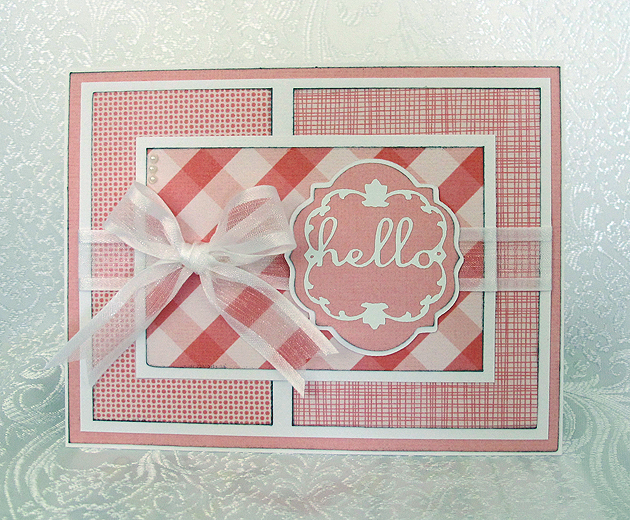
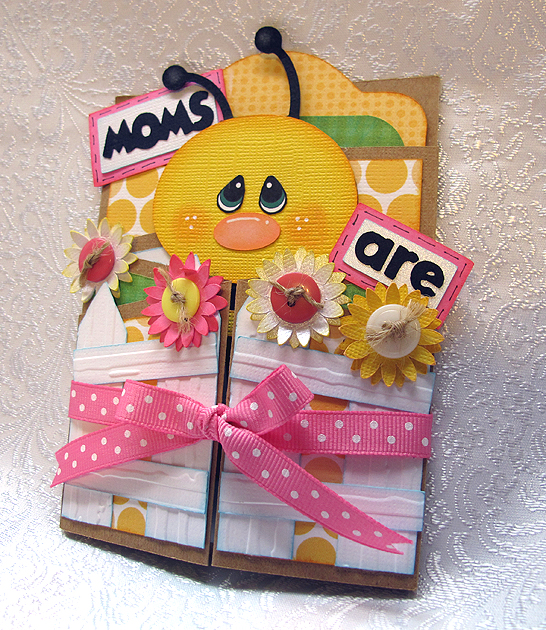
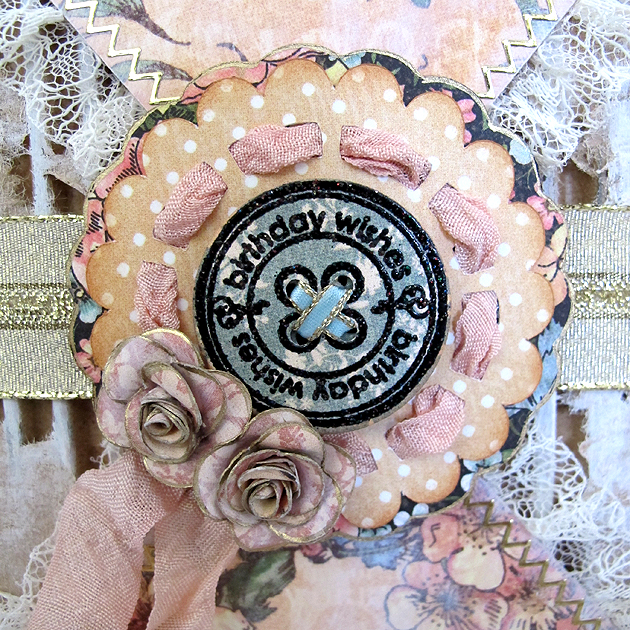
The sentiment was cut from the Lacy Labels Lite cartridge at 2″.  The white letters at that size are very intricate, so I cut that layer from white vinyl.  I like using vinyl for intricate cuts because it is like making a sticker – I don’t have to apply any glue to the cut.  At that small a size, I would smear glue all over.  I do take a little stickiness off the transfer tape by sticking it a couple of times to a piece of cloth before applying it to the vinyl.  That way it doesn’t stick too tightly to my paper piece when I apply the vinyl.

Front4

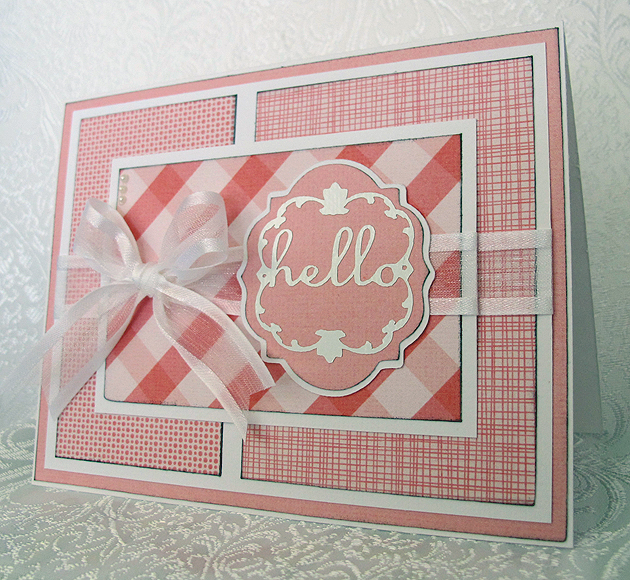
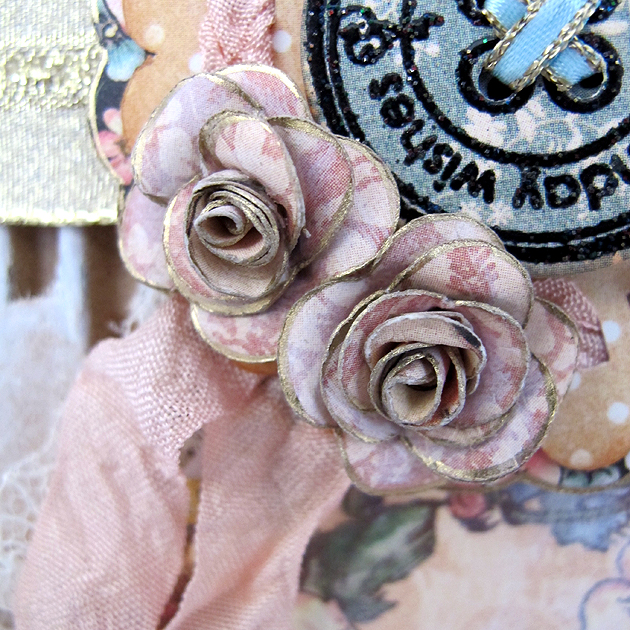
I added some ribbon to two of the layers and then a bow to the top layer.  I also put three small pearls in the upper left corner.

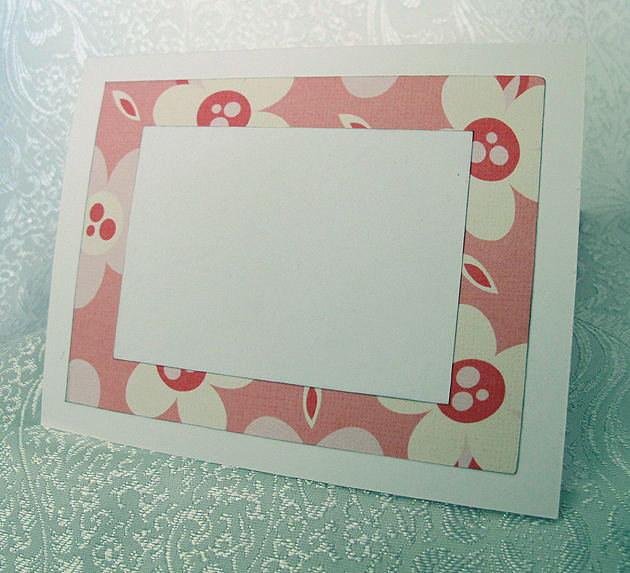
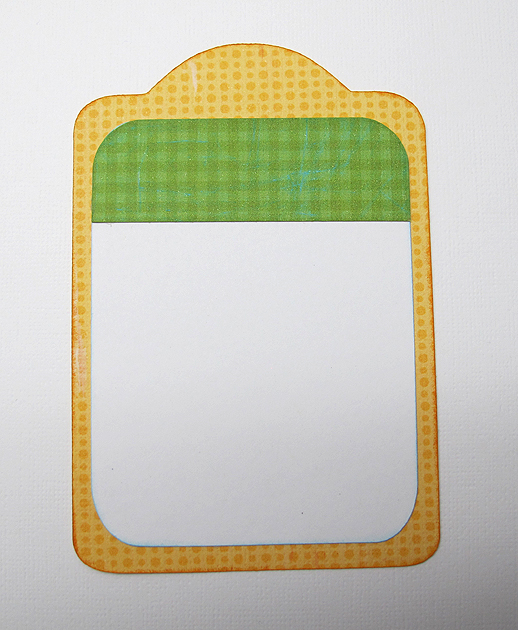
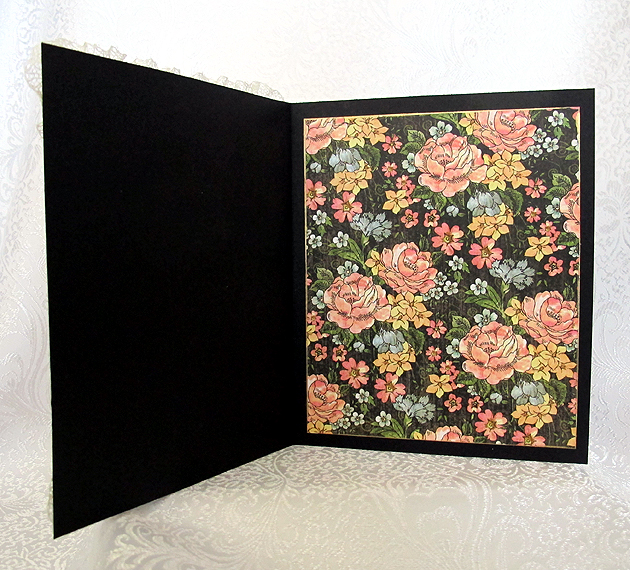
The inside is another piece of the pink print paper with a white piece on top for writing.

Inside

  • Cricut cartridges used:  Hey Diddle Diddle Imagine and Lacy Labels lite
  • American Craft cardstock
  • White vinyl
  • Pearls
  • Ribbon

Cute Bee Card Created in Cricut Craft Room


I spent most of this weekend creating this card in Cricut Craft Room.  I found a cute paper piecing card from Treasure Box Designs and fell in love with it.  When I saw the card, I wondered if I could create it in Cricut Craft Room.  I thought the cute bee on the Create a Critter cartridge would be perfect for it.

When a challenge was posted on the Cricut Circle message board to create a project in conjunction with Circle Mania that was going on in Atlanta, I decided to get cutting.  I was so happy that my design for the base of the card worked the first time I cut it.  I’m not sure how to describe this card, maybe a gate-fold card with a pocket for a tag in the back.

Card

Open

I cut the card base from kraft cardstock.  This is what the piece looked like after cutting and scoring.  And maybe you can see why it took me so long to design this card — I was doing a lot of figuring!  I used George and Basic Shapes and Cricut Craft Room Basics to design the card base.

ScoredPiece

 After scoring, the first step was folding the edges of the pocket towards the center.

FoldPocket

 I printed all the patterned paper for this card on my Imagine.  I love that I can print the exact paper that I want when creating a project.  I used three cartridges for the paper, Bubble Gum Stripes for the gold circles, Blast Off for the green checks, and Hopscotch for the gold print on the tag.

I adhered the piece over the pocket, being careful to not glue the bottom.  I applied glue to the top and side edges only.

GluePaperPocket

Next I folded the bottom piece up towards the top.  I glued the center section of the bottom piece and attached it to the pocket.  Again, I only glued three sides — the top and two sides.  I did not glue the bottom.

FoldUpBottom

The next step was attaching the patterned paper to the panels on the card.  I cut two of the gold circles for the very front pieces and four of the green checked paper.  I attached a white piece of paper to the center panel.  It then looked like this.

GluePaperFront

I adhered two green checked pieces to the back of the panels, as they show on the front when the card is folded.  This is a view of the back of the card, showing the two panels.

GluePaperBackSide

And here is what it looks like from the front, with the panels folded up.

GluePaperNoTag

The tag was cut from Tags, Bags, Boxes & More.  The dimensions of the tag are roughly 3 3/8″ x 5 3/8″.  I adhered the white panel to the tag.  I also cut a piece of green checked paper for the top and rounded the upper corners with a punch.  I adhered that to the white panel on the tag, so the white didn’t show when the tag is in the pocket.

Tag

The fence posts are also from Tags, Bags, Boxes & More.  They are the pointed tag, just made skinny and with the hole hidden.  I cut four of the posts, with two of them being slightly taller.  Those I adhered to the center front of the card.  I ran the fence posts through the Cuttlebug using the Distressed Stripes folder before gluing them down.

GlueFence2

Next, I assembled the bee, flowers and letters.  The flowers were cut at 1″ using Flower Shoppe, using two layers for each flower.  I inked the edges and curled up the petals on the top layers.  I ran some twine through buttons and glued them to the center of the flowers.

The bee was cut at 4″ using Create a Critter.  I hid the facial features and used an oval that I made using Cricut Craft Room Basics (I squashed a circle until I got the shape I wanted) for his nose.  For his eyes, I printed out a free cut file I got at The Beary Scrap.  I don’t quite feel confident enough to try and paint my own eyes.  I did think about adding eyelashes but decided not to because I cut the bee’s face from textured cardstock.  I know my pen marks would have been all over heck and I would not have been happy.

The lettering was done using Craft Room Basics and Mickey Font.

BeeFlowers

All that was left was to adhere these pieces to the card.  I attached the bee first.   After he was adhered to the card, I glued the sentiment on and then the flowers.  My card looked like this.

GluingFlowers

To keep the front of the card closed, I tied a ribbon around it.

Card2

I’ll add a few more pictures, showing the card open and the tag part way out.  I am very happy with how it turned out — made me feel all the work was worth it.  I will cut this card base again — I can picture many uses for it.  And I will also make the bee again, but with a different sentiment.  My mom is no longer living and this is the first Mother’s Day card I have made since she passed away.  I will probably give it to a friend or relative.

GluingInside

TagPartOut

Card3

  • Cricut Craft Room
  • Cricut cartridges used:  Cricut Craft Room Basics, George and Basic Shapes, Create a Critter, Flower Shoppe, Mickey Font, Tags, Bags, Boxes & More
  • Cricut Imagine cartridges used:  Blast Off, Bubblegum Stripes, Hopscotch
  • Cuttlebug — Distressed Stripes folder
  • Ink
  • Chalk
  • Buttons
  • Ribbon

I’m going to add one last phot photo, which is a screen shot of my CCR file, to show what shapes I used to create the card base.  I hope this will help others wanting to re-create it.

ScreenShot

Graphic 45 A Ladies’ Diary Birthday Card


I wanted to make a special birthday card and only knew that I wanted to use some of my beautiful Graphic 45 paper (that I seem to be hoarding) to make it.  I went looking on the web for some inspiration and it didn’t take long for me to decide on my design.

I found a card sketch on Stuck On U Sketches that I liked and got out my paper.  All the printed paper is from A Ladies’ Diary collection.  The base of the card, the solid black cardstock, is from Bazzill.

Front6

The background is a piece of corrugated cardboard — I removed one of the layers so you can see the ribs.  Then I took some gesso and dry brushed it on.  I wrapped a piece of gold ribbon from my stash around the middle.

I cut the triangle pieces in Cricut Craft Room using George & Basic Shapes.  I dry brushed some gesso on the triangles and glued lace trim around the edges using Farbri-Tac glue.  The gold trim around the edges is stickers.  I attached pearls at the corners.

Front5

The scallop circle is from Cricut Alphabet, <Doily12>, and it is cut at 2.5″.  I used a Krylon 18kt. Gold Leafing pen to go around the edges of the shadow scallop.  I dyed some seam binding using Tattered Angels Glimmer Mist and threaded it through the holes in the doily, leaving the tails to hang down.

ScallopCircle

The birthday button in the center of the scallop is a new stamp and die set that I just got from Whimsy Stamps.  I heat embossed the sentiment using Stampendous Stardust embossing powder.

Button

The two small roses were made following this tutorial, from Scraps of Life’s blog.  I used a flower shape from Paisley, Layer1 + <Shoes1>, cut at 4.5″.  I dry brushed the layers with gesso and used the gold leafing pen on the edges of the petals before I assembled the flowers.    I love how tiny they are — they are under 1″ across.

Roses

The scallop layer and the button are attached to the card using foam pop dots.

On the inside of the card, I edged the black floral layer with the gold leafing pen.  I still have to do my sentiment layer.  I think I will write it first before attaching it.  If I make a mistake, then I can just redo it rather than having my blunder permanently attached to the card.

Inside

  • Graphic 45 A Ladies’ Diary collection
  • Bazzill cardstock
  • Cricut Craft Room
  • Cricut cartridges:  Cricut Alphabet, George & Basic Shapes, Paisley
  • piece of corrugated cardboard
  • ribbon from my stash
  • seam binding
  • Tattered Angels Glimmer Mist
  • Stampendous Stardust embossing powder
  • gold border stickers
  • self-adhesive pearls
  • Gesso
  • Krylon 18kt Gold Leafing Pen
  • Whimsy Stamps — Everyday Button Sentiments and Button Die
  • Fabri-Tac adhesive