My goal this weekend was to make a candy corn box, but then I had an idea and soon had candy corn boxes all over my craft room. I wanted to participate in two challenges, the 3D Halloween Treat Container challenge at Bitten by the Bug 2, and the 3D Treats challenge at Cooking with Cricut.
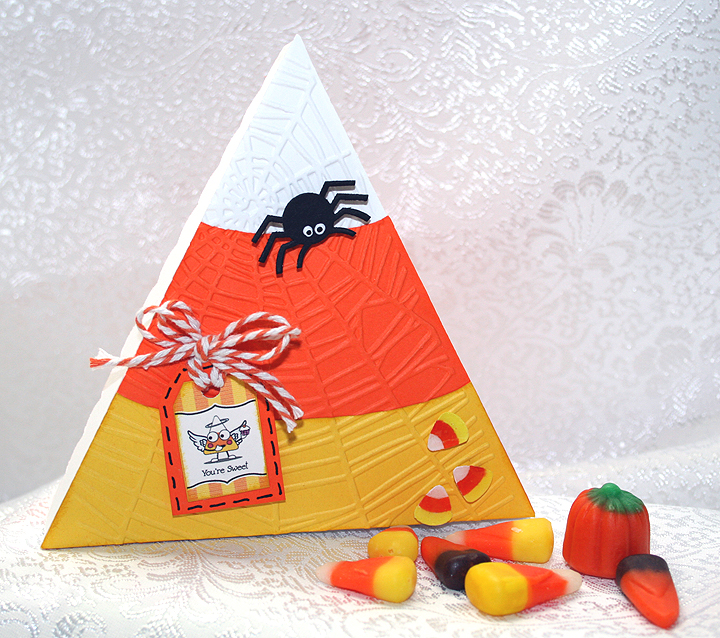
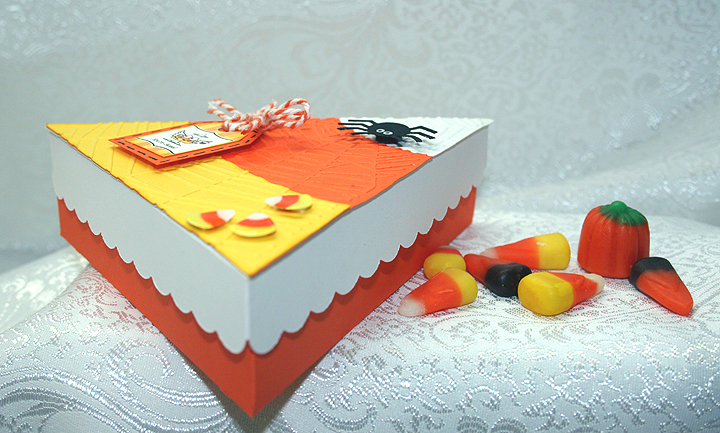
I have seen several versions of Cricut candy corn boxes using a cake box cut on the internet. Using Cricut Craft Room, I chose the triangle box cut from Sweet Tooths cartridge. I liked that it is a 2-piece box, with a separate top and bottom. The paper is Michael’s Recollection brand.
I cut the bottom at 6″, from orange cardstock and cut the top from white cardstock. Using George and Basic Shapes, I put a triangle on my mat and sized it to match the triangle on the top of the box. I then cut that from white cardstock.
I laid out two more triangles in CCR, one in yellow and one in orange. Using ovals from George and Basic Shapes to intersect the triangles, I got the shapes I wanted for the corresponding pieces. I then glued the orange and yellow layers onto the white triangle.
Using my Cuttlebug and the spider web folder, I embossed the entire front piece after it was glued together. I then adhered the piece onto the top of my box.
I sometimes forget about all the dies I have for my Cuttlebug, opting to cut with my Cricut instead. But this time I remembered I had some cute Halloween dies and that is what I used for my spider and the tiny candy corns on the front of the box. I used the 3″x3″ Cuttlebug Halloween die.
I painted the eyes on the spider and colored the candy corns using Copics. Then then applied Glossy Accents on the candy corn to give them some shine. I added pop-dots to the spider and candy corns and attached them on the top of the box.
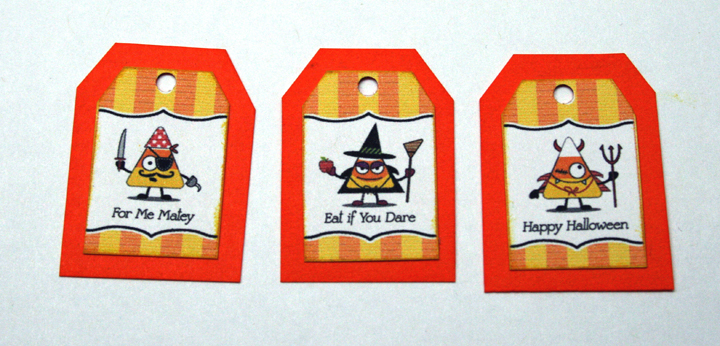
The tags I used on all my candy corn boxes is a free printable I found on a website called HelloCuteness.com. The printable is from their old website, but you can get to their new site with the link I am sharing.
I hand cut around the tags, glued them onto some orange cardstock and again hand cut around the orange cardstock. For the cake box candy corn, I tied some twine through the hole on the tag and pop-dotted it onto the top.
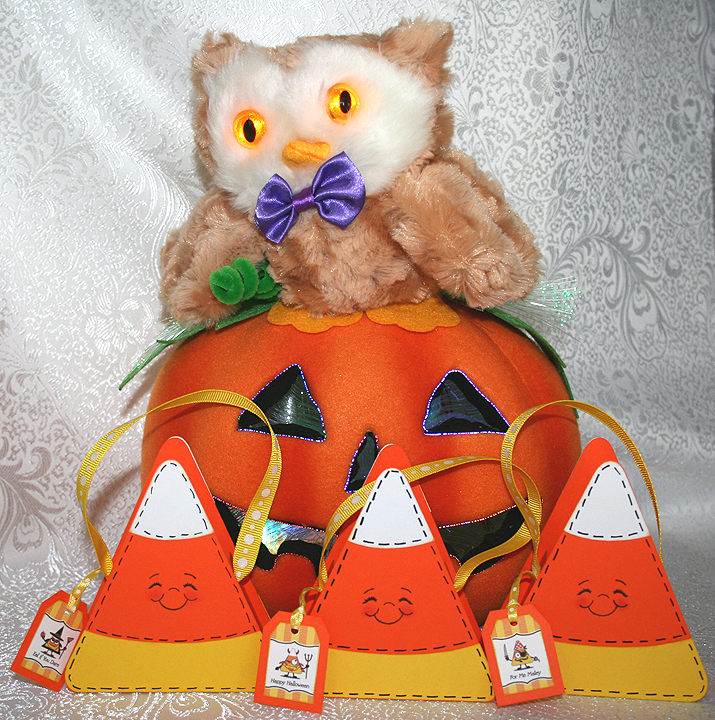
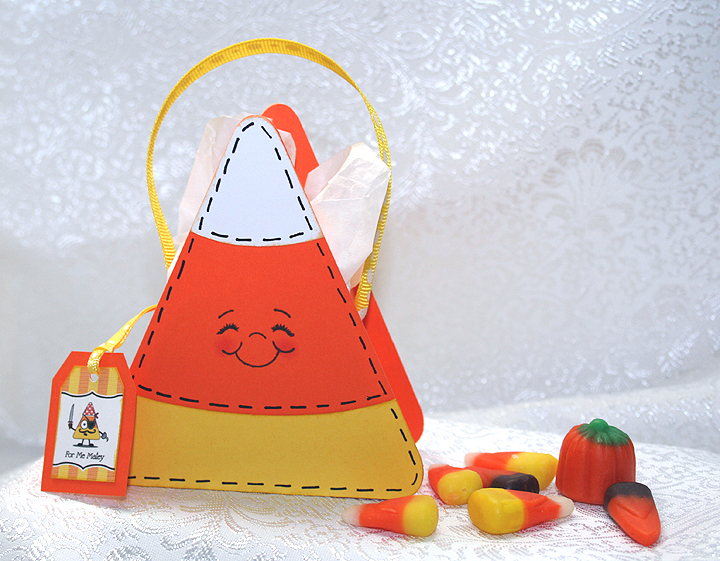
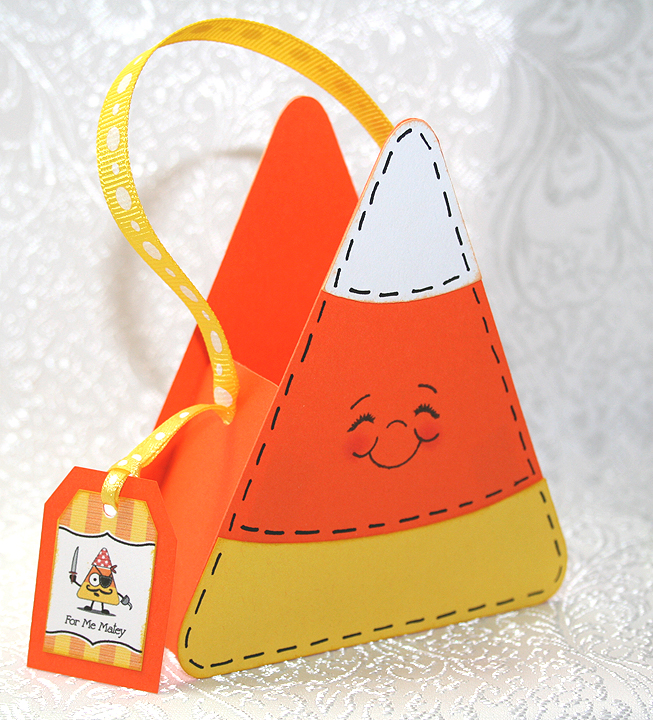
While I was working on the cake box version, I got an idea to create a different type of candy corn box — one that is more like a tote. Using CCR and George and Basic Shapes, I started laying out triangles and rectangles to get what I wanted. It took a little time and several attempts, but I finally got it worked out.
Here is my final version, along with two of my better attempts. They look pretty much the same — the main difference is in the tabs where they attach together and how I assembled them. The base shape is cut from orange cardstock and then there is a yellow and white piece that attaches to the front and back.
I used a Peachy Keen face stamp, stamping just one side. I thought about stamping both sides of the tote but decided I didn’t want any two-faced candy corns! I used a black pen to add the stitch marks to the fronts and backs.
For the first tote, I put it all together and then realized it would be much easier to attach the white & yellow pieces, stamp the face, and punch the holes for the ribbon handle if the tote was still flat. The next two totes were done flat and it was a lot easier. I used Terrifically Tacky Tape to assemble the totes.
I used a Crop-A-Dile to punch the holes in the side and 12″ of ribbon for the handle. After threading the ribbon through the hole, I tied a knot and used some hot glue to glue the ends down inside. The tags are hung using 1/8″ ribbon and I threaded it through the same hole as the handle before using the hot glue. Again, I did this on the first tote after it was assembled. For the next totes I added the ribbon before assembling the them.
- Cricut Craft Room
- Cricut cartrideges: George and Basic Shapes, Sweet Tooth Boxes
- Copics
- Glossy Accents
- Ribbon





Recent Comments