Archives for December 2010

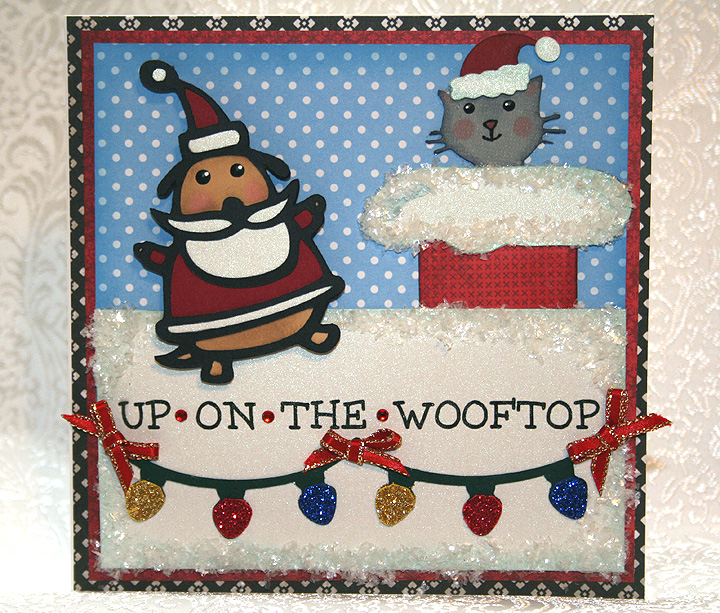
Up On The Wooftop for Jitterbuggin’ Challenge – Here Comes Santa Claus!

 Ho, ho, ho!
Who wouldn’t go!
Ho, ho, ho!
Who wouldn’t go!
Up on the rooftop
Click, click, click
Down thru the chimney with
Good Saint Nick

The above chorus is the inspiration for this card.  I haven’t made a card in so long that I finally took a little time and came up with this card for this week’s challenge at Jitterbuggin.  Now I have to put all the papercrafting supplies away and get back to embroidering. 

I don’t know why, but this card seemed to take forever to make.  I’m glad I didn’t keep track of the hours I have in it — it would probably be embarrassing to admit I took that long.  

The challenge was fairly easy — no sketch to follow or any requirements other than to use a Santa on your card.  I sure hope Santa Paws counts because he is certainly busy up on the wooftop with his little kitty helper.

I laid the card out in Design Studio and used a house from the Cricut Lite cartridge Jolly Holidays for the roof.  The house is over 10″, but I laid it on the mat so that the house part was off the mat and the only part that cut was the roof.  I wanted the roof to fill the entire front of my card, which is 5.5″ square.  The house design I used has Santa’s feet hanging out of the chimney, but I trimmed them off for this card.  I also used the hide contour feature of Design Studio to hide the footprints in the snow that are on this particular house. 

The patterned paper is all from various DCWV paper stacks and the solid white cardstock on the front is Pearls from Core’dinations. 

Santa Paws is cut from Paper Pups.  The cat is from ZooBalloo and his hat is from Jolly Holidays.  I printed the sentiment directly on the Pearls cardstock, leaving an extra space between the words so I could add a small rhinestone.  The strands of lights are from Create a Critter and I glittered the bulbs.  The snow on the roof is from Martha Stewart.  I added bows from 1/8″ ribbon to give a festive look to the lights.

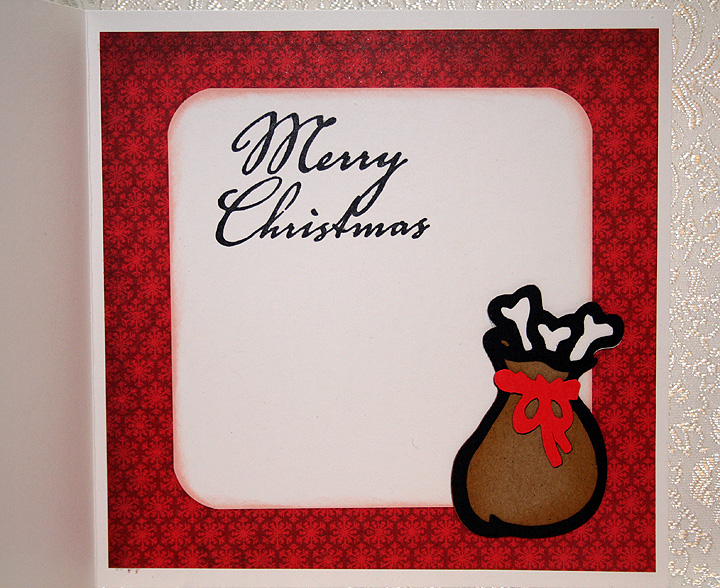
I cut Santa’s sack from Paper Pups and put it on the inside of the card.  The sentiment is a $1 stamp that I got at Michaels. 

  • Cricut Design Studio
  • Cricut cartridges:  Create a Critter, Jolly Holidays, Paper Pups, Zooballoo
  • DCWV — various paper stacks
  • Core’dinations Pearl cardstock
  • Martha Stewart Snow
  • Glitter, rhinestones, rubber stamp — all from Michaels $1 bins
  • Ribbon from stash

Jitterbuggin’ Gifts Galore Challenge and Fantabulous Cricut Ribbon Challenge


I haven’t been able to make many cards lately because this is my busy time of the year with the embroidery business.  I’ve had two machines running since Thanksgiving.  I’m taking a short break this weekend to go away with hubby to celebrate our 44th anniversay.  I wrapped up a couple of embroidery jobs on Tuesday and found time to make a card. 

I made this card to enter into two challenges.  At Jitterbuggin, Sherri asked us to make a card with a gift theme.  The sketch is not mandatory this week — we just have to add a bow and some bling — and, of course, use our Cricut.

At Fantabulous Cricut we have to use ribbon somewhere on our project and, again, have a Cricut cut on it.

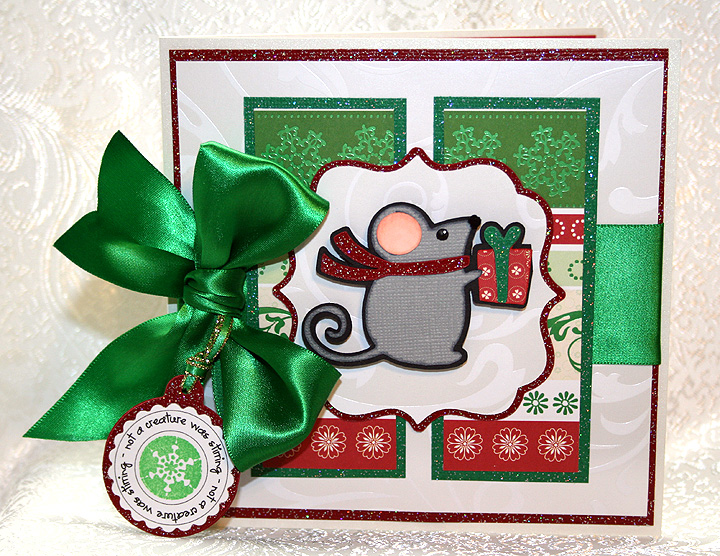
I made a card with a little mouse bearing a gift, which he wrapped up so prettily and tied with a bow.  The designer paper is Christmas Mint from SEI.  I used glitter cardstock from Core’dinations for my bling.  I am really happy with the way it cuts in the Cricut.

The little mouse is from the Winter Frolic Cricut cartridge.  The frame he is mounted on is from Lacy Labels Lite cartridge and I cut the tag from the Very Merry Tags cartridge.  The printing on the tag, “not a creature is stirring”, is a download I got from the Cutting Cafe.  I wanted something small and didn’t have time to try and put text on a circle myself, so I was happy to find the saying I wanted for a very reasonable price — just 99 cents.  The text on the inside of the card is also from this same download.  I cut out the text for the tag using my Cuttlebug and Nestabilities scalloped circles.

I cut the tag, the scarf, the bow on the present as well as mats from the glitter cardstock.  I found a piece of 1 1/2″ wide green satin ribbon in my stash and tied it around the middle of the card.  I attached the tag to the bow with a scrap of ribbon edged in metallic gold. 

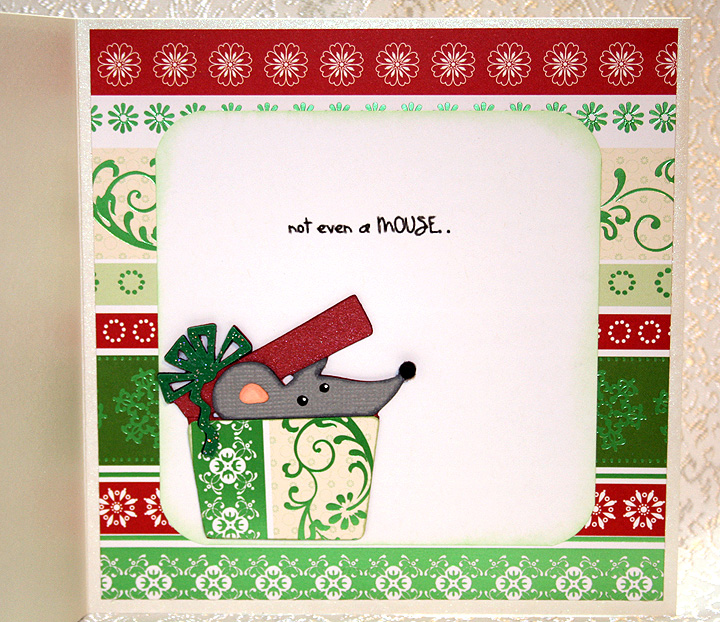
The inside of the card has another little mouse and I cut this one from the new Birthday Bash cartridge.  When I laid out my card in Design Studio, I planned on putting this mouse on the front of the card and the mouse with the gift on the inside of the card.  But once I started cutting out the pieces and laying out the actual card, I decided to switch mice.  I thought the mouse carrying the gift looked better on the front of the card.  Oh, I almost forgot — for both mice I used very small pom poms for their noses. 

  • SEI Christmas Mint paper
  • Core’dinations glitter cardstock
  • Cricut cartridges:  Birthday Bash, Lacy Labels, Very Merry Tags and Winter Frolic
  • Cuttlebug
  • Spellbinders Nestabilities
  • Text for tag from Cutting Cafe
  • Ribbon and pom poms from stash